Skip to Main Content
Mobile Menu Trigger
Mobile Search Trigger
Recipes
Baking
Bread
Bundt Cakes
Cakes
Cookies
Desserts
Pavlova Recipes
Pie Maker
Savoury Pies
Cuisine
American
Asian
Australian
French
Italian
Japanese
Korean
Mexican
Middle Eastern
Scandinavian
Swiss
Vietnamese
Meal
Appetizer
Breakfast
Chicken
Condiment
Dinner
Drinks
Easy Dinner Recipes
Pressure Cooker
Lunch
Afternoon Tea
Pasta
Soup
Method
Air Fryer
One Pan
Pie Maker
Pressure Cooker
Slow Cooker
Holidays and Parties
Birthdays
Christmas
Easter
Halloween
Lunar New Year
Mid-Autumn Festival
New Year
Parties
Special Diet
Dairy-Free
Gluten-Free
Sugar-Free
Vegetarian
Recipe Index
Conversion Chart
About
Work With Me
Home
»
chocolate
chocolate
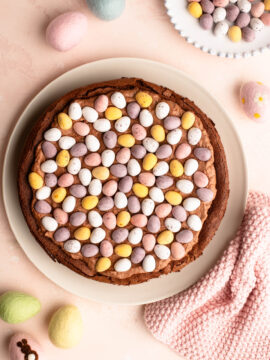
Easter Egg Nest Cake
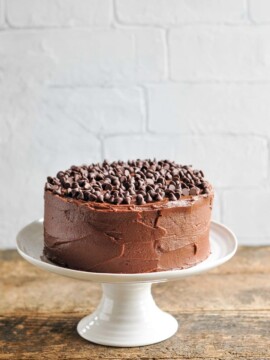
Salted Butter Chocolate Cake
Ultimate Chocolate Cake
Pinwheel Cookies
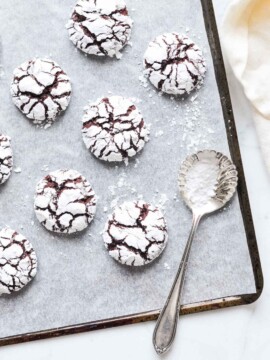
Chocolate Crinkle Cookies
Reindeer Christmas Cookies
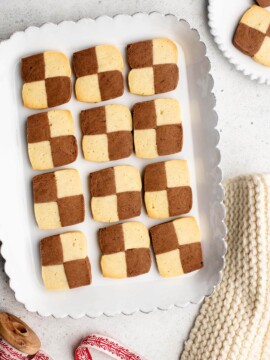
Checkerboard Cookies
Mooncakes with Chestnut and Chocolate
Christmas Cupcakes
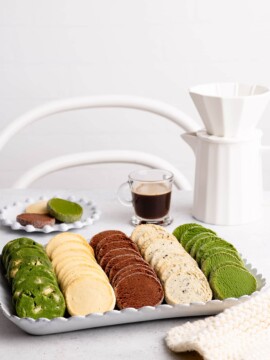
French Sablé Cookies
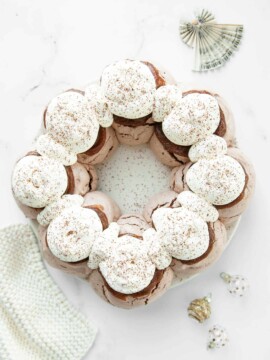
Chocolate Pavlova Wreath
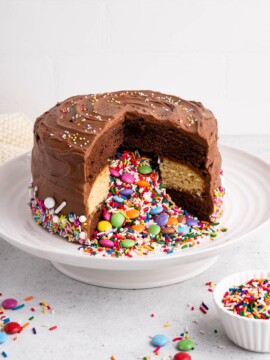
Birthday Piñata Cake
More Posts:
1
2
3
4
5
6
Next »