Tangy and delicious Lemon Curd Rolls for a citrusy twist on a sticky bun recipe. Recipe with step-by-step photos.
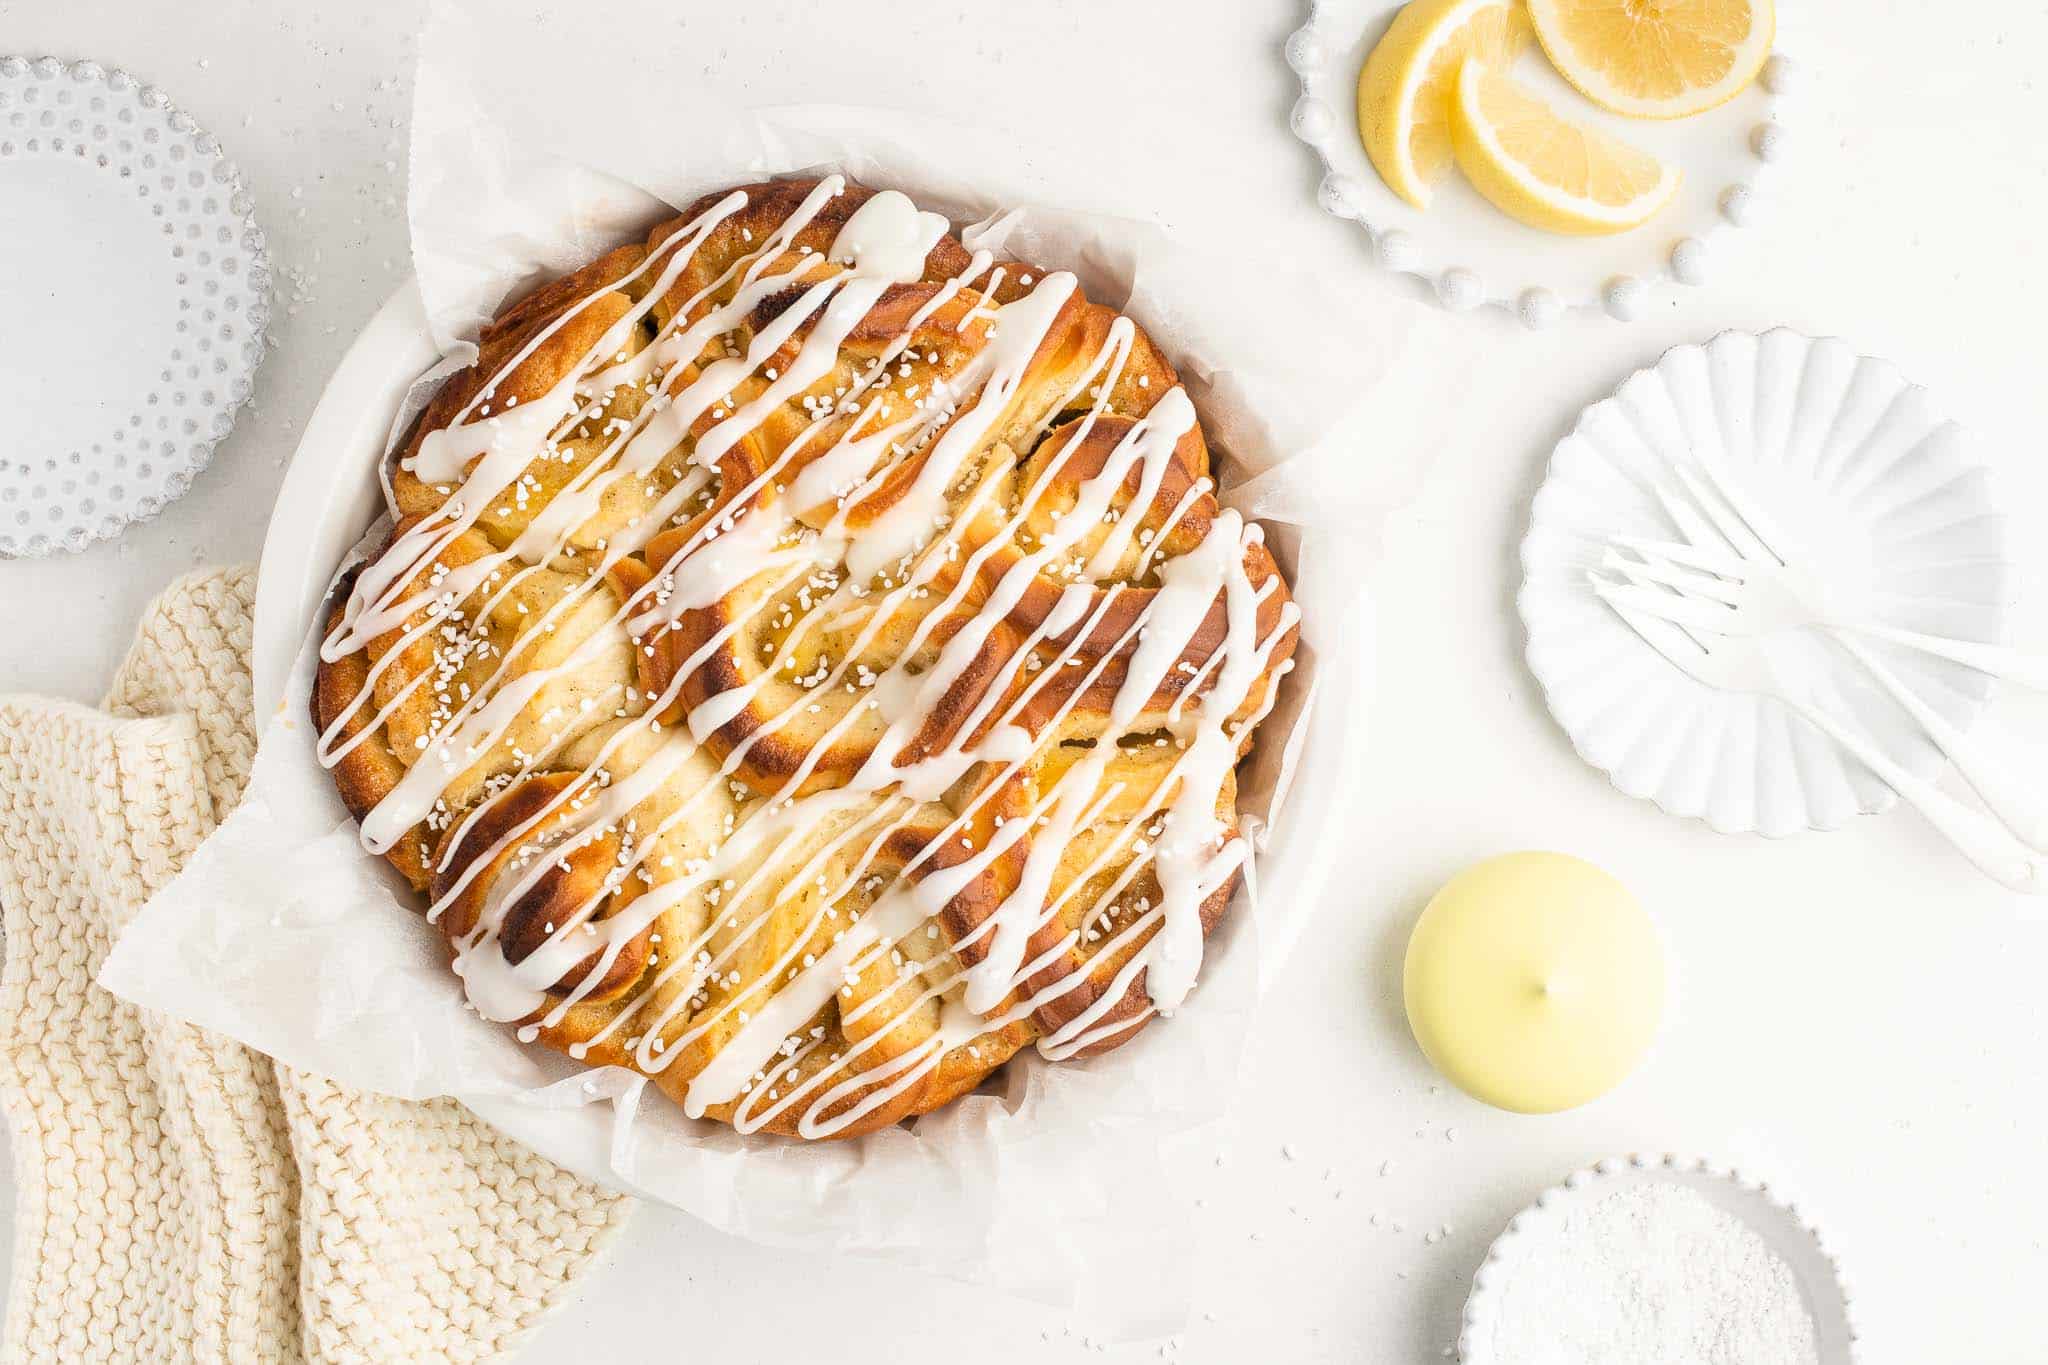
Lemon Curd Rolls
I love a good sticky bun, and while Cinnamon Rolls feature regularly in our home, I try to change things up now and then, depending on my mood and depending on the season. Whilst I could eat a Cinnamon Roll at any time of the year, I lean towards more bright and tangy flavours when the weather is warm. Enter my Lemon Curd Rolls!
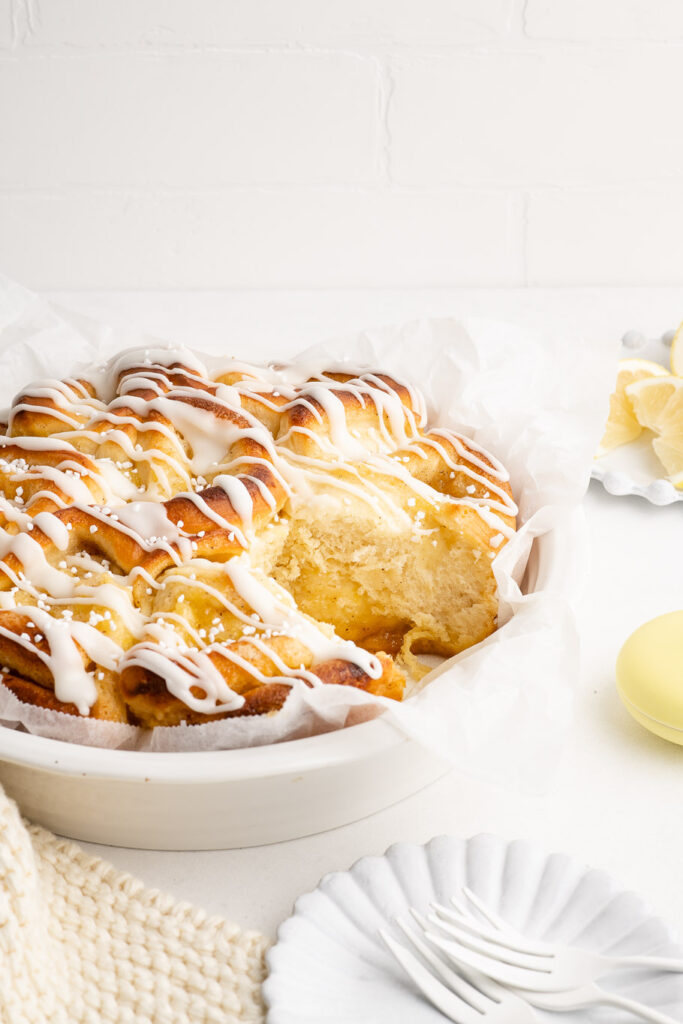
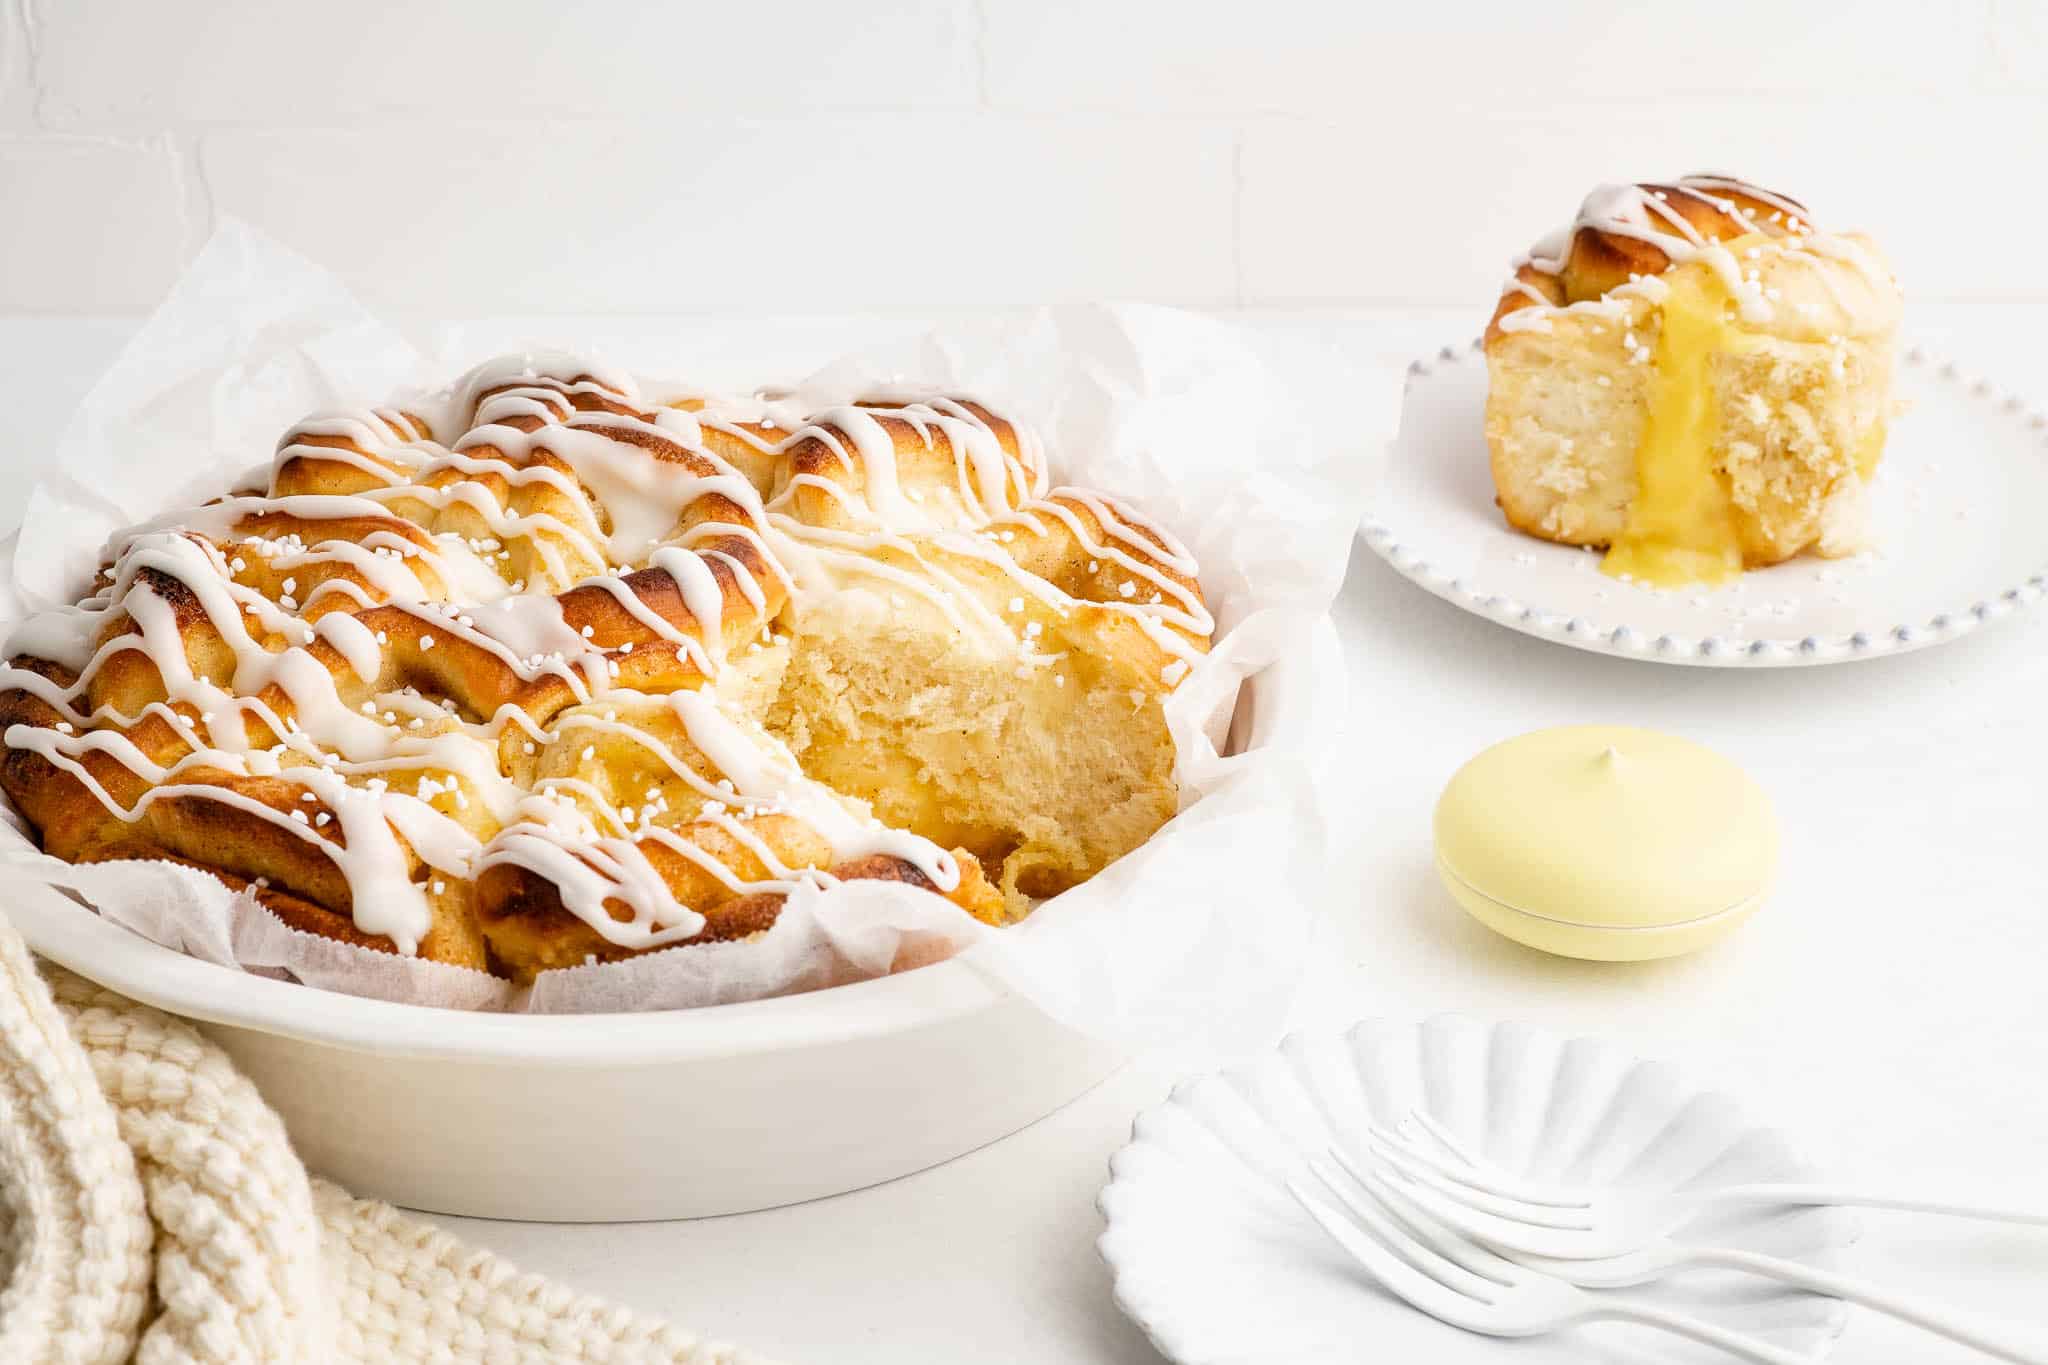
These rolls have layers of soft dough wrapped around a tangy lemon curd filling which remains gooey on top, and baked into jammy sweetness throughout the buns.
But these delightful rolls are not just for summer – they would also brighten up any grey and chilly day in Autumn and Winter!

Lemon Sticky Buns
The other day, I had a craving for a sticky bun but with something sharp and citrusy. So I experimented with my Cinnamon Rolls recipe and came up with this delightful number.
I was so blown away by how delicious these Lemon Curd Rolls were, and equally surprised by how much my kids and their friends liked them! Despite me initially thinking that these Lemon Curd Rolls would be for the “grown-ups”, my daughter and her friends greedily ate their way through these buns.
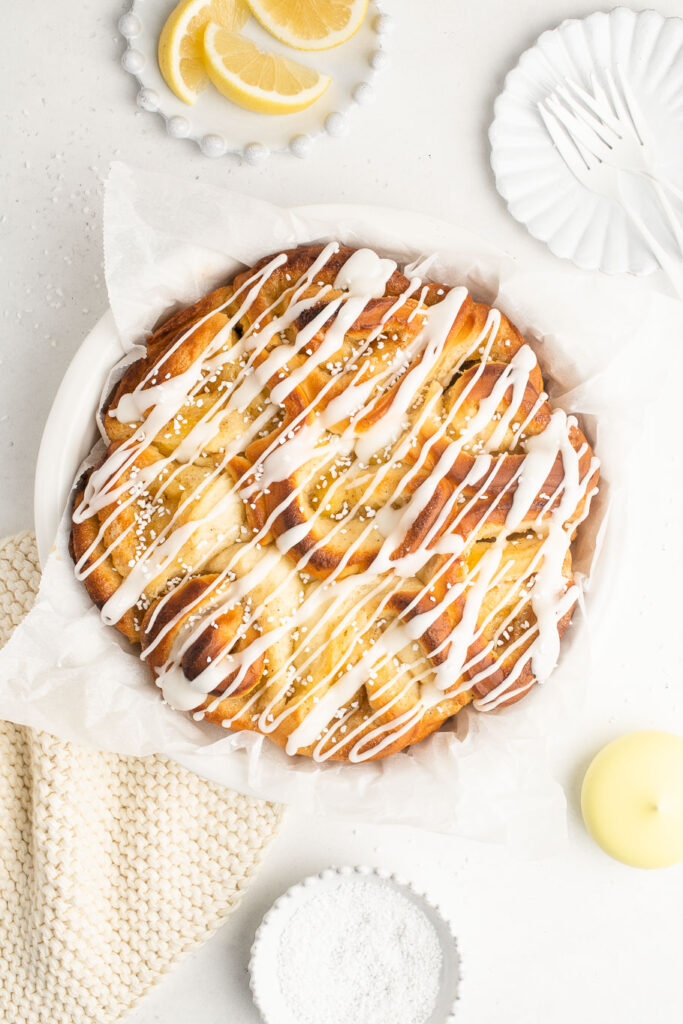
Lemon Curd Rolls Recipe
This recipe starts off like any Cinnamon Roll recipe, with a good enriched dough. I use the same enriched dough recipe for many of my bread recipes, including Chelsea Buns, Iced Finger Buns, Cream Buns … the list is endless. It’s a good, reliable enriched dough that is perfect in a sticky bun recipe.
Once you have rolled out the dough, I like to spread a good layer of butter and vanilla sugar. As the lemon curd is quite tangy, I think the buns can benefit from a bit of sweetness, and the vanilla does not overshadow the lemon flavour.
You could use a good quality store-bought lemon curd to fill these rolls, but making your own lemon curd is super easy.
To finish, a lemon sticky bun obviously needs a sticky glaze! I make mine with lemon juice for extra lemon flavour, with a generous sprinkle of pearl sugar for crunch.
How to Make Lemon Curd
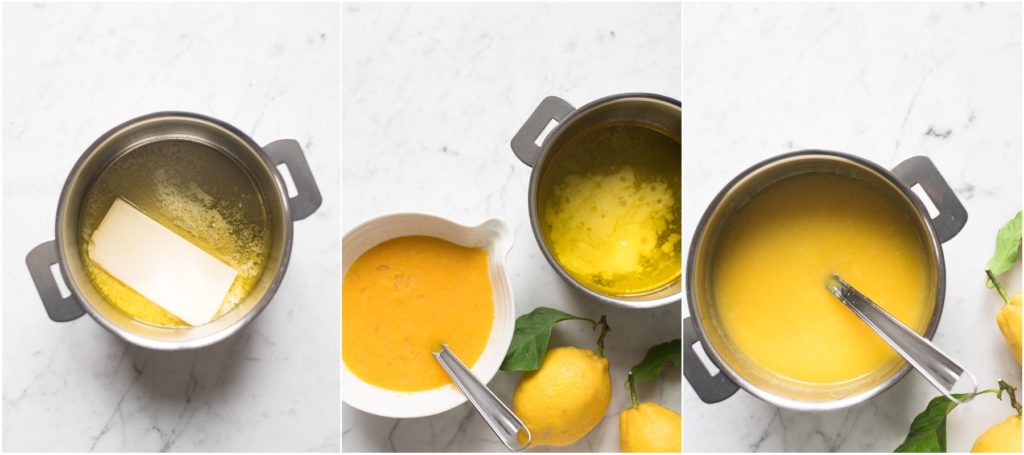
To make your own lemon curd, please see my recipe for Lemon Curd.
How to Make Lemon Curd Rolls
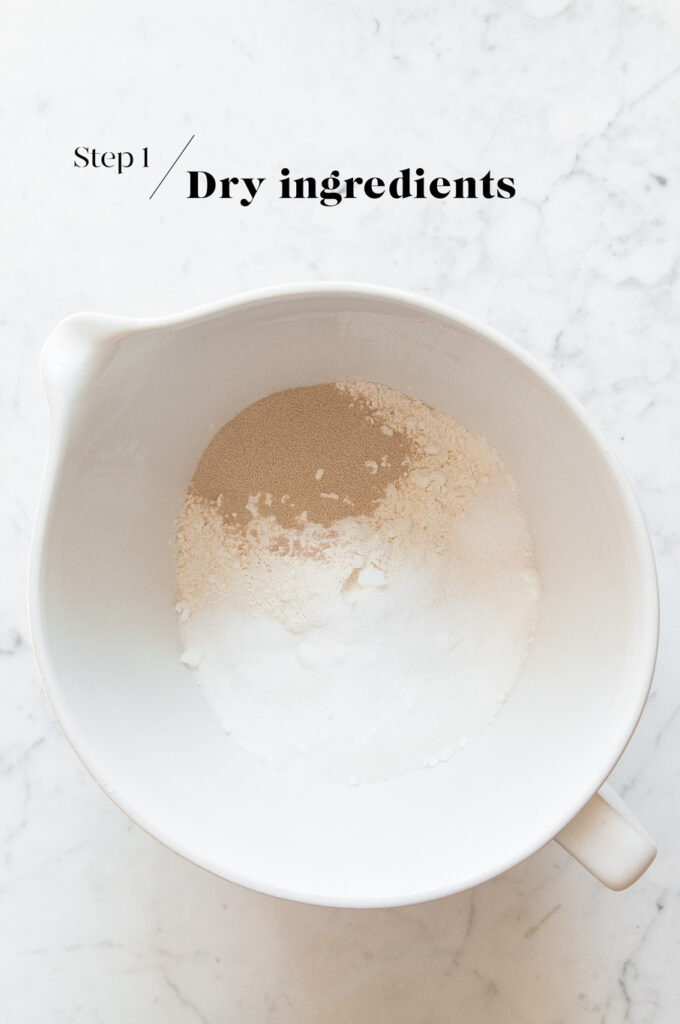
Step 1
Measure the flour, sugar, yeast and salt into the bowl of an electric stand mixer. Lightly mix the ingredients together.
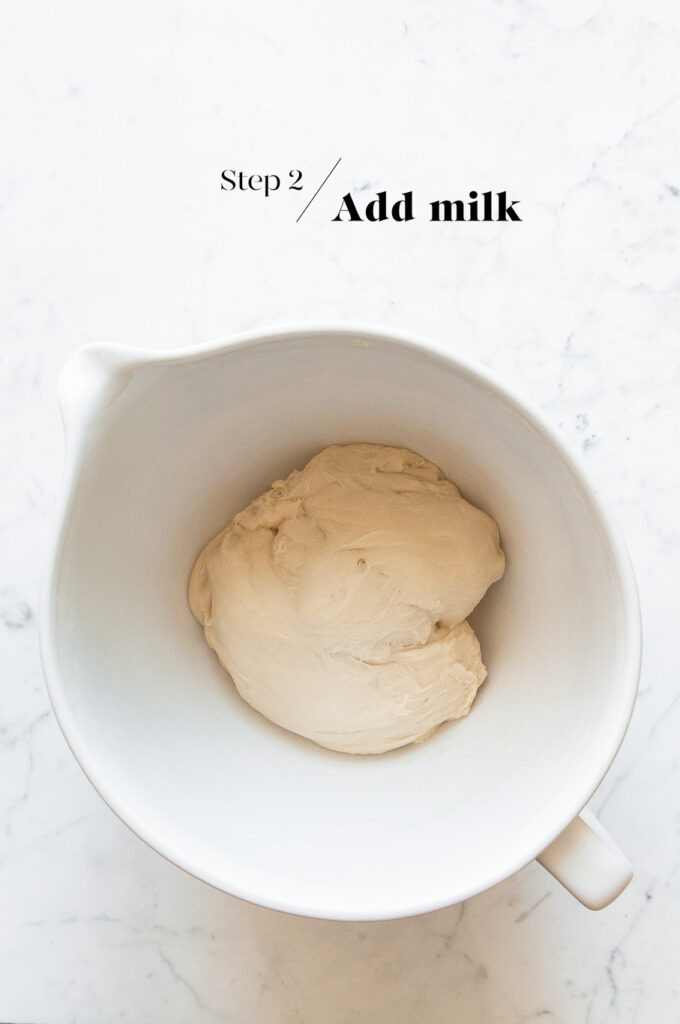
Step 2
Add the egg to the bowl. Slowly add the warm milk (you may not need all of it), and lightly beat everything with the dough hook until it comes together into a large ball of dough. Only add as much milk as you need to bring the ingredients together into a dough.
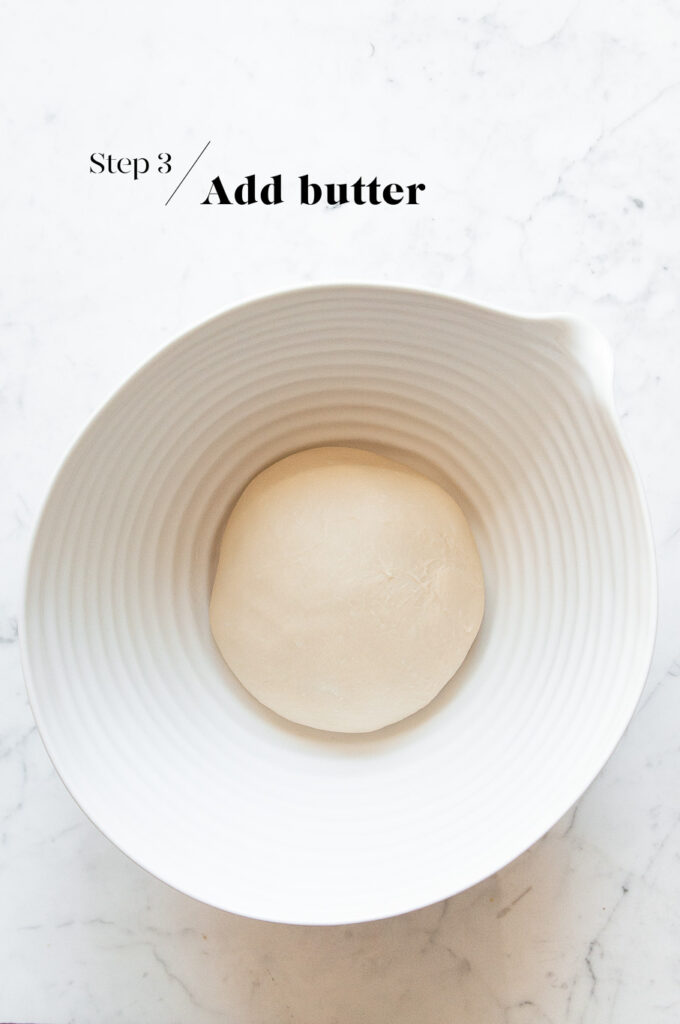
Step 3
Slowly incorporate the butter, one tablespoon at a time, until all of the butter has been used.
Then increase the speed to medium and continue kneading with the dough hook for 15 to 20 minutes, or until the dough is smooth and elastic.
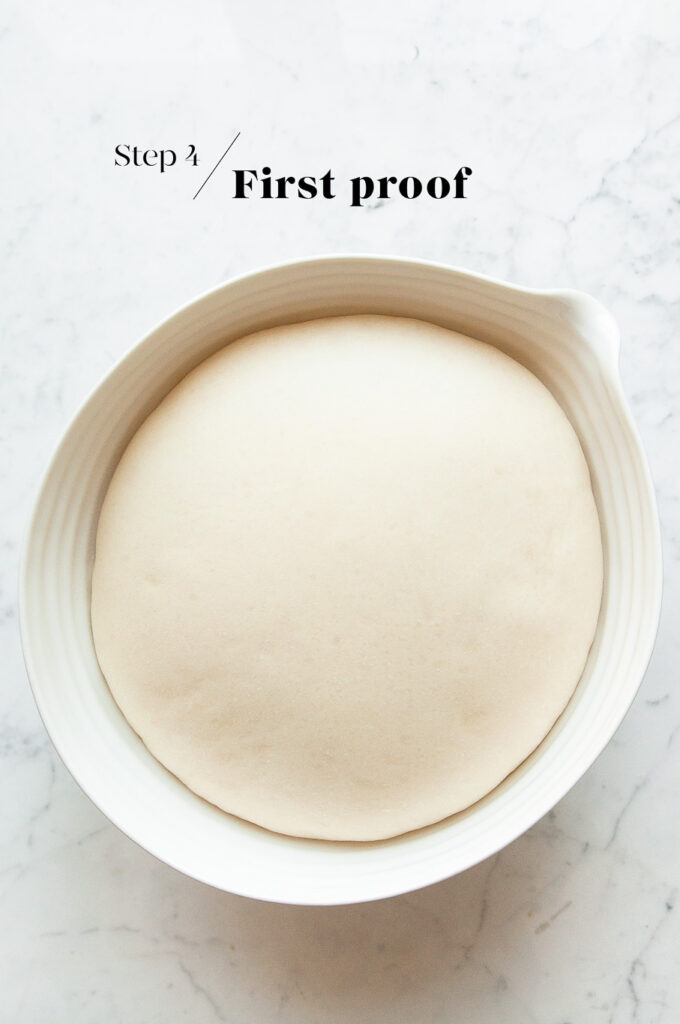
Step 4
Lightly oil a large mixing bowl, and place the dough into the bowl. Cover the bowl with a clean tea towel and leave it somewhere warm for 1 to 1.5 hours, or until the dough has doubled in size.
Step 5
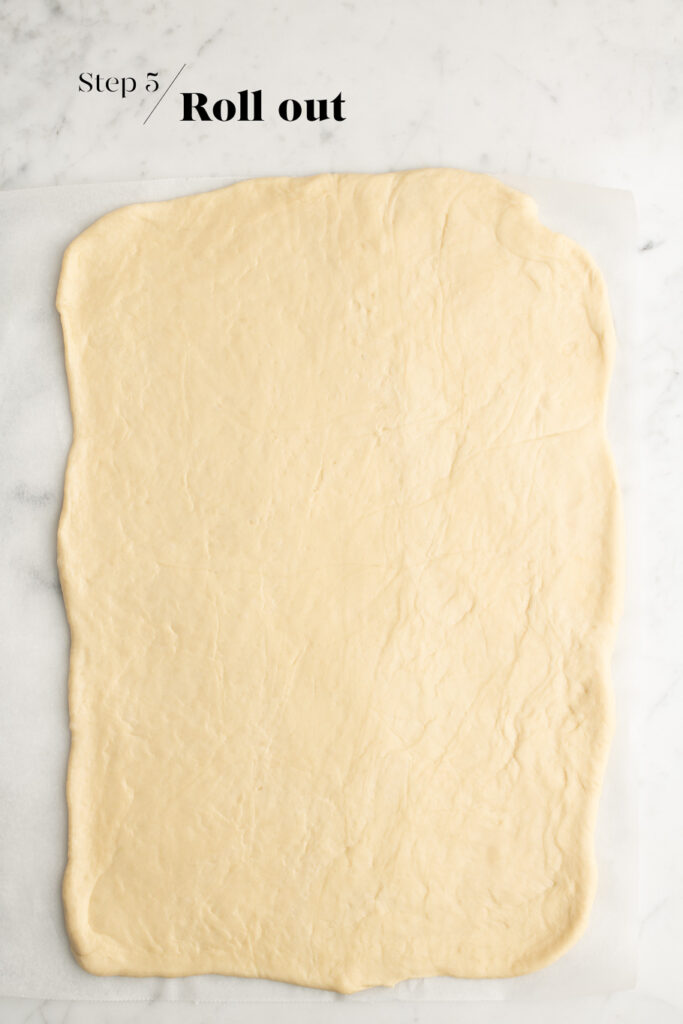
Once the dough has doubled in size, gently remove the dough from the bowl. The dough will deflate as you handle it.
Roll out the dough into a rectangle shape measuring approximately 40 x 30 cm/16 x 12 inches.
Step 6
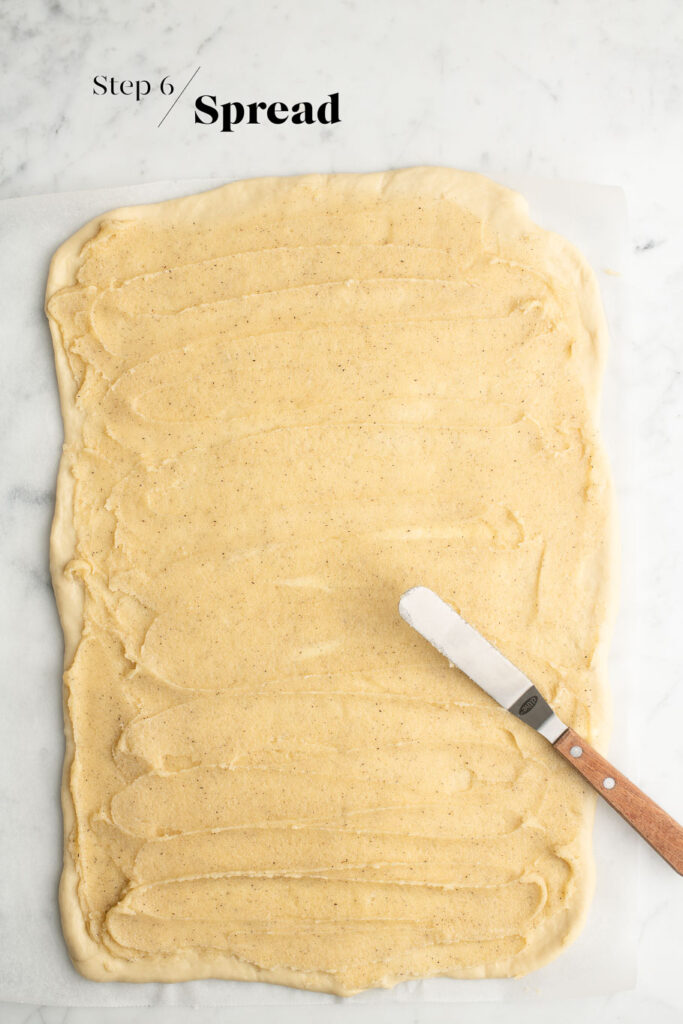
Make the vanilla-butter filling by beating together the ingredients. Use a small palette knife to evenly spread the filling all over the dough.
Step 7
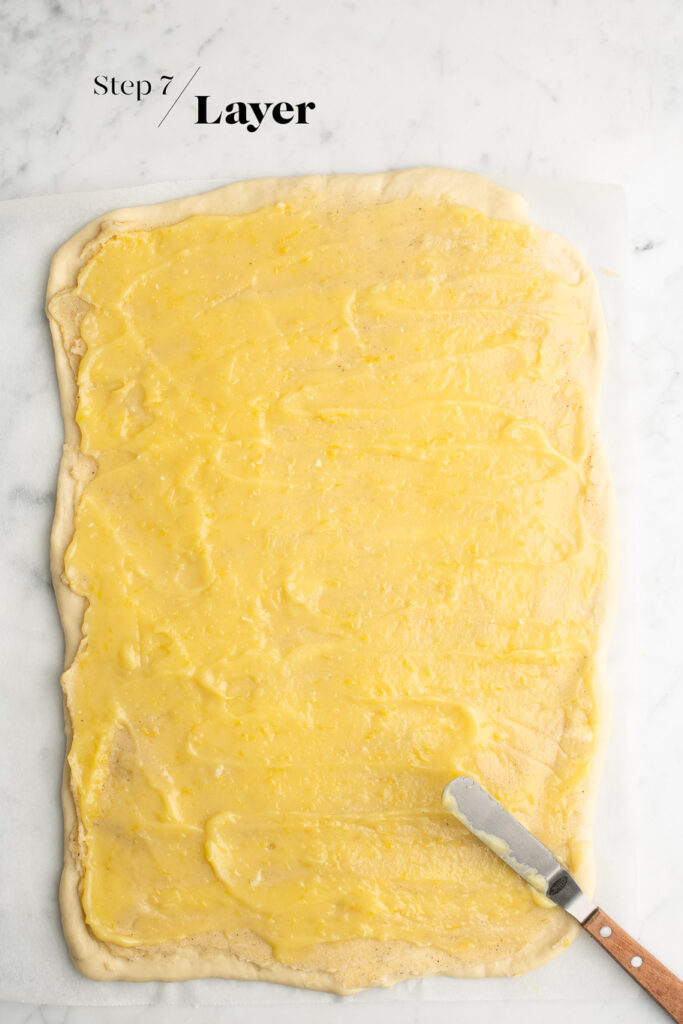
Then spread the lemon curd on top of the vanilla-butter filling.
Step 8
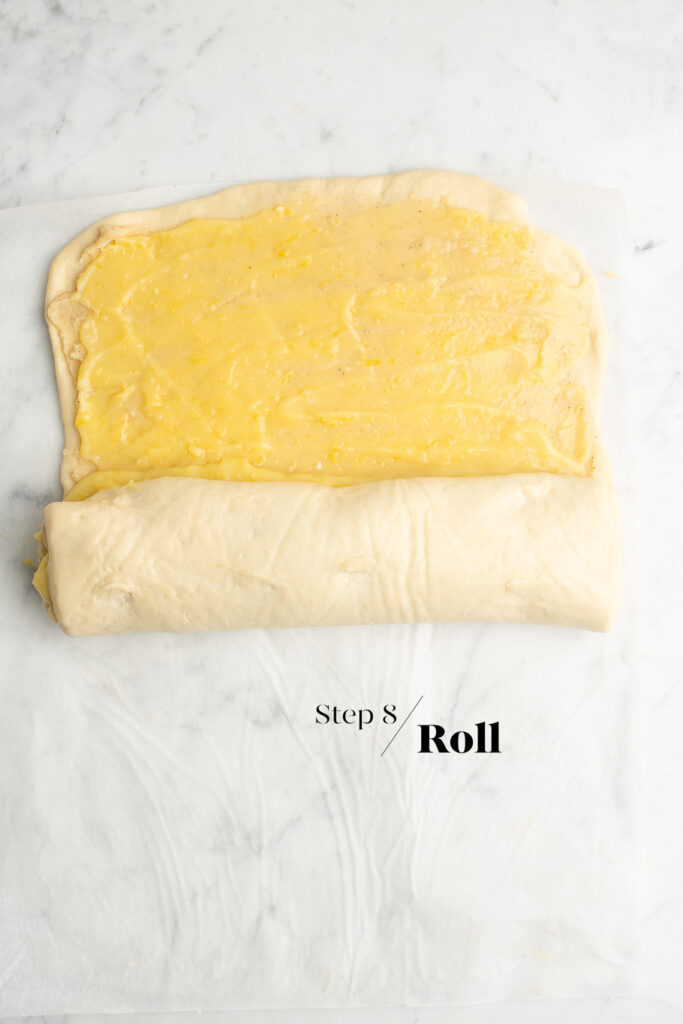
Roll up the dough tightly from the short end.
The dough will be quite soft because of the lemon curd filling. At this stage, you can place the log of dough in the fridge to firm up slightly. Or you can continue with the recipe with some careful shaping of the dough slices.
Step 9
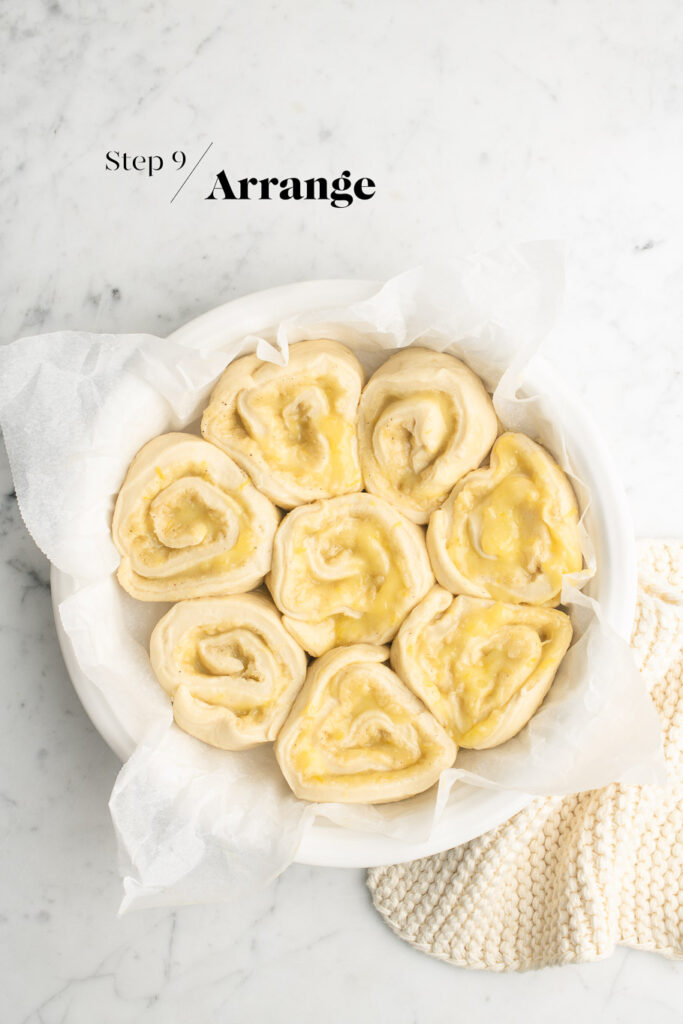
Cut the dough into 8 even pieces using a very sharp knife and by using a sawing motion to keep the layers nicely separated. Clean the knife between each slice.
Line a 25 cm/10 inch round baking pan or baking dish with baking paper.
Arrange the slices of dough in the baking pan. I sometimes find it easier to arrange the slices of dough directly on the baking paper on the kitchen bench, and then transferring the baking paper with the buns into the baking pan. This is especially if the dough has already started to puff and rise.
Step 10
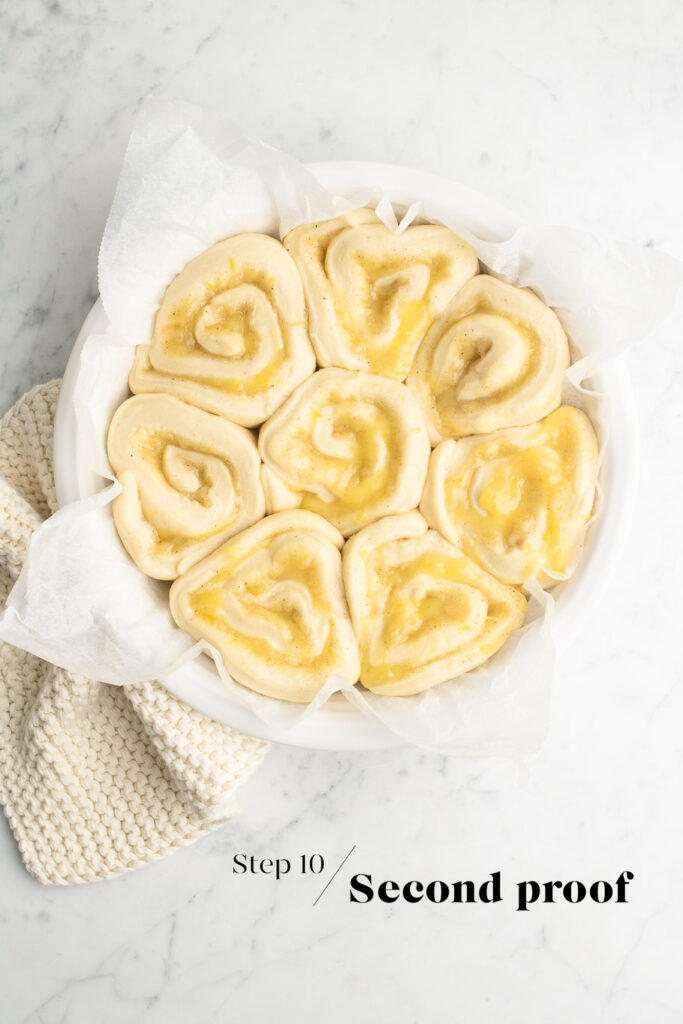
Place the pan somewhere warm for about 20-30 minutes, or until the buns have risen and puffed up slightly (they will continue to puff and rise during baking).
Step 11
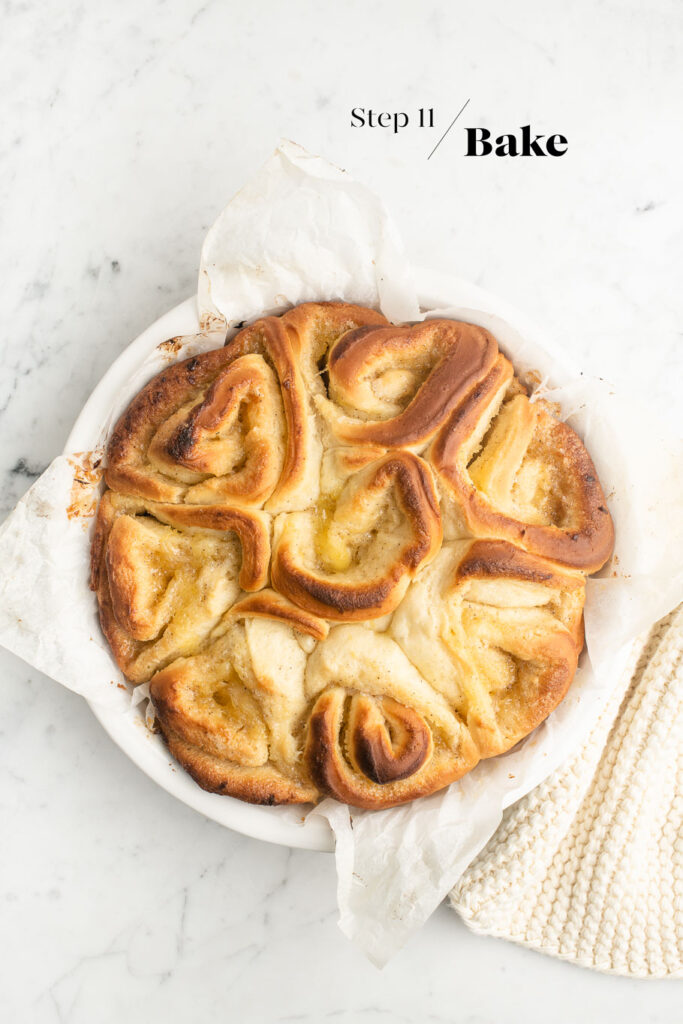
Preheat the oven to 200°C/390°F with a metal baking tray on the middle shelf. Bake the buns for 10 minutes.
Reduce the heat to 180°C/356°F and bake for another 20 minutes, or until the buns are lightly golden. Check the buns at about 10 minutes, and if they are browning too quickly, cover them with a loose sheet of foil for the rest of the baking time. The buns are cooked if an internal thermometer reads 85°C (185°F).
Gently remove the buns (intact) to a wire rack, and leave them to cool completely.
Step 12
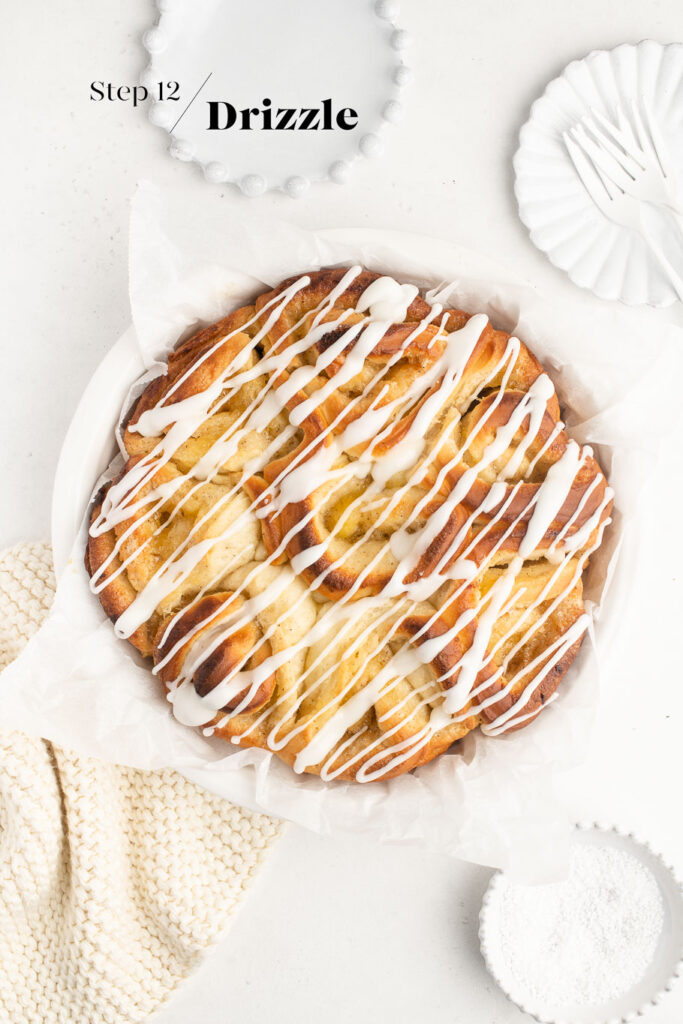
Make the icing by whisking together the ingredients until you have a thick, but runny, consistency.
Generously drizzle the icing over the buns, as much or as little as you like. Decorate with pearl sugar.
Make Ahead Tips
These Lemon Curd Rolls are best eaten on the day they are baked, but if you are planning to bake and serve them in the morning, such as for breakfast or brunch, you can start the recipe ahead of time.
Make the dough as per the recipe and leave it to double in size. Once the dough has doubled in size, without deflating the dough, cover the bowl and place it in the fridge where it will continue to rise very slowly overnight. The next day, proceed with the rest of the recipe.
The advantage of starting the night before is that the dough will be cold and easier to work with.
Lemon Curd Rolls

- Resting Time: 2 hours
- Prep Time: 60 mins
- Cook Time: 30 mins
- Total Time: 1 hour 30 minutes
- Yield: Makes 8 Buns
- Category: Bread
- Method: Oven
- Cuisine: Australian
Tangy and delicious Lemon Curd Rolls for a citrusy twist on a sticky bun recipe. Recipe with step-by-step photos.
Ingredients
For the Dough
- 400 g (2 2/3 cup) white bread flour
- 75 g (1/3 cup) caster sugar
- 1/2 teaspoon fine salt
- 9 g instant dried yeast (see Kitchen Notes below)
- 1 egg, at room temperature
- 250 ml (1 cup) milk, warmed to 37°C/98°F
- 45 g (3 tablespoons) unsalted butter, softened
For the Vanilla-Sugar Filling
- 100 g (1 stick) unsalted butter, softened
- 100 g (1/2 cup) vanilla sugar
- 1/4 teaspoon fine salt
For the Lemon Curd
- 3/4 cup lemon curd (store-bought or try my Lemon Curd recipe)
For the Lemon Frosting
- 135 g (1 cup) icing sugar (powdered sugar)
- 2 tablespoons lemon juice, or more if needed
To Decorate
- pearl sugar, for sprinkling
Instructions
You will need approx. 3 hours to make the Lemon Curd Rolls
For the Dough
- Measure the flour, sugar, salt and yeast into the bowl of an electric stand mixer.
- Lightly mix the ingredients together using the dough hook.
- Add the egg to the bowl.
- Slowly pour in the warm milk, and continue mixing until everything comes together into a rough dough.
- Add the butter, one tablespoon at a time. Once the butter has been fully incorporated into the dough, add the next tablespoon of butter.
- Once all of the butter has been added, continue kneading the dough on medium speed for about 15 to 20 minutes.
- The dough is ready when it is soft and smooth, and no longer sticks to the side of the bowl. The dough will be somewhat sticky from the butter and egg.
For the First Proofing Session
- Lightly oil a large mixing bowl.
- Place the dough inside the bowl.
- Cover the dough with a clean tea towel, plastic wrap, or a reusable bowl cover.
- Leave the dough somewhere warm for 1 to 1.5 hours, or until the dough has doubled in size (see Kitchen Notes below).
For the Vanilla-Sugar Filling
- Just before the dough is ready, make the filling by beating together the ingredients in a bowl.
To Shape the Lemon Curd Rolls
- Line a 25 cm/10 inch round baking dish or cake pan with baking paper.
- Once the dough has doubled in size, gently remove the dough from the bowl. The dough will deflate as you handle it.
- Roll out the dough into a rectangle shape measuring approximately 40 x 30 cm/16 x 12 inches.
- Use a small palette knife to evenly spread the vanilla-sugar filling all over the dough.
- Then spread the lemon curd on top of the vanilla-sugar.
- Roll up the dough tightly from the short end, i.e. to produce a log that is 30 cm/12 inches long.
- At this stage, the dough will probably be very soft. You can place it in the fridge until it firms up, or you can proceed with the recipe with some careful shaping of the dough.
- Cut the dough into 8 even pieces using a very sharp knife.
- Arrange the slices of dough in the baking pan. If the dough is very soft, you may need to coax the slices back into round shapes – it might get a little messy!
For the Second Proofing Session
- Place the pan somewhere warm for about 20-30 minutes, or until the buns have risen and puffed up slightly.
To Bake the Lemon Curd Rolls
- Preheat the oven to 200°C/390°F (without fan) with a metal baking tray on the middle shelf.
- Place the pan of buns on the preheated baking tray.
- Bake the buns for 10 minutes.
- Reduce the heat to 180°C/356°F and bake for another 20 minutes, or until the buns are lightly golden. Check the buns at about 10 minutes, and if they are browning too quickly, cover them with a loose sheet of foil for the rest of the baking time.
- The buns are cooked if an internal thermometer reads 85°C/185°F.
- Gently remove the buns (intact) to a wire rack, and leave them to cool completely.
To Frost the Lemon Curd Rolls
- Make the frosting by whisking together the ingredients. Add the lemon juice gradually until the frosting is a thick, but runny, consistency.
- Drizzle the frosting all over the cooled Lemon Curd Rolls.
- Sprinkle generously with pearl sugar.
- The Lemon Curd Rolls can be served immediately or once the frosting has set. They are best eaten the same day they are baked.
Kitchen Notes
 MAKE AHEAD TIPS
To make the Lemon Curd Rolls the night before, make the dough as per the recipe until it has doubled in size. Without deflating the dough, place it in the fridge to continue proving overnight. The next day, proceed with the rest of the recipe.
 MAKE A LARGER BATCH
To adjust the recipe to make 12 buns, use the following quantities:
For the Dough:
600 g (4 cups) strong white bread flour
110 g (1/2 cup) caster sugar
1 teaspoon fine salt
14 g (4 teaspoons) instant dried yeast
1 egg
375 ml (1 1/2 cup) milk
60 g (4 tablespoons) unsalted butter
For the Vanilla-Sugar Filling:
125 g (1 1/4 sick) unsalted butter
125 g (1/2 cup plus 1 tablespoon) vanilla sugar
1/4 teaspoon fine salt
Instructions
Roll the dough into a rectangle shape, measuring approx 50 x 30 cm/20 x 12 inches. Roll up the dough tightly from the long end, i.e. to produce a log that is 50 cm/20 inches long. Cut the dough into 12 even pieces.
 DIFFERENT TYPES OF FLOUR
* For Swiss readers: I use Zopfmehl (or farine pour tresse) when making bread and enriched dough.
 DIFFERENT TYPES OF YEAST
* Please note that there is a difference between instant yeast (also called instant dried yeast or fast-action dried yeast) and dried yeast (also called active dry yeast). If you are not sure what type of yeast you have, please check the packaging for instructions on how to use the yeast.
* With instant yeast, you can add it directly to the flour mixture without having to activate it first.
* With dried yeast, you will need to activate it first (usually in some warm liquid).
 PROOFING THE DOUGH
Dough needs a warm environment for the yeast to activate and cause the dough to rise. If you don’t have a warm place in your home, try one of the following ideas:
* In the oven with the oven light switched on (works only for some ovens).
* In the oven with a tray of boiling water on the bottom shelf.
* In the oven or a steamer oven at a low temperature of about 25-40°C (77-104°F).
 OVEN TEMPERATURES
All recipes on this website state temperatures for a regular oven (i.e. a conventional oven without fan). If you have a convection oven with a fan, please consult the manufacturer’s handbook on how to adjust the temperature and baking time accordingly.
 CONVERSIONS
To convert from cups to grams, and vice-versa, please see this handy Conversion Chart for Basic Ingredients.
 Print
Print Pin Recipe
 Rate
Rate