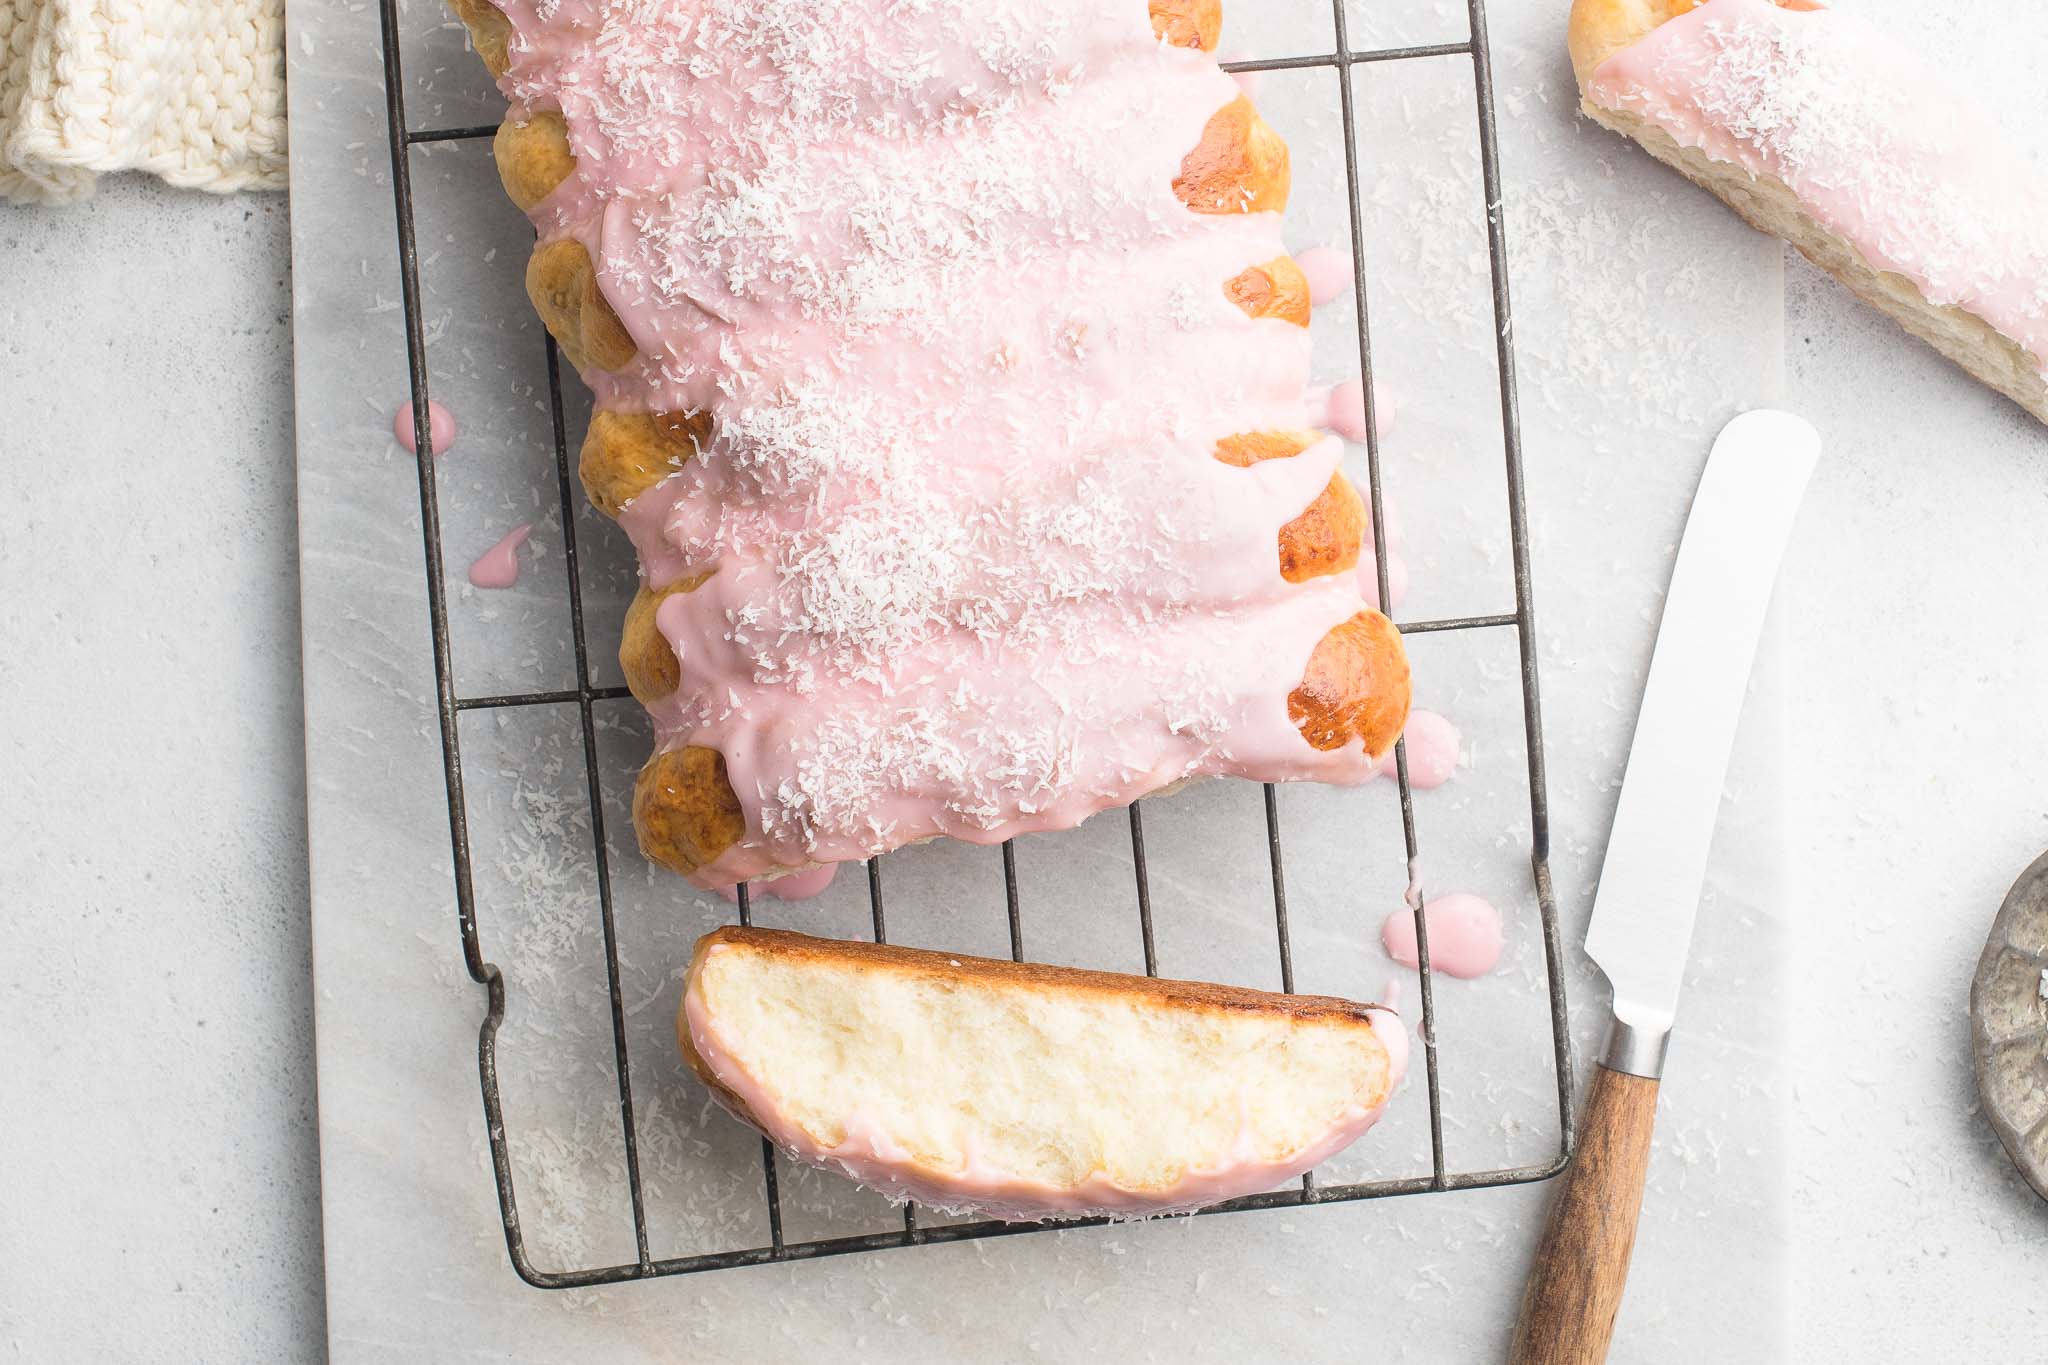
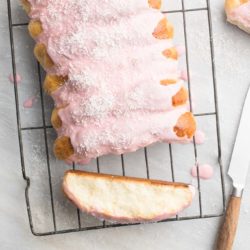
Finger Buns
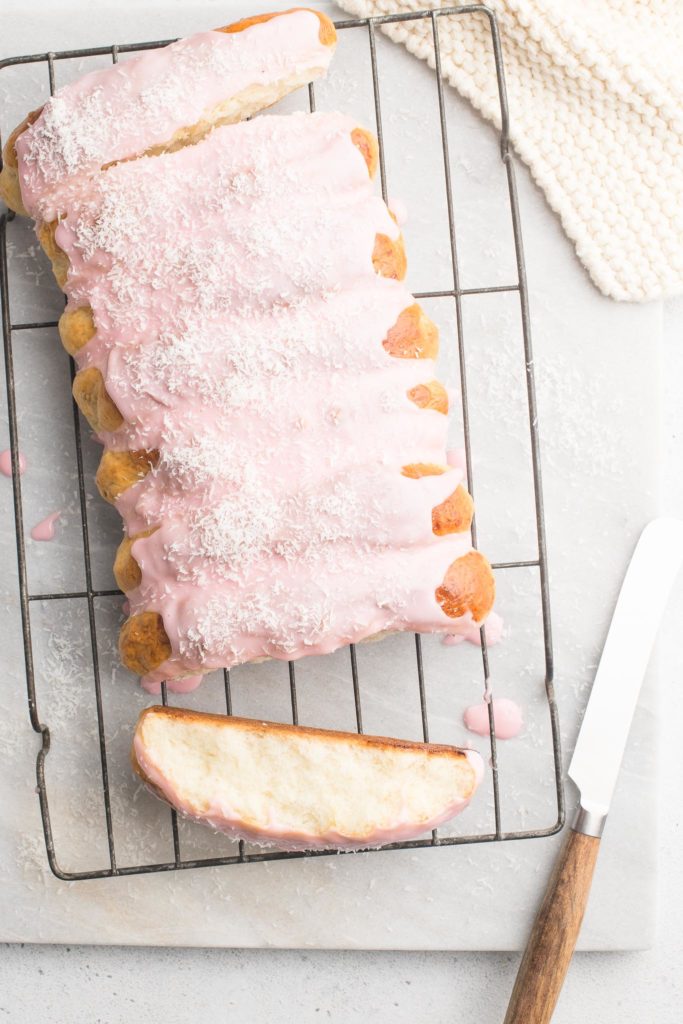
If there is one baked treat from my childhood which evokes nostalgia, it would be Finger Buns (also called Iced Buns or Iced Fingers in the UK). These sweet yeasted buns, filled with sultanas or raisins, and decorated with pink icing and dessicated coconut, were my idea of heaven.
As a child, my parents ran a busy Vietnamese bakery in Australia which sold not only Vietnamese-style baguettes, but also a large selection of baked breads and desserts. So as fate would have it, I had unlimited access to many treats, including my favourite Finger Buns.
Finger Bun Recipe
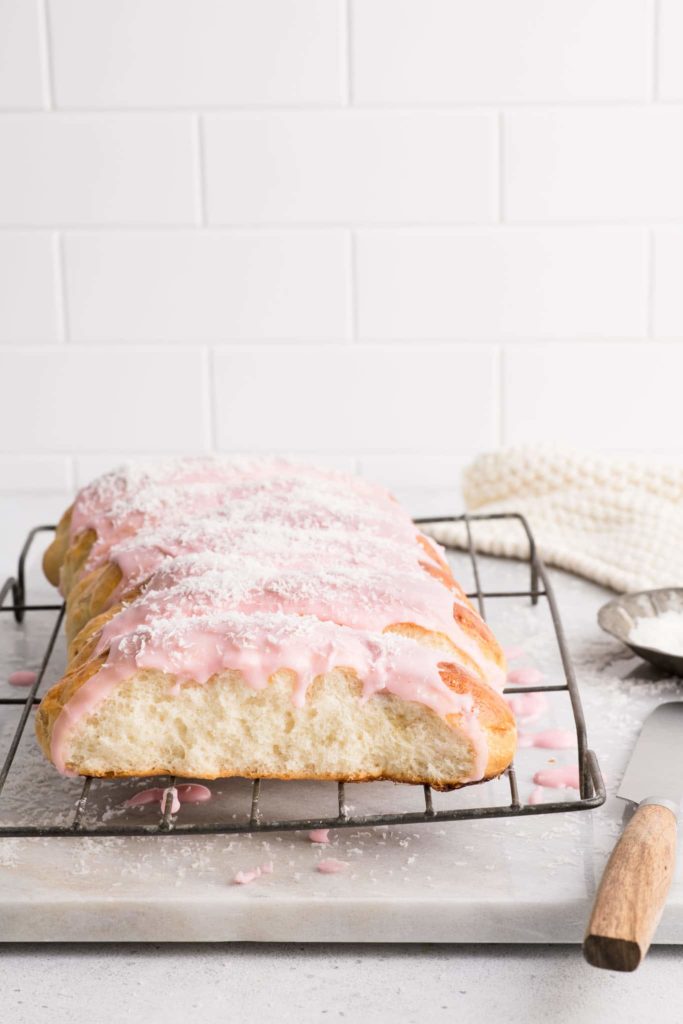
Finger Buns are made from an enriched dough, e.g. a sweetened bread dough, and they are soft and fluffy in texture. They are somewhat similar to French Brioche, but less rich and buttery.
The same Finger Bun recipe can be used to make larger bakery-style tea cakes, shaped as small fruit buns, or even baked in a loaf tin to make fruit bread.
Iced Bun Recipe
Although I like the pop of sweetness that you get from the raisins in the dough, I don’t like my buns to be overly fruity. So my iced bun recipe below is very light on the raisins (I also only use golden raisins), but you can add more to your liking, or even omit them altogether for a plain bun.
Alternatively, you can go all out and use a mix of raisins and dried currants, or even go up-market and use dried sour cherries or dried cranberries. Add as much or as little as you like!
How to Make Finger Buns or Iced Buns
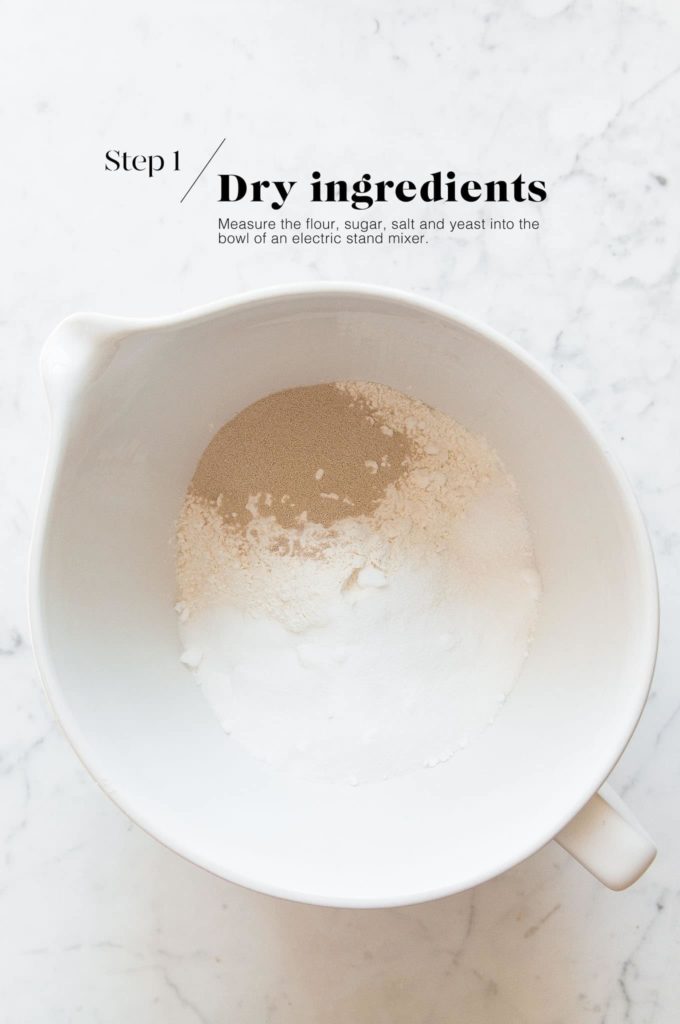
Step 1
Measure the flour, sugar, yeast and salt into the bowl of an electric stand mixer. Lightly mix the ingredients together.
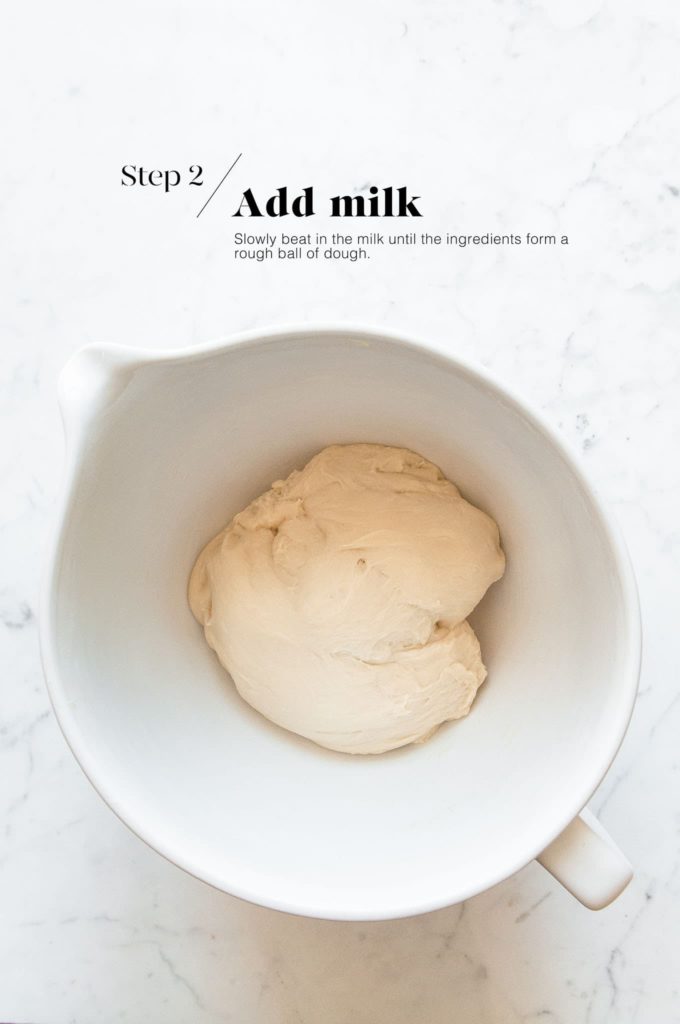
Step 2
Slowly add the warm milk (you may not need all of it), and lightly beat everything with the dough hook until it comes together into a large ball of dough. Only add as much milk as you need to bring the ingredients together into a dough.
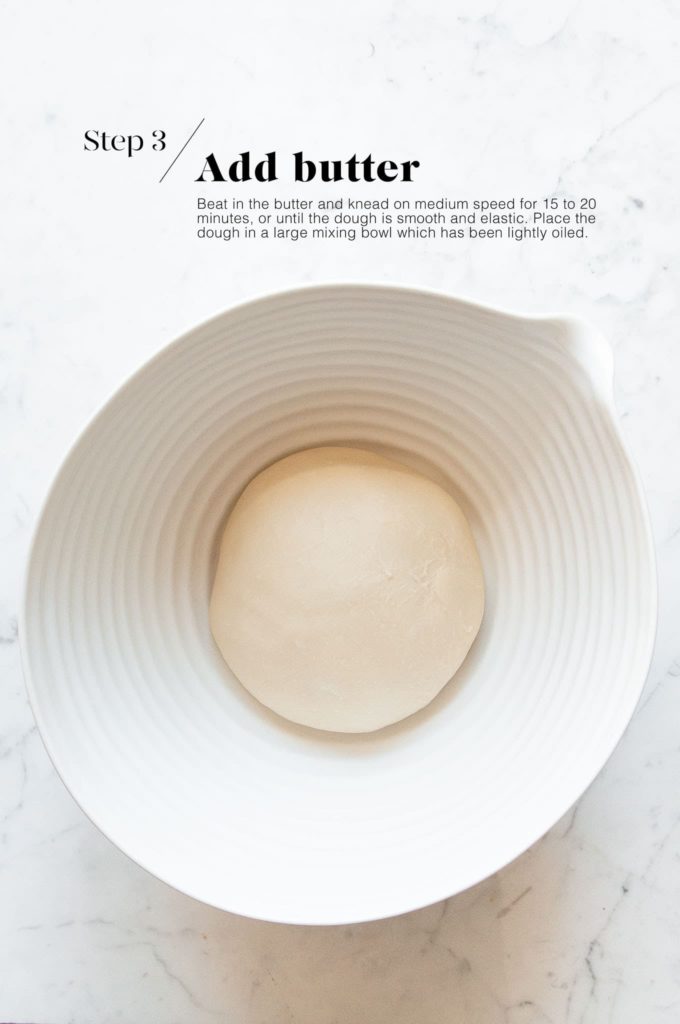
Step 3
Slowly incorporate the butter, one tablespoon at a time, until all of the butter has been used.
Then increase the speed to medium and continue kneading with the dough hook for 15 to 20 minutes, or until the dough is smooth and elastic.
Step 4
Lightly oil a large mixing bowl, and place the dough into the bowl. Cover the bowl with a clean tea towel and leave it somewhere warm for 1 to 1.5 hours, or until the dough has doubled in size.

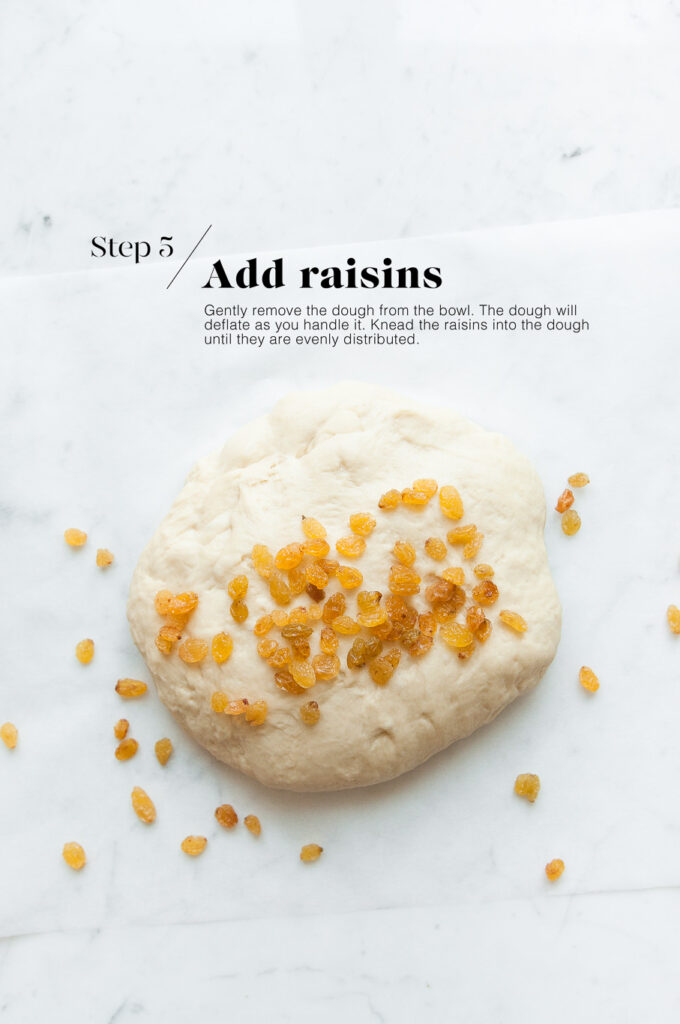
Step 5
Once the dough has doubled in size, gently remove the dough from the bowl. The dough will deflate as you handle it.
Add the raisins and knead the dough to incorporate the raisins.
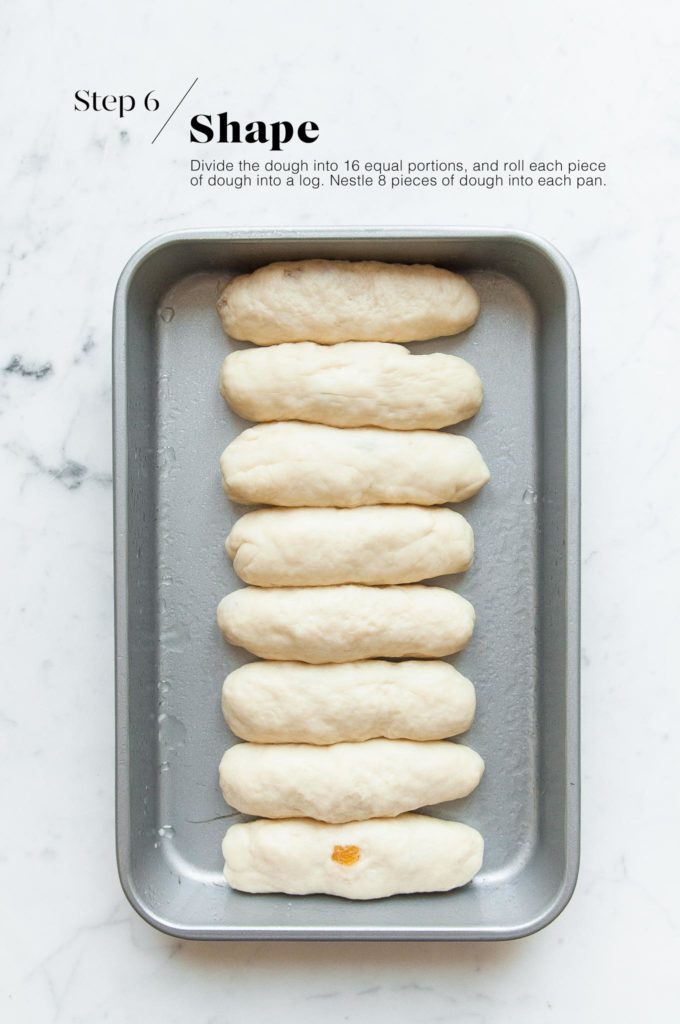
Step 6
Lightly grease two rectangular pans, measuring approximately 17 cm x 27 cm (7 inch x 11 inch).
Weigh the dough, and divide this number by 16, and then portion each piece of dough.
Gently knead each piece of dough and then roll them into a log a bit shorter than the short end of the pan you are using. So if the short end of your pan is 17 cm (7 inches), aim to make your buns about 13 cm (5 inches).
Place 8 buns into each pan.
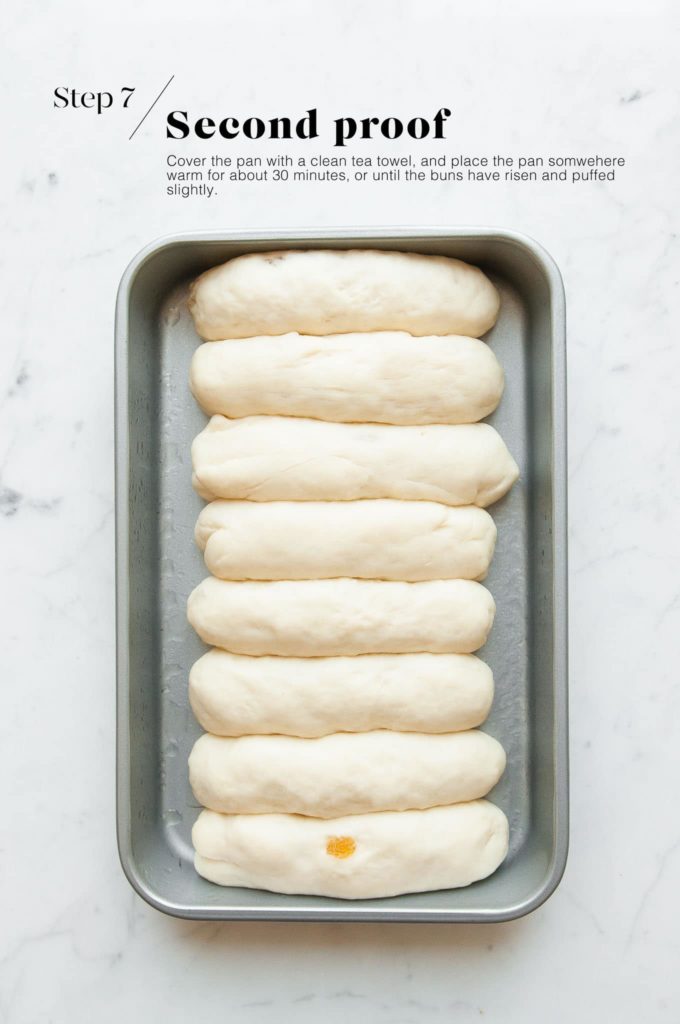
Step 7
Cover the pan with a clean tea towel, and place the pan somewhere warm for about 30 minutes, or until the buns have risen and puffed slightly. (They will continue to rise just a bit more in the oven during baking.)
Meanwhile, preheat the oven to 220°C (428°F).
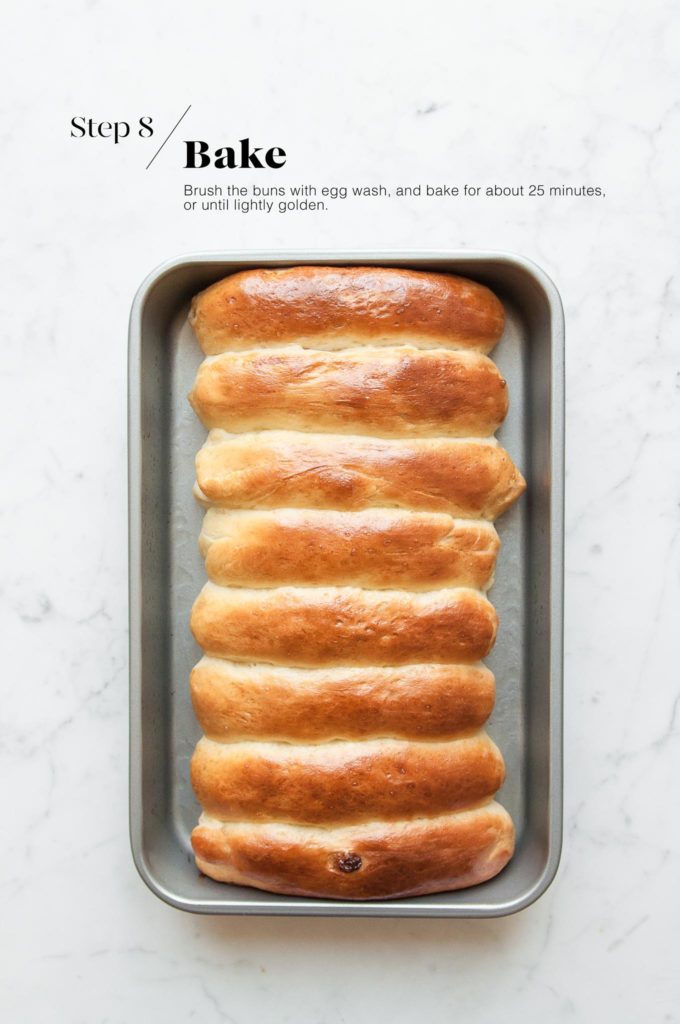
Once your buns are ready to bake, brush them with some egg wash.
Step 8
Bake the buns for about 25 minutes, or until the buns are lightly golden and cooked through. If you have a digital thermometer, the internal reading should be at least 85°C (185°F).
I recommend checking at about 10 minutes, and if the buns have already browned nicely, place a piece of foil over the buns to stop them from browning further while they finish baking.
Place the buns on a wire rack and let them cool completely.
Tips for Making Bread Dough and Enriched Dough
- I recommend using bread flour which contains more protein, and which is necessary to create more gluten. It is the gluten which helps to give the bread some elasticity, which will result in a nice, chewy texture.
- The best way to test if your bread or buns have cooked through properly is to use a digital thermometer. A thermometer inserted in the centre of the dough should read about 85°C (185°F) for enriched dough like these Finger Buns.
Tips for Making Bread Dough Ahead of Time
I love baking bread, but I don’t love getting up extra early to get started on the dough. So I typically make the dough the night before and allow it to rise slowly in the fridge overnight. The longer proofing time has the added benefit of allowing the dough to develop more flavour and a better texture. Come the morning, the dough will have at least doubled in size, and it will be ready for shaping as per the recipe.
To make the dough the night before:
- Make the dough as per the recipe.
- Place the dough into a large oiled bowl.
- Cover the bowl with plastic wrap or a reusable bowl cover.
- Place the bowl into the fridge.
- Let the dough rise overnight, or for at least 8-10 hours.
- The next morning, the dough should have at least doubled in size.
- Gently remove the dough from the bowl.
- The dough is ready for shaping and the second proof as per the recipe.
- As the dough will be cold from the fridge, the second proof may take slightly longer.
Iced Finger Buns
Ingredients
For the Finger Buns
- 600 g (4 cups) white bread flour
- 110 g (½ cup) caster sugar, (superfine sugar)
- 6 g (1 teaspoon) fine salt
- 14 g (4 teaspoons) instant dried yeast , see Kitchen Notes
- 375 ml (1 ½ cup) milk, warmed to 37°C (98°F)
- 60 g (4 tablespoons) unsalted butter, softened
- 40 g (¼ cup) raisins, or sultanas, or to taste
For the Egg Wash
- 1 egg, lightly beaten
- 1 tablespoon milk
For the Icing
- 320 g (2 cups) icing sugar, (powdered sugar)
- 1-2 tablespoons milk
- pink food colouring, optional
- dessicated coconut
Instructions
- You will need approx. 3.5 hours to make the Finger Buns, un-iced.
To Make the Dough
- Measure the flour, sugar, salt and yeast into the bowl of an electric stand mixer.
- Lightly mix the ingredients together using the dough hook.
- Slowly pour in the warm milk, and continue mixing until everything comes together into a rough dough.
- Add the butter, one tablespoon at a time. Once the butter has been fully incorporated into the dough, add the next tablespoon of butter.
- Once all of the butter has been added, continue kneading the dough on medium speed for about 15 to 20 minutes.
- The dough is ready when it is soft and smooth, and also slightly elastic in texture when you try to stretch it. If you poke the dough softly, it should bounce back right away.
For the First Proofing Session
- Lightly oil a large mixing bowl.
- Place the dough inside the bowl.
- Cover the dough with a clean tea towel, cling film, or a reusable bowl cover.
- Leave the dough somewhere warm for 1 to 1.5 hours, or until the dough has doubled in size (see Kitchen Notes below).
To Shape the Dough
- Once the dough has doubled in size, gently remove the dough from the bowl. The dough will deflate as you handle it.
- Pat the dough into a round shape.
- Knead in all of the raisins.
- Portion your dough into 16 equal pieces. If you have some kitchen scales, weigh the dough and then divide this number by 16. This will be the weight of each bun dough.
- Lightly grease two rectangular pans measuring 17 cm x 27 cm (7 inch x 11 inch) or similar.
- Gently knead each ball of dough, and then roll the dough into a small log which is a bit shorter than the short length of the pan you are using. So if your pan is 17 cm (7 inches), aim to make your buns about 13 cm (5 inches) long.
For the Second Proofing Session
- Place 8 pieces of dough into each pan.
- Cover the pans with a clean tea towel, and place the pans somewhere warm for about 30 minutes, or until the buns have risen and puffed up slightly.
- Meanwhile, preheat the oven to 220°C (428°F) (without fan).
- Place a metal baking tray in the middle of the oven.
- Make the egg wash by lightly whisking together the egg and milk.
To Bake the Buns
- Brush the buns with some egg wash.
- Bake for about 25 minutes, or until the buns are lightly golden. Check the buns at about 10 minutes, and if they are browning too quickly, cover them with a loose sheet of foil for the rest of the baking time.
- The buns are cooked if an internal thermometer reads 85°C (185°F).
- Gently remove the buns (intact) to a wire rack, and leave them to cool completely.
For the Icing
- Whisk in just enough milk to the icing sugar (powdered sugar) until you have a thick but spreadable consistency.
- If you like, add some pink food colouring. Start by adding just a drop and keep adding more until you have the colour you want.
To Serve
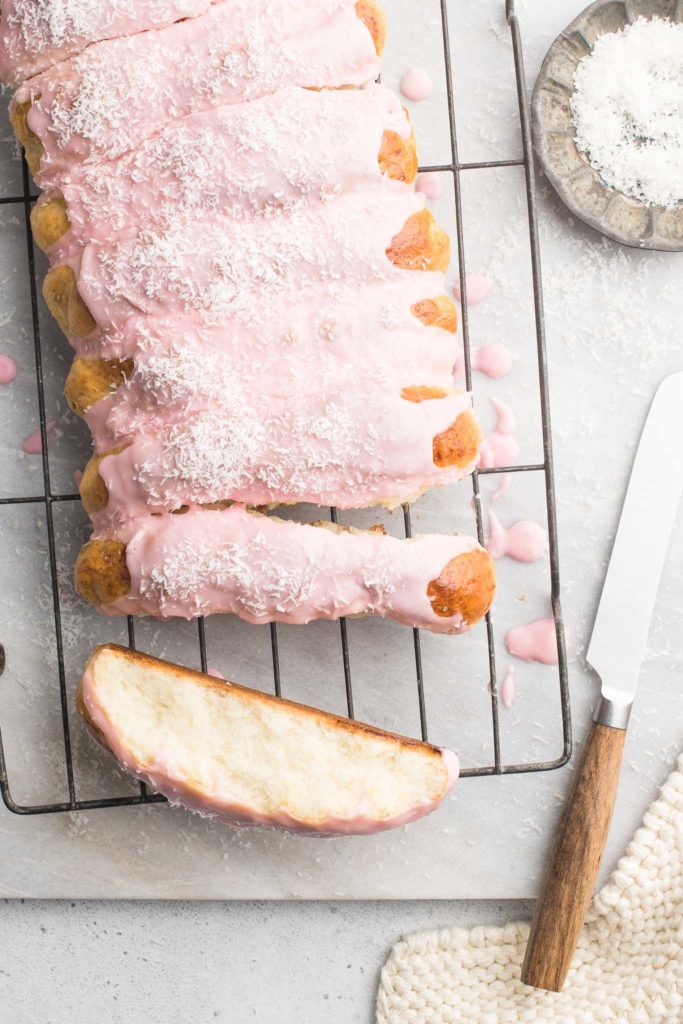
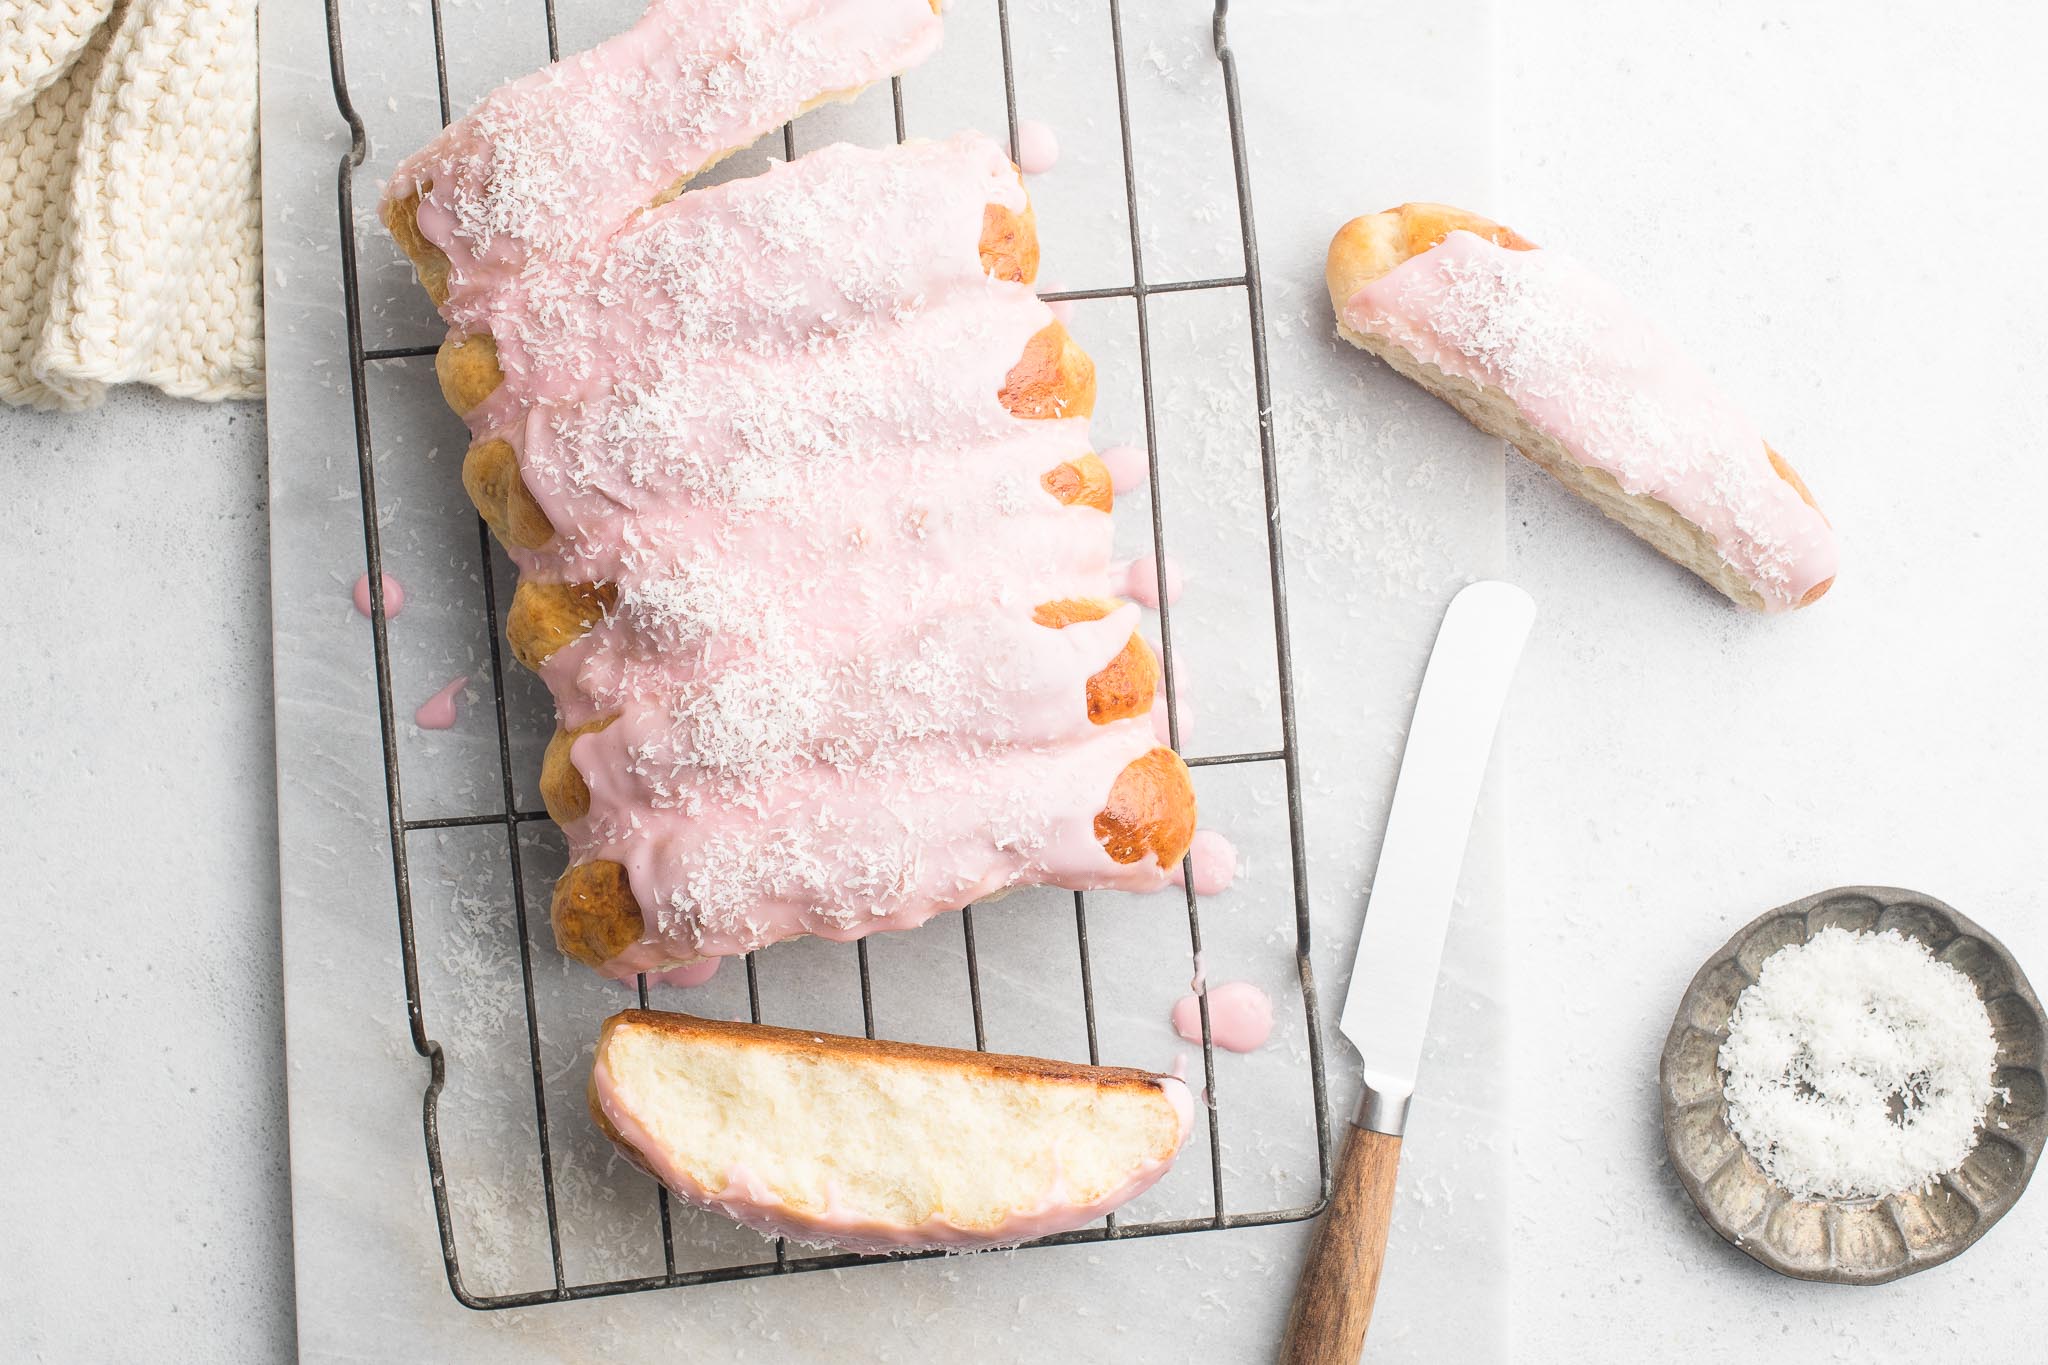
- Leave the buns on a wire rack, but place a sheet of baking paper under the wire rack for easy cleaning.
- Use a small palette knife to spread the icing all over the (unseparated) buns.
- Sprinkle generously with dessicated coconut.
- Leave the buns for about 20 minutes to set before serving.
Kitchen Notes
- MAKE AHEAD TIPS
To start the dough the night before:
* Make the dough as per the recipe.
* Place the bowl of dough (covered) in the fridge to proof overnight, or for at least 8 to 10 hours. During this time, it should have at least doubled in size.
* The next day, proceed with the rest of the recipe. As the dough will be cold, it may require a bit more time for the second proofing period. - DIFFERENT TYPES OF FLOUR
For Swiss readers: I use Zopfmehl (or farine pour tresse) when making bread and enriched dough. - DIFFERENT TYPES OF YEAST
* Please note that there is a difference between instant yeast (also called instant dried yeast or fast-action dried yeast) and dried yeast (also called active dry yeast). If you are not sure what type of yeast you have, please check the packaging for instructions on how to use the yeast.
* With instant yeast, you can add it directly to the flour mixture without having to activate it first.
* With dried yeast, you will need to activate it first (usually in some warm liquid).
* If you are using fresh yeast, you will need about one block (40 g fresh yeast = 14 g instant dried yeast). Crumble the fresh yeast into the warm milk, and stir to dissolve the yeast. - PROOFING THE DOUGH
Dough needs a warm environment for the yeast to activate and cause the dough to rise. If you don’t have a warm place in your home, try one of the following ideas:
* In the oven with the oven light switched on (works only for some ovens).
* In the oven with a tray of boiling water on the bottom shelf.
* In the oven or a steamer oven at a low temperature of about 25-40°C (77-104°F). - OVEN & STOVE TEMPERATURES
All recipes on this website have been tested on an induction stove and/or with a conventional oven (i.e. an oven without fan). All recipes on this website use temperatures for a conventional oven, unless otherwise mentioned. Convection ovens (i.e. fan-forced ovens) are typically 20°C/70°F hotter than conventional ovens, but please check your manufacturer’s handbook. - CONVERSIONS
To convert from cups to grams, and vice-versa, please see this handy Conversion Chart for Basic Ingredients.


This recipe is wonderful! I added a bit of extra milk to keep it more soft and moist. Thank you for sharing the recipe
Thanks, Albertina! So glad you enjoyed this recipe 🙂
I just to say, Thankyou for sharing such a lovely sticky bun recipe. I have an egg allergy so when it comes to making some of these things it can be difficult. But your no egg recipe has worked wonders. They are amazing & very delicious.
Hi Lisa,
That’s so great to hear! I’m so glad you enjoyed this recipe ???? I also make sticky buns using this dough recipe but I haven’t gotten around to posting it yet. But so great that you tried it!
I saw your lovely recipe for the Easter Bunny Rolls but then you mentioned Finger Buns and I knew I had to make them pronto! These Finger Buns were hands down so delicious!
The perfect trip down memory lane! These finger buns tasted better than the ones I used to buy from my local bakery.
Delicious recipe! The buns were lovely and soft. Everyone enjoyed them. Thank you for a great recipe and website.
My wife and I love your blog and all of your content! We’re always anxiously awaiting the next recipe 😀
Hi Ralph,
Thank you so much! That’s so wonderful to hear 🙂
Wonderful recipe. These finger buns taste better than from our local bakery.
This is a great recipe! Can I make the dough the night before and prove in the fridge then shape and rise, bake the next morning?
Hi Kim,
Yes, absolutely! And exactly as you have described.
You can make the dough the night before, let it double in size, and then place the bowl of risen dough straight into the fridge (don’t deflate it). Keep the bowl covered in the fridge. The dough will continue to rise a bit more overnight, but not a lot, so make sure you are using a bowl which is big enough. The next morning, take the bowl of dough from the fridge, and proceed with the rest of the recipe. The dough will be cold from the fridge, so the second proofing session (after you have shaped the buns) might take a bit more time. Hope you will enjoy this recipe!
Excellent recipe! I had to hide a few from the kids because they were so delicious!
Made these today. Turned out so well. Very delicious.
Any advice on spreading icing as mine looks a bit tacky and how to store to keep fresh?
I’m so glad you enjoyed this recipe! For the icing, you can add more icing sugar or liquid to get the right consistency. To keep them fresh, I tend to store them in a zip lock bag and keep them somewhere cool and dark, but at room temperature. Enjoy!
Good
Can I replace the butter with oil?
Hi Claire,
I haven’t tried this recipe using oil, so I can’t answer your question. If you need to use a dairy-free alternative to butter, I think margarine or a similar solid fat would give very similar results. Hope this helps!
This recipe worked so well! I was a little unsure, because I was looking at other sweet yeast recipes and the other ones I saw had eggs and didn’t knead it as long, but this was a winner! I am in Australia and wanted to make finger buns like from the local bakery, and these were spot on. I actually made them into ball shapes and baked them in a circle, using a cake tin with 1 in the centre and 7 balls around (the quantity made enough for two tins, ie 8 balls in each). Perfect! And I made the dough the night before, following the instructions, and it worked perfectly. Thank you!
Hi Alex,
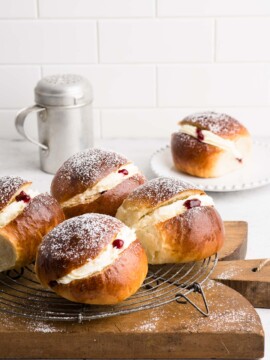
So glad you enjoyed this recipe! It’s the same dough recipe which I use to make Cream Buns and a few other yummy things – it’s very versatile. In fact, I am making Finger Buns as I am typing this … we recently returned from a trip home to Australia and I am still dreaming of the Finger Buns from Woolworths, and these taste exactly the same, if not better 🙂
Great recipe! Easy to follow but with enough details to make sure things go the way you want. I amended slightly to make the recipe vegan. A big hit with kids (and adults!). Haven’t had these for years as they aren’t available where we now live, so they hit the spot! Would definitely make again.
Hi Rozzi,
That’s great to hear! So glad you all enjoyed this recipe and that you could also make it vegan. Finger Buns are one of my favourite treats 🙂