Try these incredibly soft and fluffy bread rolls which are delicious served with a sweet or savoury filling. Recipe for Milk Buns with step-by-step photos.
Japanese Milk Buns
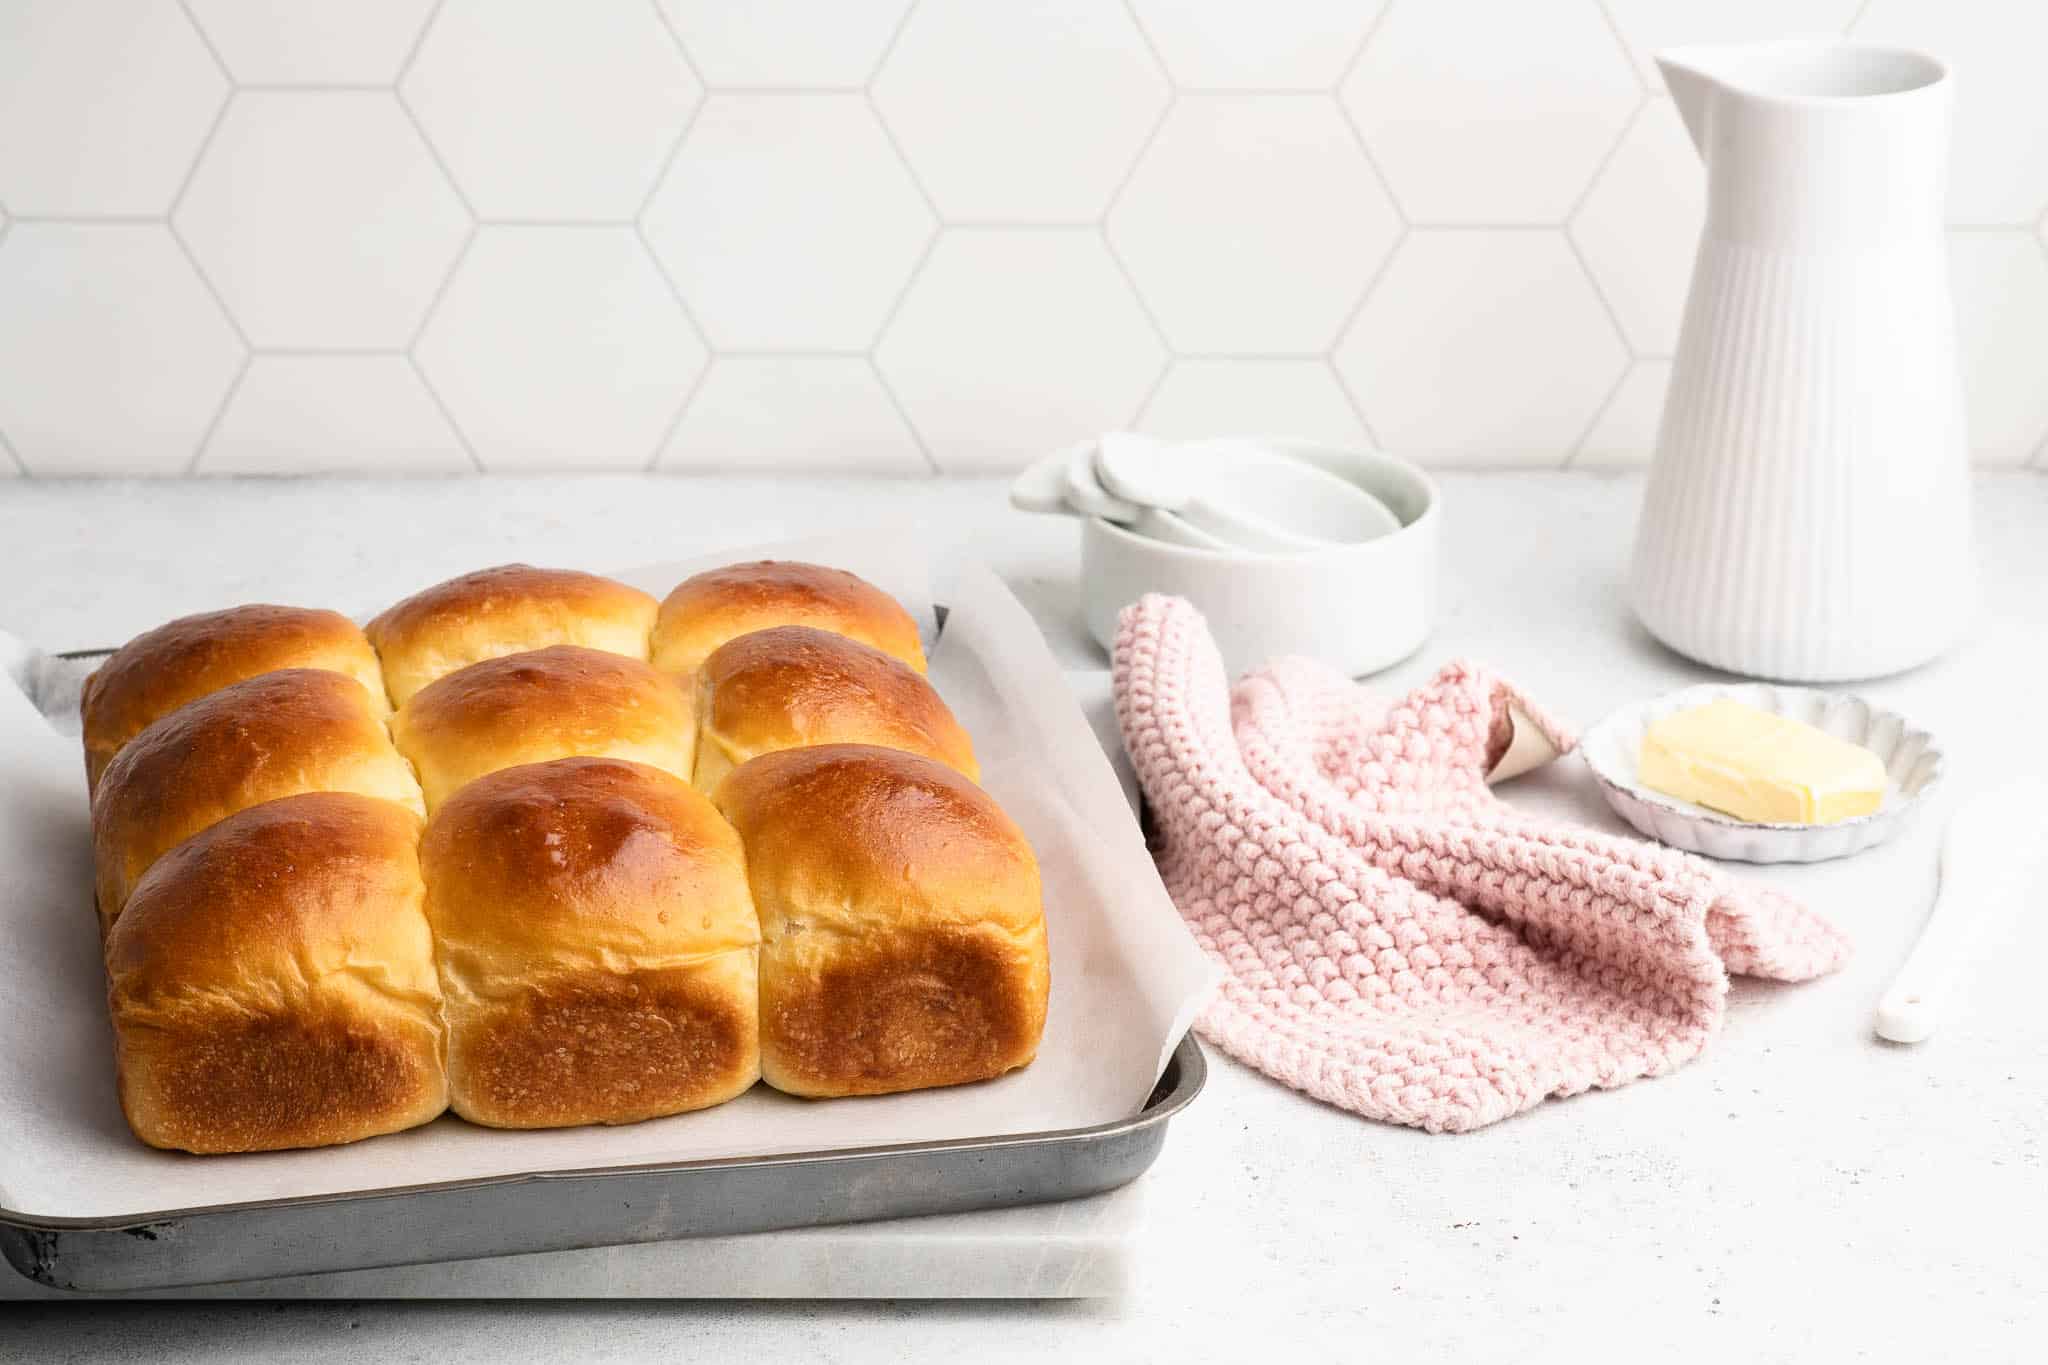
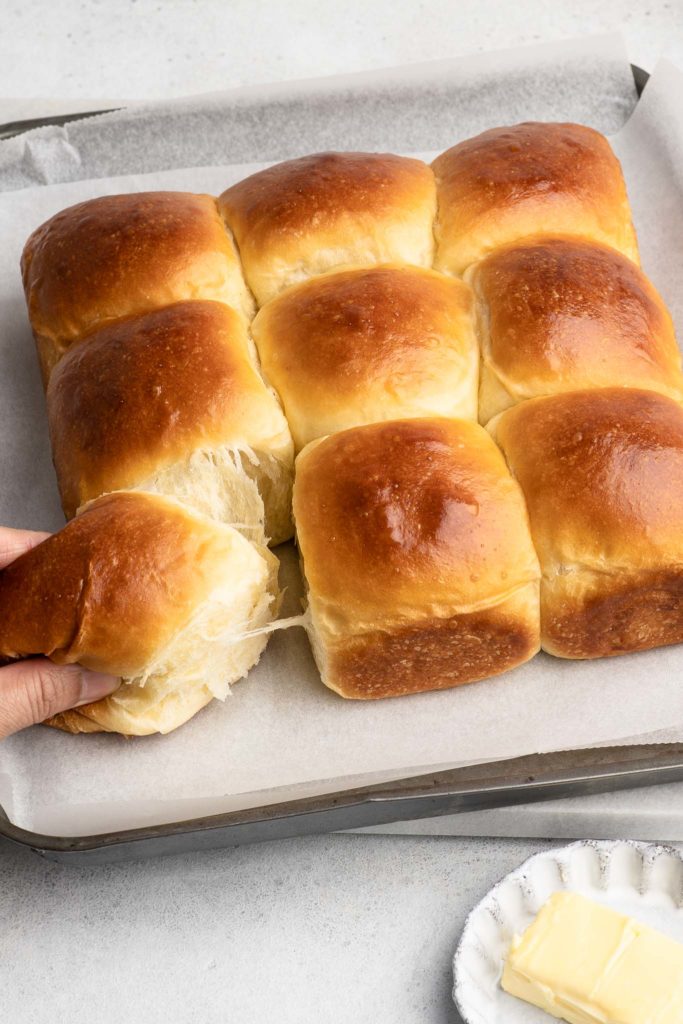
If you are looking for the softest, fluffiest and tastiest bread rolls, look no further than these Japanese Milk Buns! These are the perfect buns for making sandwiches, hamburgers, or to just eat as they are.
Milk Bun Recipe
This Milk Bun recipe is the same as that which I use for Japanese Milk Bread Loaf or Shokupan. In fact, it is a recipe I turn to very frequently whenever I want to make very moist, soft and fluffy bread, whatever the form.
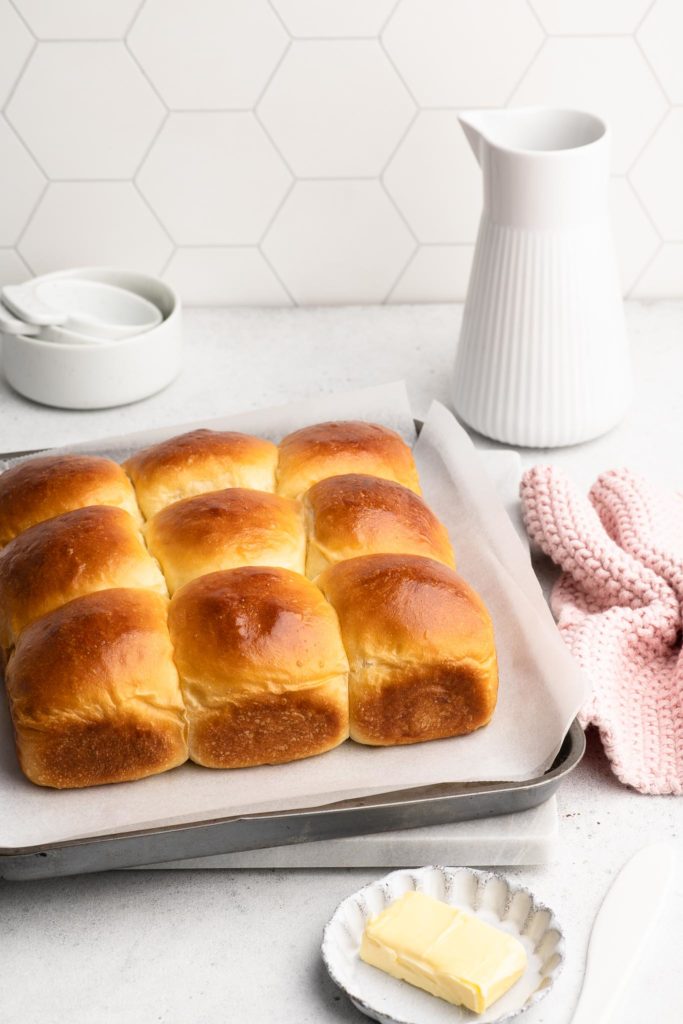
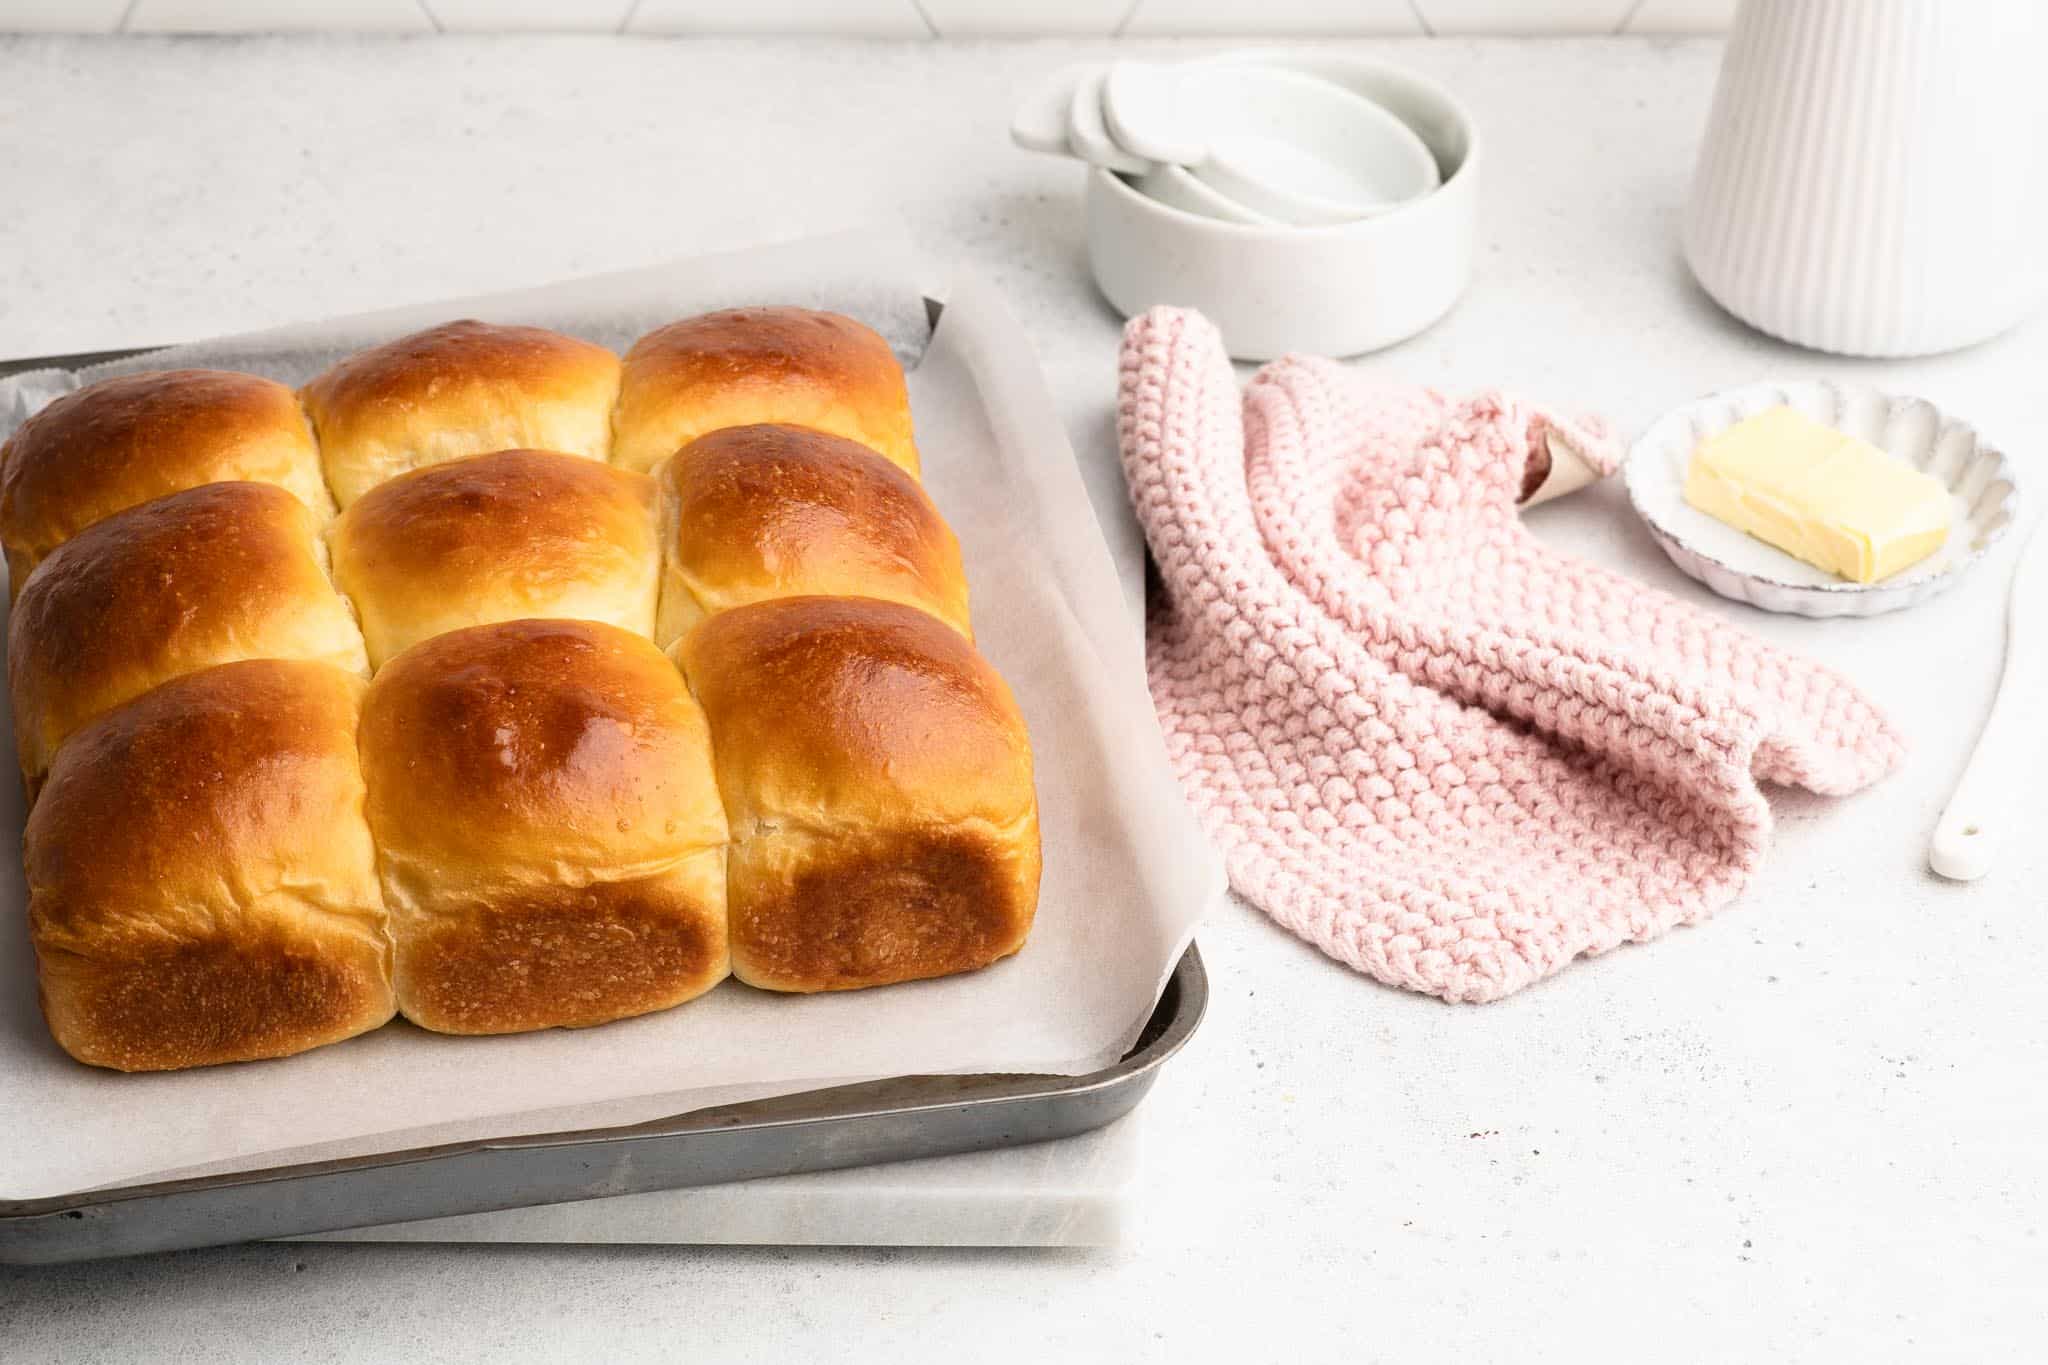
To make Milk Buns, I divide the dough to make 9 buns which I bake in a square baking pan. Baking them in a high-sided baking pan helps to create tall buns, which means a more soft and fluffy interior.
What is Japanese Milk Bread?
- Japanese Milk Bread contains milk to add a bit of sweetness and richness to the dough.
- The taste and texture is quite similar to a French brioche, but with less butter.
- Making a Japanese Milk Bread is like making an enriched dough, but with the addition of a paste or starter called a Yudane or Tangzhong.
Yudane or Tangzhong
When making milk buns, you either need to make a Yudane or Tangzhong. Both names refer to a paste or roux made from flour and a hot liquid (either water and/or milk).
The cooled paste is mixed into an otherwise common enriched bread dough, but because the paste has a high liquid content, it adds moisture to the dough, which creates more air pockets in the dough, which in turn results in a soft and fluffy bread.
What to Eat with Milk Buns
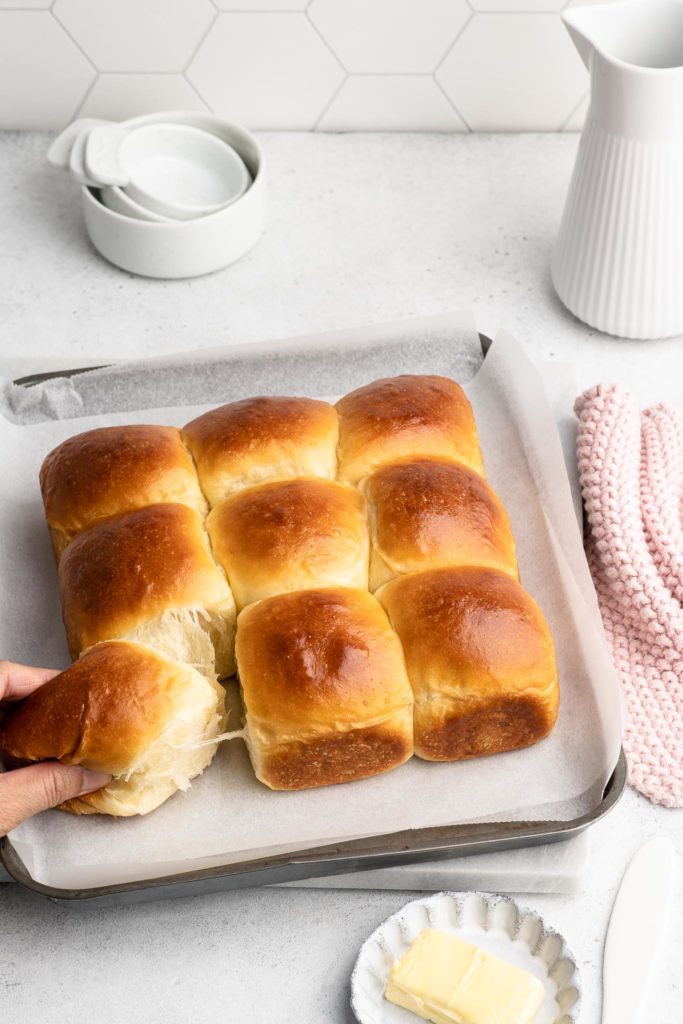
Milk Buns are essentially very soft bread rolls. You can use Milk Buns wherever your would use ordinary white bread rolls, such as:
- The best dinner rolls ever
- Sandwiches
- Hamburgers or Cheeseburgers
- Served plain, or with butter and jam, such as at breakfast
I prefer Milk Buns to Brioche buns because they are less rich and buttery, which means they often work better with other accompaniments, whether sweet or savoury. Brioche, on the other hand, is something I prefer to eat as a sweet bread or a dessert.
How to Make Milk Buns
Making a Japanese Milk Buns is very similar to making any other loaf of bread, except that you also add a floury paste to the dough. This paste, called a Yudane or Tangzhong, takes only a few minutes to make, but it makes all the difference to the finished loaf of bread.
Once you get started, you will quickly see that this milk bread recipe is quite similar to a brioche recipe, both in terms of ingredients, as well as texture of the dough.
Step 1
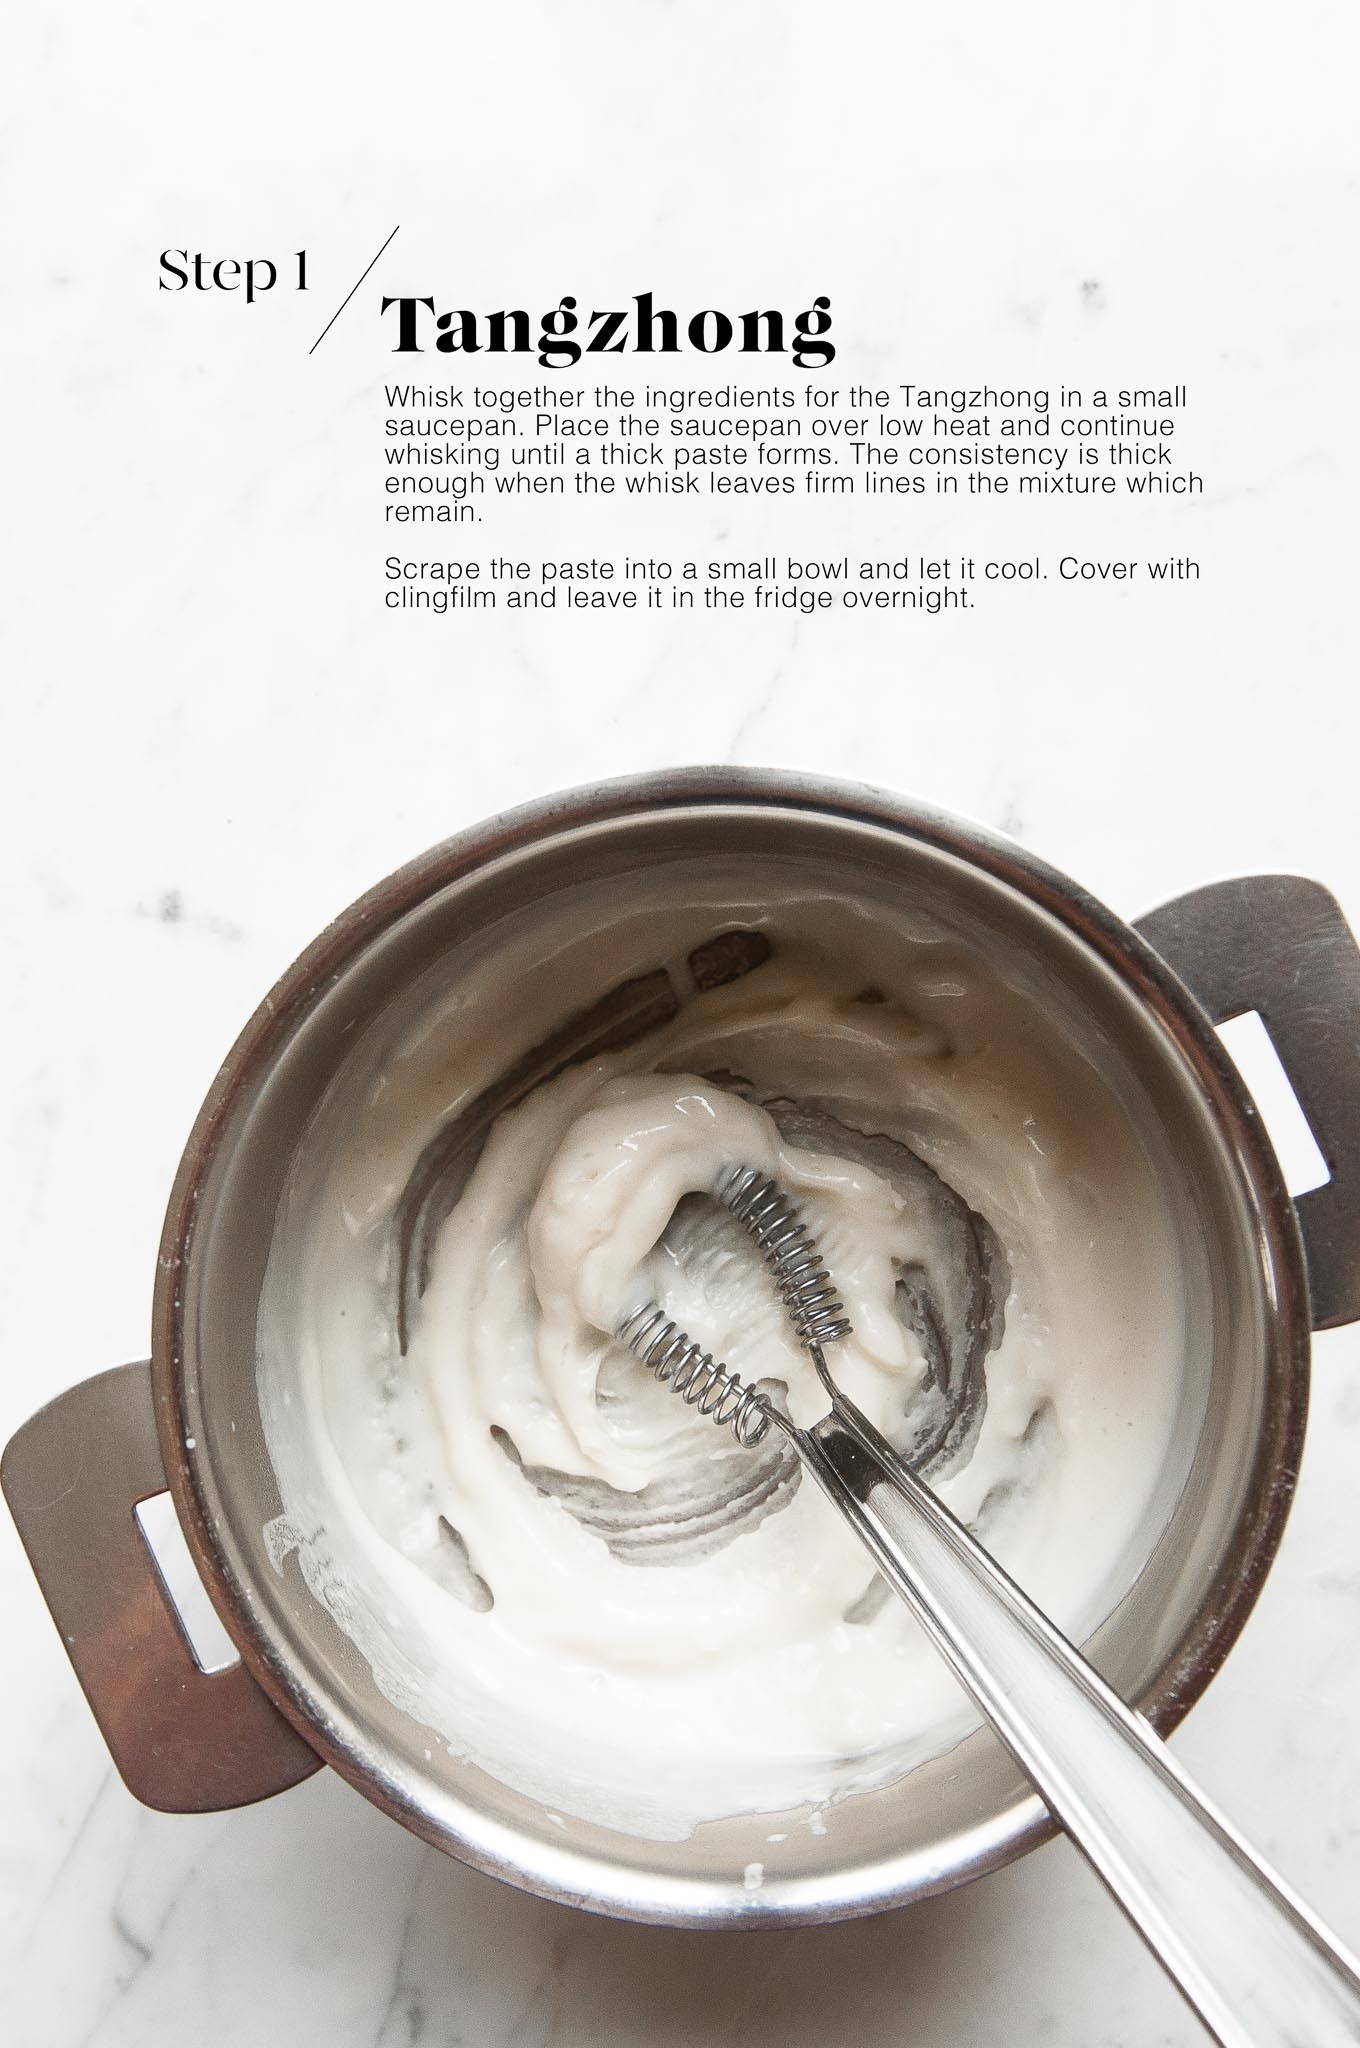
Make the Tangzhong by whisking together the ingredients in a small saucepan. Place the saucepan over low heat, and continue whisking until the mixture forms a thick paste. You want a thick enough consistency so that, as you whisk the mixture, the whisk leaves lines which do not move.
Scrape the Tangzhong into a small bowl and set it aside to cool. Once cooled, cover the bowl with clingfilm and place it in the fridge overnight.
If you are in a hurry, you can use the Tangzhong as soon as it has cooled to room temperature. But leaving the Tangzhong overnight allows it to develop more flavour.
Step 2
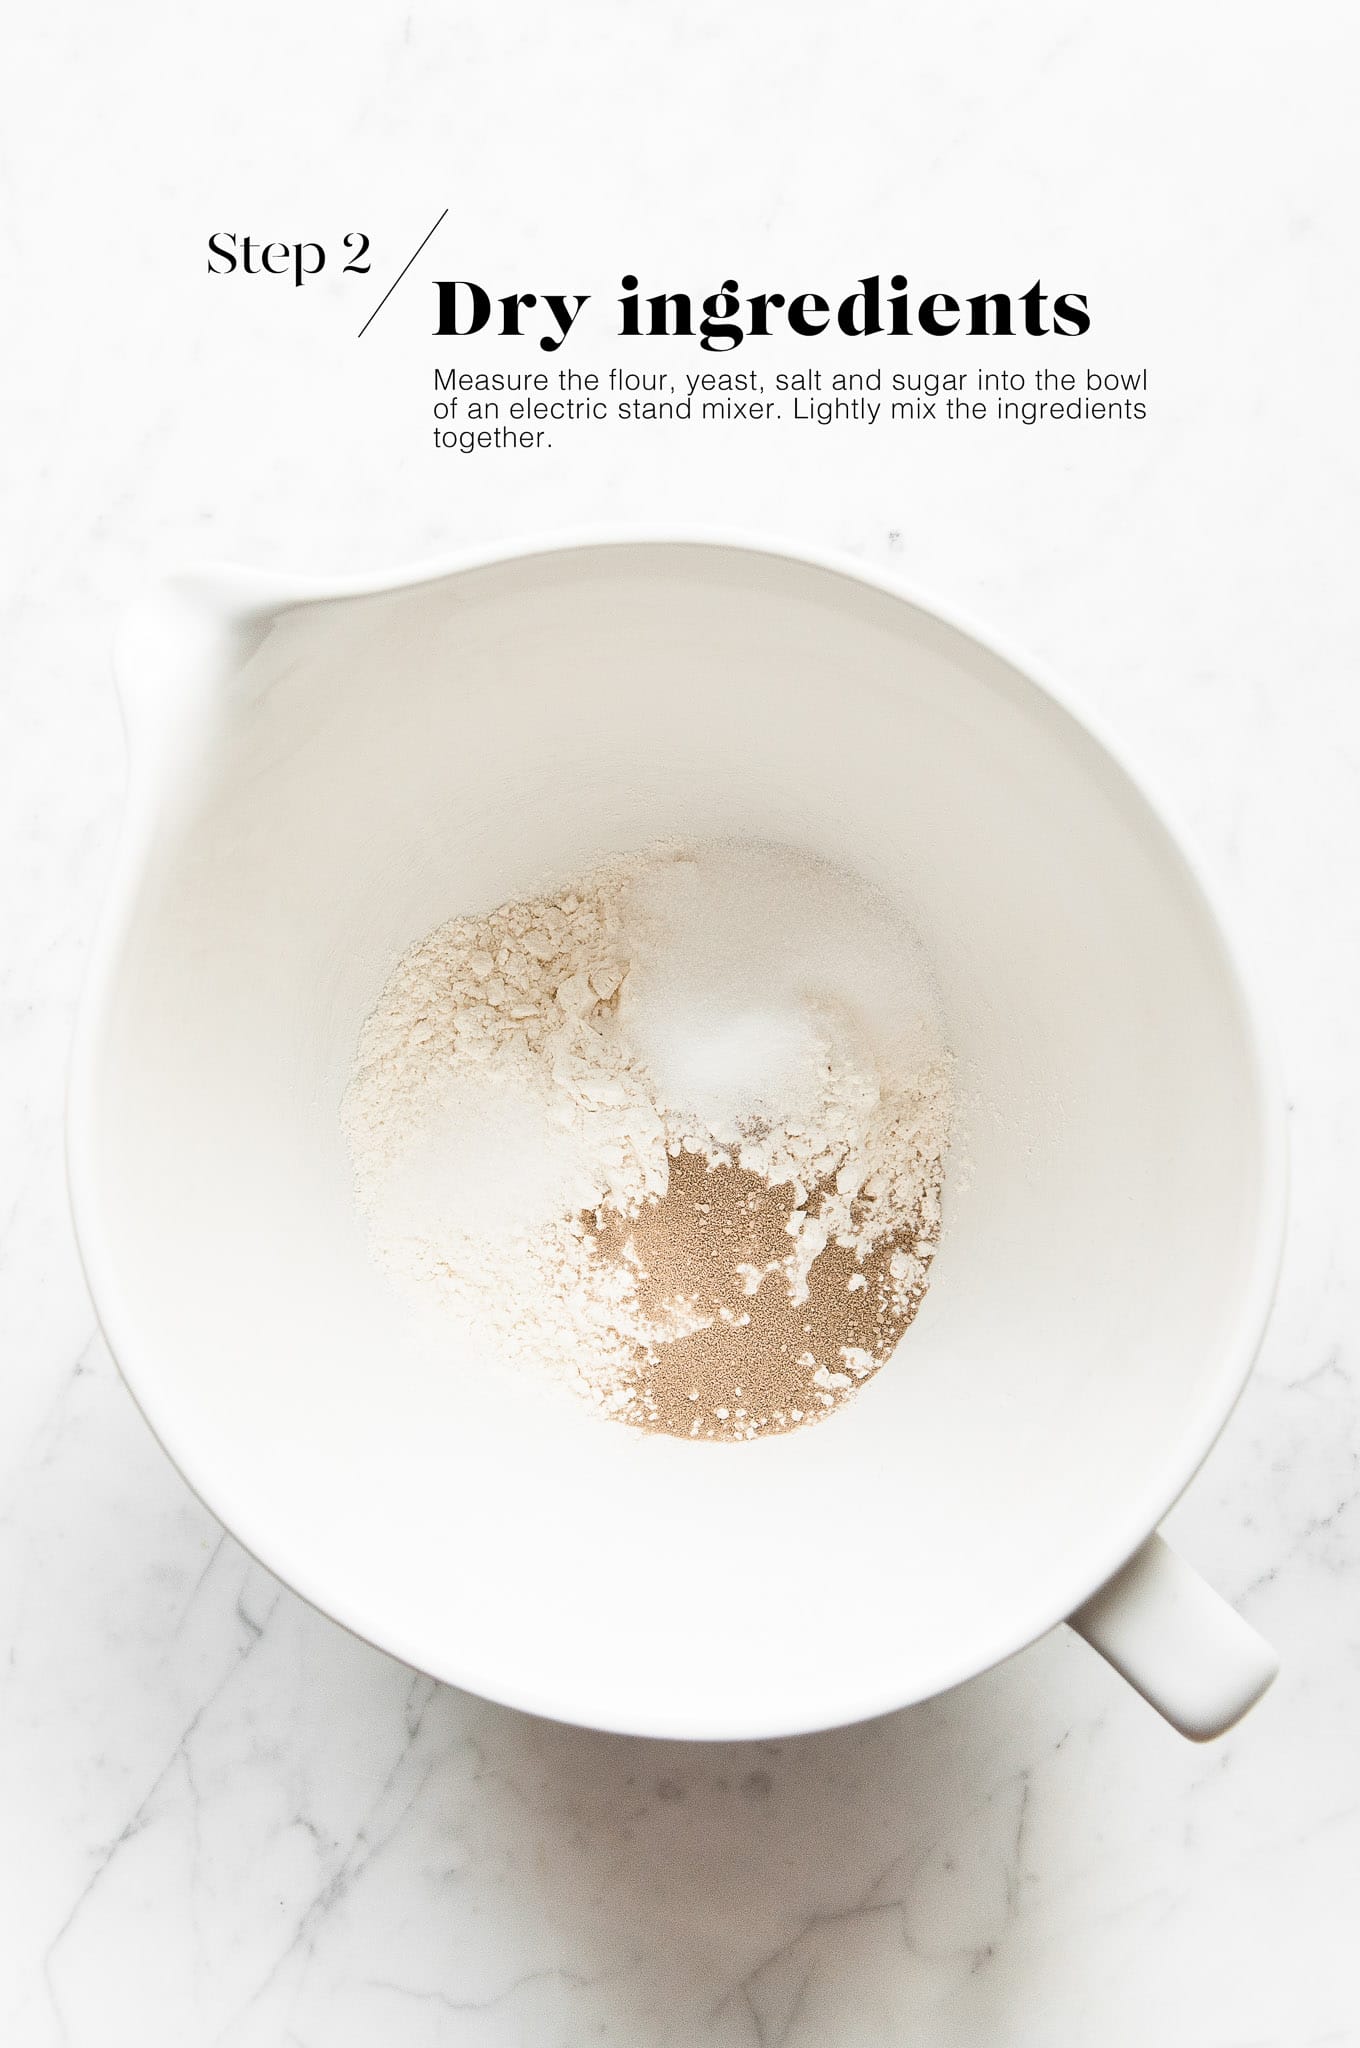
Measure the flour, yeast, salt and sugar into the bowl of an electric stand mixer. Lightly mix the ingredients together.
Step 3
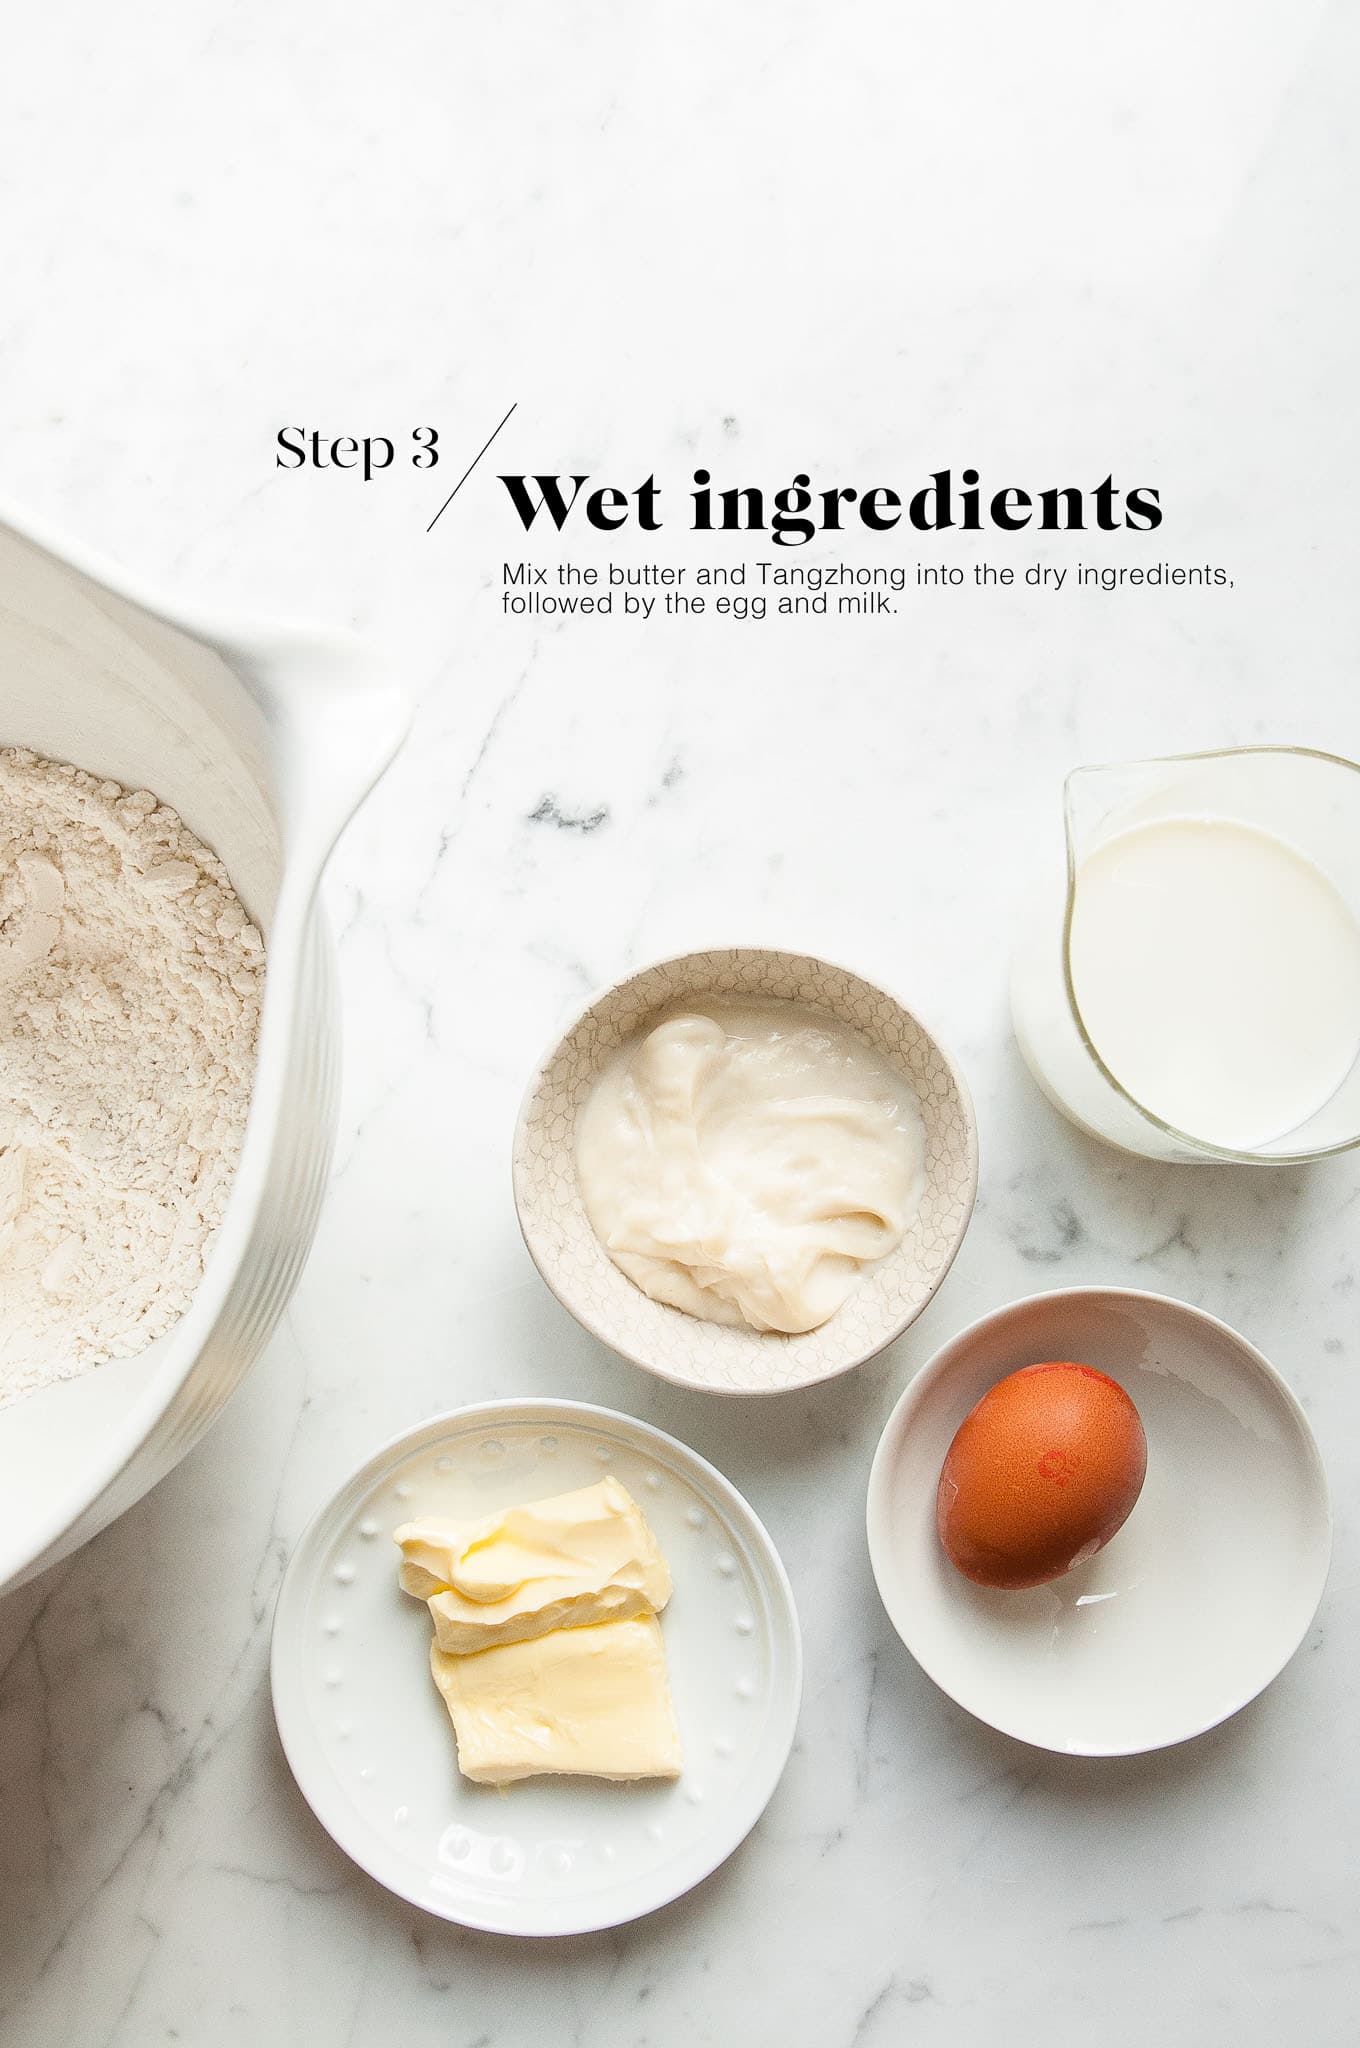
Add the egg and Tangzhong. Use the dough hook to start to incorporate everything together. Slowly add the milk until a sticky dough starts to form. Then add the butter, one tablespoon at a time.
Step 4
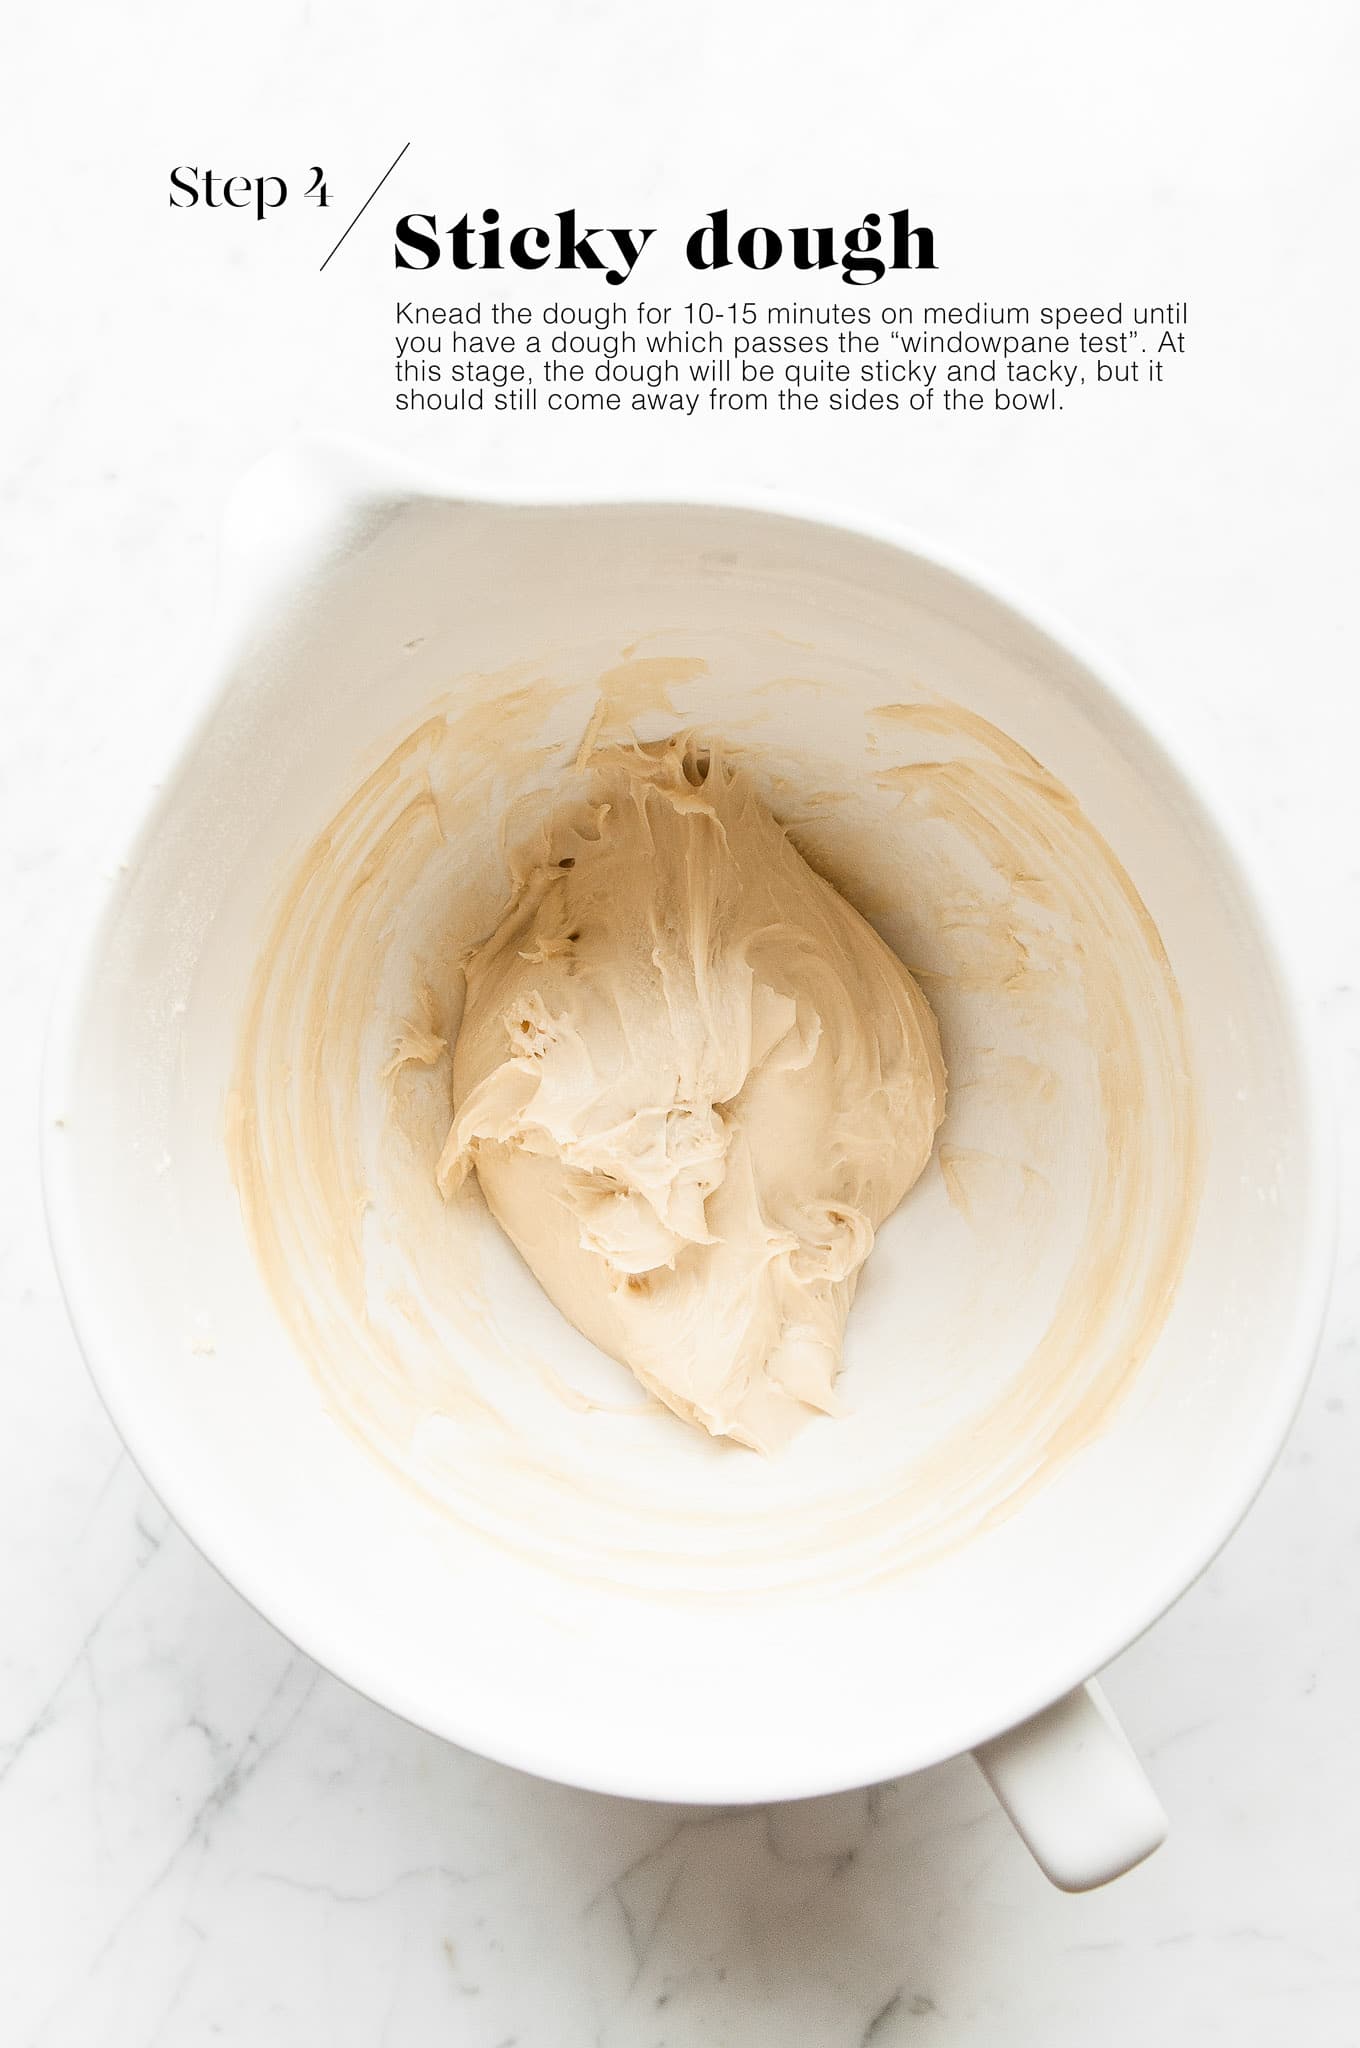
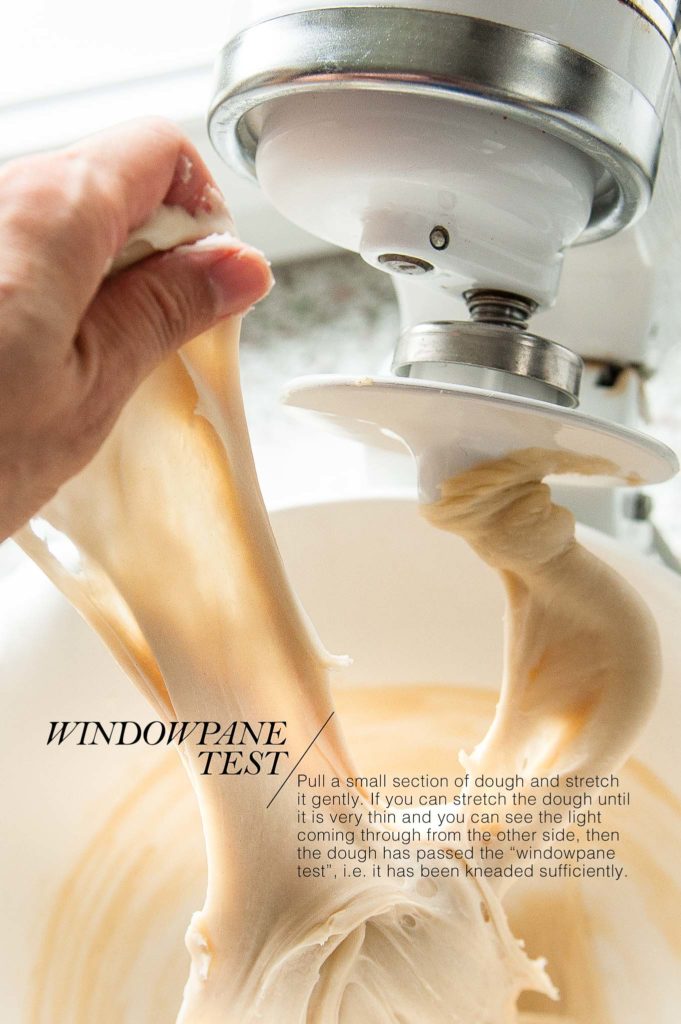
Knead the dough on medium speed for 10-15 minutes until you have a dough which passes the windowpane test.
To perform the “windowpane test”, pinch off a small piece of dough, roll it into a ball and use your hands to gently stretch the dough. If the dough can stretch to form a thin sheet and be almost translucent so that you can see the light through it, your dough has passed the “windowpane test”. This means that you have kneaded the dough sufficiently and that the dough is ready to be proofed.
At this stage, the dough will be somewhat sticky and tacky, mostly because of the butter and high liquid content. But the dough should be coming away from the sides of the bowl during the mixing. Once the dough has had its first proofing, it will be less sticky to the touch and easier to handle.
Step 5
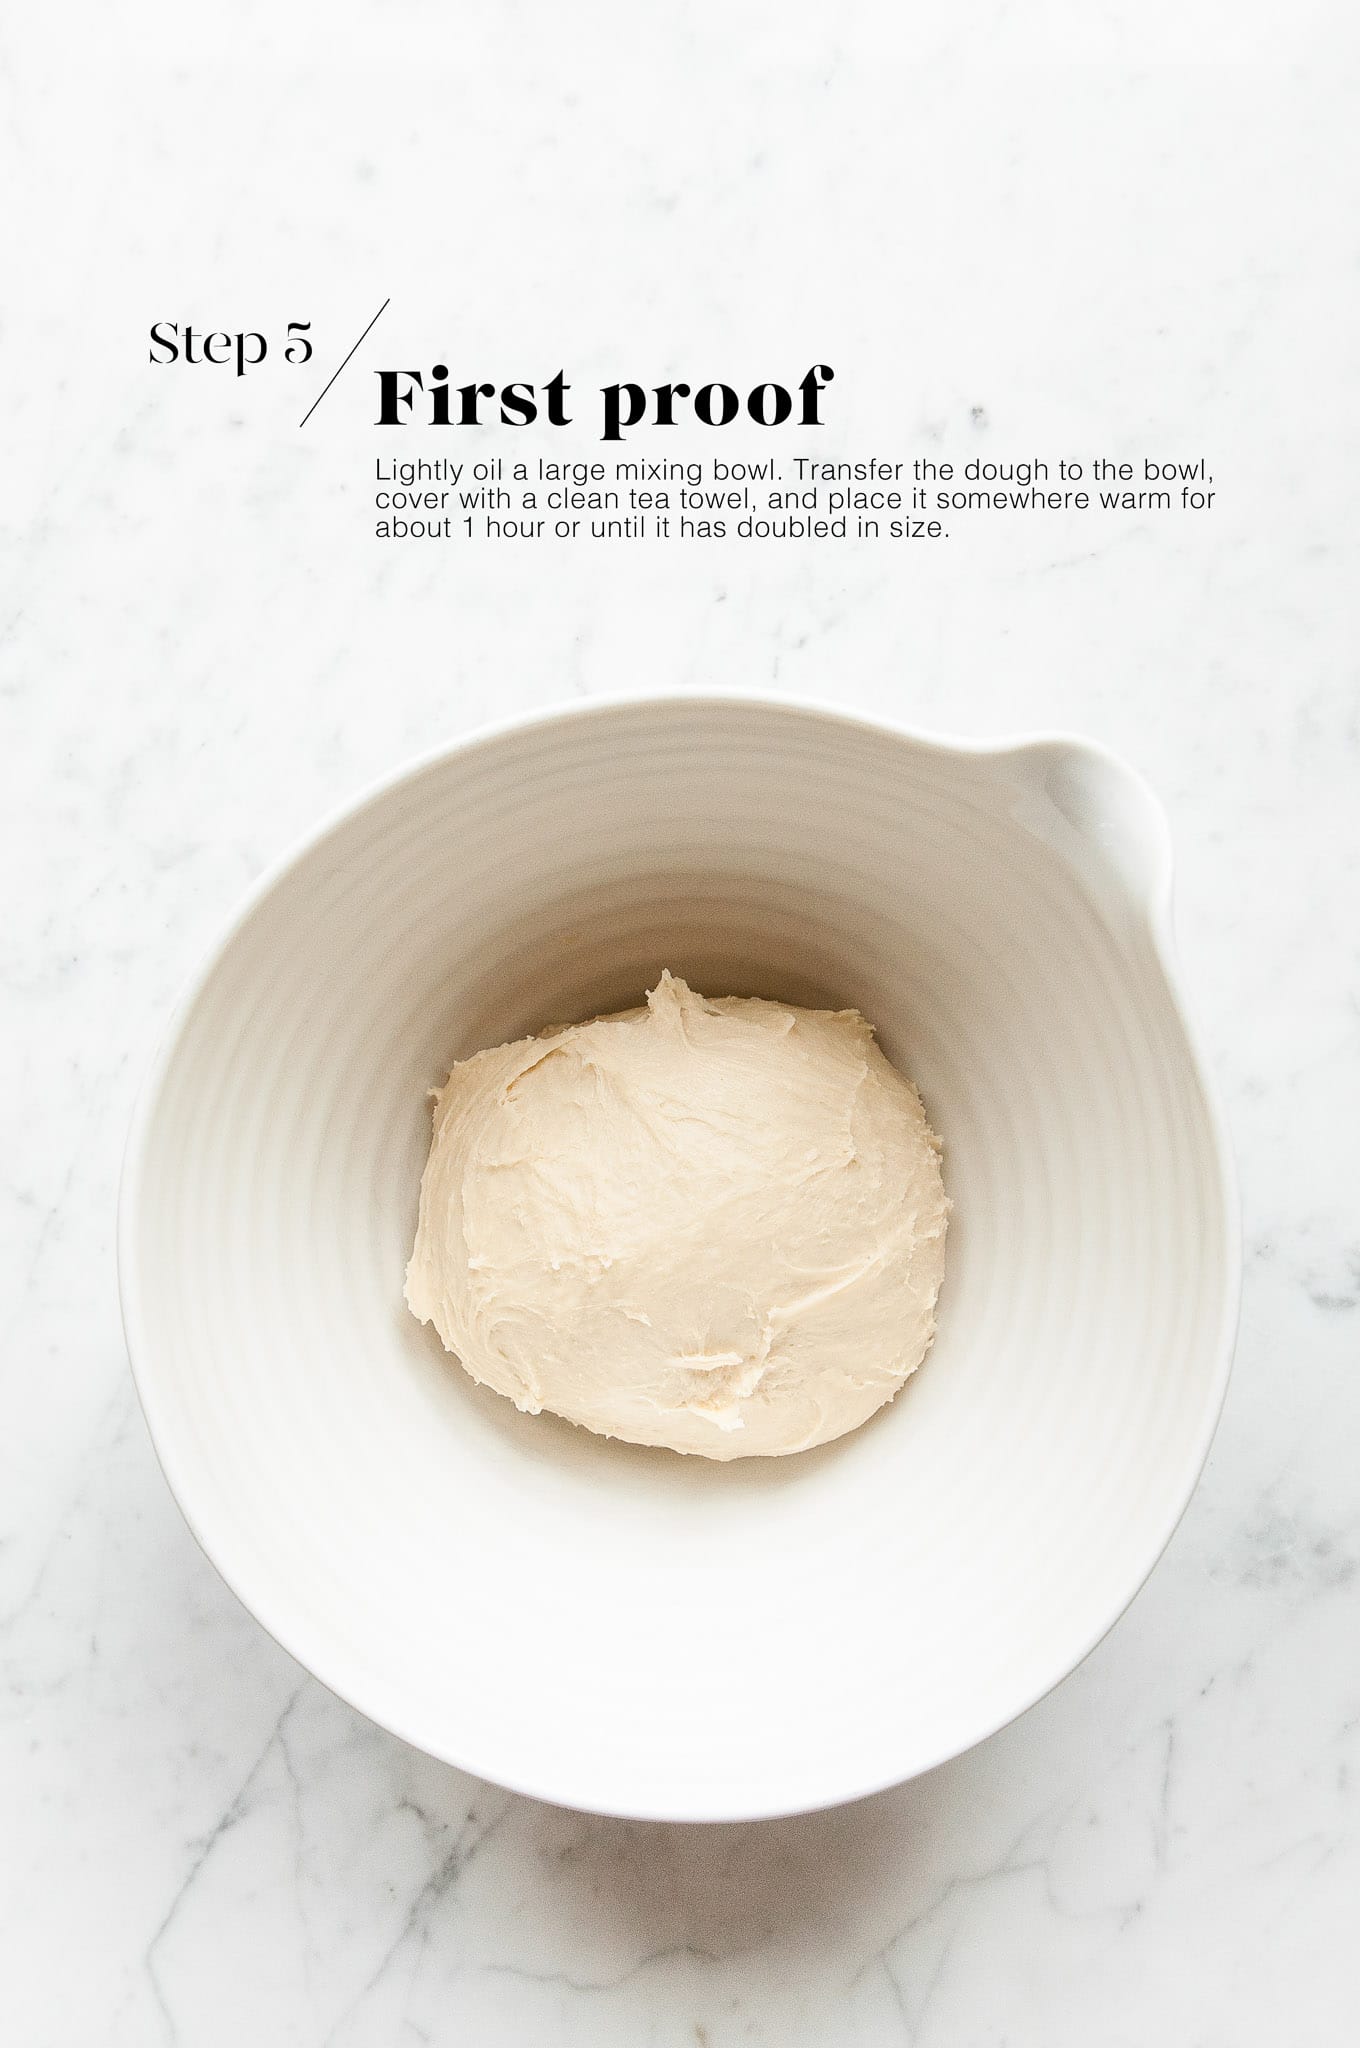
Lightly oil a large mixing bowl. Roll the dough into a smooth-ish ball and place it inside the bowl.
Cover with a clean tea towel, and set it aside somewhere warm for about 1 hour, or until it has doubled in size.
Step 6
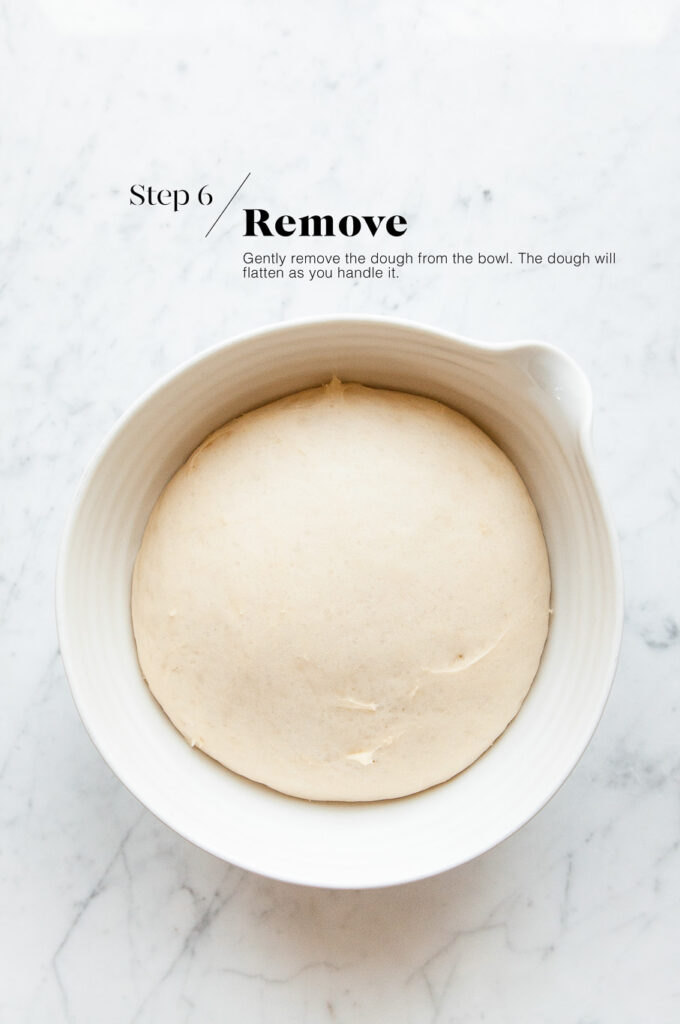
Once the dough has doubled in size, gently remove the dough from the bowl. The dough will deflate as you handle it.
Step 7
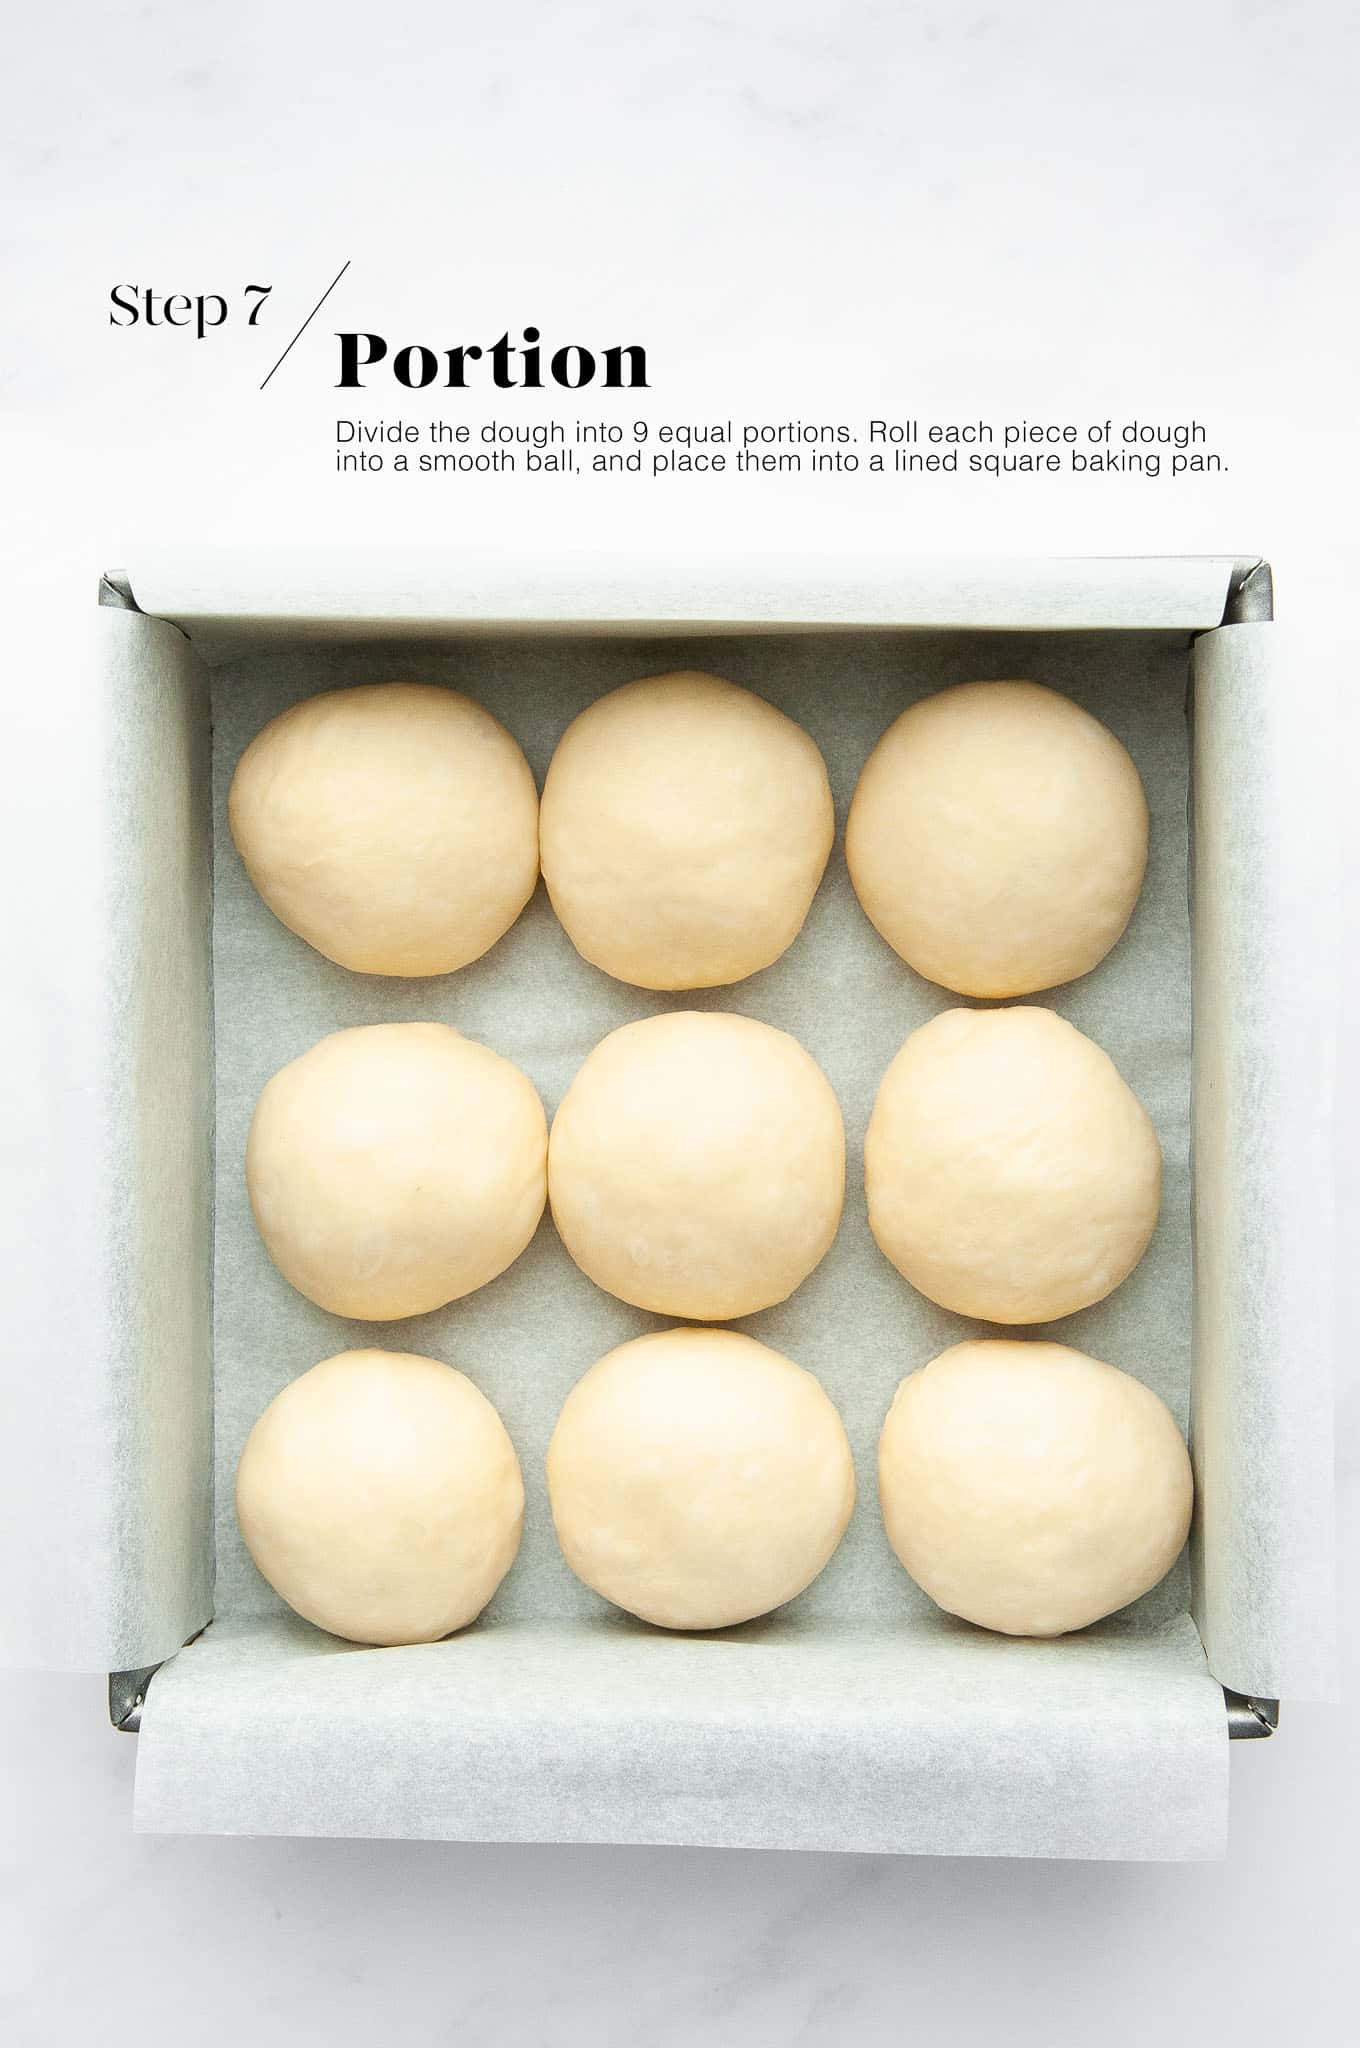
Divide the dough into 9 equal portions (I recommend using a digital kitchen scale). Roll each portion into a smooth ball. Place the balls of dough into a square baking pan lined with baking paper.
Step 8
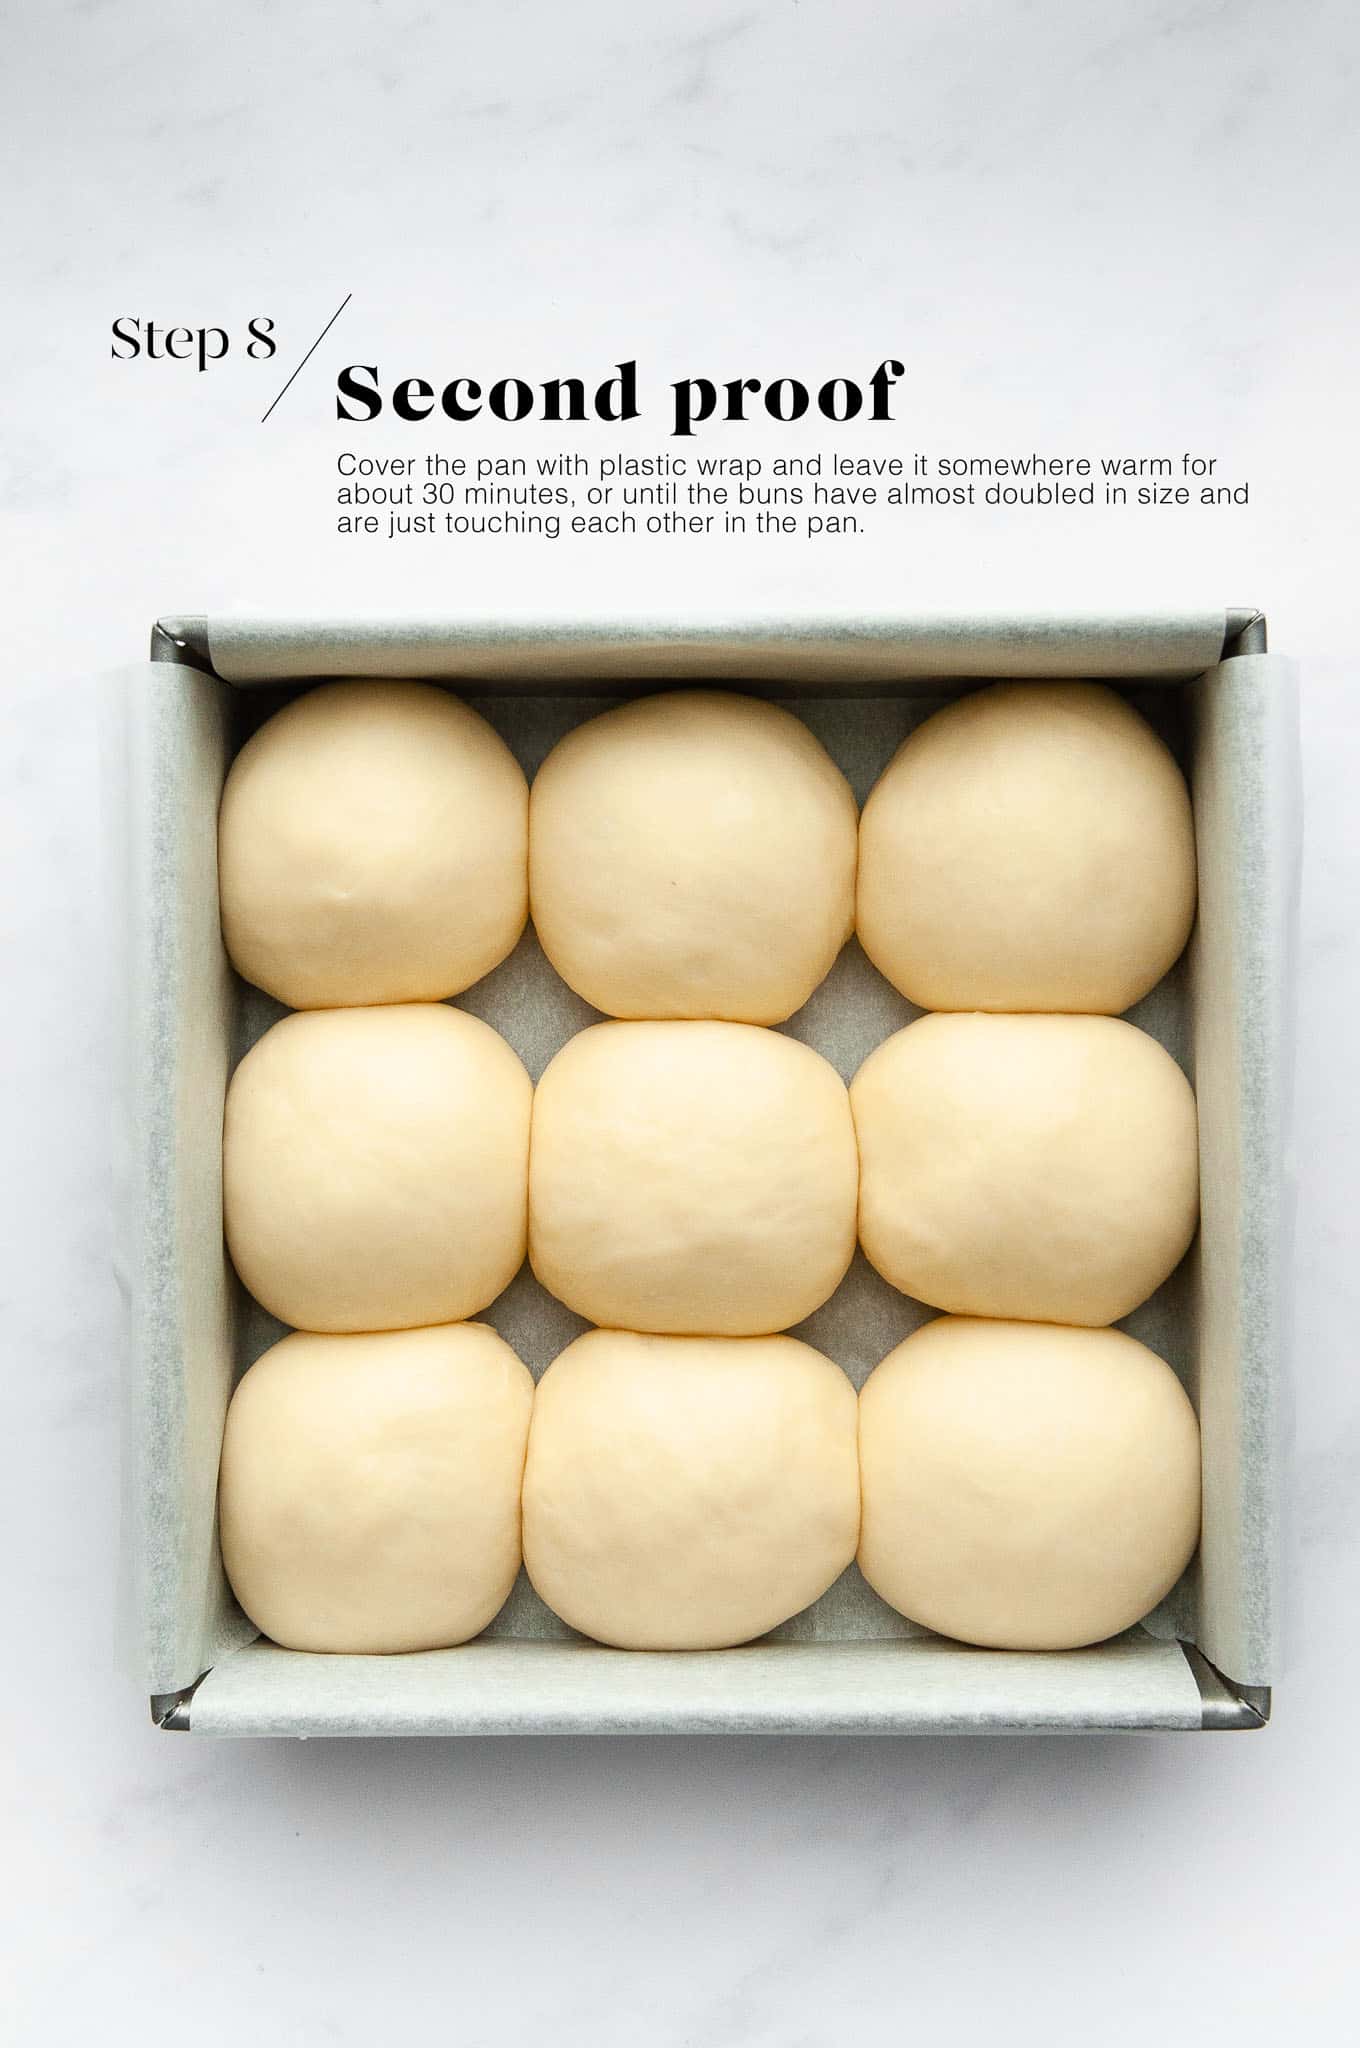
Cover the pan with plastic wrap and leave it somewhere warm for about 30 minutes, or until the buns have almost doubled in size and are just touching each other.
Step 9
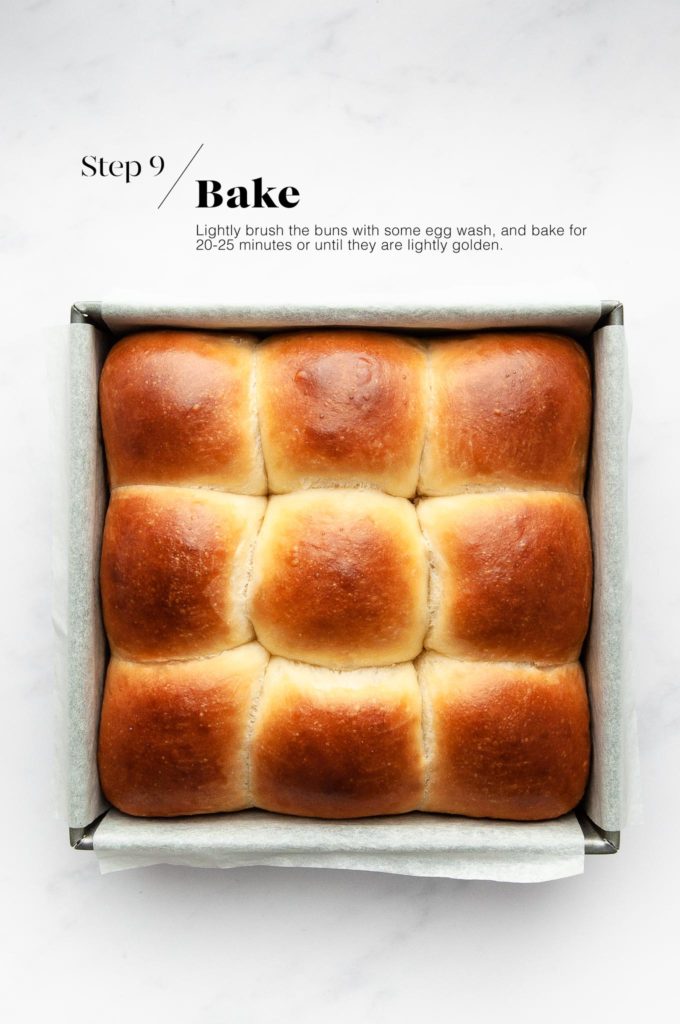
Gently brush the buns with some egg wash, and bake for 20-25 minutes, or until the buns are lightly golden.
If the buns are browning too quickly (check at 10-15 minutes), loosely cover them with a sheet of foil for the rest of the baking time.
Variations and Tips for Making Milk Buns
Depending on what you plan to serve with the Milk Buns, here are some ideas for making them extra special each time:
- Before baking, sprinkle the buns with furikake, sea salt flakes, everything bagel seasoning, sesame seeds, poppy seeds, fennel seeds … the ideas are endless!
- This recipe makes dinner roll-sized buns. For larger buns, divide the dough into 6 pieces and bake in a rectangular pan.
- Any leftovers should be stored in a ziplock freezer bag and kept in a cool place away from sunlight. The buns should keep well for several days.
More Bread Recipes
If you are looking for more bread recipes, you might also like:
Japanese Milk Bread (Shokupan)
PrintJapanese Milk Buns
- Resting Time: 2 hours
- Prep Time: 30 mins
- Cook Time: 25 mins
- Total Time: 55 minutes
- Yield: Makes 9 buns
- Category: Bread
- Method: Oven
- Cuisine: Japanese
Try these incredibly soft and fluffy bread rolls which are delicious served with a sweet or savoury filling. Recipe for Milk Buns with step-by-step photos.
Ingredients
For the Tangzhong
- 2 tablespoons strong white bread flour
- 100 ml (1/3 cup plus 1 tablespoon) milk
For the Japanese Milk Bread Dough
- 350 g (2 1/3 cups) strong white bread flour
- 3 g (1 teaspoon) instant dried yeast
- 1 teaspoon fine salt
- 55 g (1/4 cup) caster sugar
- 1 egg
- 125 ml (1/2 cup) milk, warmed to 37°C/98°F
- 50 g (1/2 stick) unsalted butter, softened
For the Eggwash
- 1 egg
- 1 tablespoon milk
Instructions
For the Tangzhong
- Whisk the ingredients together in a small saucepan.
- Place the saucepan over low heat.
- Keep whisking until the ingredients form a thick paste. The consistency should be thick enough so that as you whisk the mixture, the whisk leaves lines in the mixture which remains.
- Remove the paste to a small bowl, and set it aside to cool down.
To Make the Dough
- Measure the flour, yeast, salt and sugar into the bowl of an electric stand mixer.
- Mix the dry ingredients together using a dough hook.
- Add the egg and the cooled Tangzhong.
- Slowly add the milk until the mixture comes together into a sticky dough.
- Add the butter, one tablespoon at a time. Wait for each tablespoon of butter to be fully incorporated into the dough before adding the next.
- Continue kneading the dough on medium speed for about 10-15 minutes, or until the dough passes the windowpane test. (See Kitchen Notes below). By this stage, the dough should also be coming away from the sides of the bowl.
- Lightly oil a large, clean mixing bowl.
- Roll the dough into a smooth ball and place it into the mixing bowl.
- Cover the dough with a clean tea towel or bowl cover, and place it somewhere warm for about 1.5 hours, or until it has doubled in size.
Portion the Dough
- Gently remove the dough from the bowl. The dough will deflate as you handle it.
- Divide the dough into 9 equal portions. Use a digital scale for even-sized buns.
Shaping the Dough
- Line a square baking pan with baking paper.
- Roll each piece of dough into a smooth ball. I do this by pulling the edges of the dough into the centre, and then pinching those edges together while shaping the dough into a smooth ball as you do so. The pinched edges form the bottom of the buns.
- Repeat the above steps with the remaining pieces of dough.
- Place the shaped buns into the lined baking pan.
Proving the Shaped Dough
- Place the pan somewhere warm, covered with a clean tea towel, for about 30 minutes, or until the buns have almost doubled in size and are touching each other in the pan.
Baking the Japanese Milk Buns
- Preheat the oven to 180°C/356°F.
- Place a metal baking tray on the middle shelf.
- Lightly brush the buns with some egg wash.
- Bake the buns for about 20-25 minutes, or until they are lightly golden. Check the buns at about 10-15 minutes and, if they are browning too quickly, cover the buns with a loose sheet of foil for the remaining baking time.
- The buns are cooked if an internal thermometer reads 85°C/185°F.
- Leave the buns in the pan for about 5 minutes, before carefully removing the buns to a wire rack to cool completely.
Kitchen Notes
 WINDOWPANE TEST
Pinch off a small piece of dough, roll it into a ball and use your hands to gently stretch the dough. If the dough can stretch to form a thin sheet and be almost translucent so that you can see the light through it, your dough has passed the “windowpane test”. This means that you have kneaded the dough sufficiently and that the dough is ready to be proofed.
 MAKE AHEAD TIPS
To start the Milk Bread the night before, make the dough as per the recipe, until the dough has finished the first proofing period. Without touching or deflating the dough, cover the bowl with a tea towel, plastic wrap or reusable bowl cover. Place the bowl in the fridge to continue proofing overnight. The dough will rise slightly more overnight in the fridge. The next day, proceed with the rest of the recipe. As the dough will be cold, it may require a bit more time for the second proofing period.
 DIFFERENT TYPES OF FLOUR
* For Swiss readers: I use Zopfmehl (or farine pour tresse) when making bread and enriched dough.
 DIFFERENT TYPES OF YEAST
* Please note that there is a difference between instant yeast (also called instant dried yeast or fast-action dried yeast) and dried yeast (also called active dry yeast). If you are not sure what type of yeast you have, please check the packaging for instructions on how to use the yeast.
* With instant yeast, you can add it directly to the flour mixture without having to activate it first.
* With dried yeast, you will need to activate it first (usually in some warm liquid).
 PROOFING THE DOUGH
Dough needs a warm environment for the yeast to activate and cause the dough to rise. If you don’t have a warm place in your home, try one of the following ideas:
* In the oven with the oven light switched on (works only for some ovens).
* In the oven with a tray of boiling water on the bottom shelf.
* In the oven at a low temperature of about 25-30°C (77-86°F).
 OVEN TEMPERATURES
All recipes on this website state temperatures for a regular oven (i.e. a conventional oven without fan). If you have a convection oven with a fan, please consult the manufacturer’s handbook on how to adjust the temperature and baking time accordingly.
 CONVERSIONS
To convert from cups to grams, and vice-versa, please see this handy Conversion Chart for Basic Ingredients.
 Print
Print Pin Recipe
 Rate
Rate
Perfection! These are best bread rolls I have ever tasted! They are so soft and fluffy, just moreish.
What an incredible recipe. The buns were so lovely and soft and had an amazing taste. Absolutely delicious!
Awesome recipe. I’ve tried many milk bread recipes lately and I appreciated your detailed instructions and photos. The flavor of these buns were 10/10
These milk buns tasted fantastic. Great recipe!
They seem to have worked out pretty well, but I do have some qualms with the recipe.
Most people on this planet Do Not Have a stand mixer, as it is a $100-$300 investment! I don’t have a stand mixer. I mixed and kneaded it all by hand, and boy was it a workout. I would have really appreciated if there were some notes about that, such as a different order of adding ingredients, or a mention of the kneading time.
I also used regular old all purpose unbleached flour, as that’s the cheapest, and my grocery store rarely carries bread flour, let alone “strong” bread flour. I was unable to get it to pass the window pane test, would’ve liked notes on that too. We’re not professionals here…
Hi Yulia,
I’m not a professional either 😉 When it comes to making milk bread, brioche or any other enriched dough (i.e. a bread dough which contains butter), I always recommend using an electric stand mixer. This is because the dough is very sticky and hard to work with.
Of course, it is possible to make such a dough by hand, but it will take a lot longer and require a lot of energy.
Whether you make the dough by hand or with a stand mixer, the recipe and instructions remain same. The goal is to knead the dough for long enough until you pass the window pane test. With a stand mixer on medium speed, the kneading time should be 10-15 minutes. But by hand, the kneading time will generally take longer, and much will depend on how much pressure you apply.
As for the type of flour to use, I always recommend using bread flour when making bread. Bread flour contains more protein, which will help you achieve the right “bread-like” texture. All-purpose flour works too in a pinch, but you will taste the difference.
Great recipe and easy instructions.
Very soft rolls and the taste is so buttery and delicious. Highly recommend!!
Delicious! I’m making a second batch tonight!
Very soft and buttery buns. These will be perfect served as dinner rolls. Yum!
Beautiful recipe
Thanks for the great instructions and easy to follow recipe. This was my first time making milk buns and it was so easy! My buns turned out wonderful. I need to make a bigger batch next time!
This is a delicious recipe for milk buns. Everyone loved them!
Amazing recipe!! Just yum!!
I made the dough the night before and baked them in the afternoon before Thanksgiving dinner. They were just perfect. Highly recommend.
This recipe worked out fantastic! The milk buns were delicious!
This is a fantastic recipe!
These were the fluffiest buns I have ever tasted – simply amazing! Great recipe and easy to follow instructions.
Love your website! Your photos are always so helpful 🙂
This recipe is absolutely amazing. I used them to make homemade fried chicken burgers last week and cheeseburgers this week and they always turn out beautiful. They are a massive hit with my family even my 11 month old loved them!
Hi Abbey,
That’s great to hear! I’m so happy that you and your family love this recipe 🙂 Now I am craving cheeseburgers …!
Made these today – everything was great – kneaded them enough and they rose well but after 25 mins they were still underbaked – popped them back in for another 10-15 mins but they were still dense and underbaked on the bottom – the part that as baked tasted great though! Any idea where I went wrong? I have an oven thermometer so I know the temp was ok!
Hi Fiona,
Did you bake the buns on a preheated metal tray as mentioned in the recipe? The metal tray will help the buns to rise as they bake, as well as cook the buns from underneath. I’m not sure why the bottom part of the buns did not cook properly. Did you use a metal baking tray? Any other material (ceramic, glass, etc) might affect the baking process. I recommend using a digital thermometer to test the internal temperature of the buns. If the temperature reaches 85°C/185°F or more, the buns are cooked. If the top of the buns have browned nicely but the baking time is not finished, or the buns are not yet fully cooked through, simply cover the buns loosely with a sheet of foil for the remainder of the baking time. I hope these tips will help 🙂
Recipe sounds great and will try. The only thing I’ll say is you made a Tangzhong (Chinese) not Yudane (Japanese) paste. One is cooked and the other is made mixing boiling water to flour. Both do the same thing though. Happy baking