Shanghai Butter Mochi
I love all kinds of mochi, and this one might be my favourite yet 💛 When I saw recipes for Shanghai Butter Mochi doing the rounds on social media, I knew right away that I would love them.
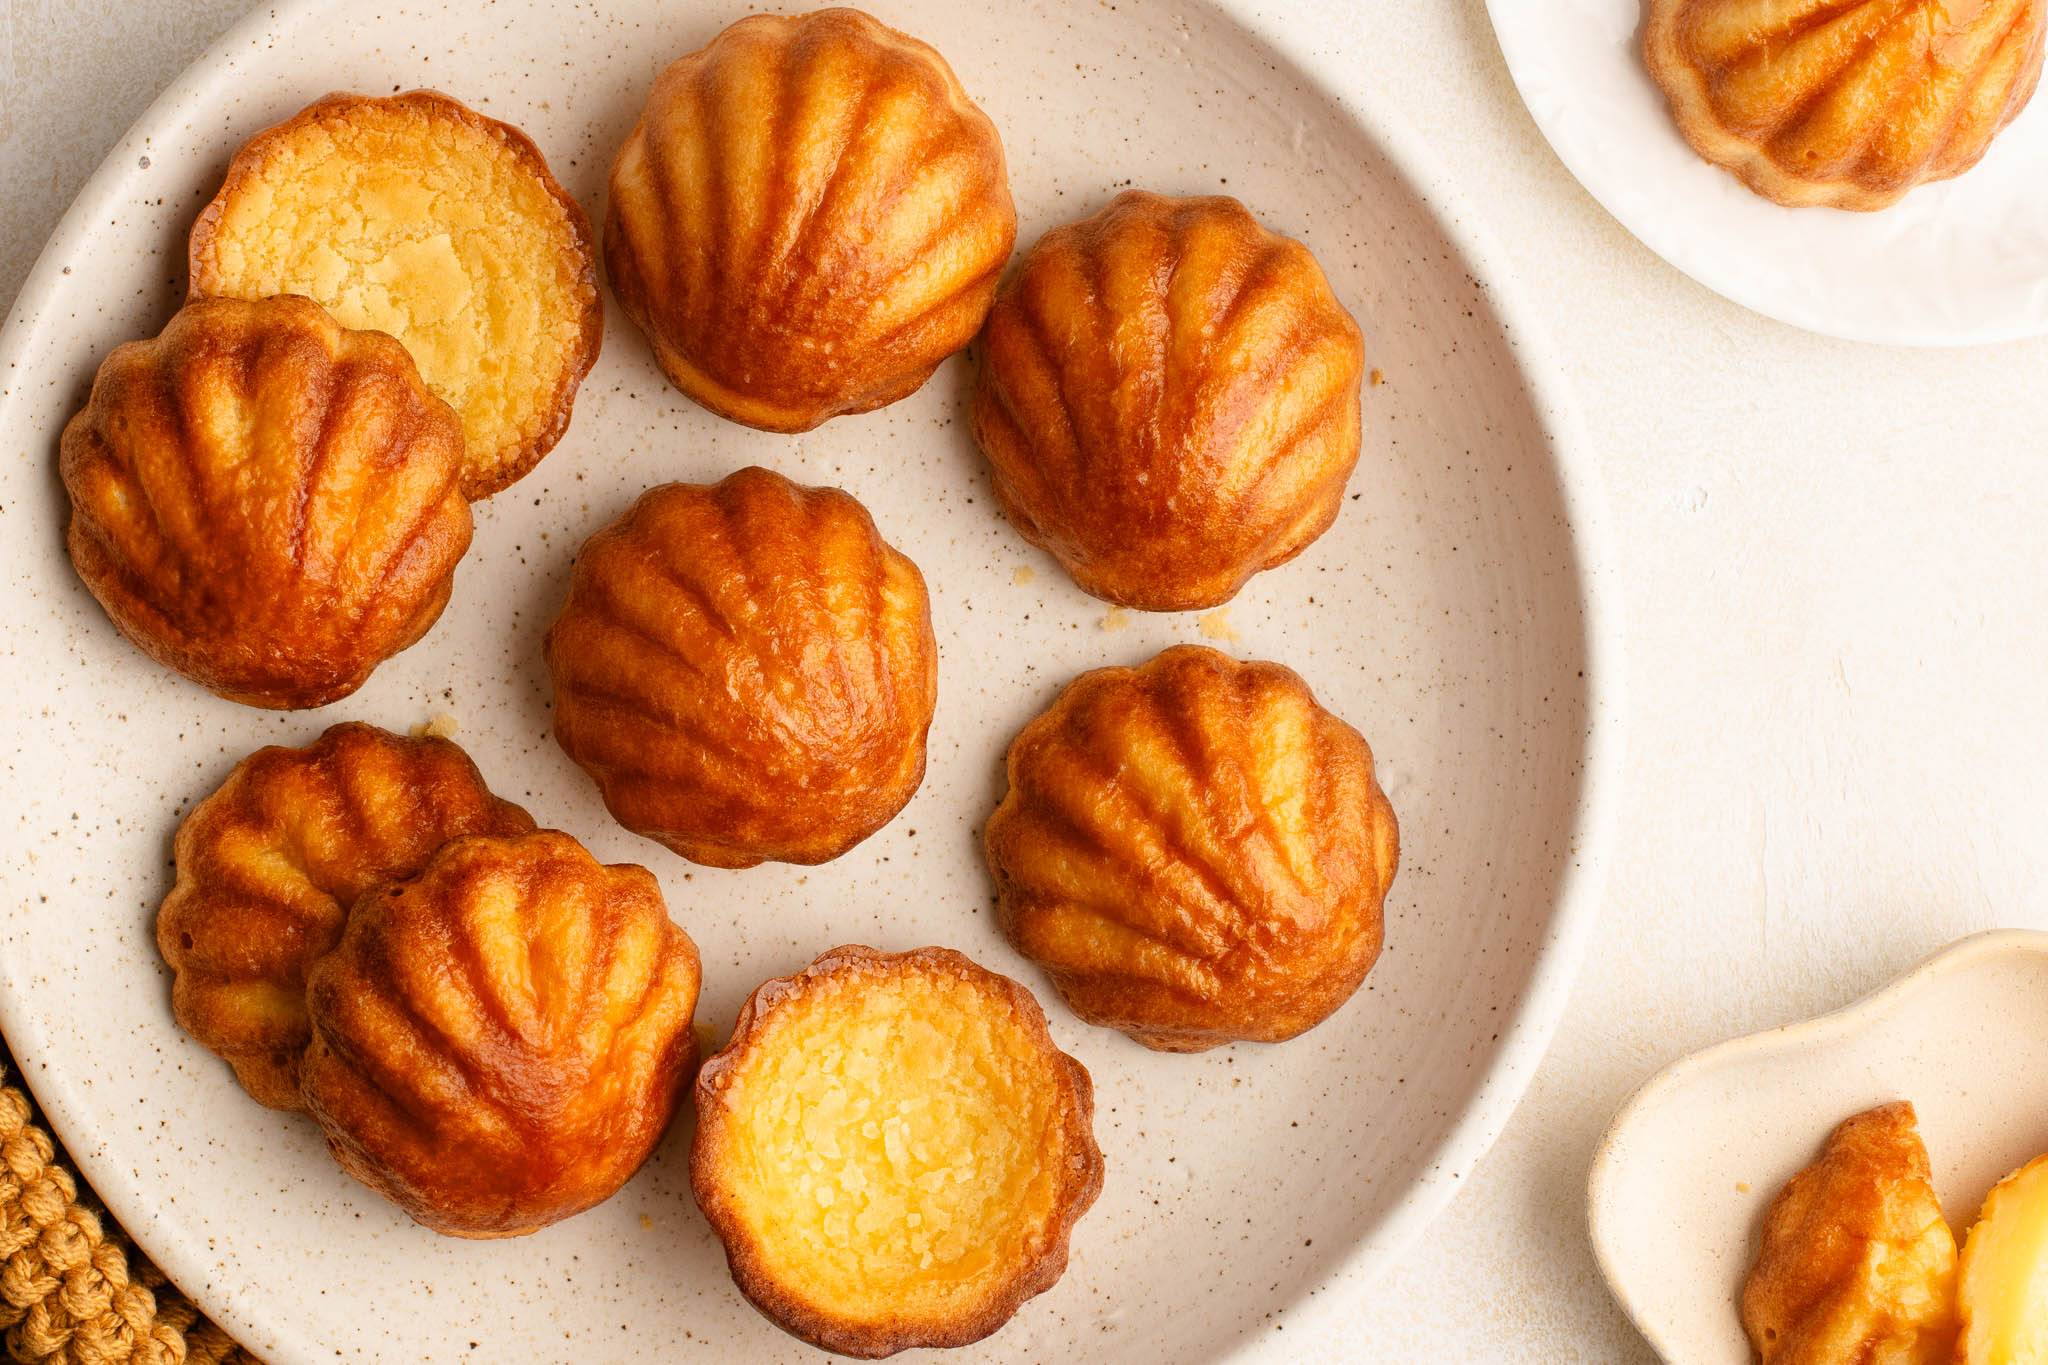
Whenever I make a baked mochi cake, such as my Butter Mochi Cake or Pumpkin Spice Mochi Cake, my son and I always fight for the crispy edges. And these Shanghai Butter Mochi cakes are ALL about the crispy edges. In a word, they are divine.
What is Shanghai Butter Mochi?
Shanghai Butter Mochi, also known as Shanghai Butter Tteok or Korean Crispy Butter Mochi, is a baked mochi which is very similar to the Hawaiian Butter Mochi Cake, but they are baked as individual cakes with an extra crispy coating.
In a curious way, I find the textural experience to be similar to freshly baked French Cannelés with the contrast between the crispy coating and soft, custardy interior.
But Shanghai Butter Mochi are much quicker to make, and they will satisfy any mochi lover who enjoys the soft chew that is typical of this Asian dessert.
Shanghai Butter Mochi Recipe
This recipe for Shanghai Butter Mochi is very similar to my recipe for Butter Mochi Cake, but with much more butter to help the cakes crisp up upon baking.
You can use either regular milk or coconut milk in this recipe, but I tend to think cow’s milk results in a more crispy cake.
Which Moulds to Use
For this recipe, I recommend using a small decorated mould and which is also a non-stick metal pan, which will conduct heat better to produce more golden and crispy results.
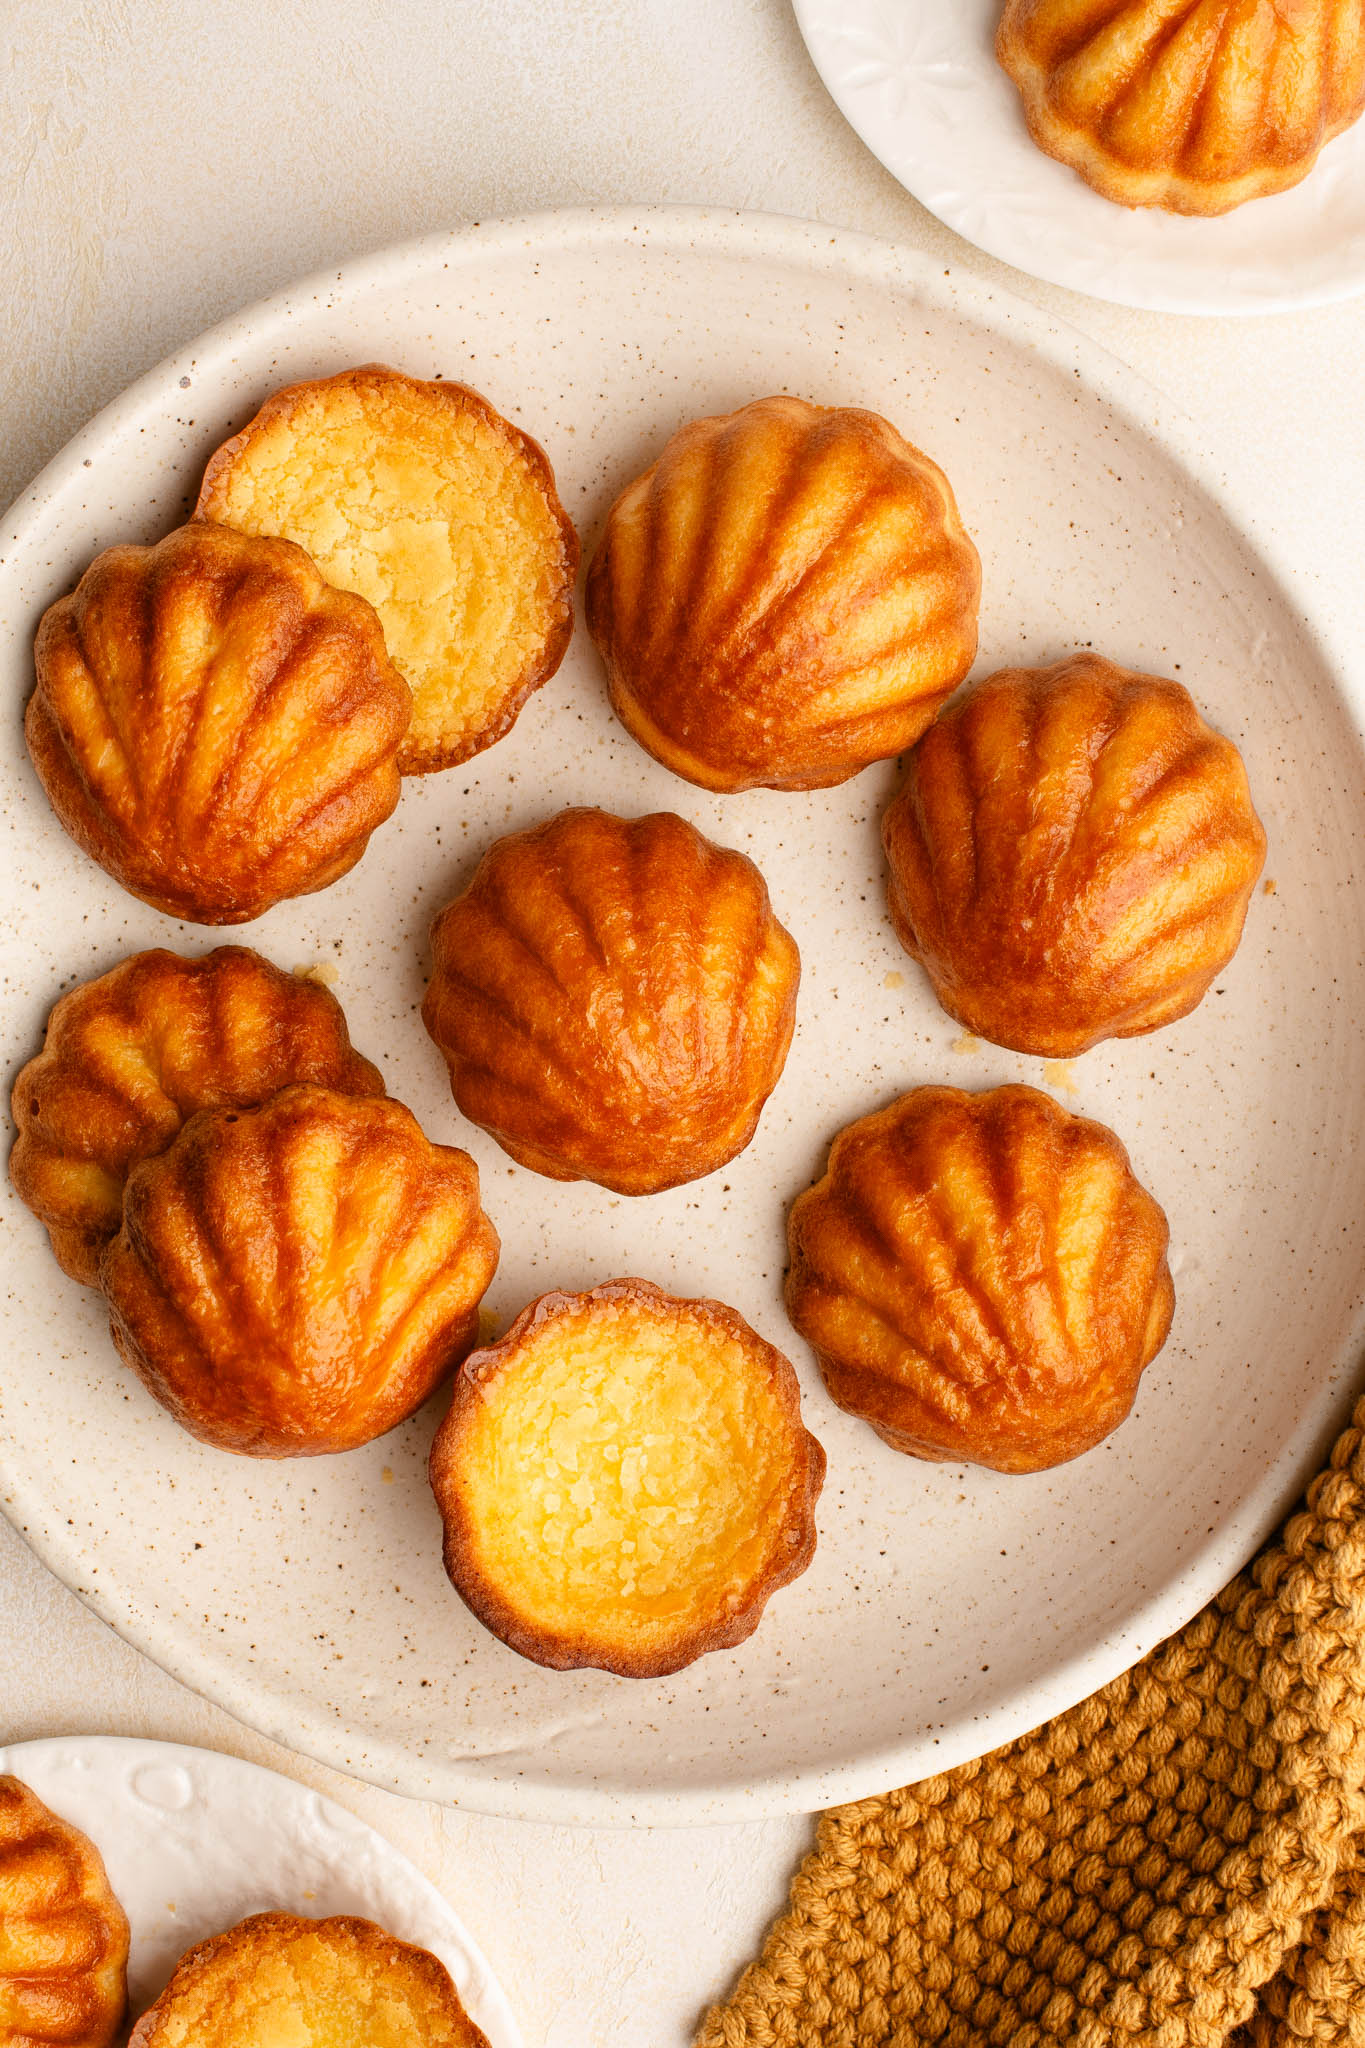
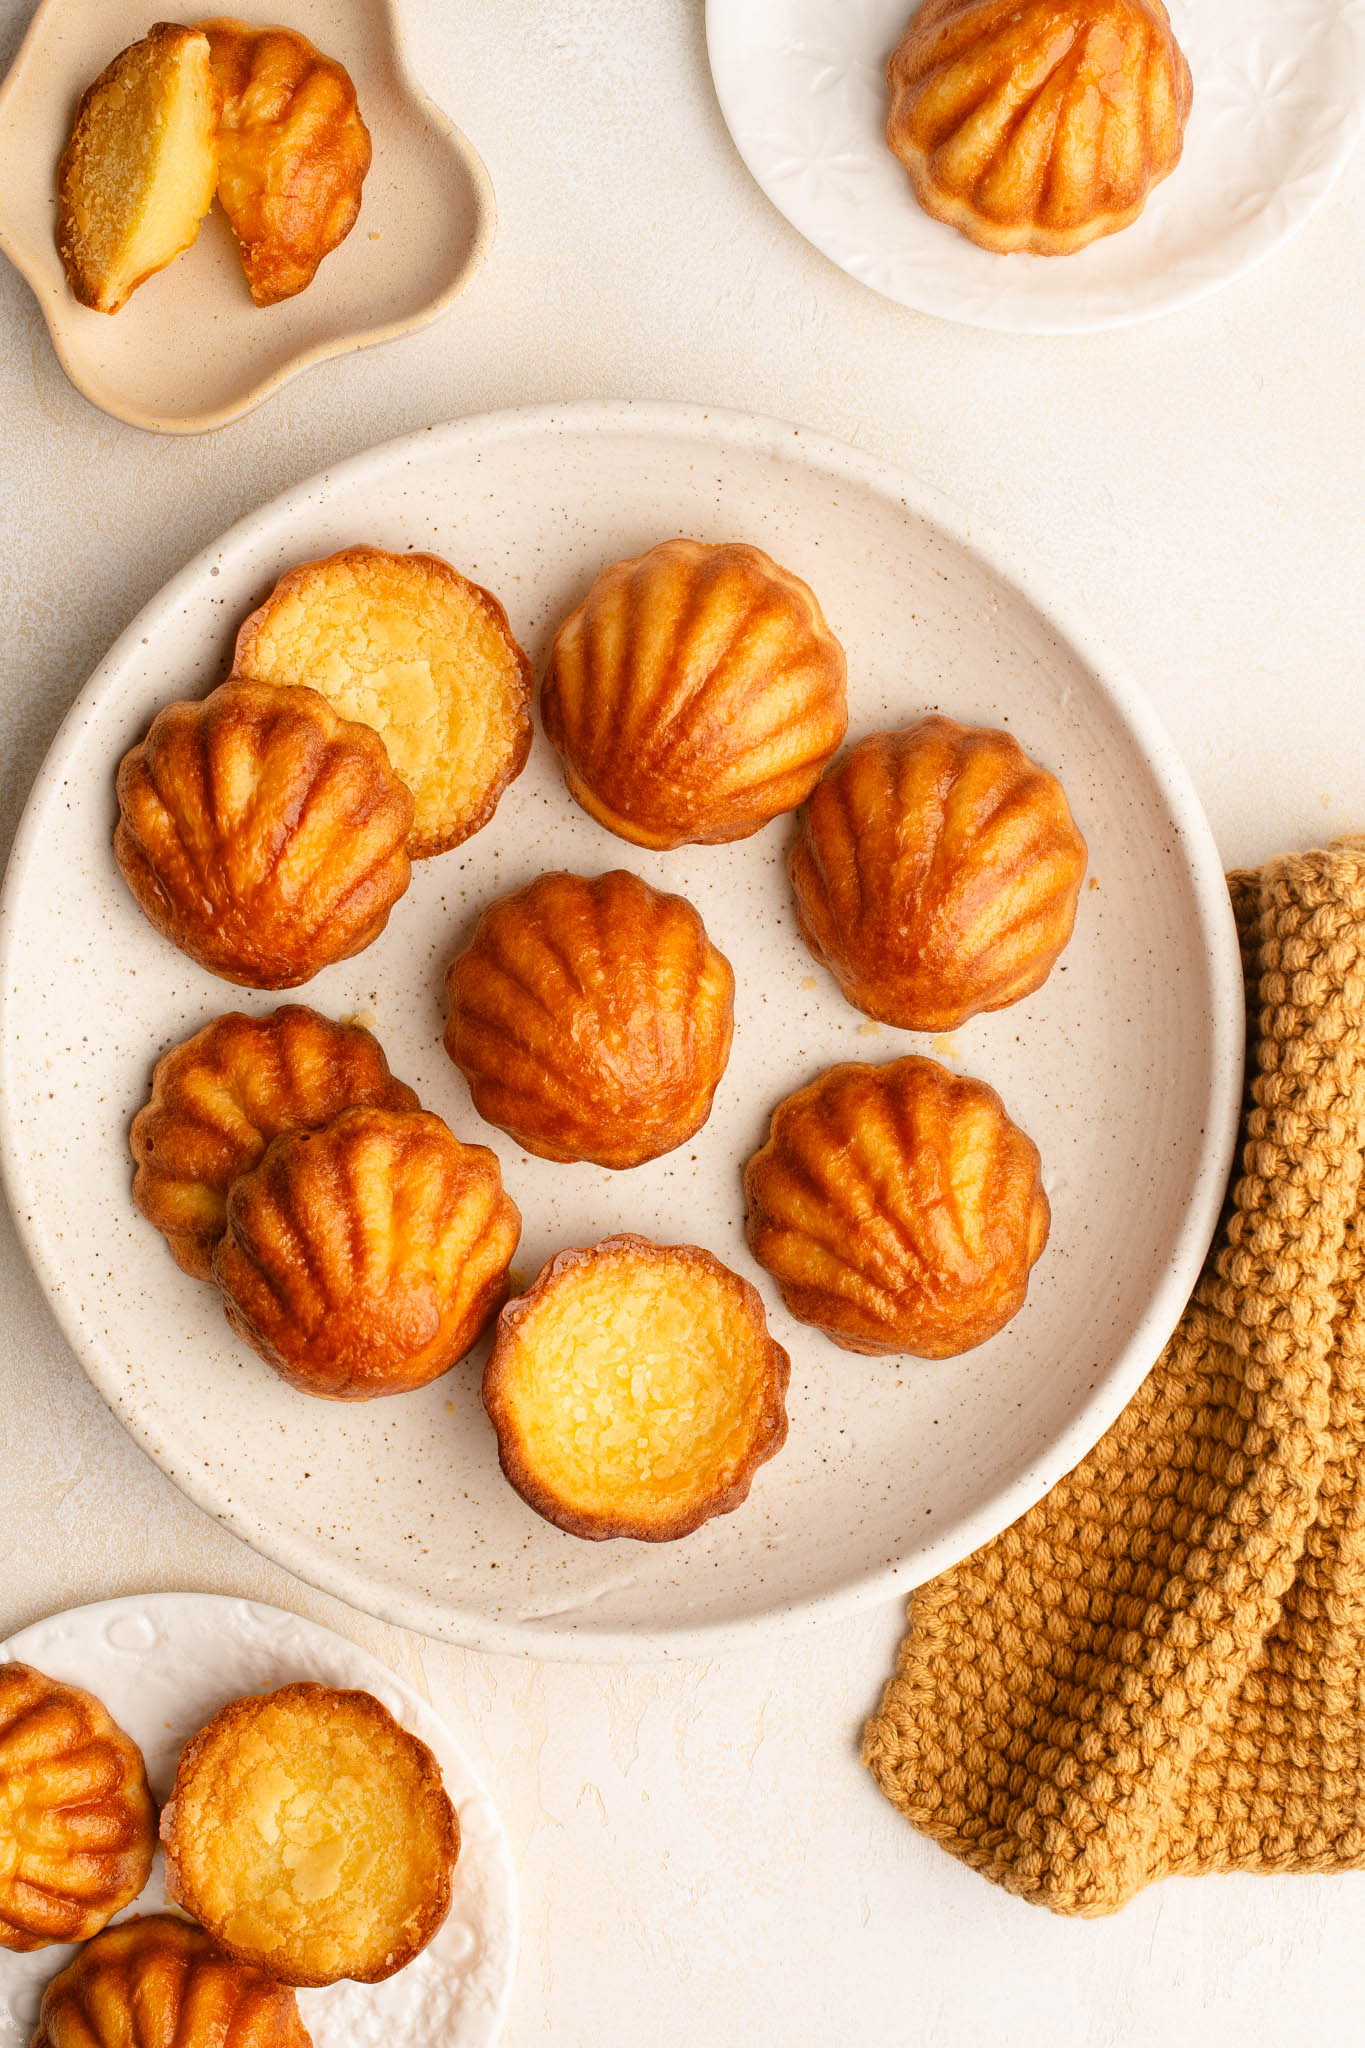
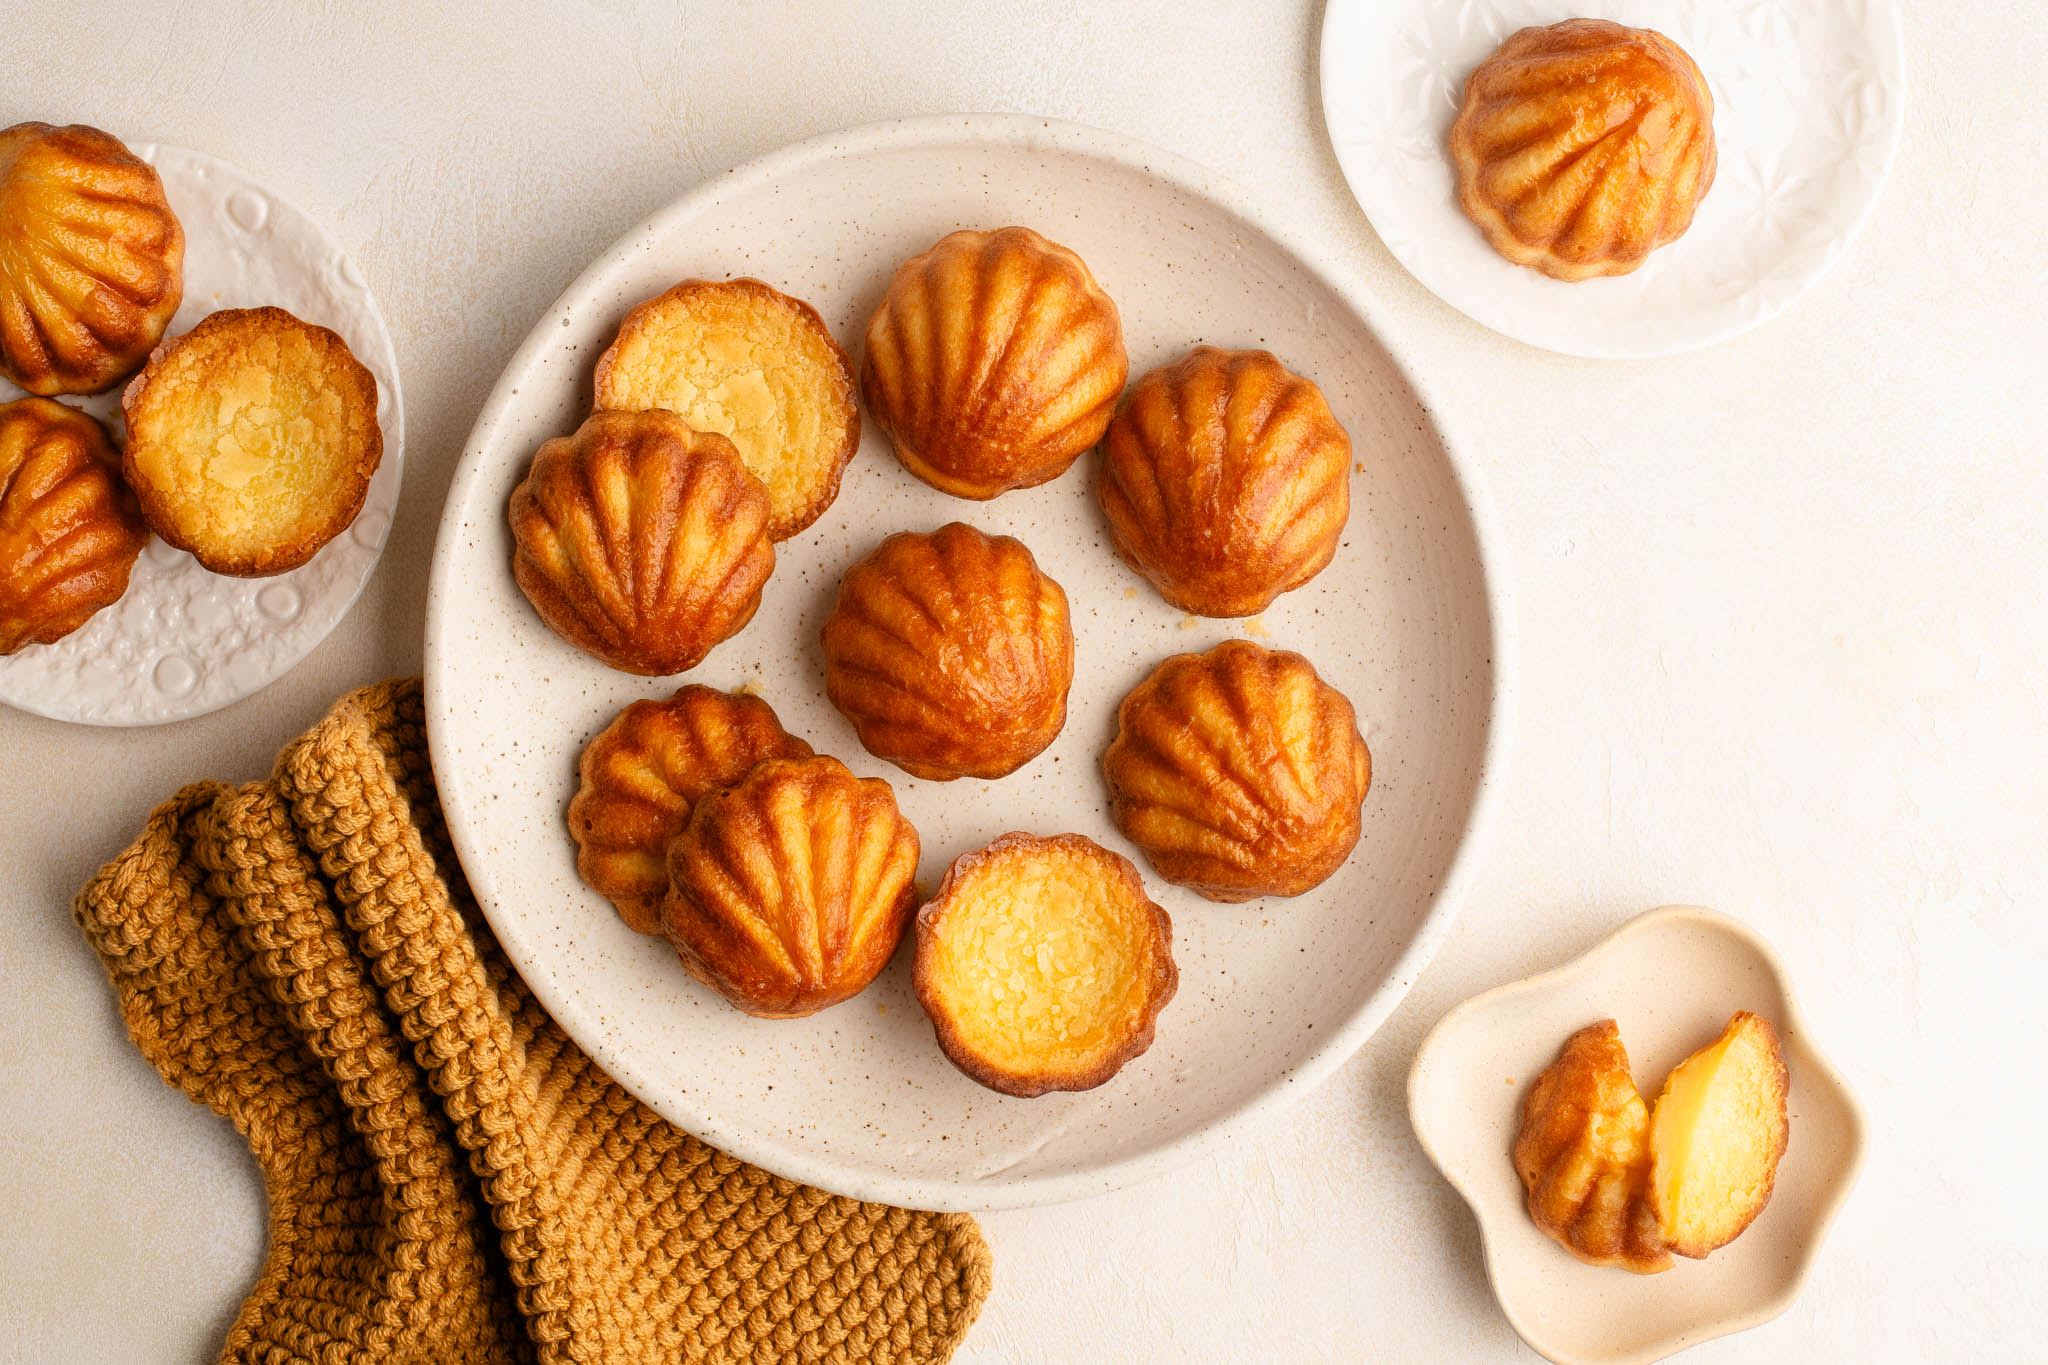
The top of the cake will be generally flat (although sometimes they will rise and stay puffed like a muffin), but the bottom of the cake will become golden and crispy, and any mould with a decorative pattern will give even more crispy edges due to the contrast in shape.
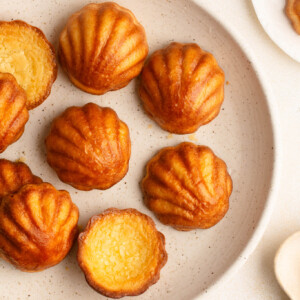
For these photos, I have used a mould with a scalloped shell pattern, but the following suggestions would also work well:
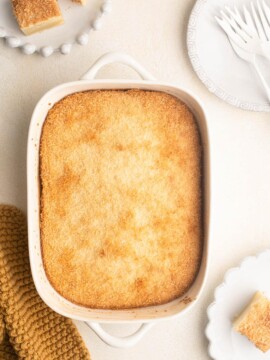
- Madeleine pan. Use a medium to large sized pan.
- Heart scallop shell. See my recipe for Chocolate Madeleines.
- Mini bundt pan. These are also excellent for this recipe.
How to Make Shanghai Butter Mochi
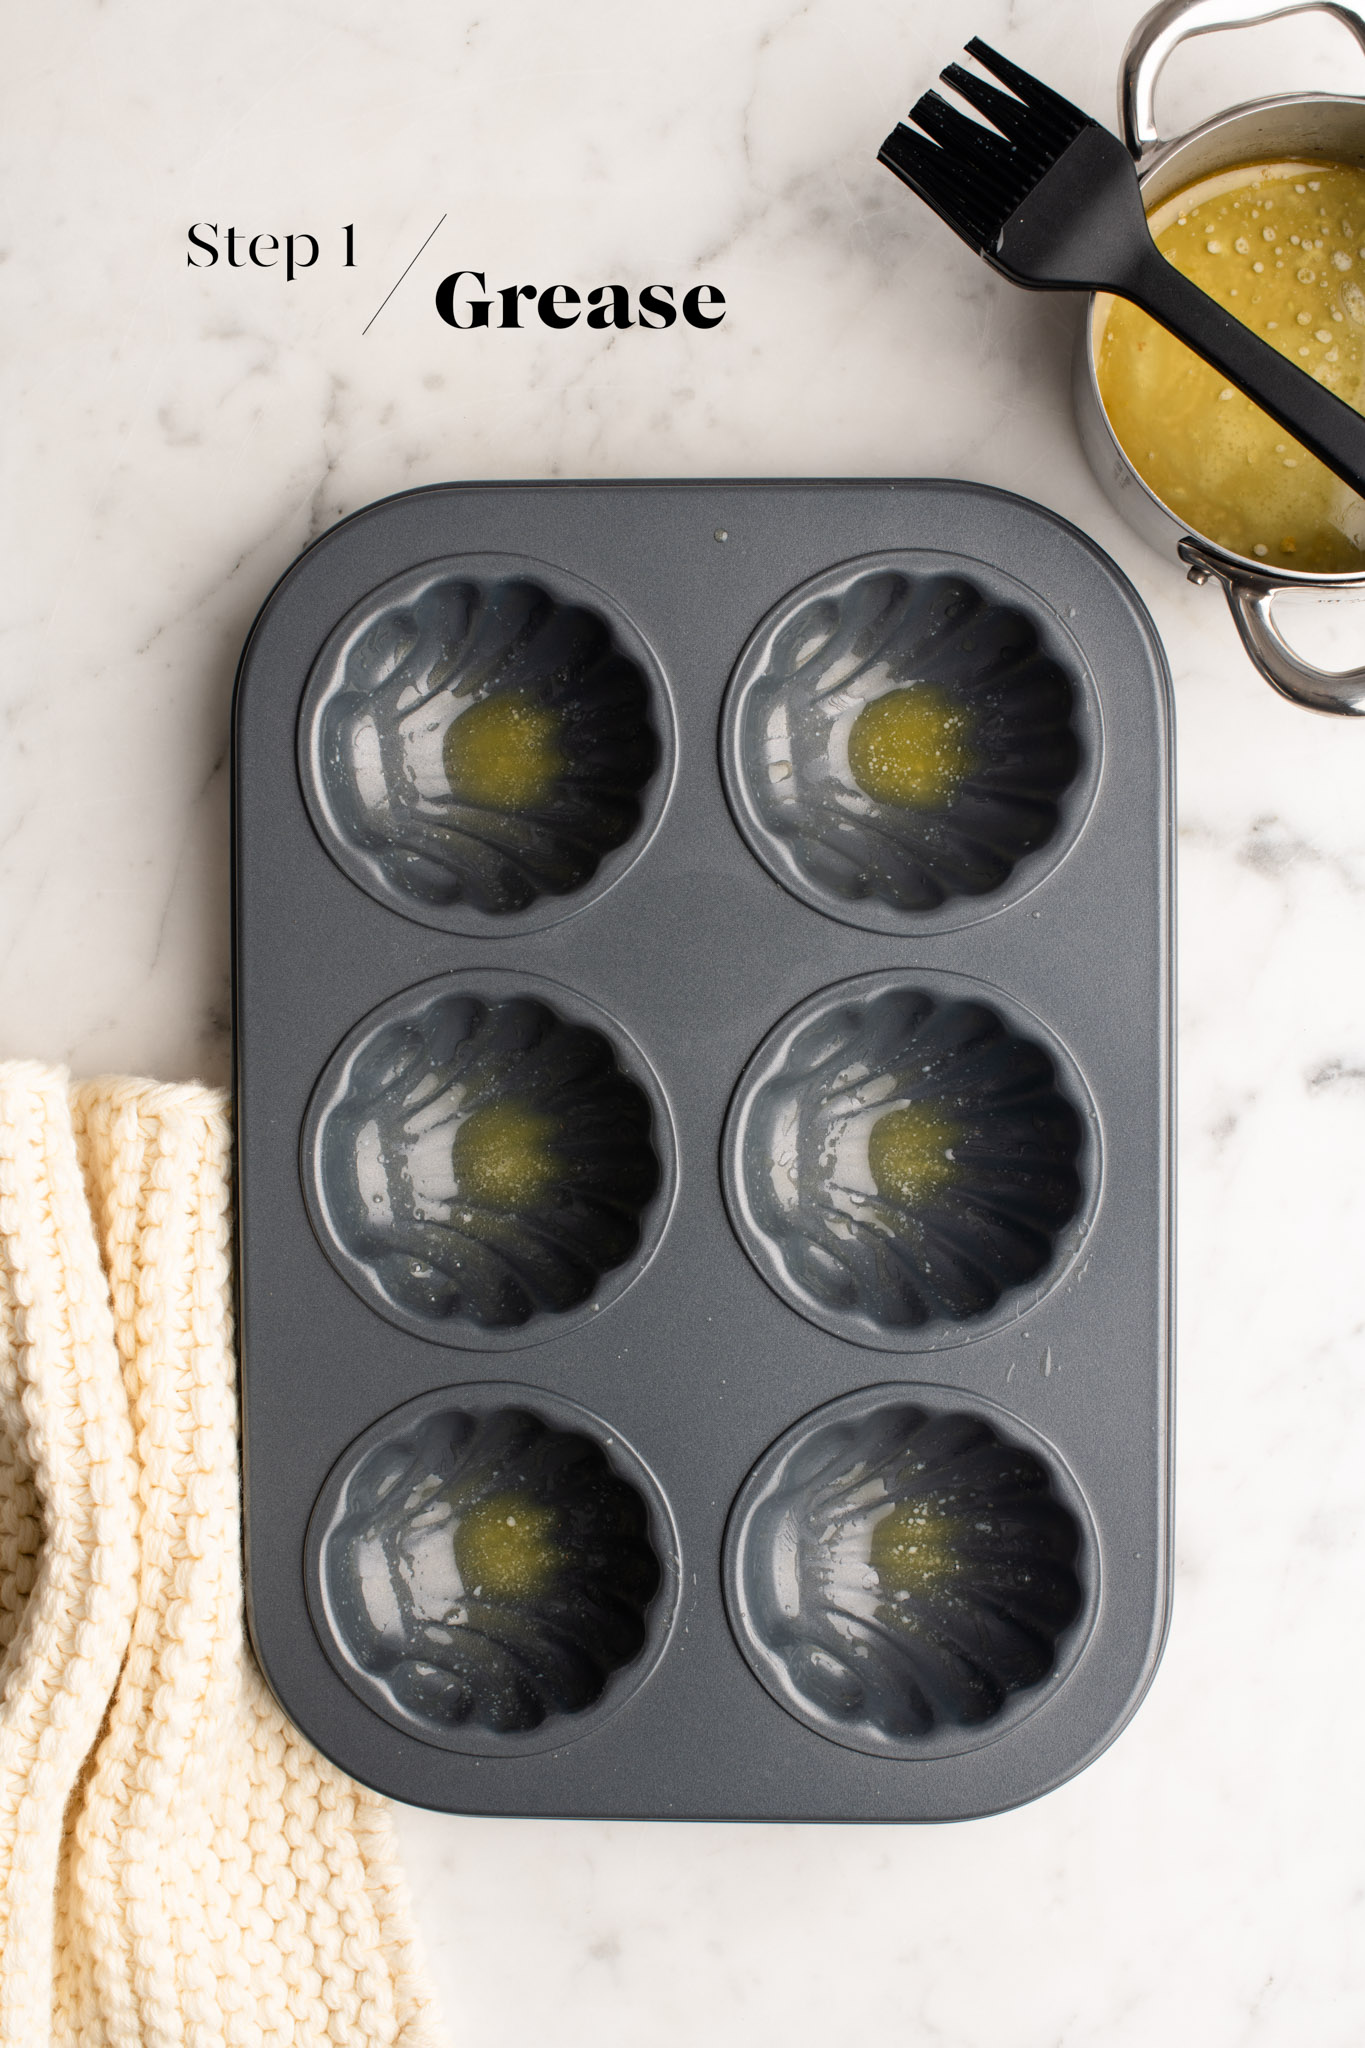
Step 1
Generously grease the cake moulds with melted butter.
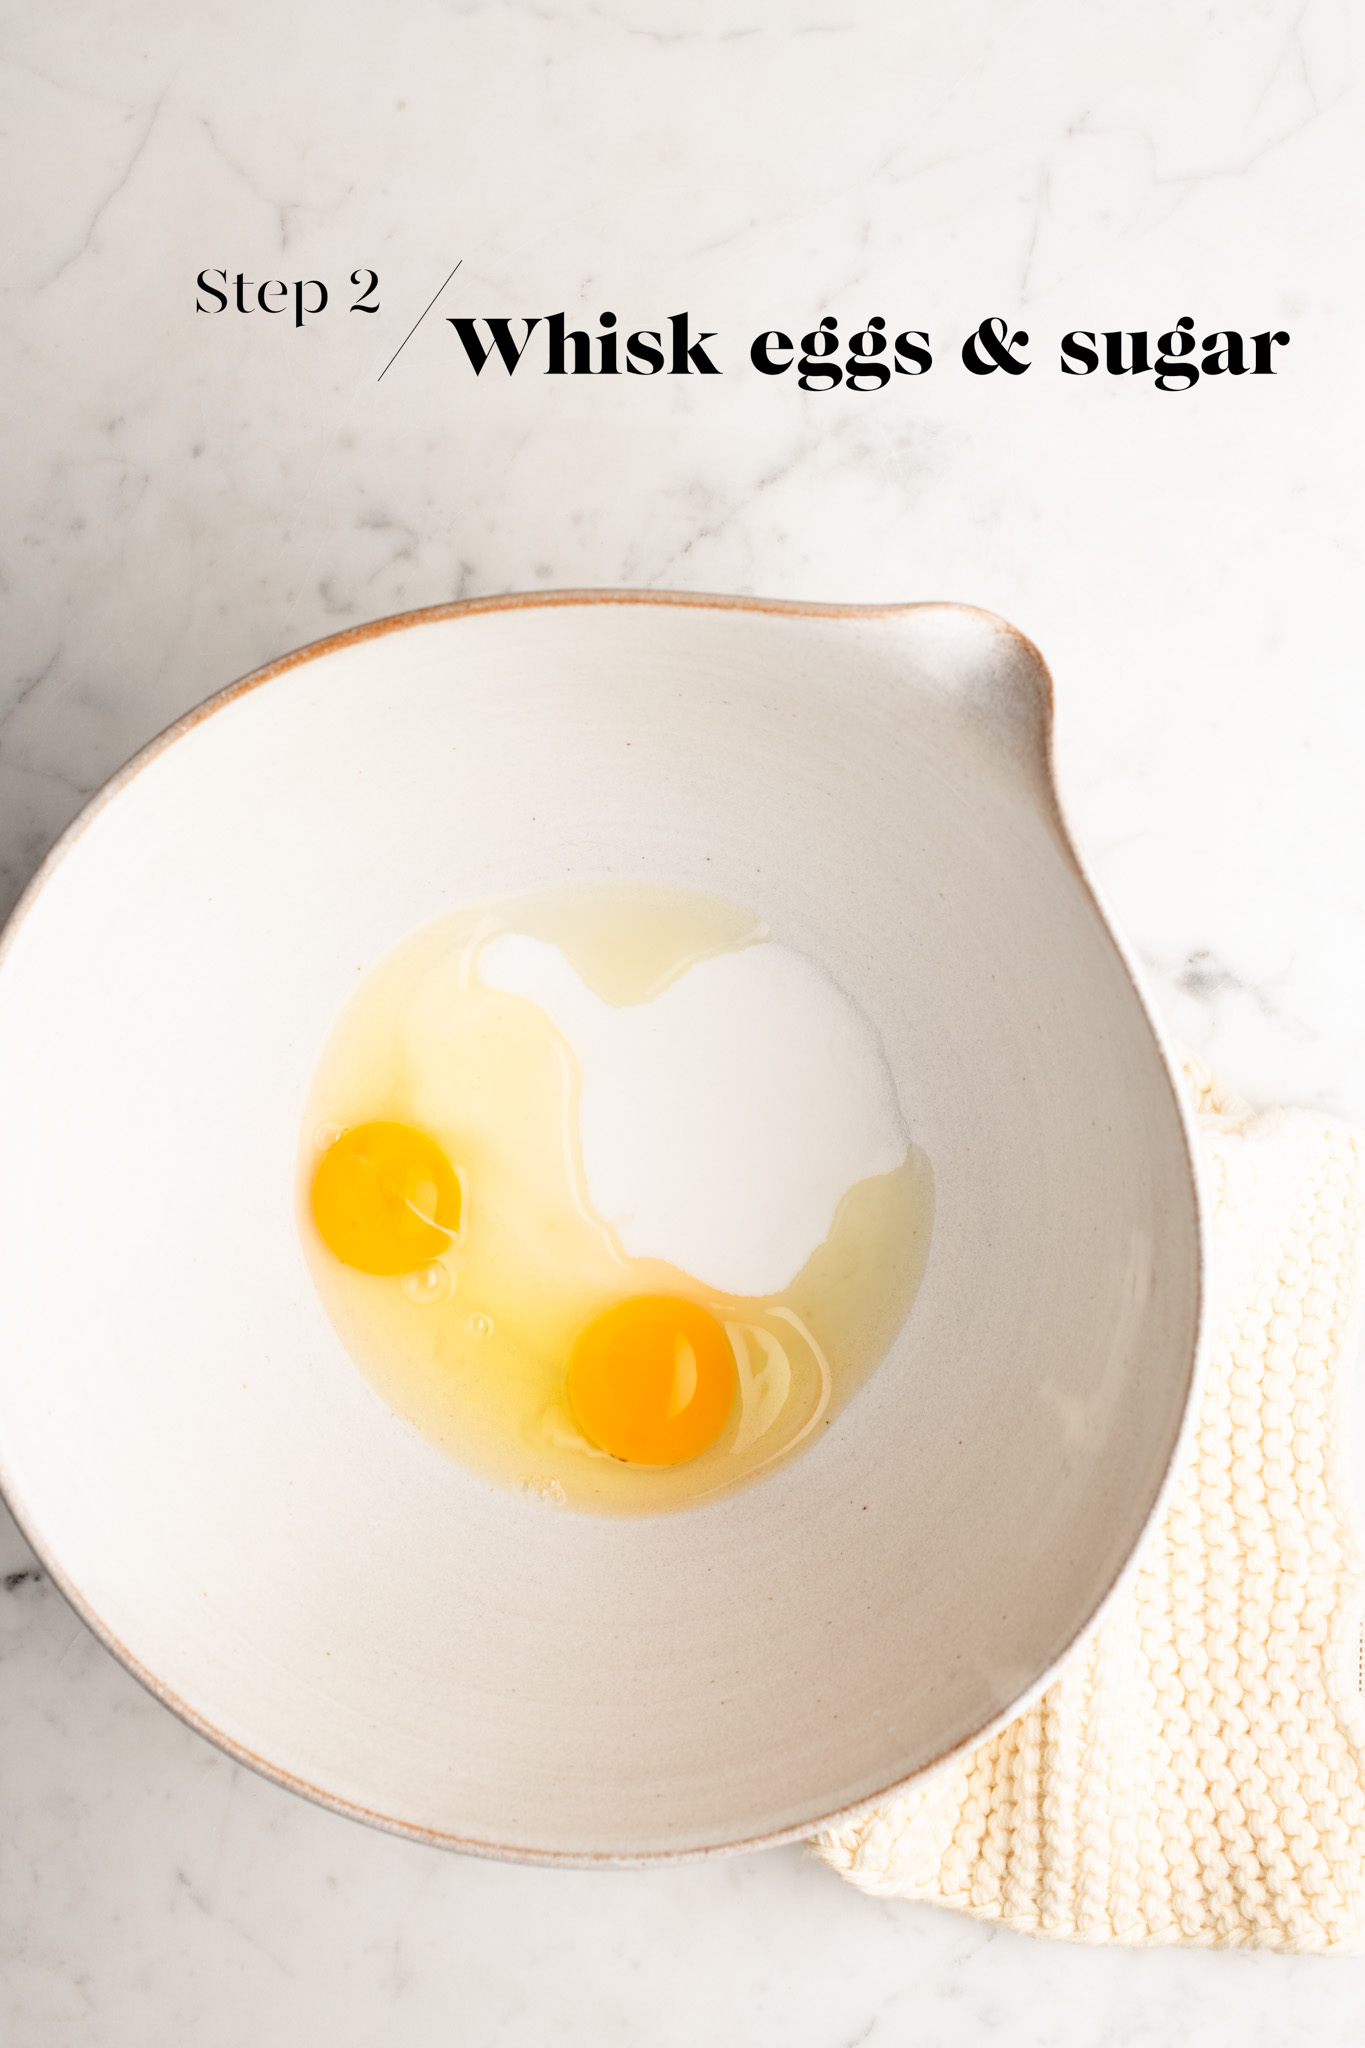
Step 2
In a large mixing bowl, whisk together the sugar and eggs until the mixture is light and pale.
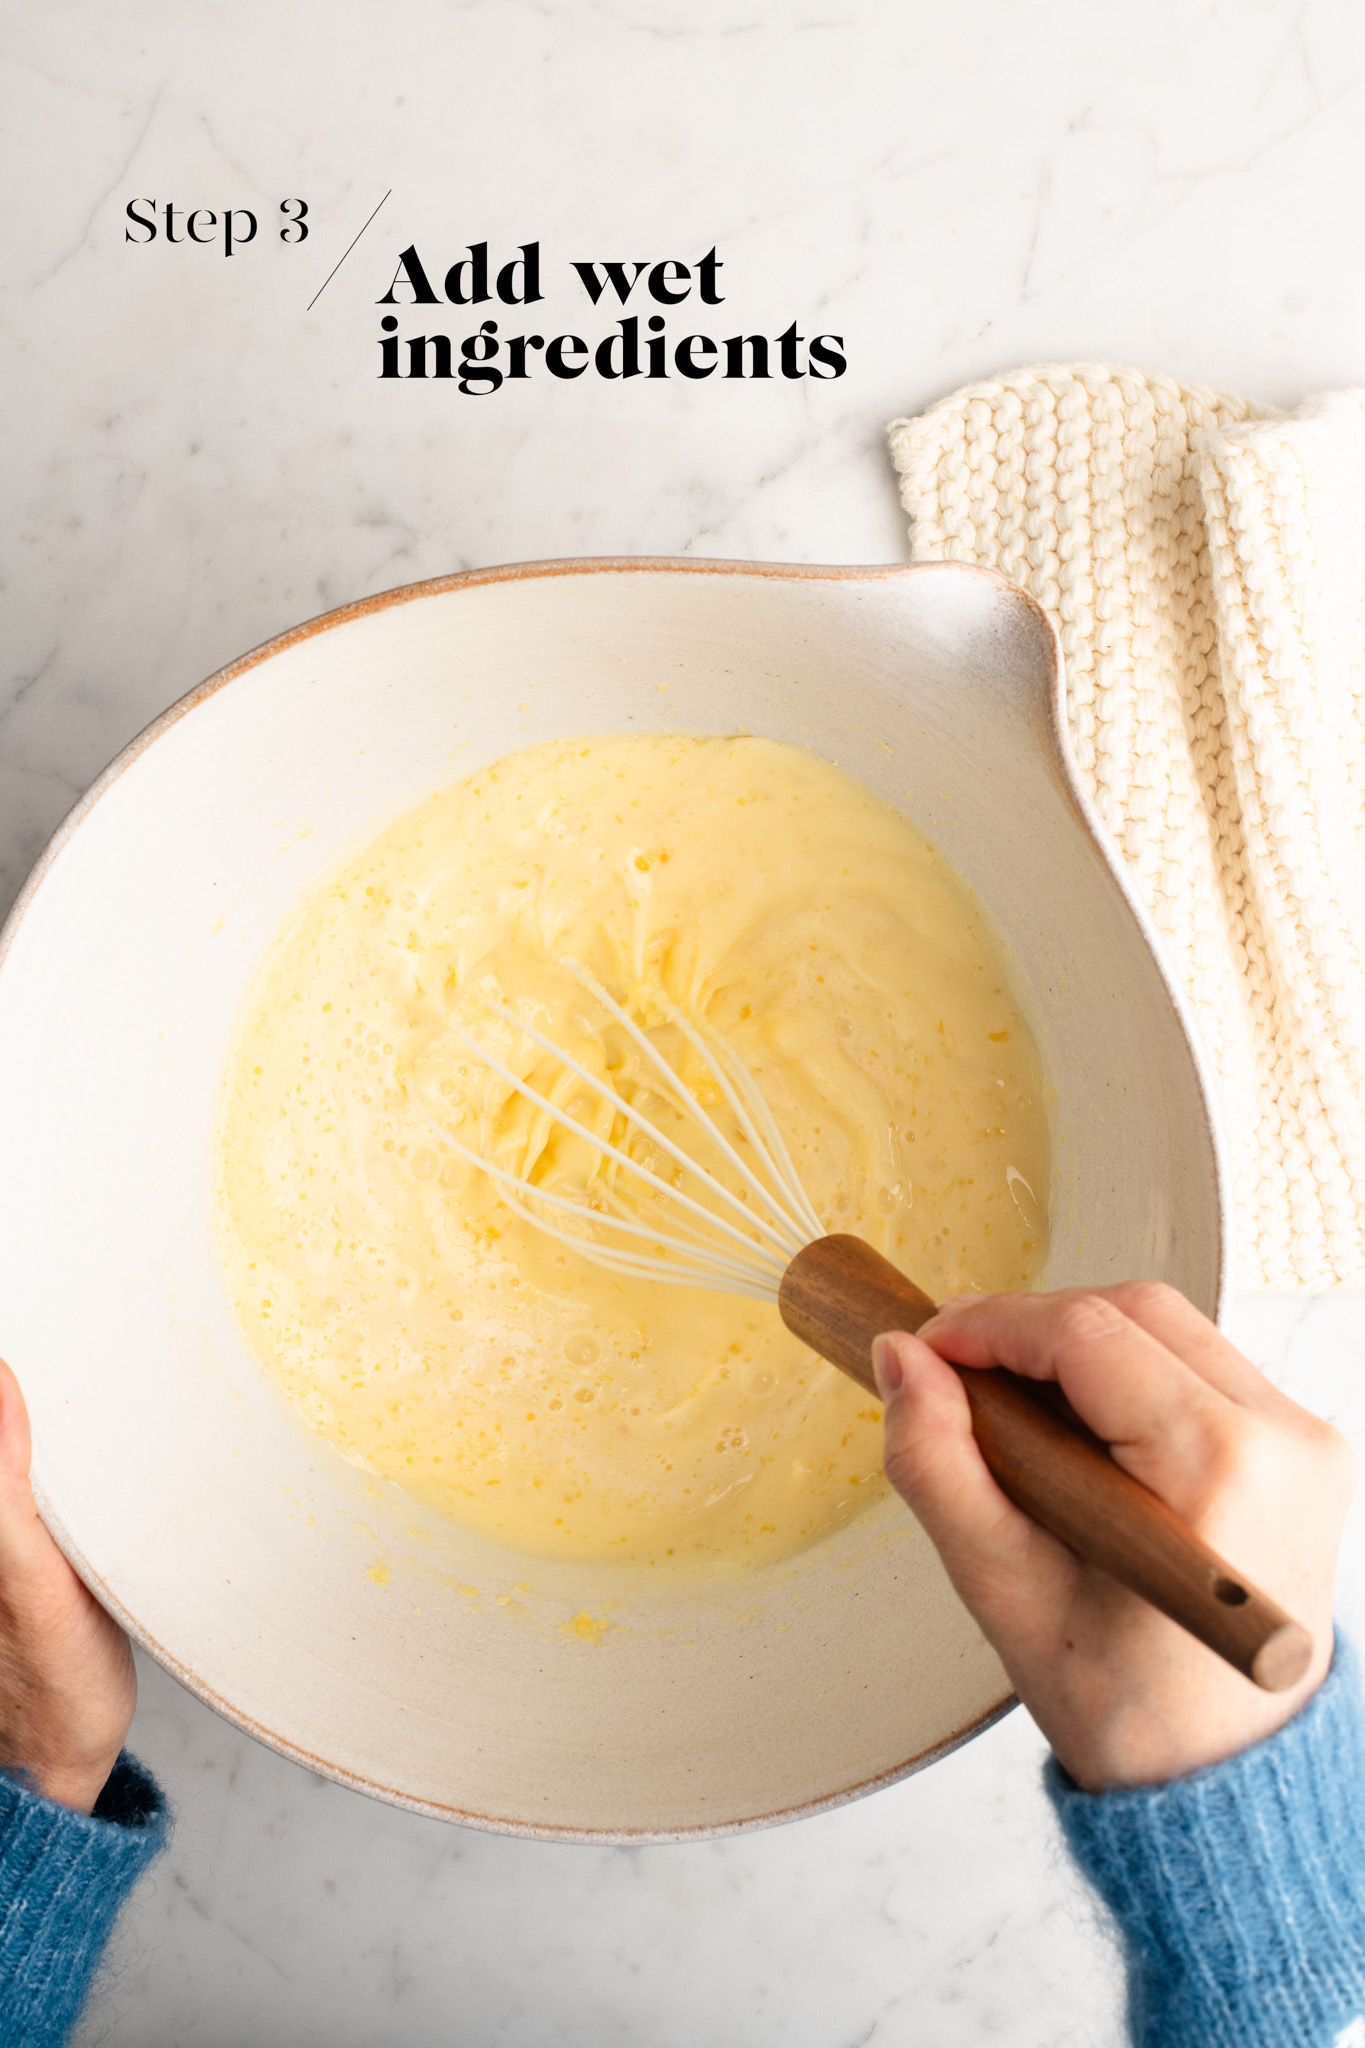
Step 3
Whisk in the milk, vanilla and melted butter.
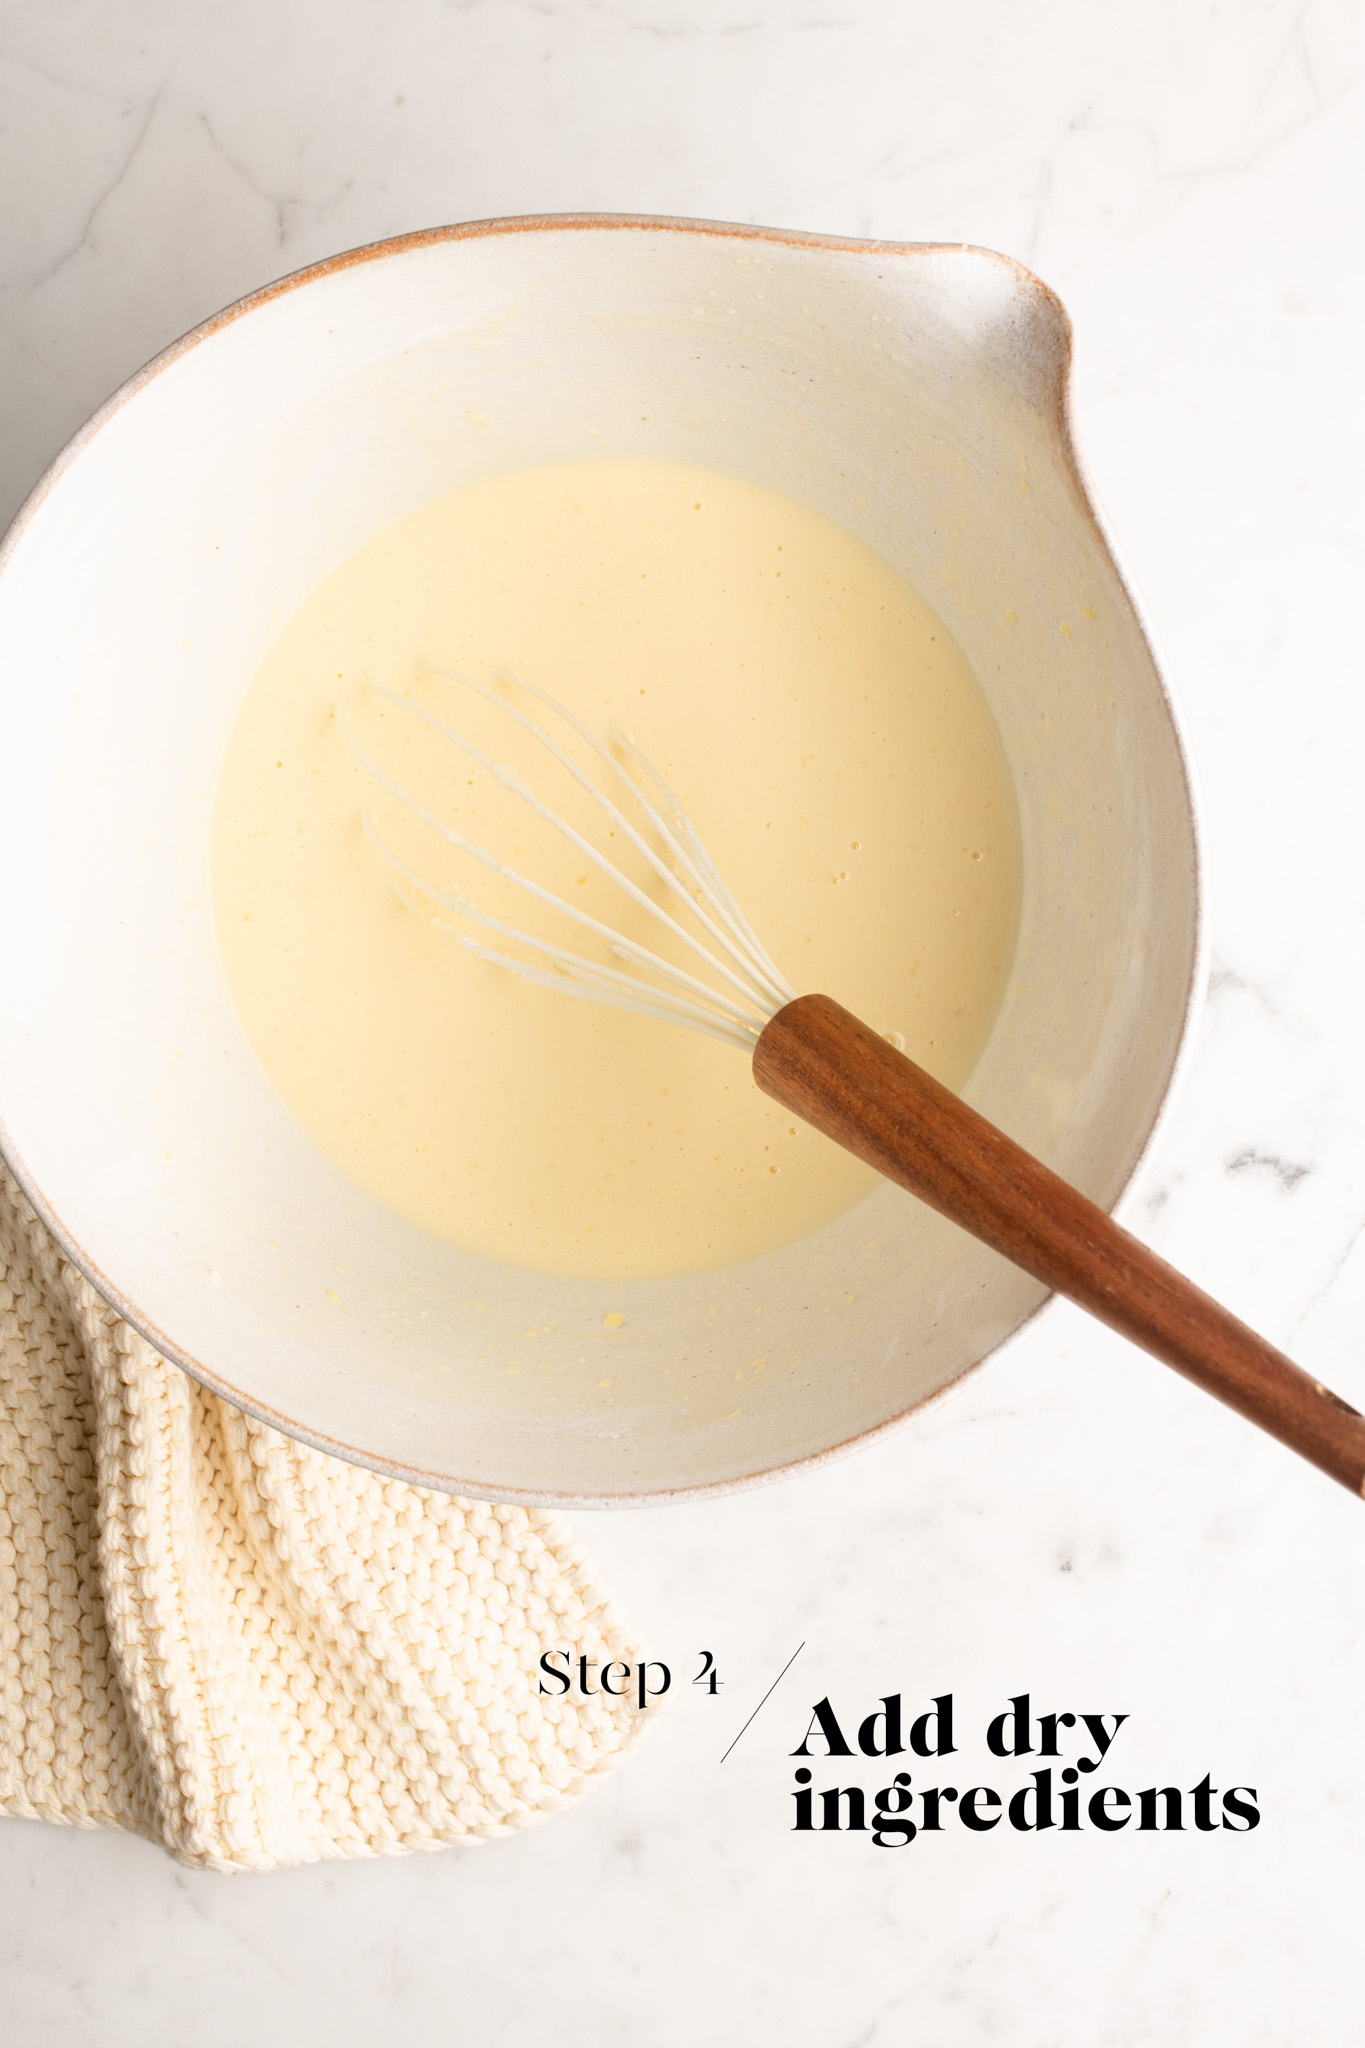
Step 4
Then add the glutinous rice flour and salt. Whisk until you have a smooth batter. You don’t have to worry about over-mixing because this batter does not contain any gluten.
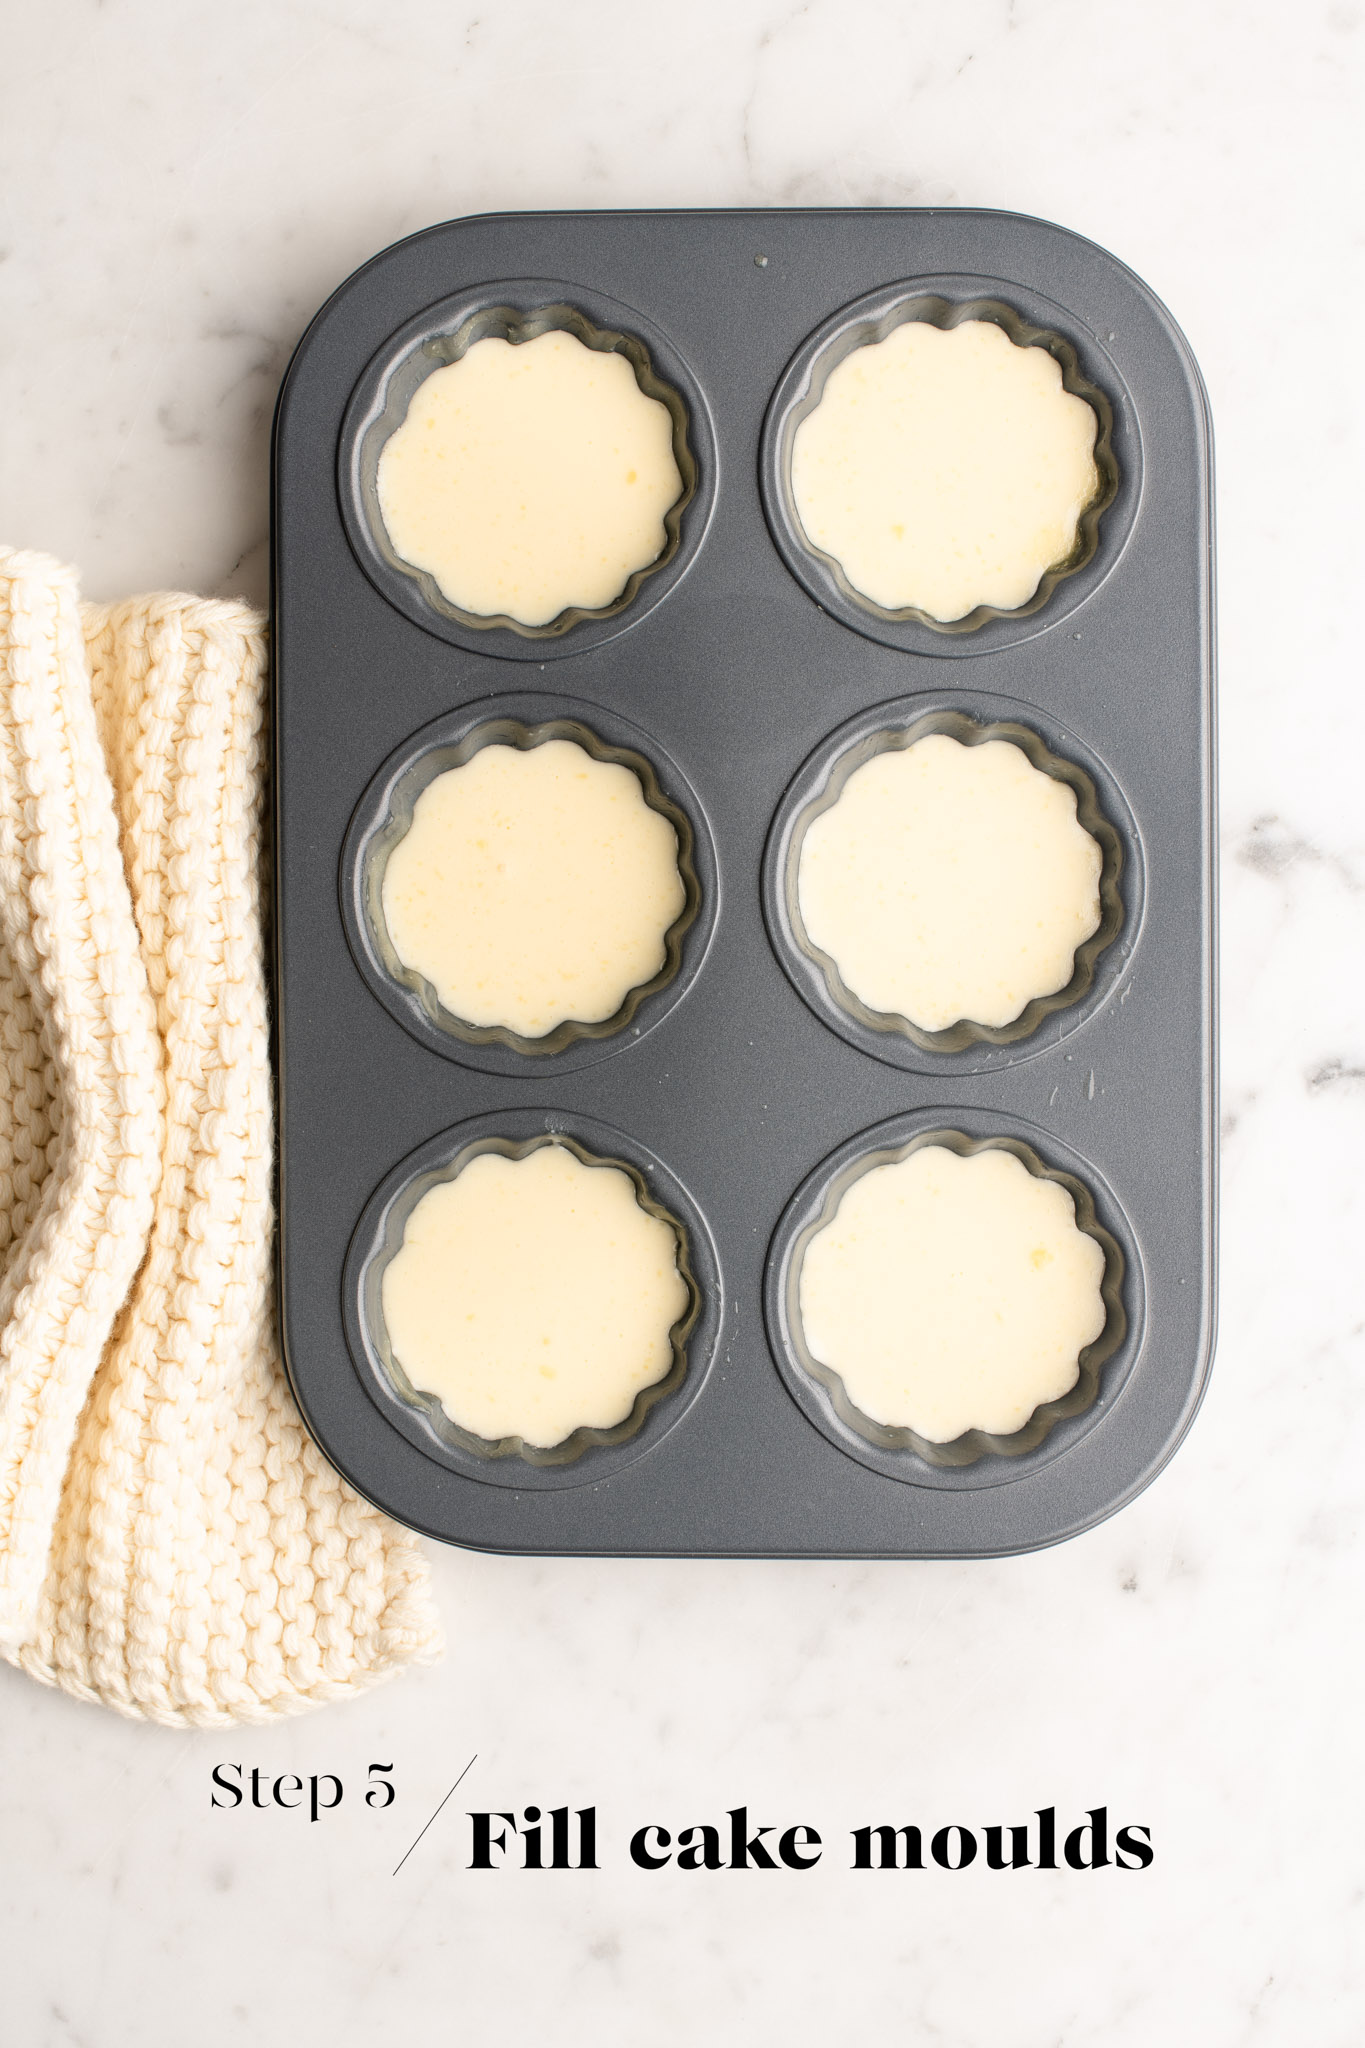
Step 5
Then fill each mould 3/4 full with the batter.
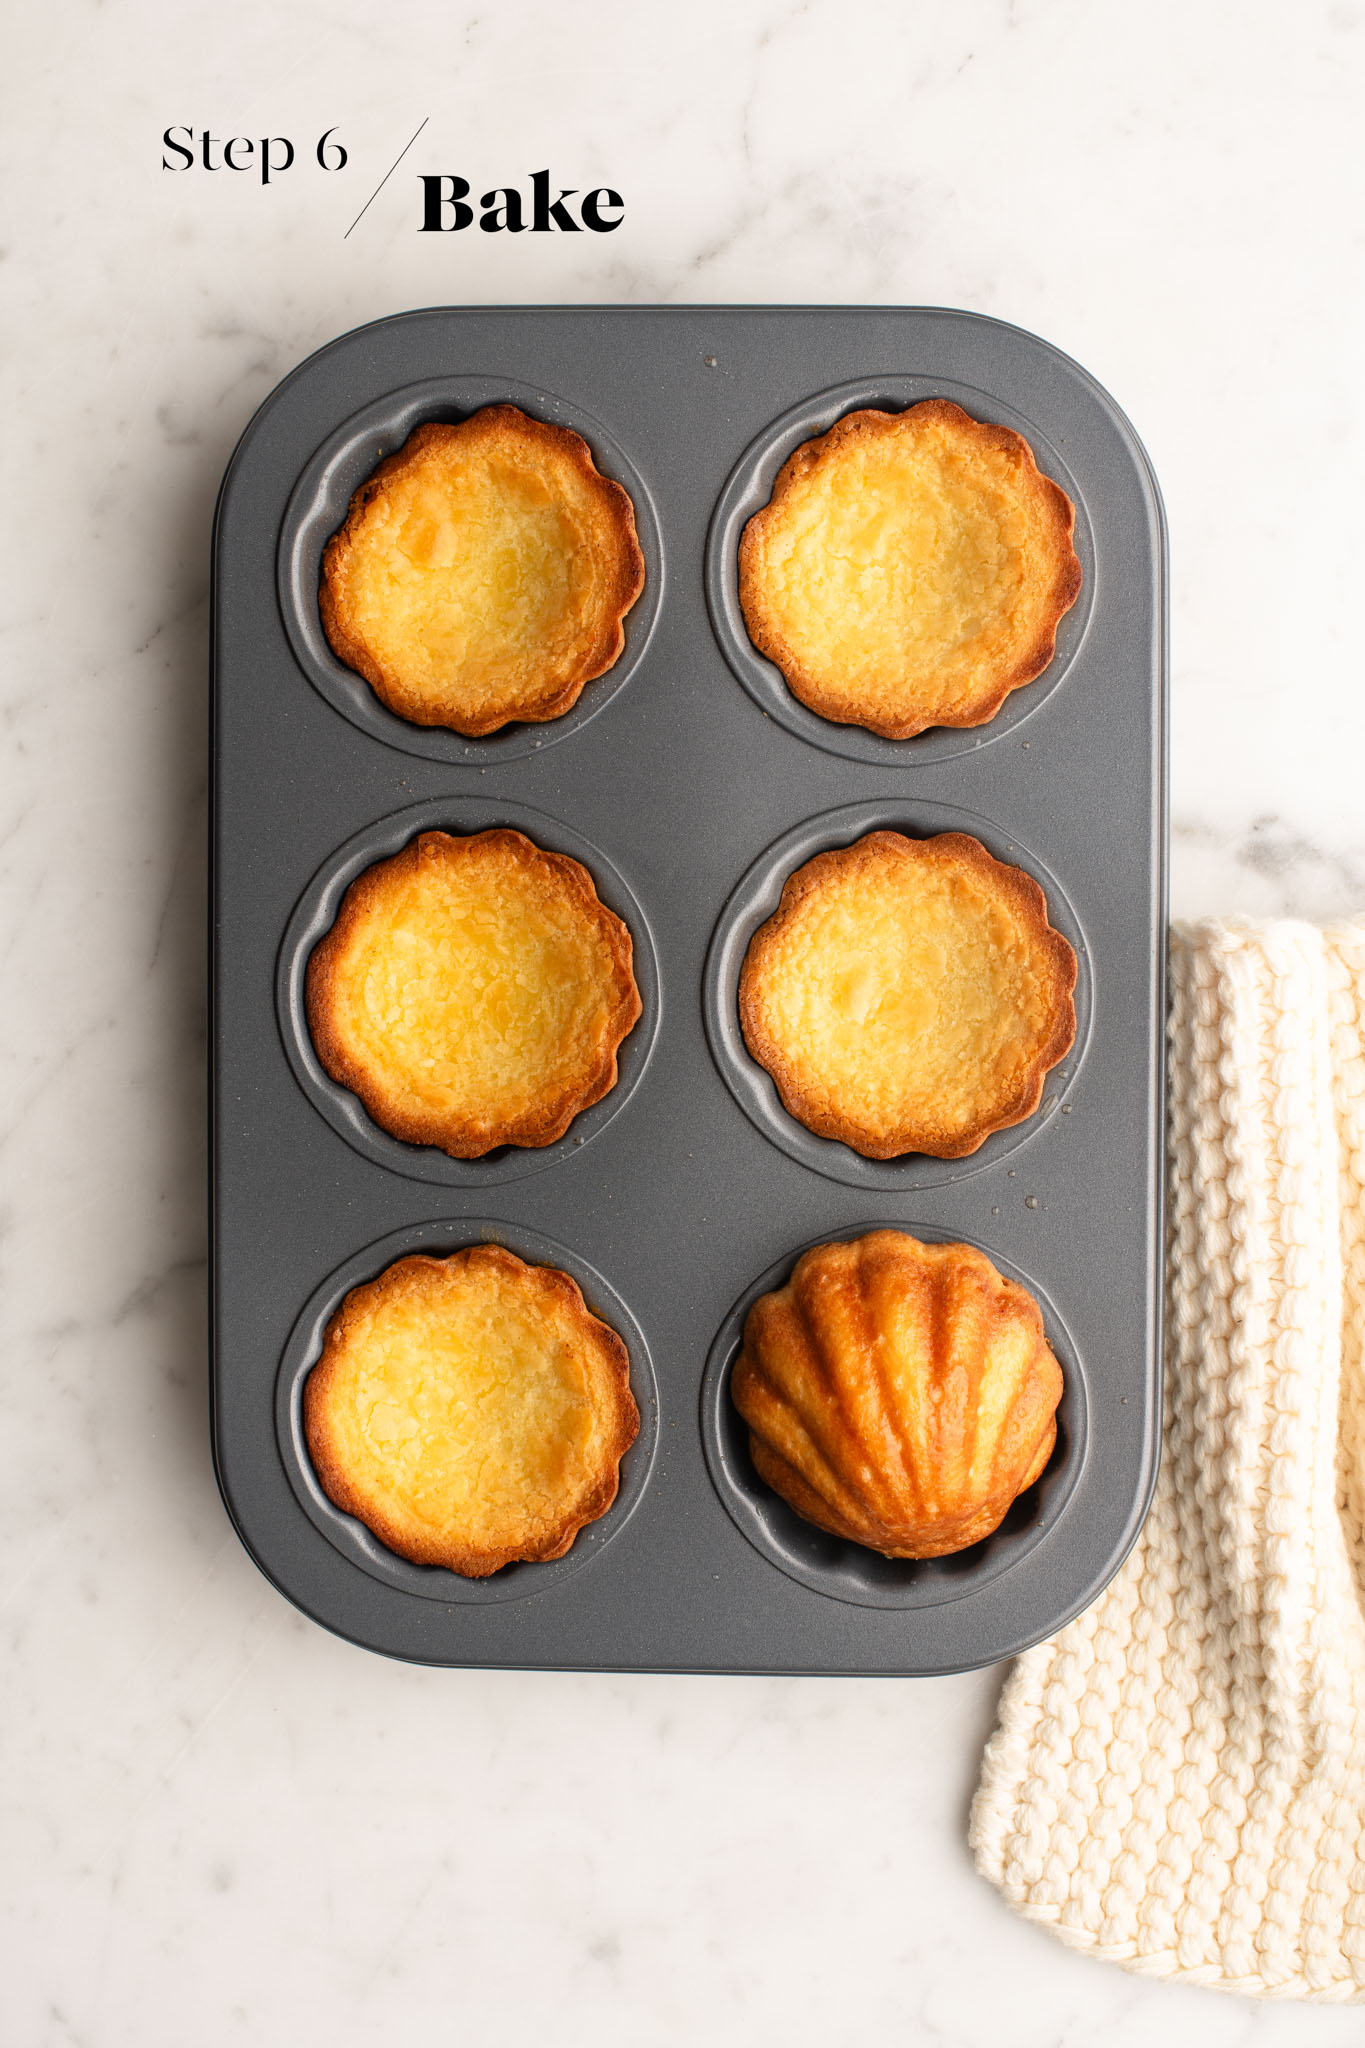
Step 6
Preheat the oven to 180°C/356°F (without fan).
Bake the cakes for 30-35 minutes, or until they are golden all over. The top of the cakes may rise and puff during baking, but they should settle upon cooling.
Tips For Making Shanghai Butter Mochi
- This recipe can be halved to make a smaller batch.
- Any leftovers can be kept in the fridge for a few days. Reheat the mochi in an air fryer or oven for a few minutes to warm through and crisp up again.
Shanghai Butter Mochi
Ingredients
To Grease the Pan
- 35 g (2 ½ tablespoons) unsalted butter, melted and cooled
For the Shanghai Butter Mochi
- 110 g (½ cup) caster sugar, superfine sugar
- 2 eggs
- 400 ml (1 ⅔ cup) milk
- 1 teaspoon vanilla extract
- 65 g (4 ½ tablespoons) unsalted butter, melted and cooled
- 320 g (11 ½ oz) glutinous rice flour
- ½ teaspoon fine salt
Instructions
- Before making the batter, make sure all of your ingredients are at room temperature.
- Preheat the oven to 180°C/356°F (without fan).
- Place a metal baking tray in the middle of the oven to preheat.
- Generously grease a 12-hole muffin tray or similar with the 35 g of melted butter (you may not need all of it).
- In a large mixing bowl, preferably with a spout, whisk together the sugar and eggs until it is light and pale.
- Whisk in the milk, vanilla and melted butter.
- Finally, add the glutinous rice flour and salt.
- Whisk until you have a smooth batter.
- Carefully pour the batter into the prepared moulds, filling each mould ¾ full. The batter will rise and puff up during baking, so it is important to not over-fill the moulds.
- Place the filled moulds onto the preheated baking tray in the oven.
- Bake for 30-35 minutes, or until the cakes are nice and golden. The cakes will generally be flat on top, but some cakes may rise and remain puffed up.
- Serve the cakes hot or warm.
- Leftovers can be stored in the fridge and reheated in the air fryer.
Kitchen Notes
- OVEN & STOVE TEMPERATURES
All recipes on this website have been tested on an induction stove and/or with a conventional oven (i.e. an oven without fan). All recipes on this website use temperatures for a conventional oven, unless otherwise mentioned. Convection ovens (i.e. fan-forced ovens) are typically 20°C/70°F hotter than conventional ovens, but please check your manufacturer’s handbook. - CONVERSIONS
To convert from cups to grams, and vice-versa, please see this handy Conversion Chart for Basic Ingredients.


I just made a half batch and wish I had made a full batch instead! These are absolutely delicious.
Baked this and it tasted amazing! Outside was crunchy and the inside was chewy.
So glad you enjoyed this recipe!
I tried this from a store the other day and they were so good, I knew I had to search for a recipe. Where did you get the moulds from?
Hi Jess,
I bought the moulds locally from a homewares store, but you can find them on Amazon at this link. If you can’t find this particular mould, a madeleine pan or a muffin tin also work great. Hope you will enjoy this recipe!
Great recipe! Made these in our toaster oven with a regular muffin tin. Did not have caster sugar so subbed granulated. Turned out just fine. Thank you @eatlittlebird!
Soo delicious and addictive! Super easy to make. I ended up with 48 small ones
Hi Irene,
Yes, they are addictive! So glad you enjoyed this recipe 🙂