Homemade Vanilla Extract
If you are an avid baker, you probably go through an eye-watering amount of vanilla extract each year. I didn’t realise the cost until, one time, I figured that I was on my 4th bottle of very expensive vanilla extract, and it wasn’t even Christmas yet.
So, that winter, once all of the Christmas festivities were over and I found a quiet moment after New Year’s Day, I set about making my own Homemade Vanilla Extract. And I can’t tell you how satisfying it is to not only make your own bottle of liquid gold, but to save money in the long term.
It’s one of those projects I wish I had started a long time ago, not least because you have to wait 6-12 months before you can even use your vanilla extract! But it’s never too late to start, and I promise it is worth the effort and upfront cost.

Why Make Your Own Vanilla Extract?
Store-bought vanilla extract vary greatly in cost and quality. If you are prepared to pay top dollar for good quality vanilla extract, the cost of a small bottle can set you back a pretty penny.
In fact, when I decided to make my own Homemade Vanilla Extract, I found that the upfront cost of buying an insane number of vanilla beans and a large bottle of vodka was about 1/3 the cost of buying the same quantity of vanilla extract. That alone convinced me to start making my own vanilla extract!
I also used to despise the little bottles of vanilla extract which always ran out so quickly. One thing I love about my Homemade Vanilla Extract is having a nice, large bottle of it, which I can refill as I use it, meaning I will always have a good quantity of vanilla extract to hand.
Vanilla Extract Recipe
The recipe for vanilla extract is very simple and straight-forward: vanilla beans and vodka. You will need lots of good quality vanilla beans (the more, the better), and enough vodka to cover them in the bottle.
What Type of Vanilla Beans to Use
I use Madagascar Bourbon Vanilla Beans because they are readily available from my local supermarket, plus they contain a lot of seeds which contribute to a rich vanilla aroma, as well as an intense colour.
Vanilla beans vary in price, and to make a Homemade Vanilla Extract, I would aim to buy a middle-of-the-range variety because you will need a lot of vanilla beans to make your own vanilla extract, but you don’t want to go bankrupt either.
What Type of Alcohol to Use
I use vodka to make Homemade Vanilla Extract because it is rather “neutral” in flavour, i.e. it doesn’t add any alcohol flavour when used in a baking recipe, plus it can carry other flavours well.
In the first 3-6 months after you have made your Homemade Vanilla Extract, there will be a strong alcohol smell when you remove the lid from the bottle. But after some time has passed, the vanilla aroma will intensify, and you will notice the alcohol smell less and less.
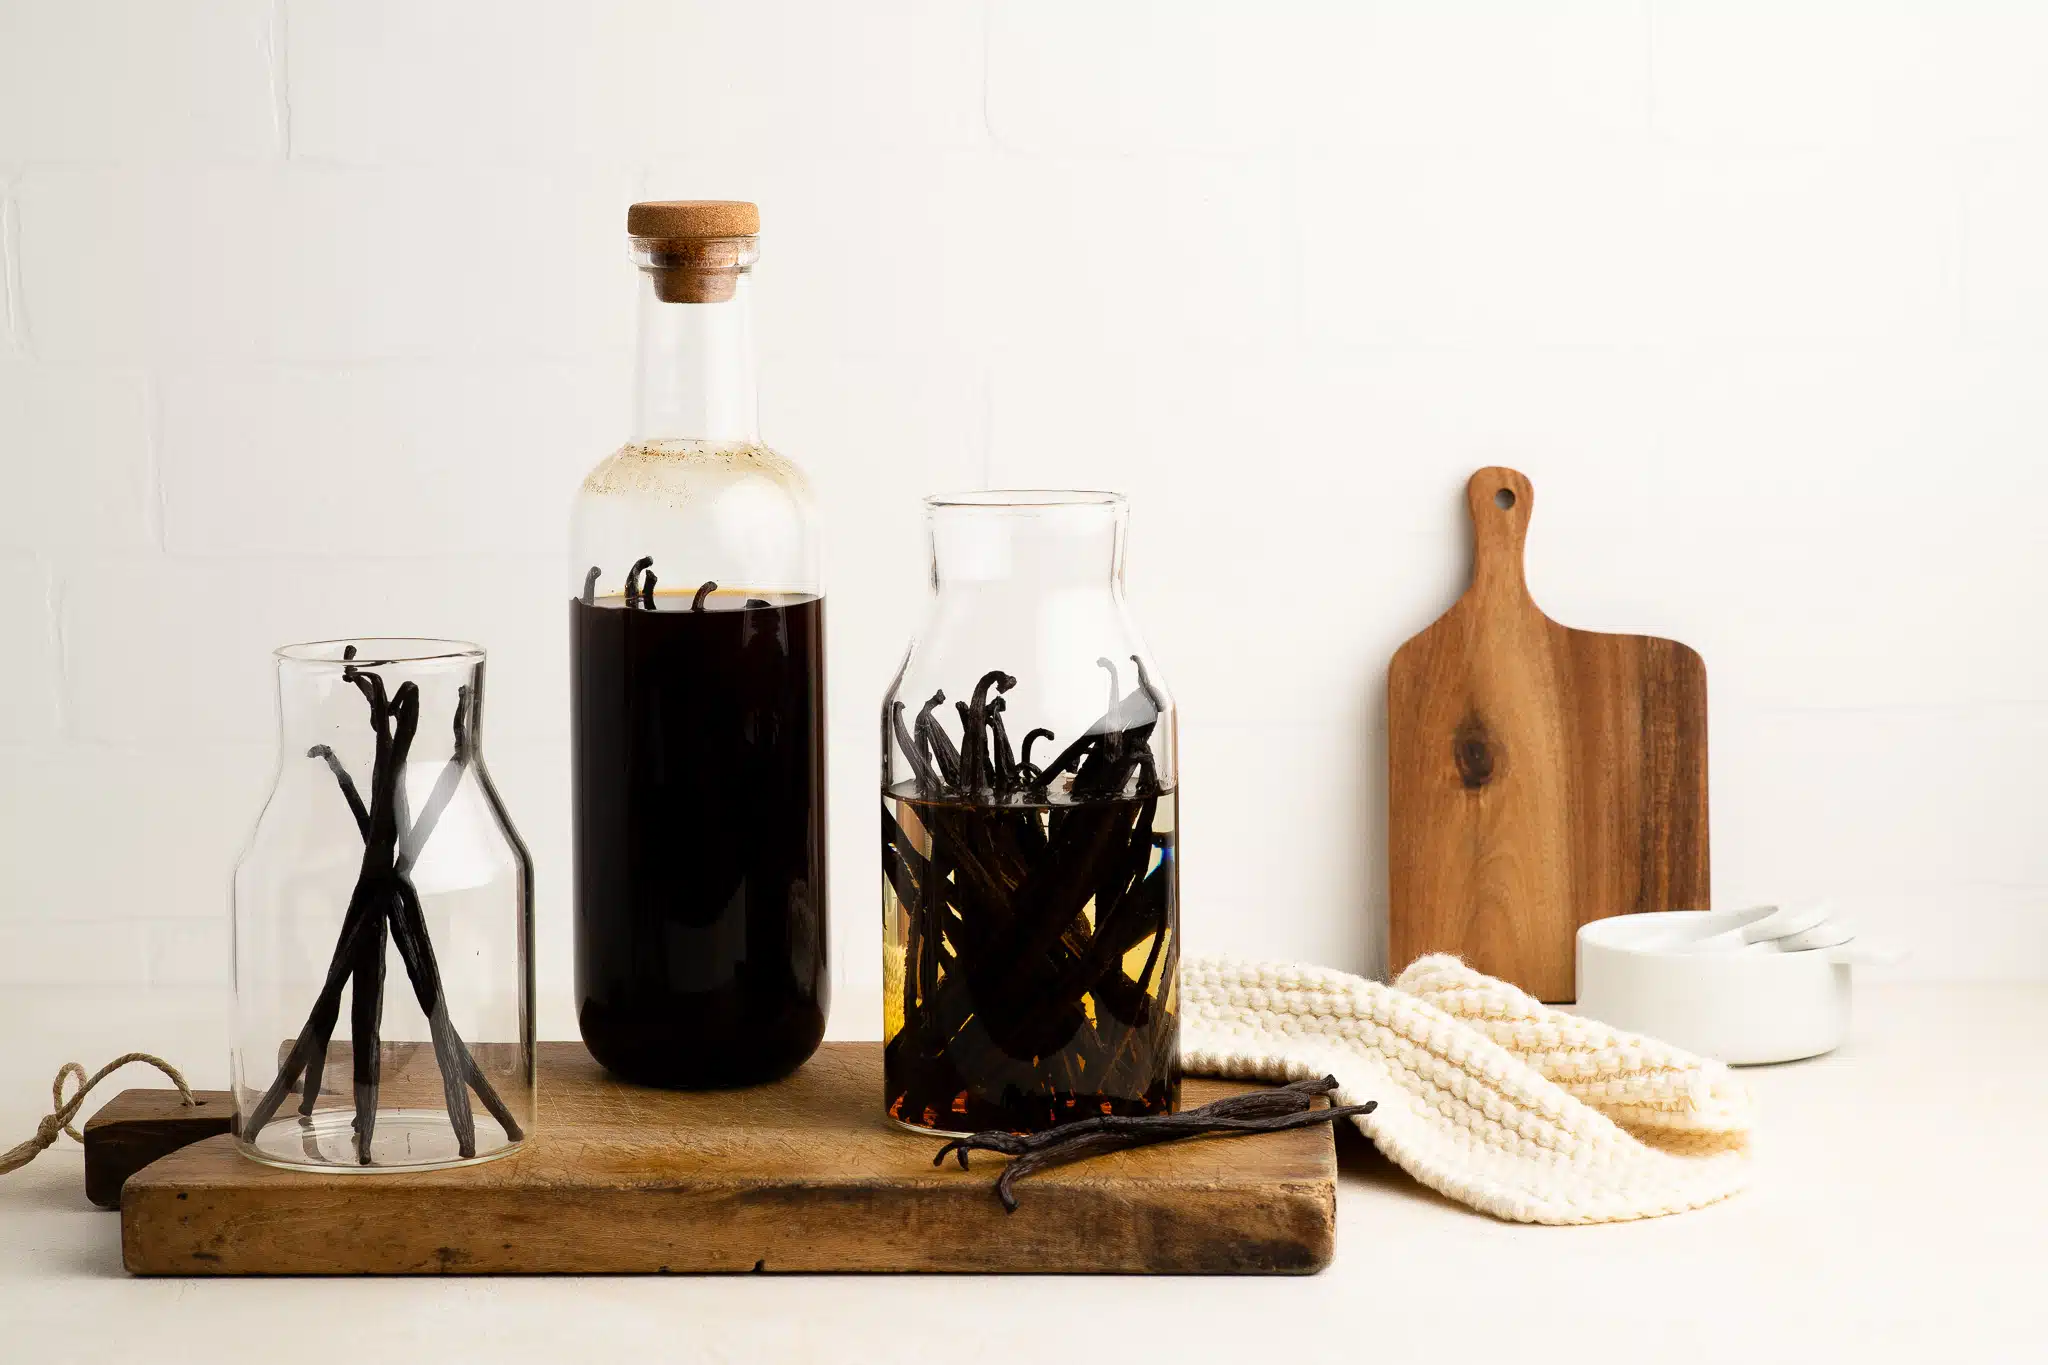
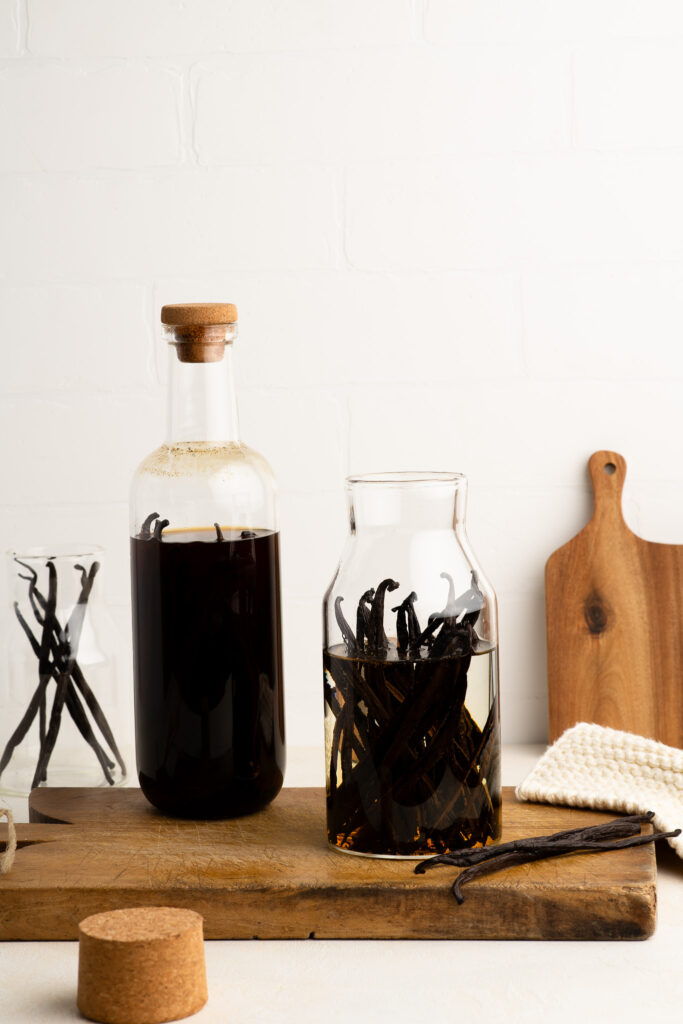
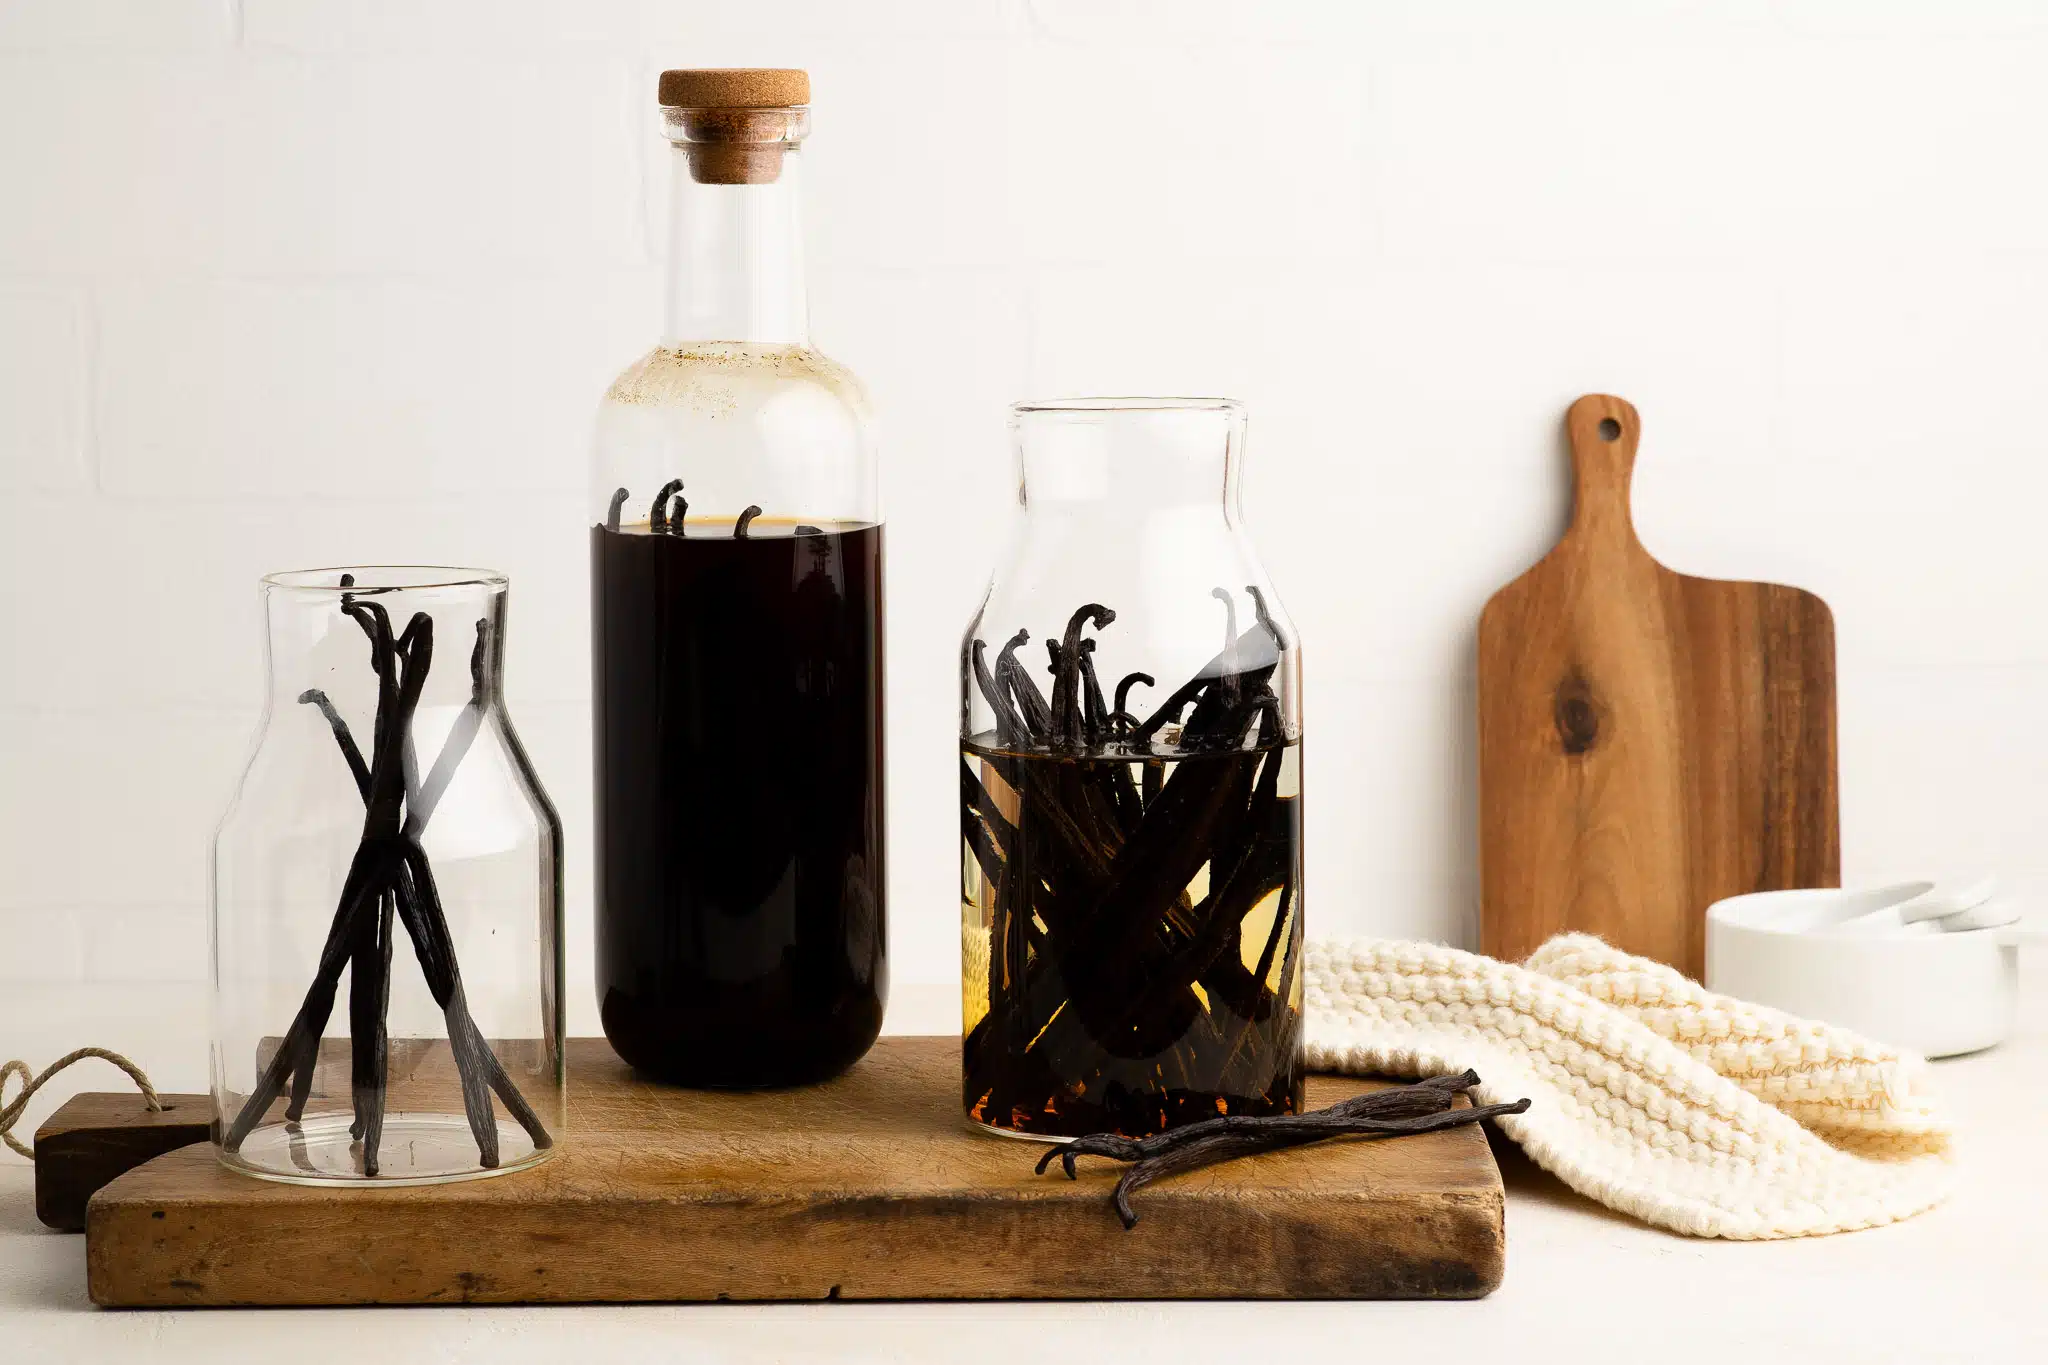
What Type of Bottle to Use
Any tall glass bottle with a tight-fitting lid, and that can comfortably fit the standing vanilla beans, would be suitable.
I think a bottle with a wide neck is easier to insert and remove vanilla beans.
If you are making the Homemade Vanilla Extract for yourself, I think a glass bottle with a cork lid is both practical and aesthetically pleasing.
However, if you plan to make Homemade Vanilla Extract to give as gifts, a cork lid is not so practical as it can get wet and also dislodge easily.
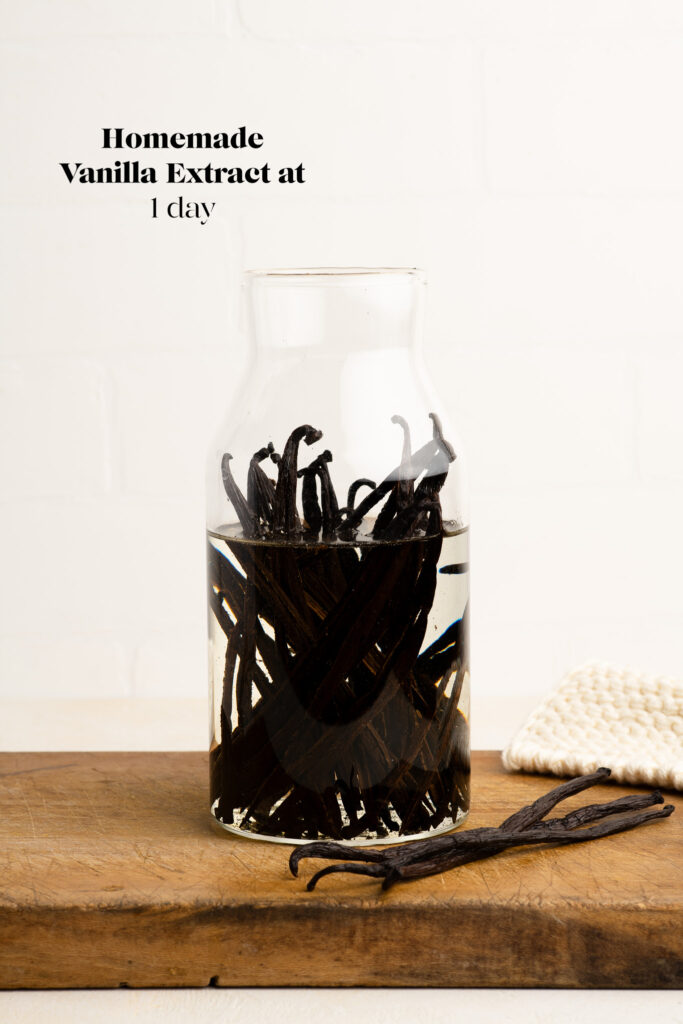
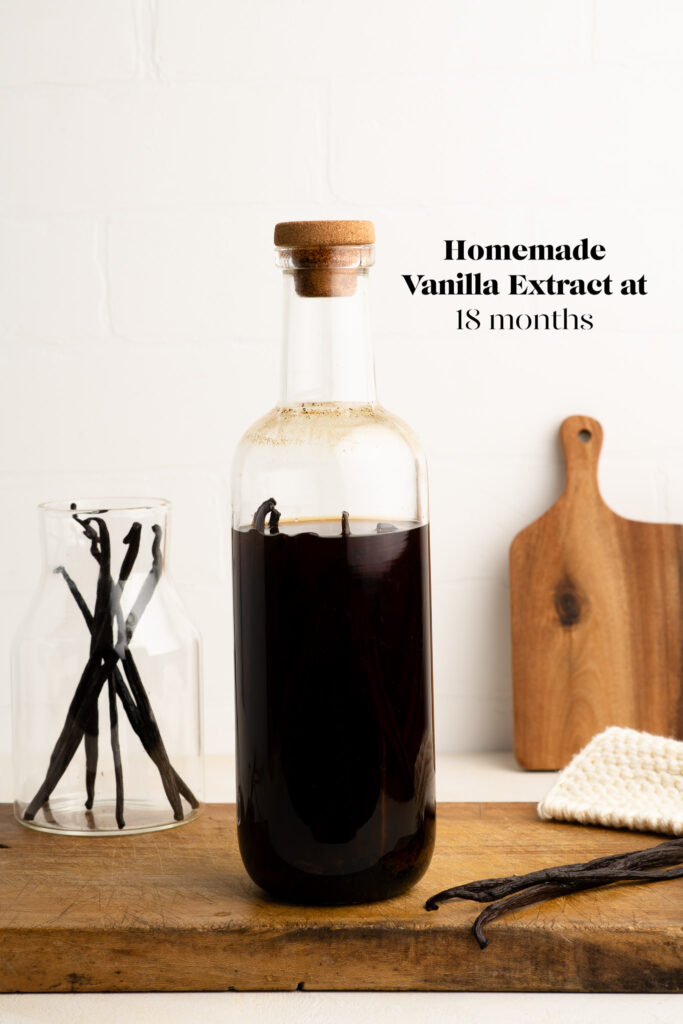
When to Start Using Homemade Vanilla Extract
Some recipes say that you can start using your Homemade Vanilla Extract after about 3 months. I waited 6-9 months before using my own Homemade Vanilla Extract because, by that time, the colour was dark and intensified, and the vanilla aroma was strong and to my liking. However, I think the Homemade Vanilla Extract was at its best from 12 months onwards. Much depends on how many vanilla beans you have used – more vanilla beans means more flavour, more quickly.
Where to Store Homemade Vanilla Extract
Your Homemade Vanilla Extract should be stored somewhere cool and dark. I keep mine in my pull-out pantry with my cooking oil and sauces.
How to Refill Homemade Vanilla Extract
Once you have used about 1/4 to 1/3 of the bottle, top up with some vodka. You can also add fresh vanilla beans to the bottle, but make sure the vanilla beans have not been contaminated with any other ingredients.
If there are too many vanilla beans in the bottle, you can remove a few to make way for fresher vanilla beans.
Don’t wait until the bottle is, say, half empty before refilling with vodka. Otherwise, you will be diluting the intense vanilla extract which you have waited so long to develop, and it will take several months before the refilled bottle reaches the same intensity again.
How Long Does Homemade Vanilla Extract Keep?
I would say that Homemade Vanilla Extract can be kept indefinitely, owing to the alcohol content. However, I would anticipate that after 3-4 years, you might want to start a new batch of Homemade Vanilla Extract. But you can do this while you are using up the old batch.
Make Homemade Vanilla Extract as Gifts
Homemade Vanilla Extract would be the perfect gift for anyone who loves to cook and bake. I would suggest preparing the vanilla extract about 3 months in advance, if not more. It would be awkward to gift something and tell that person they can’t use it for 6-12 months! ???? If you wish to use a smaller bottle, trim the vanilla beans to fit, and also choose a bottle with a tight-fitting lid that will not dislodge during transit (not a cork lid).
Homemade Vanilla Extract
Ingredients
- 24 Madagascar Bourbon vanilla beans
- 500-750 ml (2-3 cups) vodka
Instructions
To Sterilise the Glass Bottle
- Choose a glass bottle which is tall enough for the vanilla beans to stand comfortably, and ideally with a wide neck so that you can easily add and remove the vanilla beans.
- Wash the bottle (and lid, if necessary) in hot, soapy water.
- Place the bottle (and lid, if necessary) on an oven tray.
- Place the tray into a preheated oven at 180°C/356°F (without fan) for 15 minutes.
- Leave the bottle to cool in the oven.
- Alternatively, a bottle cleaned and dried in the dishwasher can also be considered sterilised.
To Make the Homemade Vanilla Extract
- Use a sharp knife to split open a vanilla bean by cutting it through the centre, length-wise.
- Use the blade of the knife to scrape out the seeds from both sides of the split vanilla bean.
- Transfer the seeds to the edge of the vanilla bean, so that the seeds adhere to the outside of the vanilla bean. This makes it cleaner and easier to transfer the seeds to the glass jar.
- Place the vanilla bean, with the scraped seeds, into the clean glass jar.
- Repeat the above steps with the remaining vanilla beans.
- Fill up the bottle with vodka until the vanilla beans are completely submerged.
- Use a long chopstick or similar to give everything a good stir.
- Cover the bottle with a tight-fitting lid.
- Place the bottle somewhere cool and dark.
- About once a week, give everything a good stir.
- After 3 months, your Homemade Vanilla Extract might be ready to use, depending on how full-flavoured you need it to be.
- I recommend waiting 6-9 months before using your Homemade Vanilla Extract.
To Refill the Homemade Vanilla Extract
- Once you have used about 1/4 to 1/3 of the bottle, simply top up with more vodka.
- You can add fresh vanilla beans (split and de-seeded) to the bottle any time to improve the colour and flavour.
- If you have used more than 1/3 or 1/2 of the bottle, top up with more vodka and fresh vanilla beans, and wait a few months before using.
Kitchen Notes
- TO MAKE AS GIFTS
If you wish to use smaller bottles to give as gifts, you can trim the vanilla beans to fit. Ideally, you should gift the vanilla extract when it has fully developed, otherwise at least after 3 months. - CONVERSIONS
To convert from cups to grams, and vice-versa, please see this handy Conversion Chart for Basic Ingredients.

Thanks for the recipe! I just made my first bottle of vanilla extract and now I have to wait at least 6 months to see how it turns out ???? I can’t wait!
I followed your recipe to make vanilla extract and my bottle is now 1 month old. It already smells divine, although the alcohol smell is still quite strong. I can’t wait to use it!
Hi Pete,
Only 2 months to go … at least 😉 You will love it!
My bottle is now 6 months old and smells divine! Thanks for your recipe and helpful tips.
Hi Carrie,
Enjoy your precious bottle of vanilla extract 🙂
I made a bottle of vanilla extract last year and I have been topping it up with vodka when it starts to look about 1/3 empty. Just topped it up again after a big baking session this week and I just love this homemade vanilla.
Hi Jonathan,
That’s great to hear! If you use a lot of vanilla in baking, it’s definitely worthwhile making your own 😊