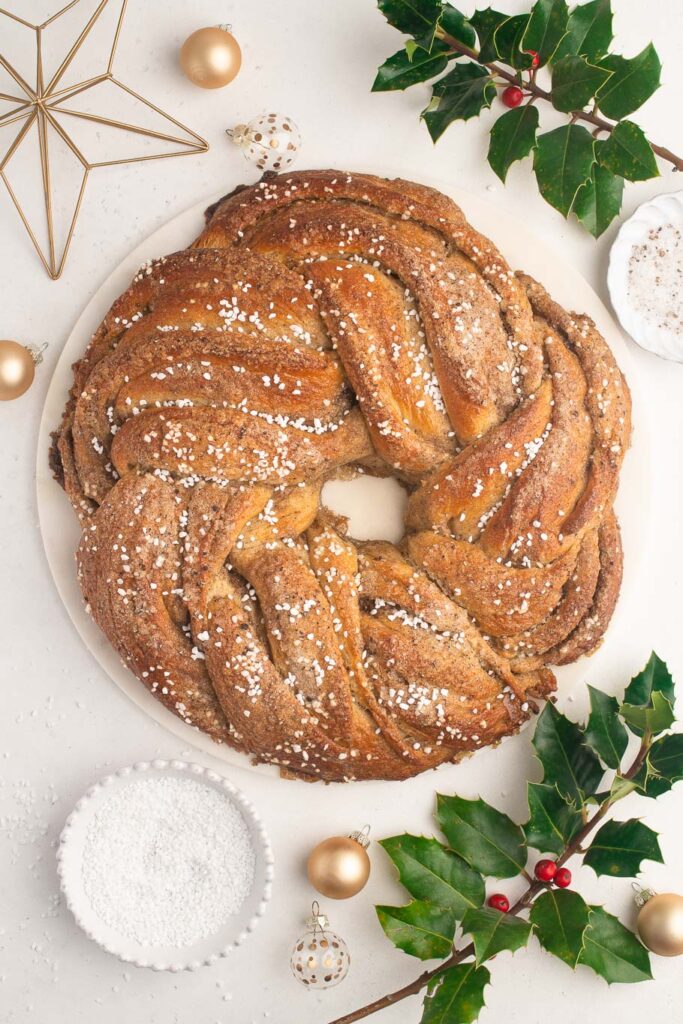
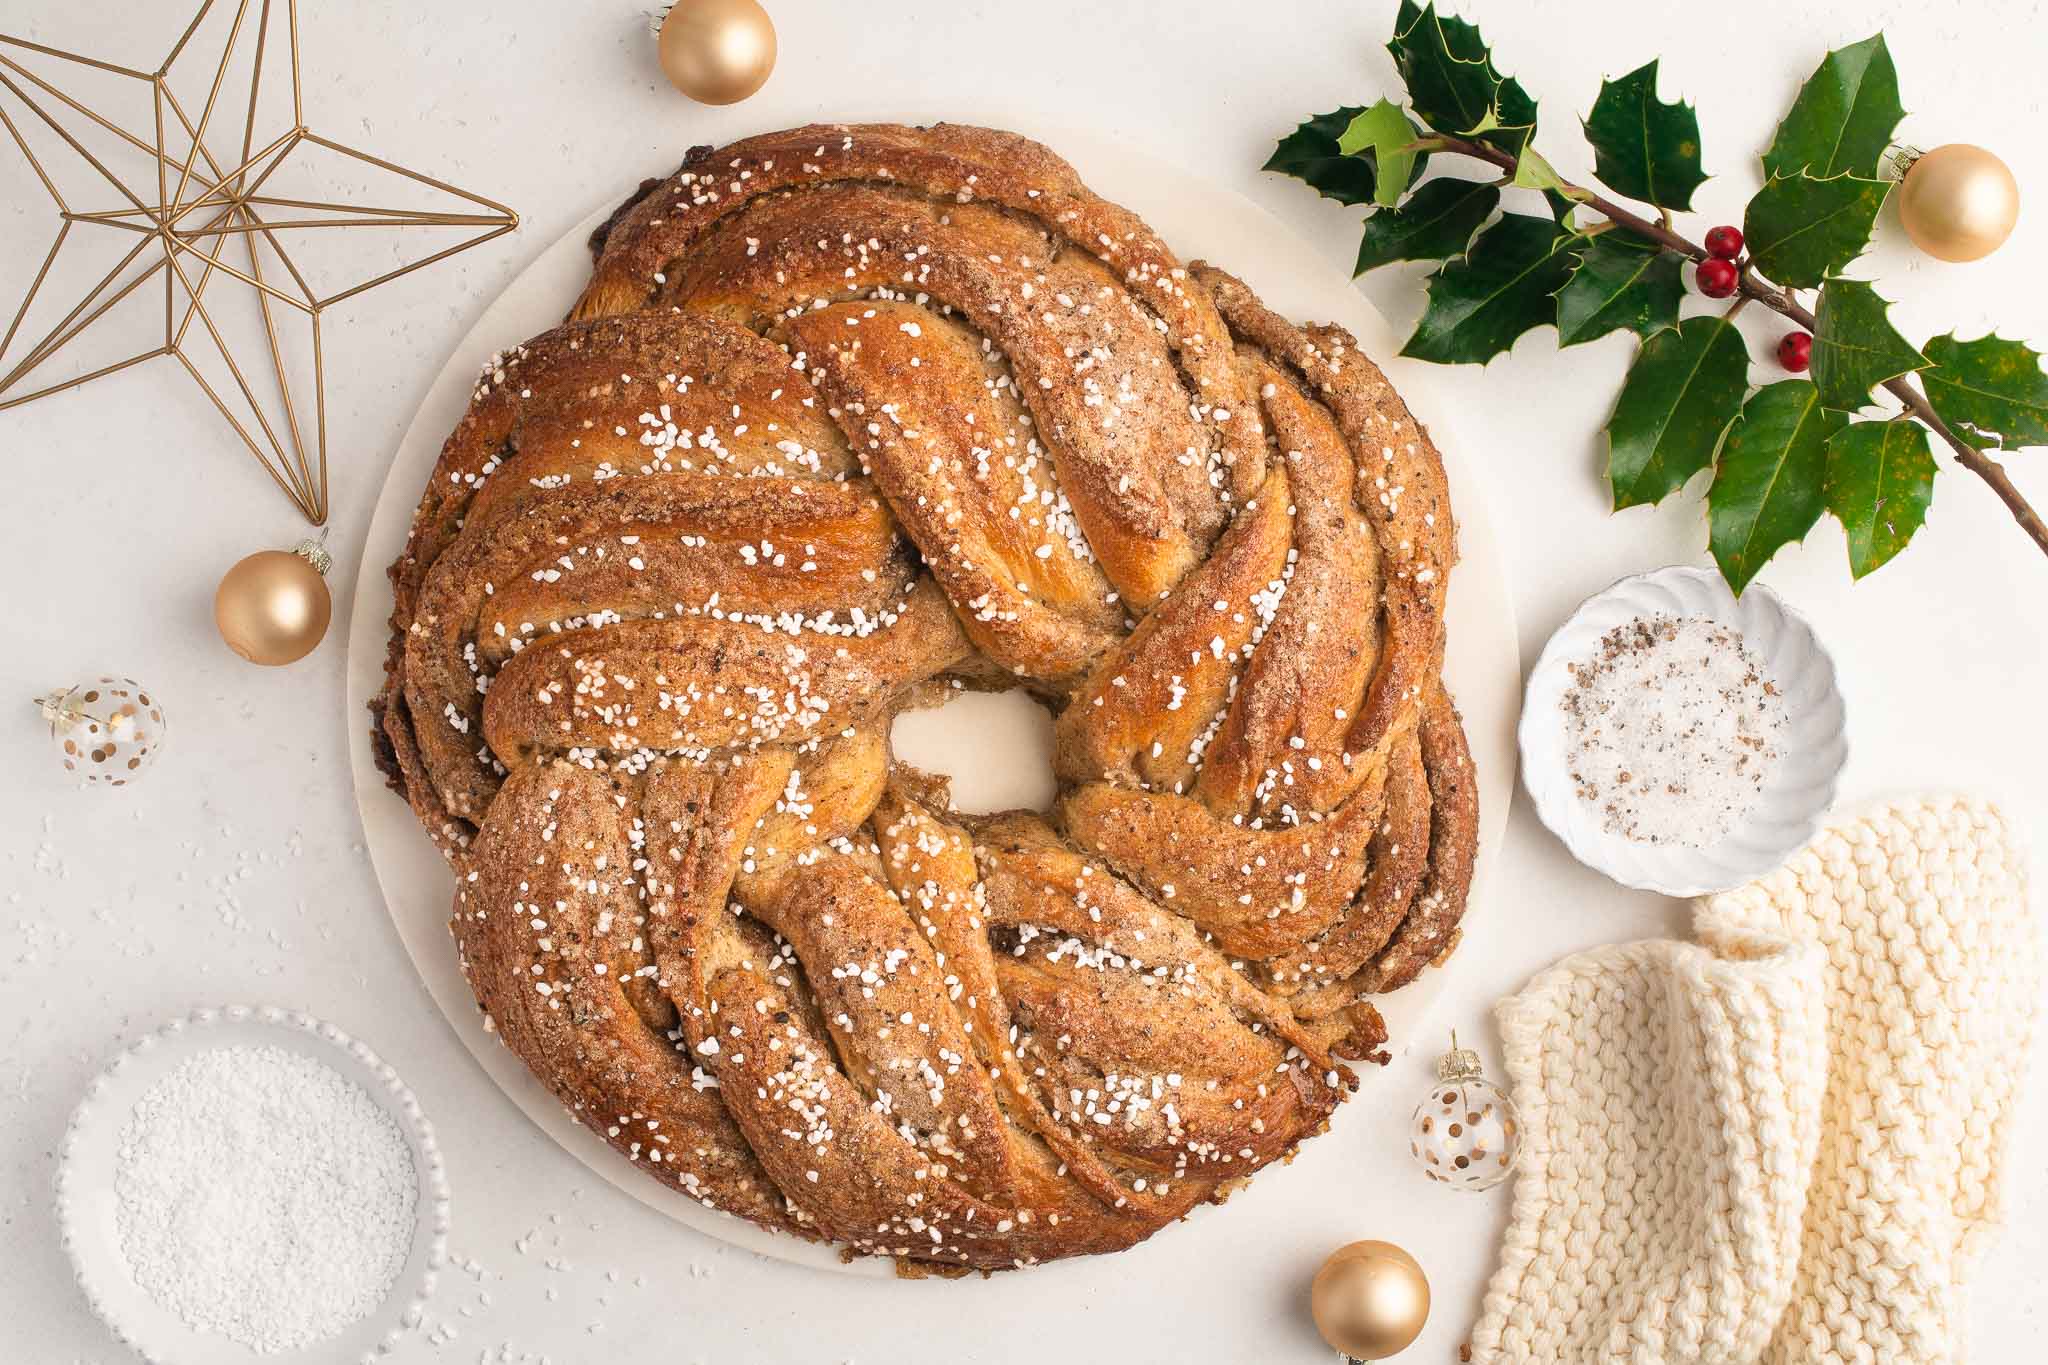
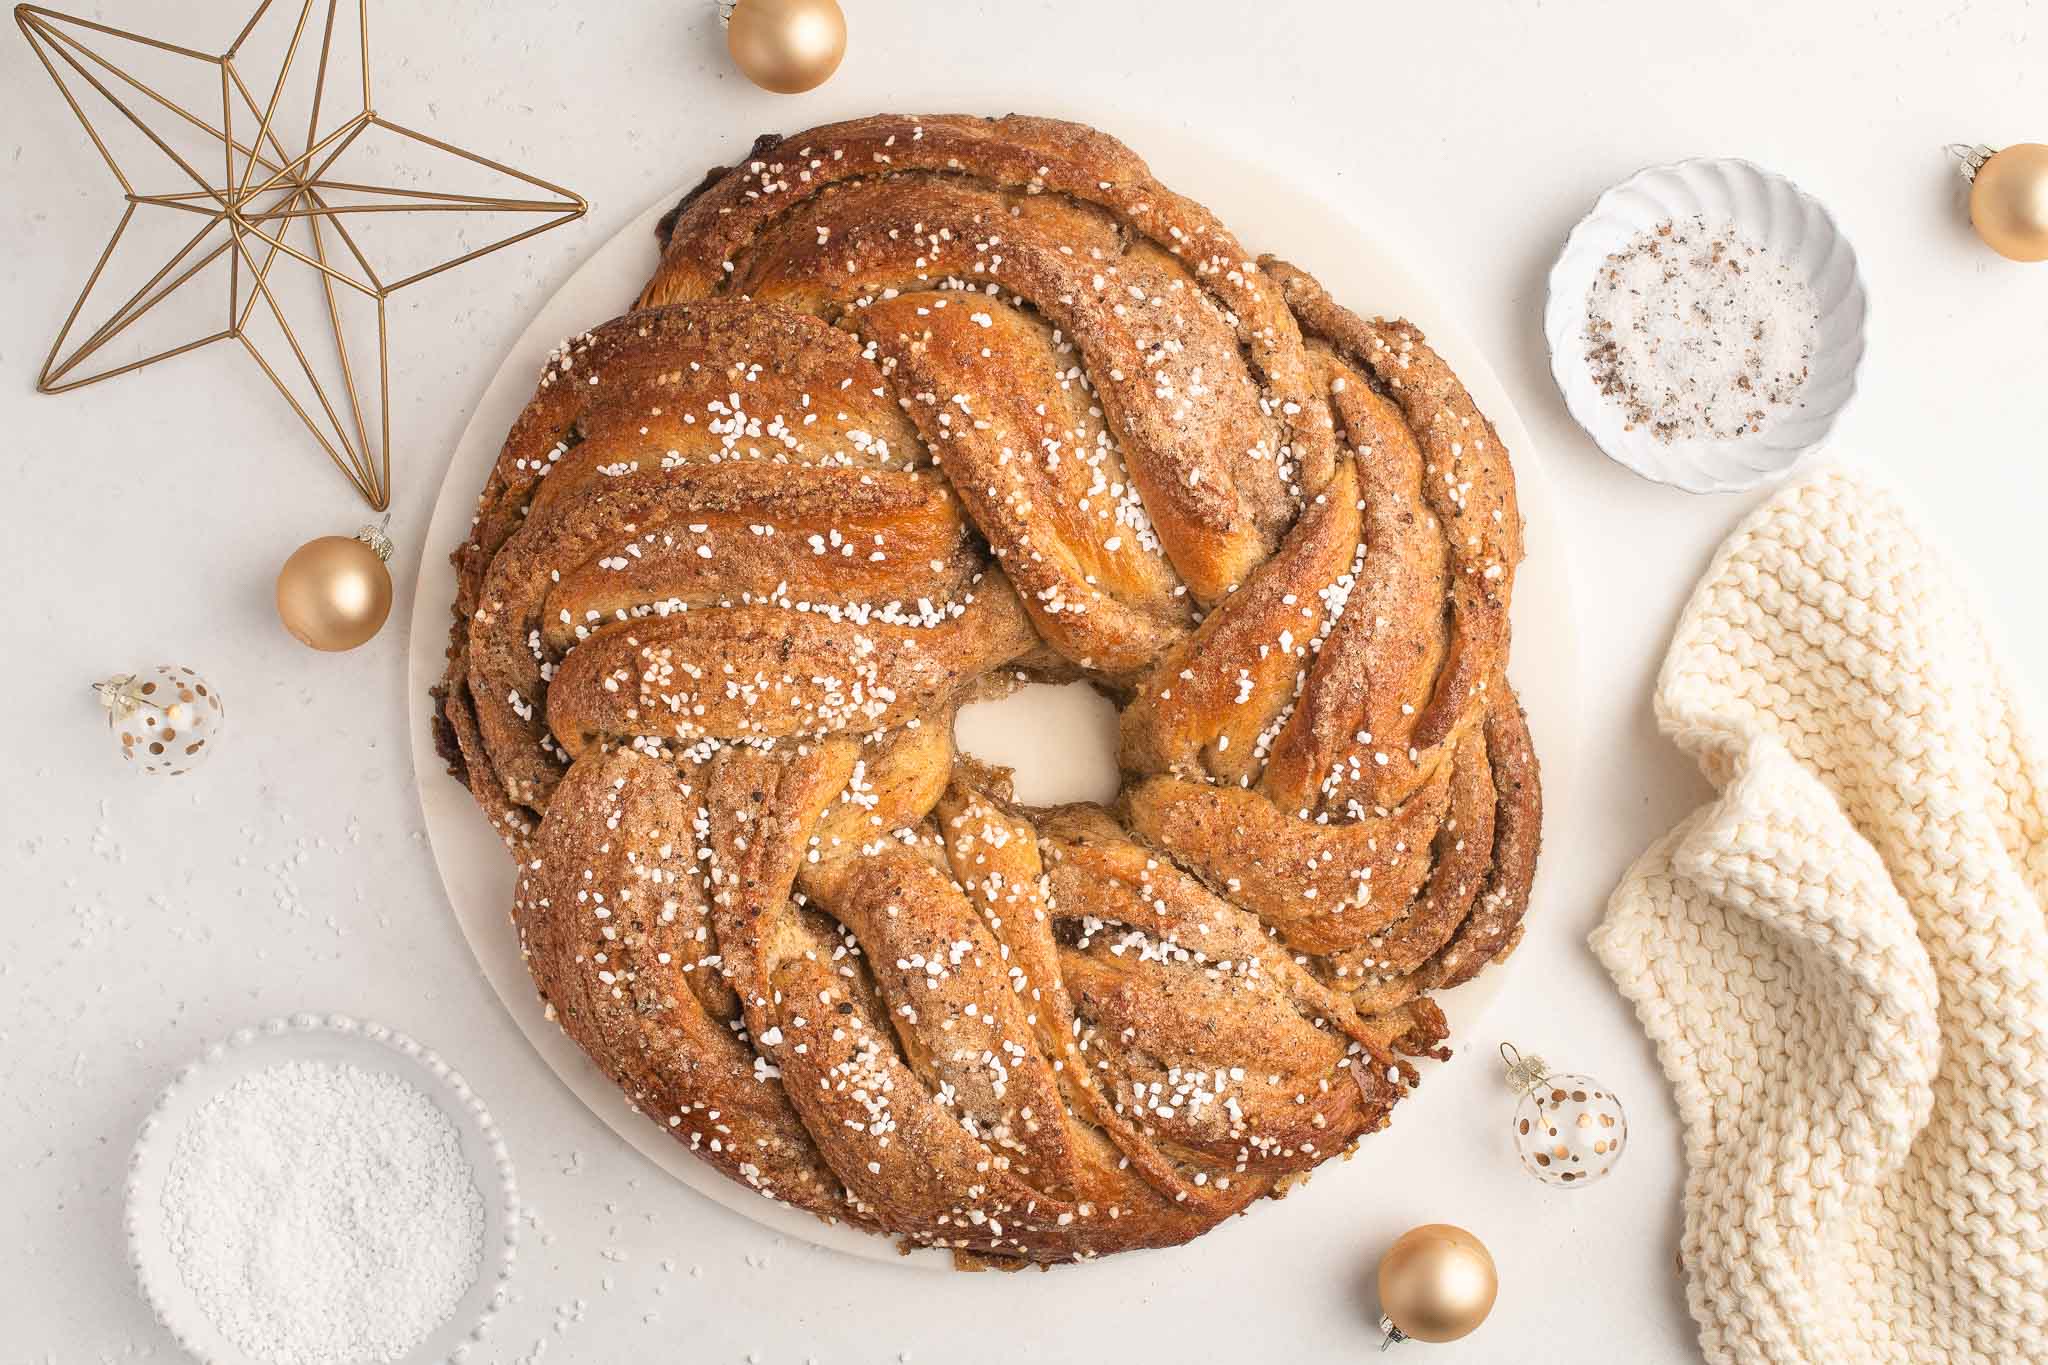
Cardamom Babka Wreath
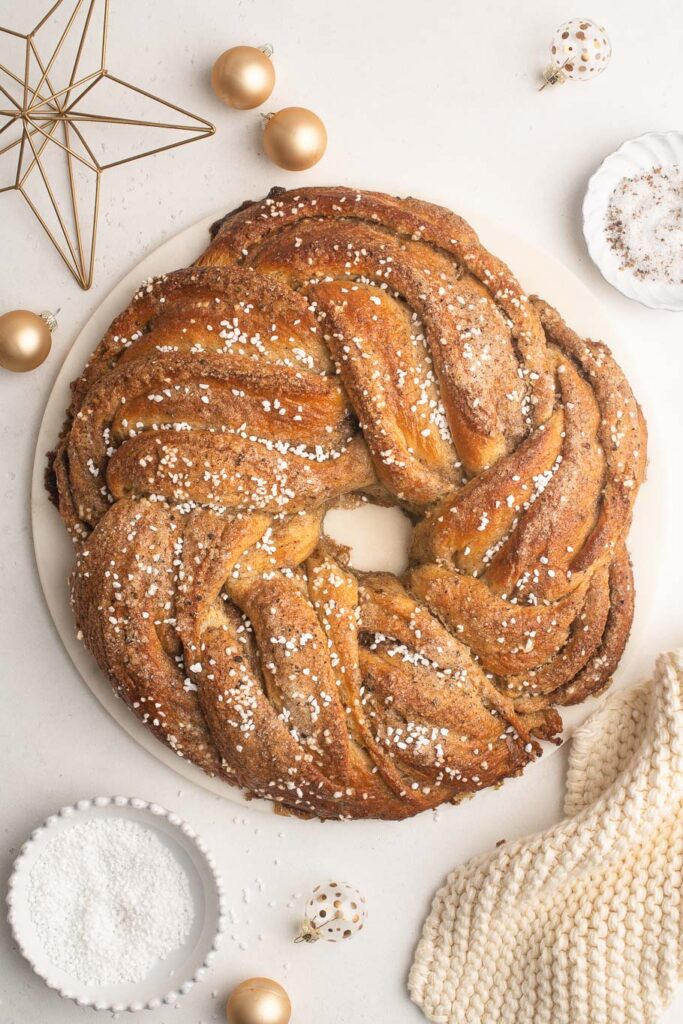
If you’re looking for the perfect centrepiece for Christmas brunch, may I suggest this Cardamom Babka Wreath? This beautifully-braided bread, heady with freshly-ground cardamom, will fill your home with the most wonderful scent as it bakes, perfect for getting everyone into the mood for a day filled with festive fun.
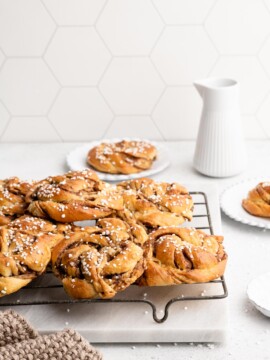
This Cardamom Babka Wreath is the perfect loaf for slicing and sharing, and I promise you that it is so much easier than it looks! The bread itself is soft and fluffy, but the crust is golden and caramelised from the cardamom-sugar topping which you add just before baking. I also like to generously sprinkle pearl sugar all over the wreath to make it extra cosy for winter.
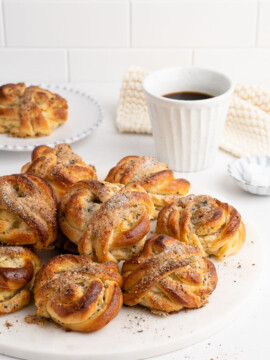
Cardamom Buns
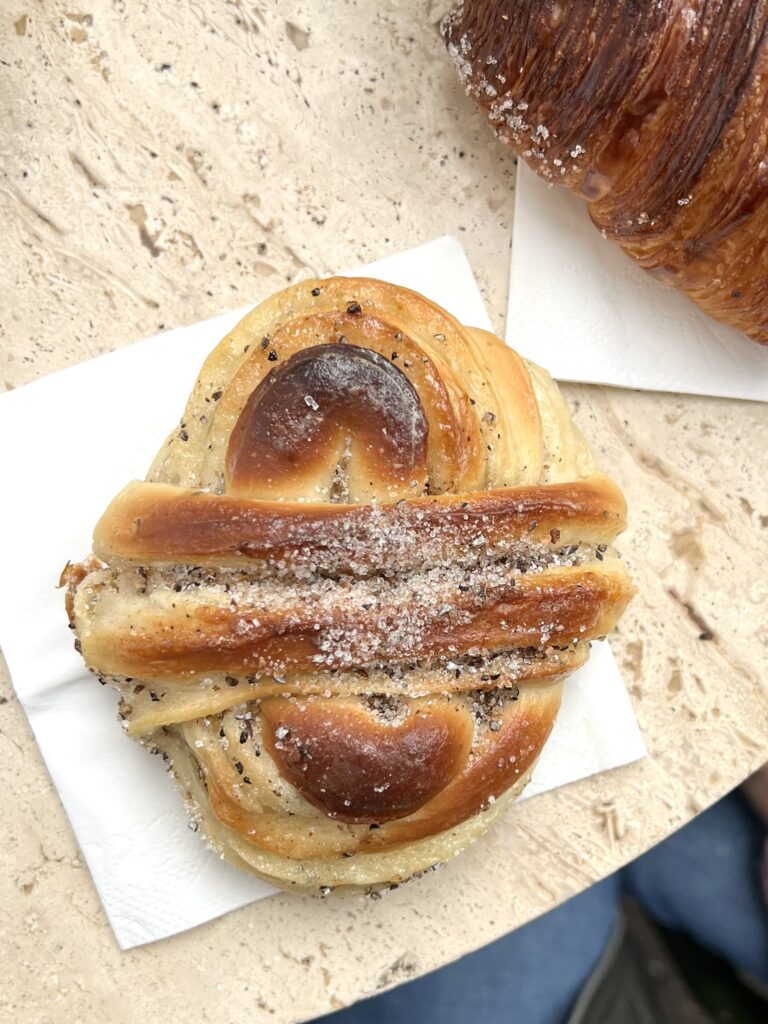
This Cardamom Bun Wreath is, as you may have guessed, a giant version of a cardamom bun which is popular throughout Sweden and Denmark.
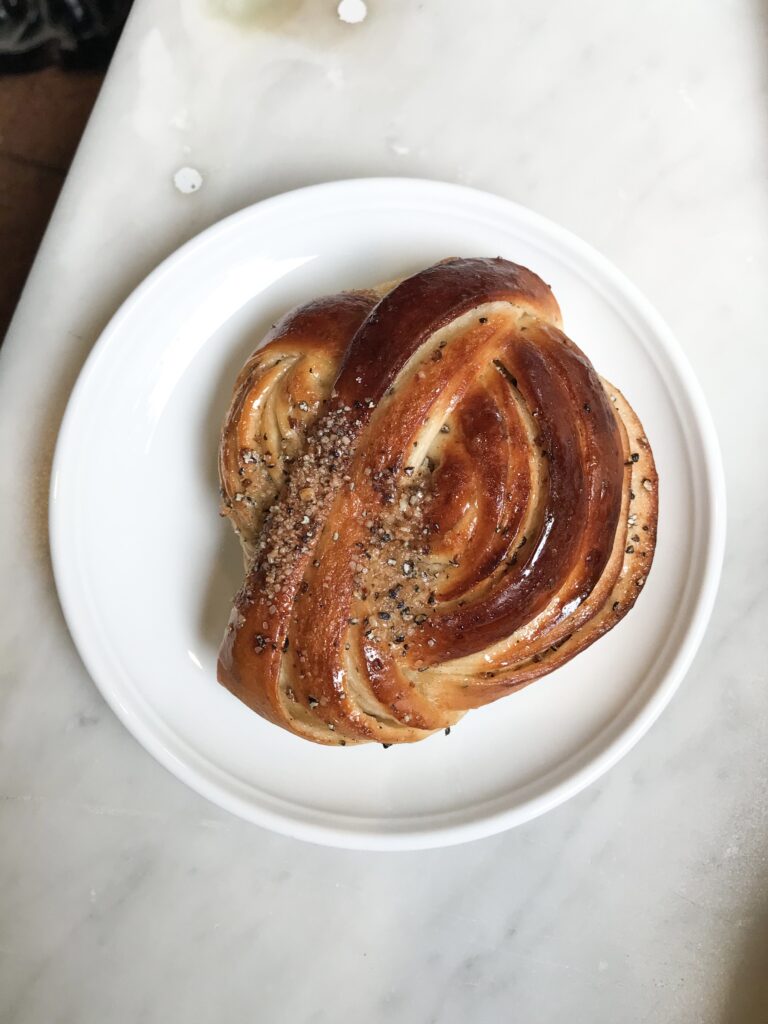
Cardamom buns are usually made as knotted buns, and they are typically eaten at breakfast or during a coffee break. Whenever I am in Sweden or Denmark, I always seek out different bakeries to try every possible version of these delicious buns.
I think you have to be a fan of cardamom to like these buns – they are typically quite heavily spiced with freshly-ground cardamom, which can be quite spicy or peppery in taste. But at home, you can play with the spice levels somewhat, so you can add as much or as little cardamom as you like.
Cardamom Pods vs Cardamom Seeds
If you have ever tasted a fresh cardamom bun from a bakery in Sweden or Denmark, you will usually notice the distinct fragrance of cardamom right away, evidenced by the flecks of freshly-ground cardamom on top of the buns. They look like coarsely ground black pepper, but they are in fact ground cardamom seeds.
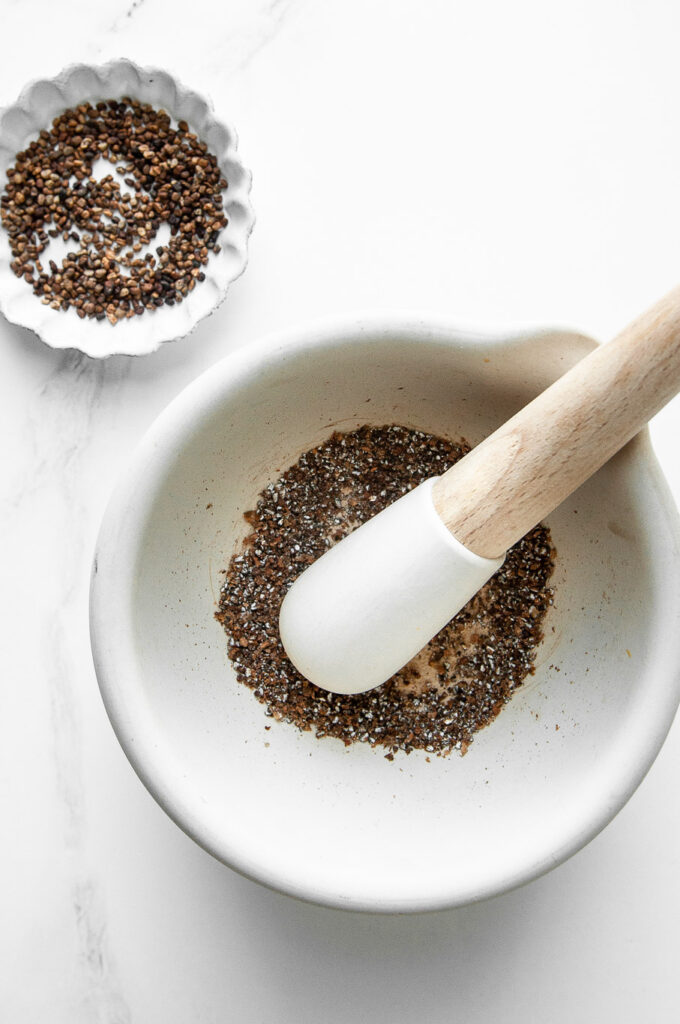
When making cardamom buns, I recommend using whole cardamom seeds which have already been extracted from the cardamom pods (also called decorticated cardamom seeds). If you can’t find cardamom seeds, you can remove the seeds from the cardamom pods themselves by pounding them open with a pestle and mortar. However, this process can be quite fiddly and time-consuming.
The cardamom seeds themselves are too large and coarse to use right away, so you will need to grind them coarsely, either with a pestle and mortar or an electric spice grinder.
If you are out of luck and can’t find neither cardamom pods nor cardamom seeds, you can use ground cardamom which is more readily available. However, store-bought ground cardamom is nowhere near as fragrant and punchy as freshly ground cardamom – you will smell and taste the difference right away.
If you opt to use store-bought ground cardamom in this recipe, I recommend adding an extra 1-2 teaspoons to increase the cardamom flavour.
Cardamom Wreath Bread
Here, the recipe starts out like a typical recipe for American-style Cinnamon Rolls or cardamom buns, but then it follows the steps for making a babka (a Jewish braided bread with a sweet filling), before being transformed into a wreath shape.
If you are not familiar with making babka, the steps for braiding or twisting the bread might sound complicated, but they are in fact very easy. In fact, making this large babka wreath is easier and quicker than making a dozen individual buns!
How to Make Cardamom Bun Wreath
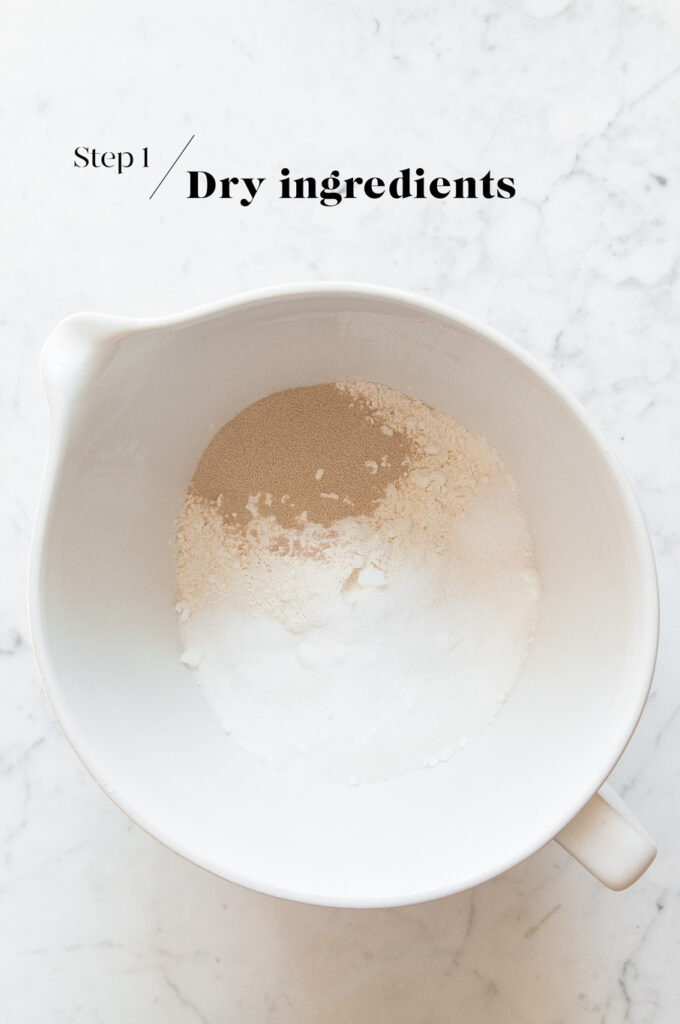
Step 1
Measure the flour, sugar, yeast and salt into the bowl of an electric stand mixer. Lightly mix the ingredients together.
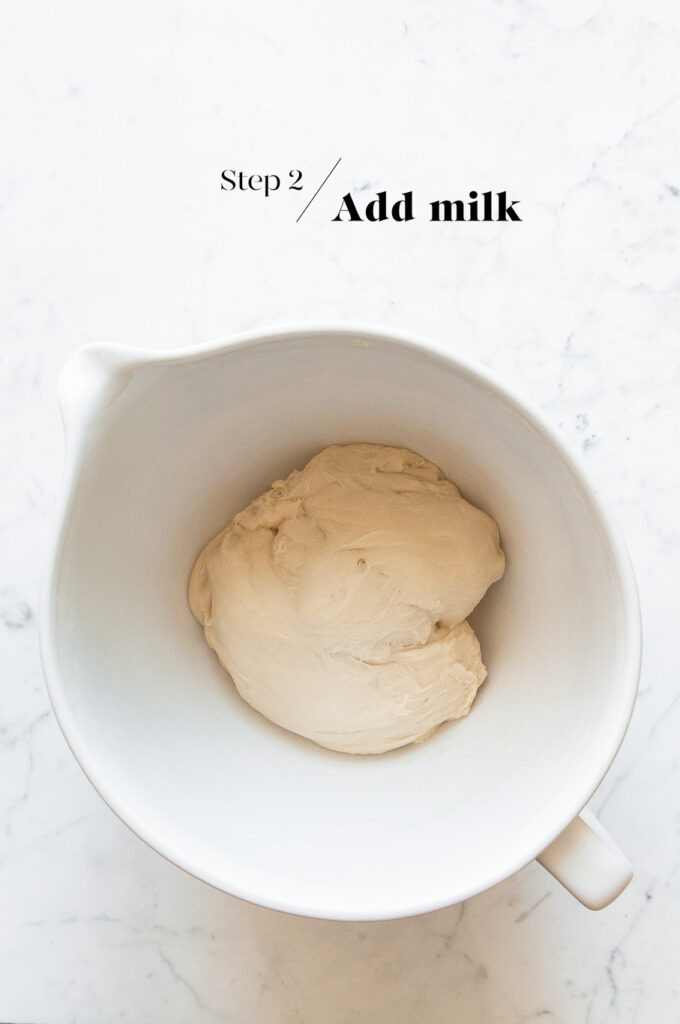
Step 2
Add the egg to the bowl. Slowly add the warm milk (you may not need all of it), and lightly beat everything with the dough hook until it comes together into a large ball of dough. Only add as much milk as you need to bring the ingredients together into a dough.
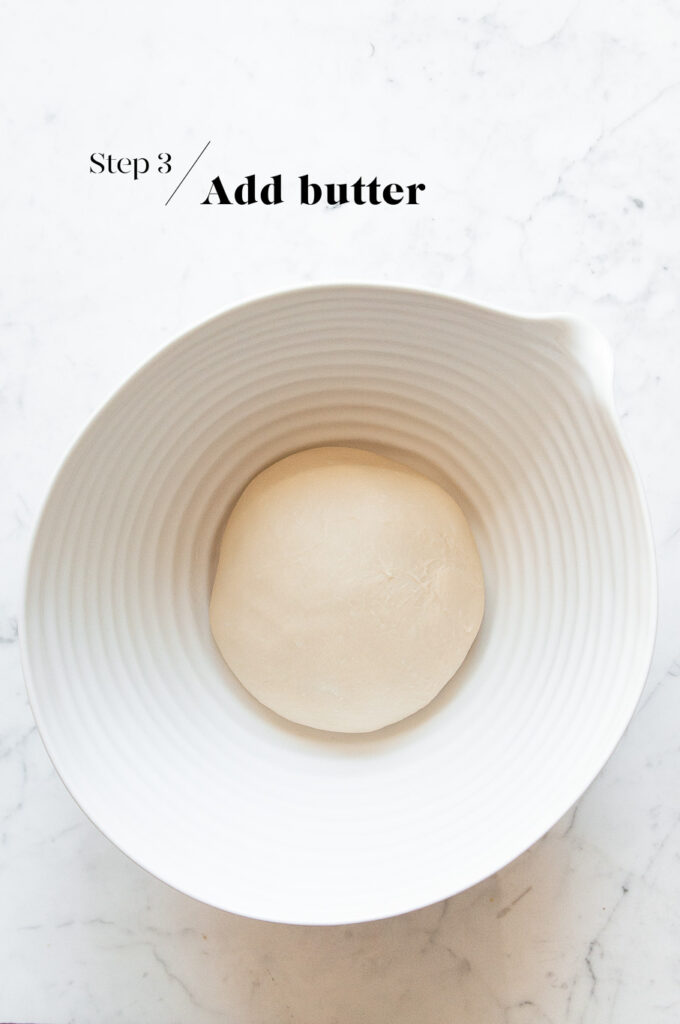
Step 3
Slowly incorporate the butter, one tablespoon at a time, until all of the butter has been used.
Then increase the speed to medium and continue kneading with the dough hook for 15 to 20 minutes, or until the dough is smooth and elastic.
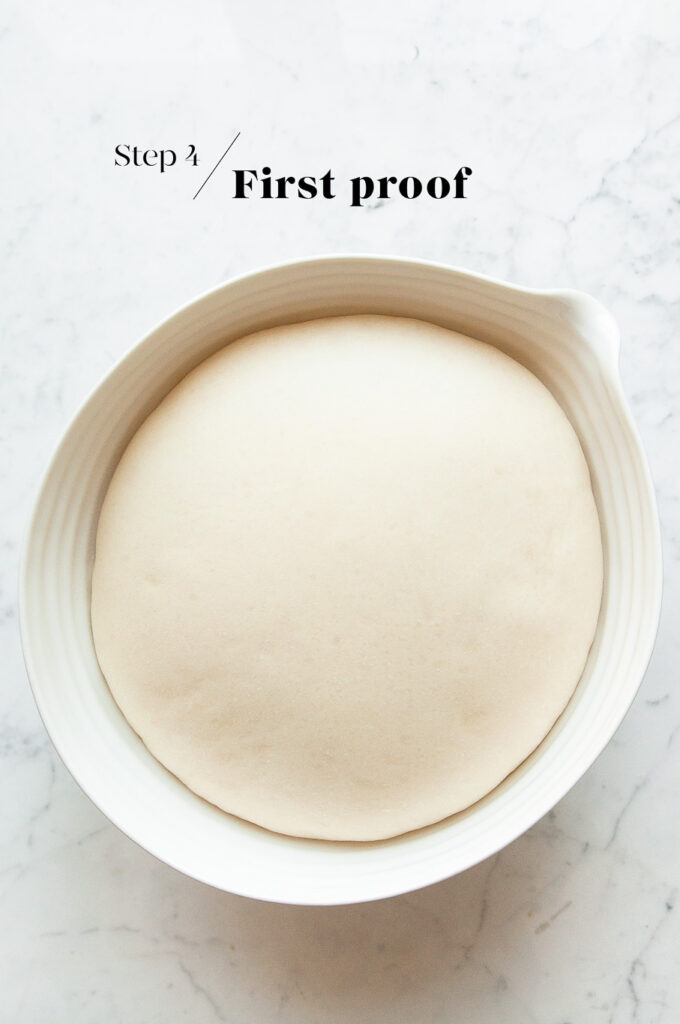
Step 4
Lightly oil a large mixing bowl, and place the dough into the bowl. Cover the bowl with a clean tea towel and leave it somewhere warm for 1 to 1.5 hours, or until the dough has doubled in size.
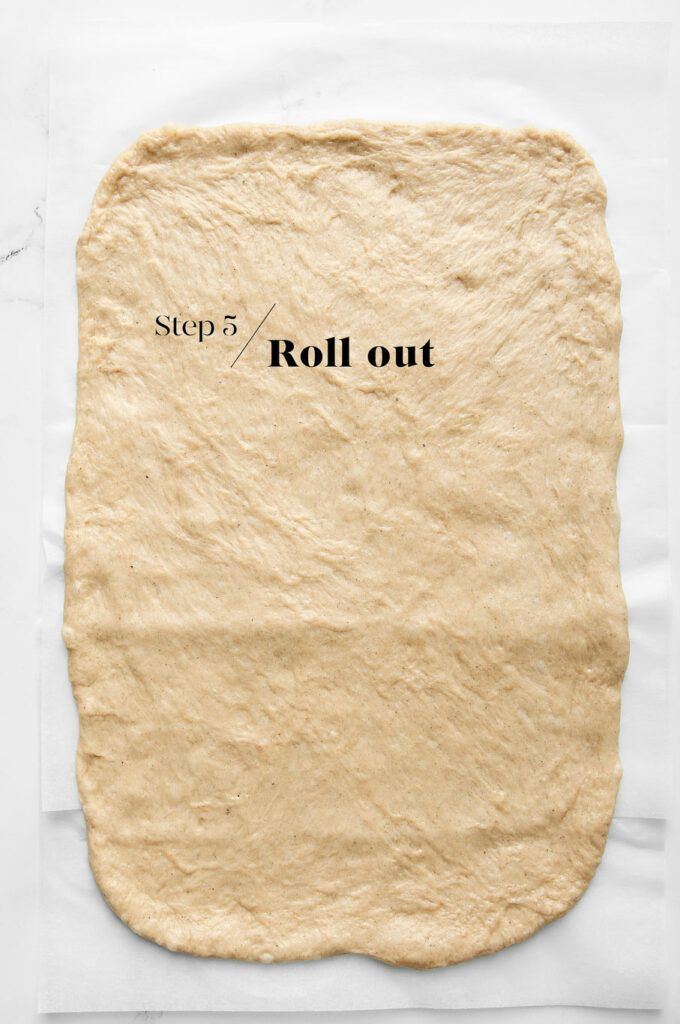
Step 5
Once the dough has doubled in size, gently remove the dough from the bowl. The dough will deflate as you handle it.
Roll out the dough into a rectangle shape measuring approximately 50 x 30 cm/20 x 12 inches.
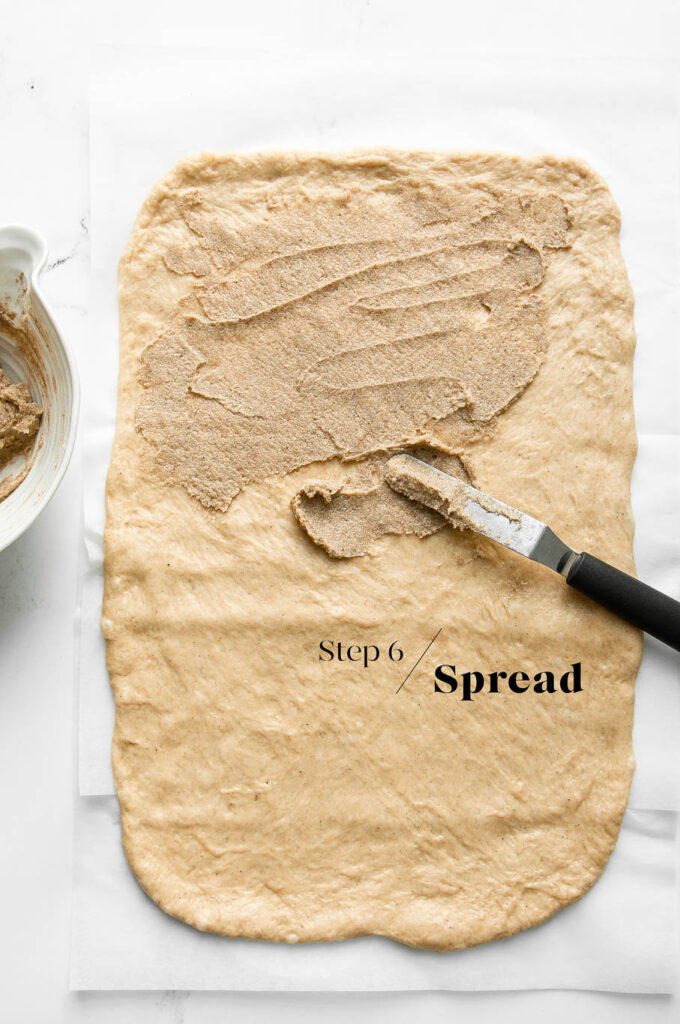
Step 6
Make the filling by beating together the ingredients. Use a small palette knife to evenly spread the filling all over the dough. Be sure to spread the filling right to the edges of the dough so that you have maximum cardamom-sugar in each bun.
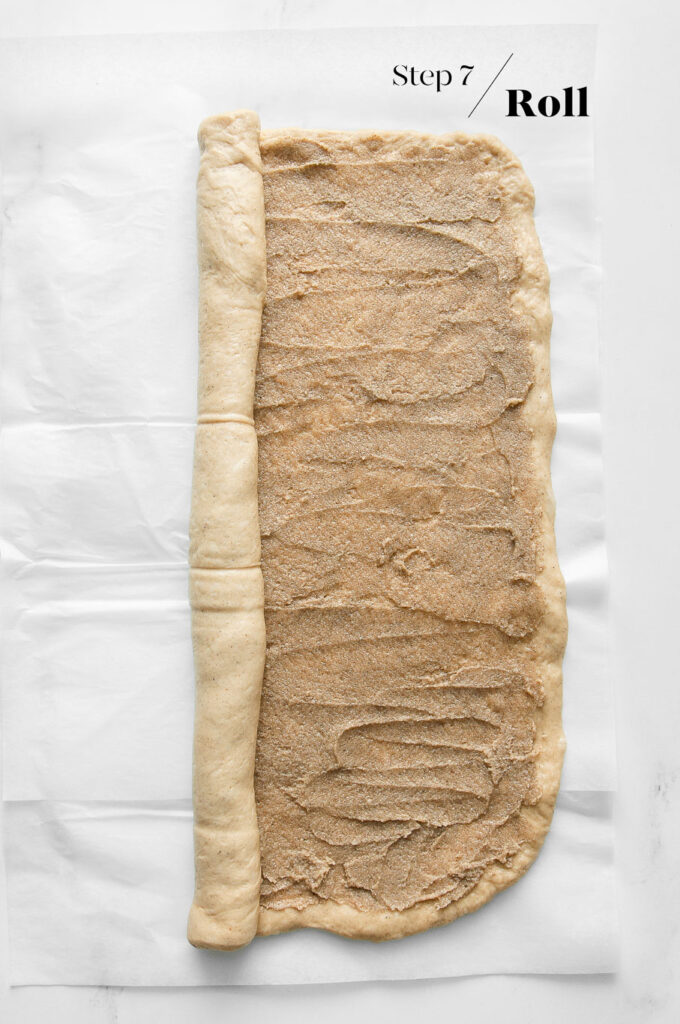
Step 7
Roll up the dough tightly from the long end, so that you have a log of dough which is 50 cm/20 inches long.
Pinch the edges together to seal the dough. Lay the dough with the seam facing down.
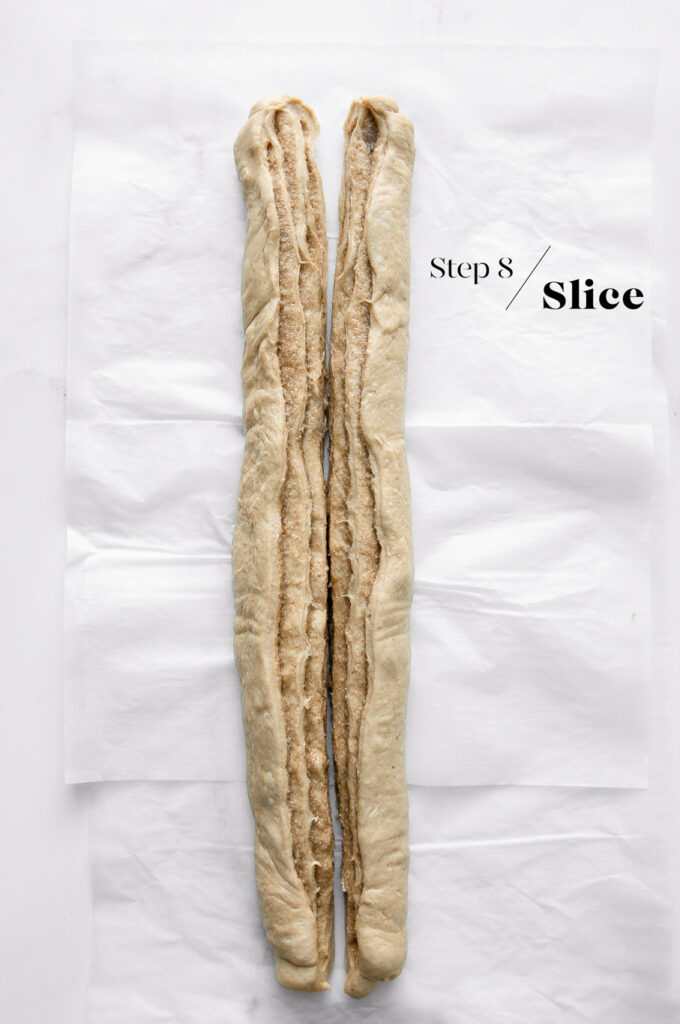
Step 8
Use a sharp knife to cut through the centre of the dough, length-wise, to expose all of the layers.
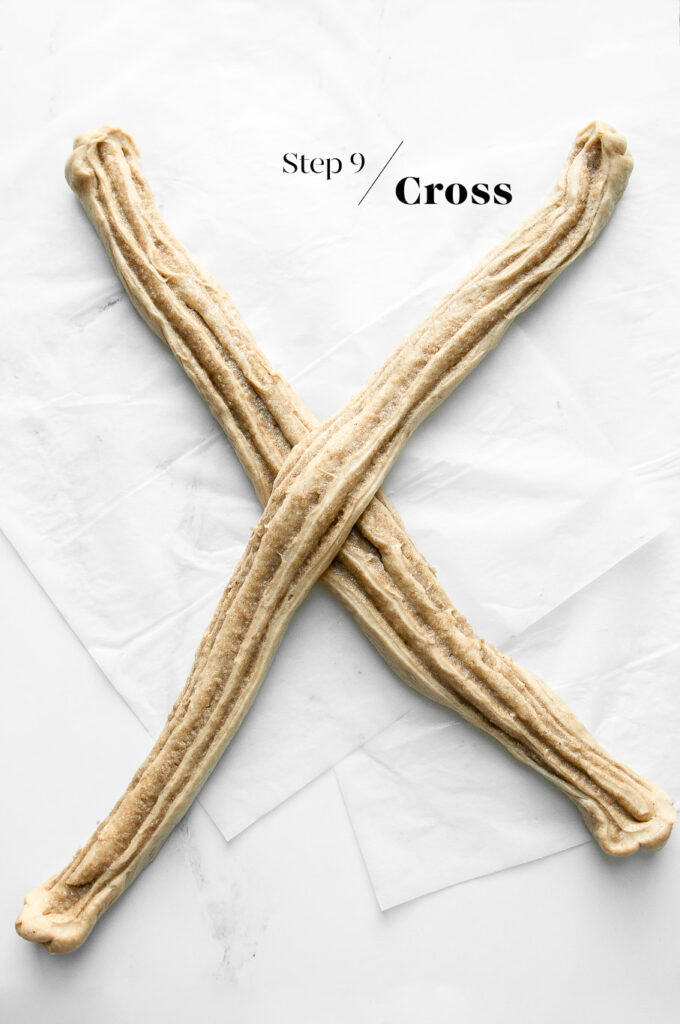
Step 9
Arrange both strands of dough in the shape of an X.
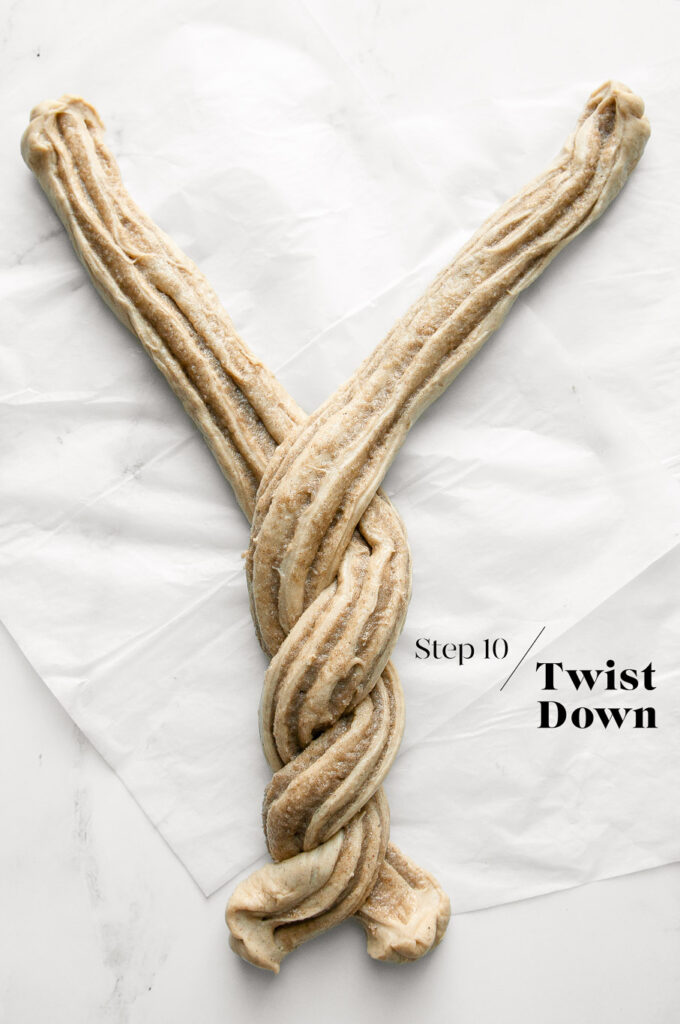
Step 10
Start twisting the strands of dough. I find it easiest to start twisting the dough from below the centre.
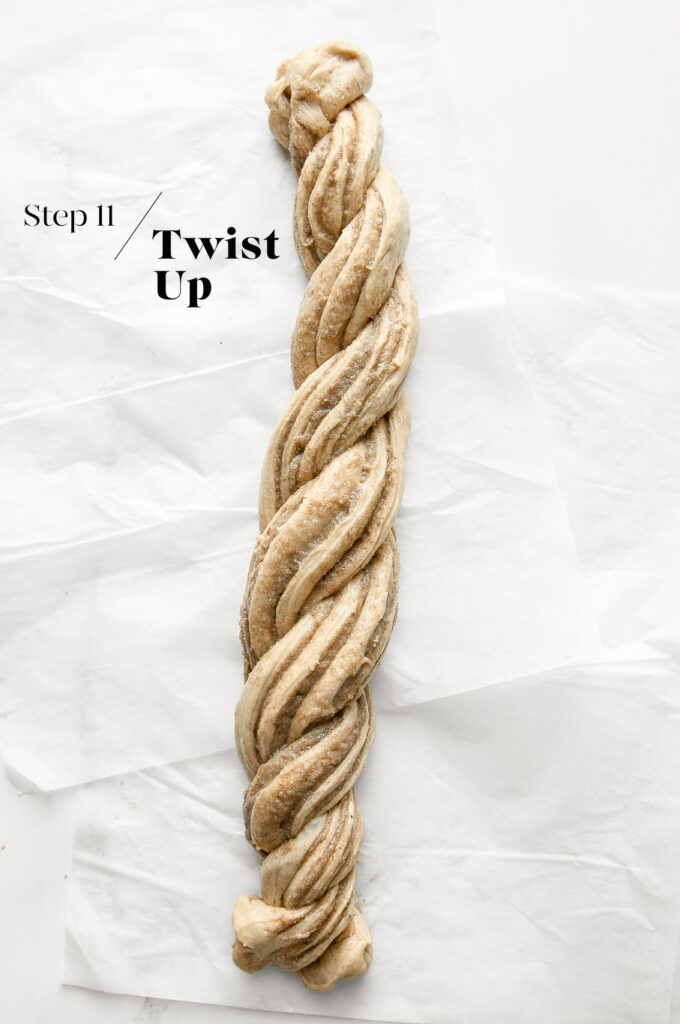
Step 11
Then twist the dough from above the centre to form a nicely twisted log of dough.
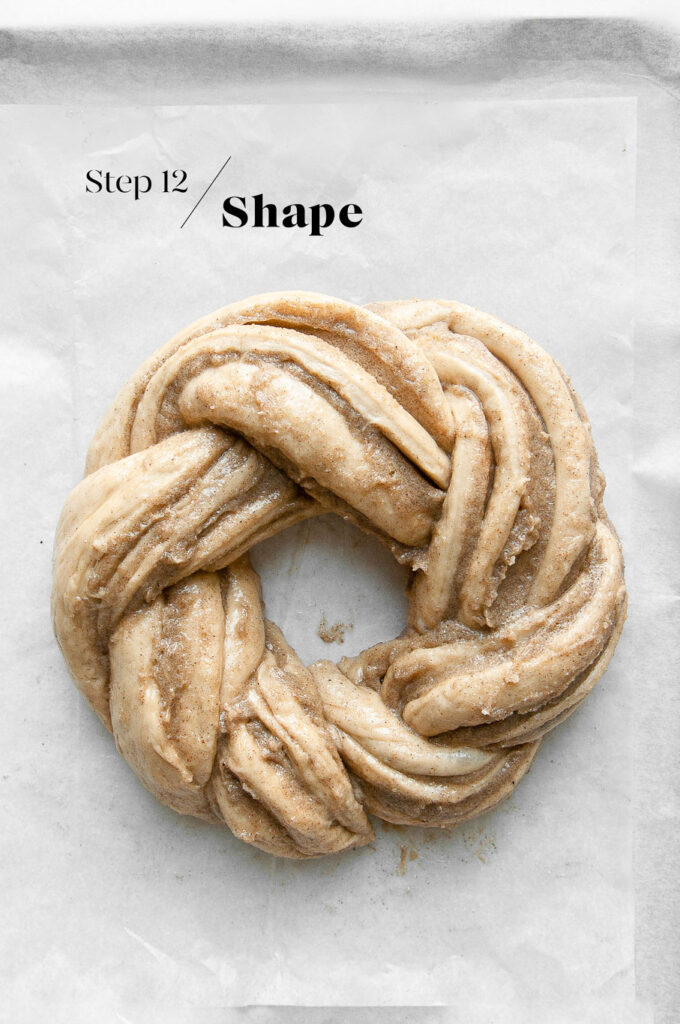
Step 12
Transfer the twisted dough to a large sheet pan lined with baking paper. As you do so, bring the ends of the dough together to form the wreath shape.
Carefully rearrange the dough as necessary to form a nice wreath shape. Make sure that you leave a large hole in the centre, and that the ends are securely tucked under the wreath. I like to secure the ends with toothpicks, to doubly ensure that they do not unravel upon baking.
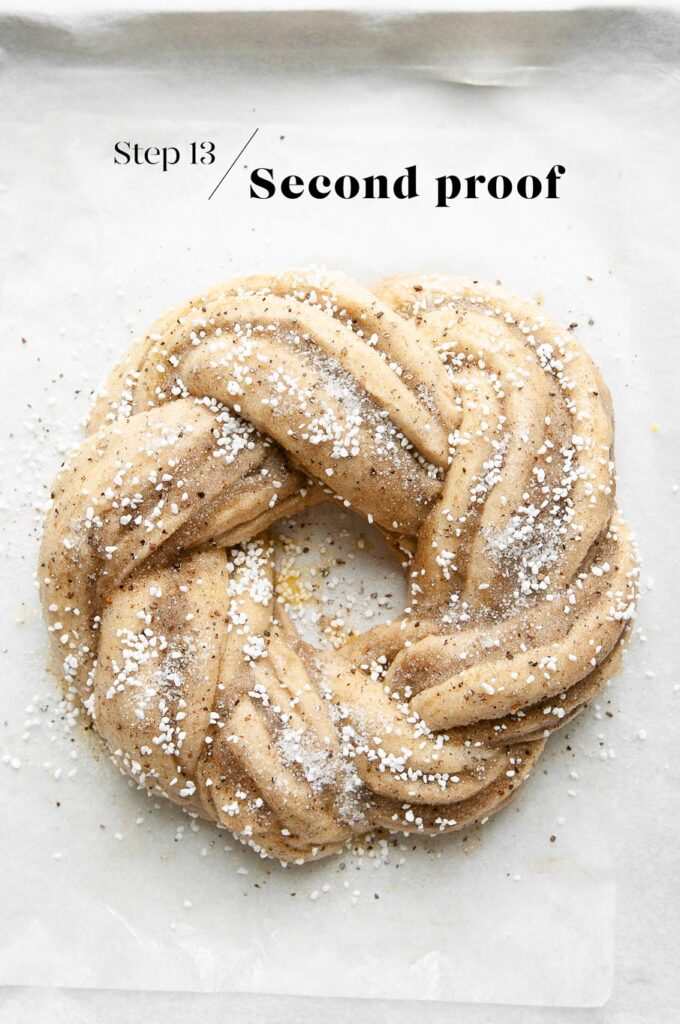
Step 13
Leave the shaped wreath somewhere warm to proof until it has puffed up approximately 1/4 of its size. The timing will depend on how warm your room is. Make sure it is not too warm, otherwise the butter from the filling might melt.
Once you are ready to bake, lightly brush the dough part of the wreath with egg wash (you don’t need to brush the exposed filling). Sprinkle with the cardamom-sugar topping, followed by some pearl sugar.
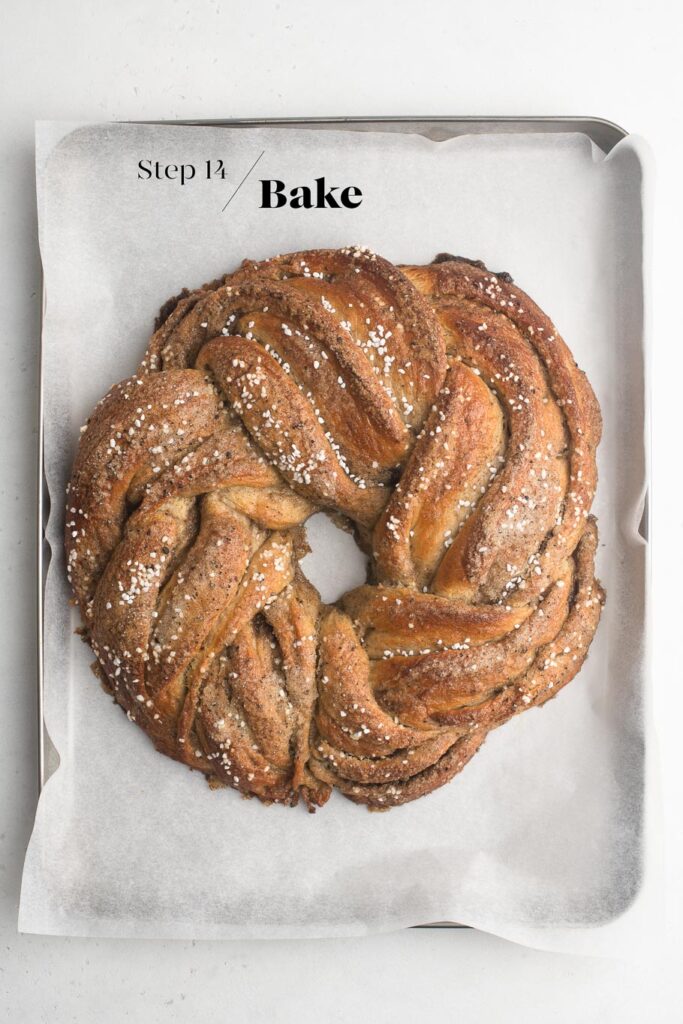
Step 14
Preheat the oven to 200°C/390°F with a metal baking tray on the middle shelf.
Bake the wreath for 10 minutes on the pre-heated metal tray.
Reduce the heat to 180°C/356°F and bake for another 20-25 minutes, or until the wreath is lightly golden. Check the wreath at about 10-15 minutes, and if it is browning too quickly, cover it with a loose sheet of foil for the rest of the baking time.
The wreath is cooked if an internal thermometer reads 85°C (185°F).
Place the baking pan on a wire rack and leave the wreath to cool completely. Some of the butter from the filling will melt and pool around the wreath during baking, and this is normal. As the wreath cools, the sugary-butter mixture will harden and caramelise. If you wish, you can break off these caramelised bits when they are still warm and before they have set completely.
Tips for Making Cardamom Bun Wreath
- Make the dough in advance. You can make the dough the night before, and let it prove overnight in the fridge. The next morning, proceed with the rest of the recipe. The dough will be cold from the fridge, but it will be easier to work with.
- Proof the shaped wreath somewhere warm, but not too warm. I typically use my steam oven to proof dough at a temperature of 40°C/104°F. However, for a recipe like this which uses a lot of butter, you want to avoid proofing the shaped wreath anywhere too warm as the butter can melt. Instead, I recommend that you leave the shaped wreath on the kitchen counter at room temperature to slowly puff up.
- Don’t worry about leaks. Some of the butter from the filling will melt and leak from the wreath as it bakes. This is normal. Once the wreath has cooled, the butter and sugar will become crispy. You can either break these pieces off, but some people like these crispy bits with their cardamom bun.
- The wreath will increase in size. During baking, the wreath will puff up and almost double in size. So keep this in mind when shaping the wreath, and making sure that the hole in the centre is large enough. Also make sure that your braid or twist is secure as any loose ends or strands of dough can become “detached” as it bakes.
- Use freshly-ground cardamom seeds. If you are new to cardamom, you might want to start with regular ground cardamom. But nothing compares to the flavour and scent of using freshly-ground cardamom seeds in this recipe, both in the dough and in the filling.
Tips for Making Bread Dough Ahead of Time
I love baking bread, but I don’t love getting up extra early to get started on the dough. So I typically make the dough the night before and allow it to rise slowly in the fridge overnight. The longer proofing time has the added benefit of allowing the dough to develop more flavour and a better texture. Come the morning, the dough will have at least doubled in size, and it will be ready for shaping as per the recipe.
To make the dough the night before:
- Make the dough as per the recipe.
- Place the dough into a large oiled bowl.
- Cover the bowl with plastic wrap or a reusable bowl cover.
- Place the bowl into the fridge.
- Let the dough rise overnight, or for at least 8-10 hours.
- The next morning, the dough should have at least doubled in size.
- Gently remove the dough from the bowl.
- The dough is ready for shaping and the second proof as per the recipe.
- As the dough will be cold from the fridge, the second proof may take slightly longer.
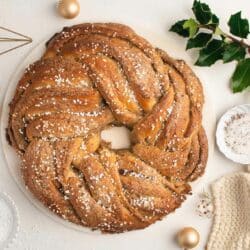
Cardamom Babka Wreath
Ingredients
For the Dough
- 400 g (2 ⅔ cup) white bread flour
- 75 g (⅓ cup) caster sugar, (superfine sugar)
- 3 g (½ teaspoon) fine salt
- 9 g (3 teaspoons) instant dried yeast, see Kitchen Notes
- 2-3 teaspoons cardamom seeds, freshly ground, see Kitchen Notes
- 1 egg, at room temperature
- 250 ml (1 cup) milk, warmed to 37°C/98°F
- 45 g (3 tablespoons) unsalted butter, softened
For the Cardamom-Sugar Filling
- 100 g (1 stick) unsalted butter, softened
- 110 g (½ cup) granulated sugar
- 2-3 teaspoons cardamom seeds, freshly ground, see Kitchen Notes
- 1/4 teaspoon fine salt
For the Topping
- 1 egg, lightly beaten with a splash of water
- 3 tablespoons granulated sugar
- 2 teaspoons cardamom seeds, freshly ground, see Kitchen Notes
Instructions
You will need approx. 3 hours to make the Cardamom Babka Wreath
For the Dough
- Measure the flour, sugar, salt, yeast and cardamom into the bowl of an electric stand mixer.
- Lightly mix the ingredients together using the dough hook.
- Add the egg to the bowl.
- Slowly pour in the warm milk, and continue mixing until everything comes together into a rough dough.
- Add the butter, one tablespoon at a time. Once the butter has been fully incorporated into the dough, add the next tablespoon of butter.
- Once all of the butter has been added, continue kneading the dough on medium speed for about 15 to 20 minutes.
- The dough is ready when it is soft and smooth, and no longer sticks to the side of the bowl. The dough will be somewhat sticky from the butter and egg.
For the First Proofing Session
- Lightly oil a large mixing bowl.
- Place the dough inside the bowl.
- Cover the dough with a clean tea towel, plastic wrap, or a reusable bowl cover.
- Leave the dough somewhere warm for 1 to 1.5 hours, or until the dough has doubled in size (see Kitchen Notes below).
For the Cardamom-Sugar Filling
- Just before the dough is ready, make the filling by beating together the ingredients.
To Shape the Cardamom Babka Wreath
- Once the dough has doubled in size, gently remove the dough from the bowl. The dough will deflate as you handle it.
- Roll out the dough into a rectangle shape measuring approximately 50 x 30 cm/20 x 12 inches.
- Use a small palette knife to evenly spread the filling all over the dough.
- Roll up the dough tightly from the long end, i.e. to produce a log that is 50 cm/20 inches long.
- Pinch the edges together to seal the dough.
- Lay the dough with the seal facing down.
- Use a sharp knife to cut the dough in half, revealing all of the layers inside.
- Arrange one half of the dough on top of the other in the shape of an X.
- Start twisting the strands of dough. I find it easier to first twist the dough from below the centre, and to finish twisting above the centre.
- Once the two strands of dough are twisted, carefully remove it to a large baking pan lined with baking paper.
- As you do so, bring the ends of the dough together to form the wreath as you place the dough on the baking pan.
- Carefully arrange the dough as necessary to form a nice wreath shape, making sure that you leave a large hole in the centre. The dough will rise and increase in shape as it bakes, so you want to avoid the dough filling the hole completely.
- Also make sure that all strands of dough are tightly secured, especially the end pieces. I like to use toothpicks to firmly secure the ends to the wreath, and to minimise the risk of the wreath unravelling as it bakes.
For the Second Proofing Session
- Leave the shaped wreath somewhere warm to proof and puff up approximately 1/4 in size. Make sure it is not too warm, otherwise the butter in the filling might melt.
To Bake the Cardamom Babka Wreath
- Preheat the oven to 200°C/390°F (without fan) with a metal baking tray on the middle shelf.
- Lightly brush the wreath all over with egg wash.
- Mix together the sugar and cardamom, and sprinkle over the wreath.
- Sprinkle pearl sugar generously over the wreath as well.
- Place the baking pan on the preheated baking tray.
- Bake for 10 minutes.
- Reduce the heat to 180°C/356°F and bake for another 20-25 minutes, or until the wreath is lightly golden. Check the wreath at about 10-15 minutes, and if it is browning too quickly, cover it with a loose sheet of foil for the rest of the baking time.
- The wreath is cooked if an internal thermometer reads 85°C/185°F.
- Place the baking pan on a wire rack, and leave the wreath to cool completely.
- Some of the butter from the filling will melt and pool around the wreath during baking, and this is normal. As it cools, this sugary-butter mixture will harden and caramelise. You can break it off before it has set completely.
Kitchen Notes
- WHAT TYPE OF CARDAMOM TO USE
* For the best (and most authentic) results, use freshly-ground cardamom seeds (also called decorticated cardamom seeds). Simply grind them to a fine powder to use in the dough and filling. Use a more coarse grind for sprinkling on top of the wreath.
* Alternatively, use the same quantity of regular ground cardamom, or add more to taste. - MAKE AHEAD TIPS
To start the dough the night before:
* Make the dough as per the recipe.
* Place the bowl of dough (covered) in the fridge to proof overnight, or for at least 8 to 10 hours. During this time, it should have at least doubled in size.
* The next day, proceed with the rest of the recipe. As the dough will be cold, it may require a bit more time for the second proofing period. - DIFFERENT TYPES OF FLOUR
For Swiss readers: I use Zopfmehl (or farine pour tresse) when making bread and enriched dough. - DIFFERENT TYPES OF YEAST
Please note that there is a difference between instant yeast (also called instant dried yeast or fast-action dried yeast) and dried yeast (also called active dry yeast). If you are not sure what type of yeast you have, please check the packaging for instructions on how to use the yeast.
* With instant yeast, you can add it directly to the flour mixture without having to activate it first.
* With dried yeast, you will need to activate it first (usually in some warm liquid). - PROOFING THE DOUGH
Dough needs a warm environment for the yeast to activate and cause the dough to rise. If you don’t have a warm place in your home, try one of the following ideas:
* In the oven with the oven light switched on (works only for some ovens).
* In the oven with a tray of boiling water on the bottom shelf.
* In the oven or a steamer oven at a low temperature of about 25-40°C (77-104°F). - OVEN TEMPERATURES
All recipes on this website state temperatures for a regular oven (i.e. a conventional oven without fan). If you have a convection oven with a fan, please consult the manufacturer’s handbook on how to adjust the temperature and baking time accordingly. - CONVERSIONS
To convert from cups to grams, and vice-versa, please see this handy Conversion Chart for Basic Ingredients.

This was just what I wanted! Turned out amazing. Next time I will decrease the butter in the filling, there was excess melting out, but did not affect the overall deliciousness. Subbed our traditional powdered sugar icing with a touch of lemon instead of the pearl sugar. Will definitely make again.
Hi Dana,
I’m so happy to hear that you enjoyed this recipe! The lemon icing sounds like a delicious addition 🙂
This is amazing! Wish I could double the stars. So much of the flavor we love! This version of a cardamam wreath has taken the place of our traditional pulla/kardemummakrans we serve at Christmas and New Year’s. Thank you for very thoroughly sharing the recipe and the process.
Hi Danalee,
Thank you so much for your lovely feedback! I’m so happy to hear that this wreath has become a yearly tradition in your home ❤️ It’s the perfect bread to bake around Christmas 🙂