
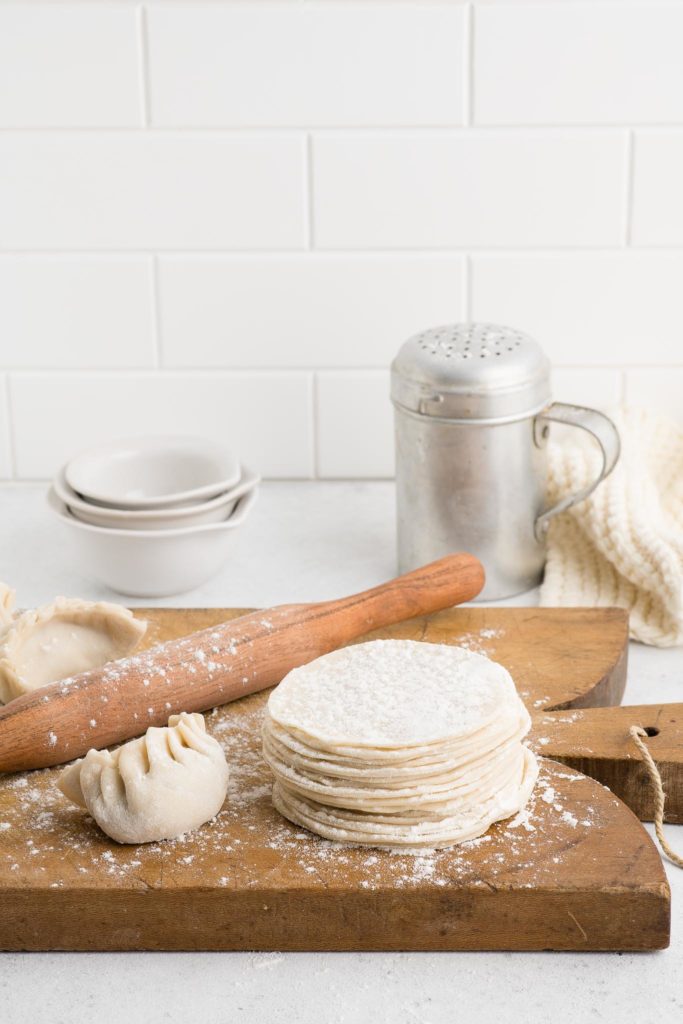
Homemade Dumpling Wrappers
The secret to the most perfect dumplings start with the dumpling wrappers. Homemade dumpling wrappers have a thicker and chewier texture, which makes the dumplings more interesting to eat. And because they are more robust than ready-made dumpling wrappers, the dumplings taste more substantial and filling.
So if you have some time up your sleeves, it is definitely worth making your dumpling wrappers from scratch!
Why This Recipe Works
- Making the dumpling wrappers from scratch ensures a soft and chewy texture which you cannot get with ready-made wrappers.
- All you need is flour and boiling water!
- The dough is very quick and easy to make, and needs to rest for just 30 minutes.
- This recipe is perfect for both potstickers and gyozas.
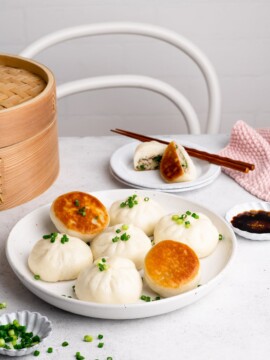
What is a Dumpling?
A dumpling is generally a small piece of dough wrapped around a filling. For example, Chinese Potstickers and Japanese Gyozas are both dumplings.
Dumplings can also be just made from dough, such as German or Austrian Knödel.
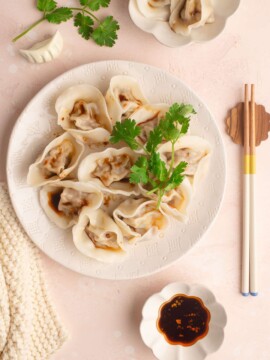
Chinese Potstickers vs Japanese Gyozas
The following dumpling wrapper recipe can be used to make both potstickers and gyozas.
Chinese Potstickers tend to be bigger than Japanese Gyozas, and they also have a thicker dumpling wrapper.
Homemade Gyoza Wrappers
If you want to make your own gyoza wrappers, you can use the following dumpling wrapper recipe, but roll them out more thinly.
Dumpling Wrapper Recipe
This dumpling wrapper recipe is adapted from the wonderful Dumpling Sisters, Amy and Julie Zhang.
All you need is plain flour and boiling water, and a pinch of salt to add some flavour.
The dough needs to rest for just 30 minutes, which is roughly the time you need to prepare your dumpling filling.
How to Make Dumpling Wrappers
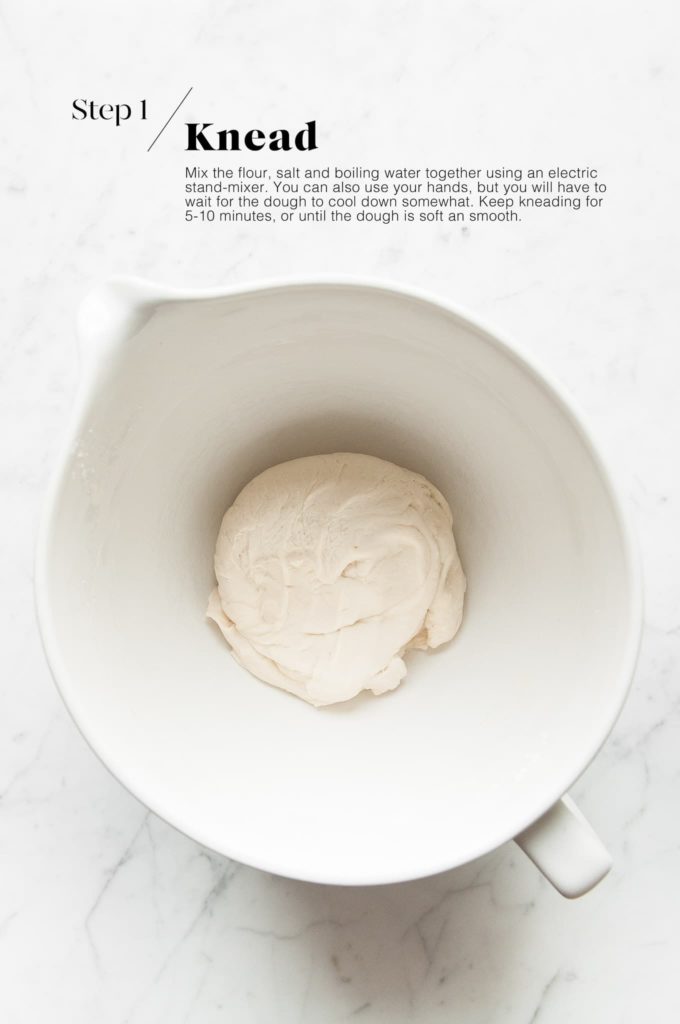
Step 1
Make the dough by mixing the flour, salt and boiling water together.
Due to the hot water, it is best to use an electric stand mixer with a dough hook for this task, but a bowl, wooden spoon and good upper-body strength also works. However, once you mix the ingredients together, you will have to wait for the dough to cool down sufficiently before you can handle it.
Knead the dough for about 5-10 minutes on low speed until you have a soft and smooth dough.
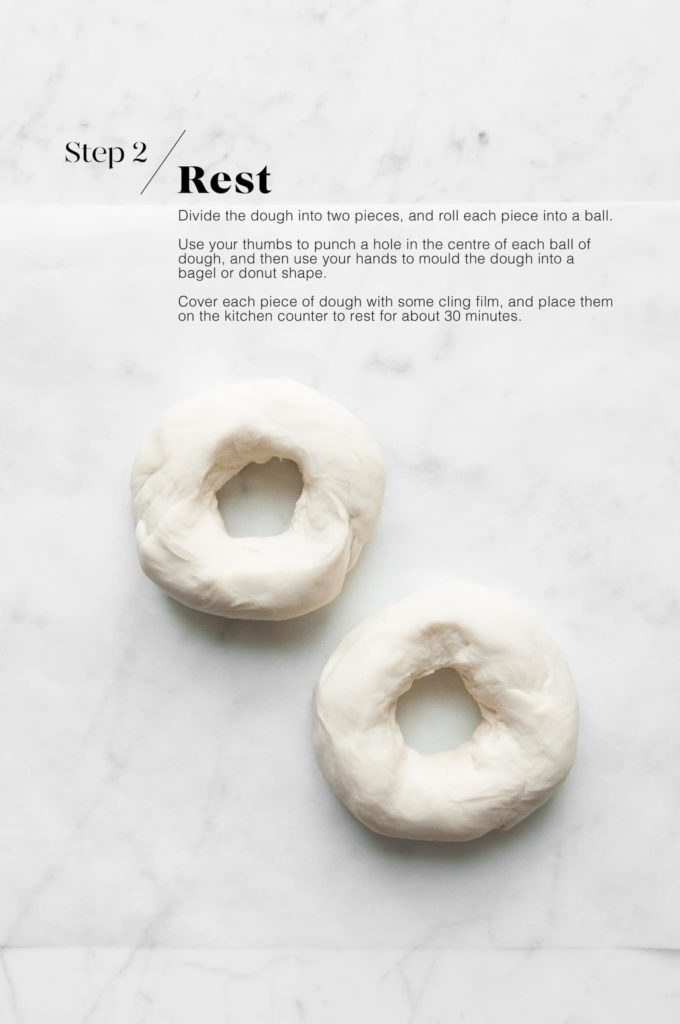
Step 2
Divide the dough into two pieces, and roll each piece into a ball.
Use your thumbs to push a hole in the centre of each ball of dough to create a bagel shape.
Wrap each piece of dough in some cling film, and set aside on the kitchen bench to rest for about 30 minutes. During this time, the dough will sweat a little under the cling film (due to the hot water used in the dough).
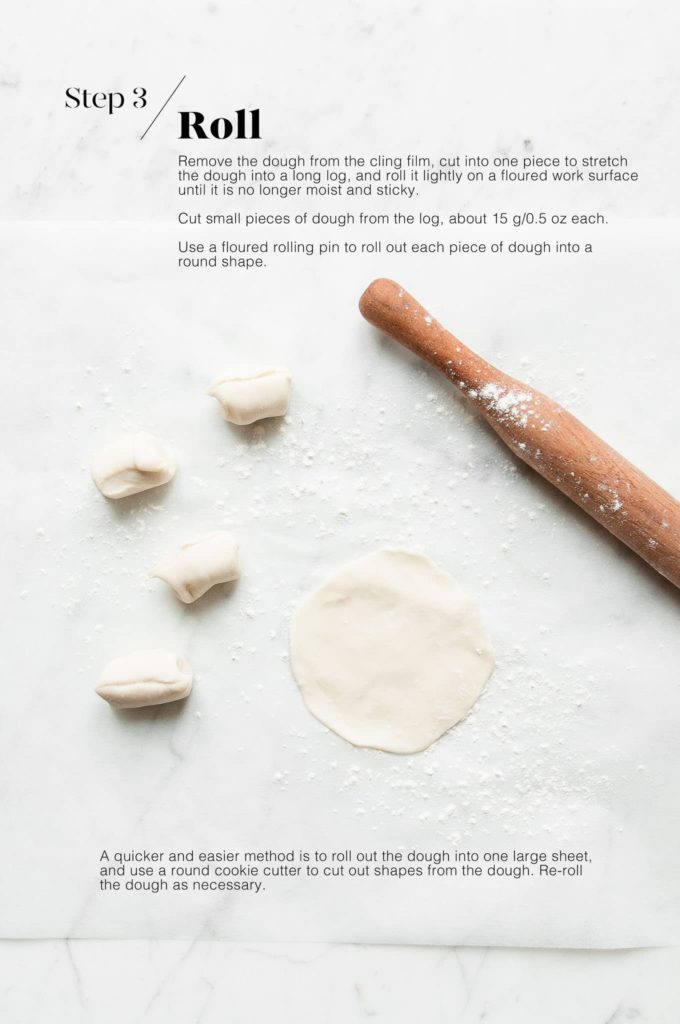
Step 3
Lightly flour your work surface.
Unwrap one piece of dough, cut into one side so that the dough is now one long log. Roll gently in some flour so that it is no longer sticky.
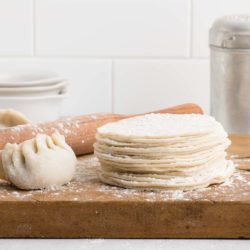
Cut off small pieces of dough, about 15 g/0.5 ounce each.
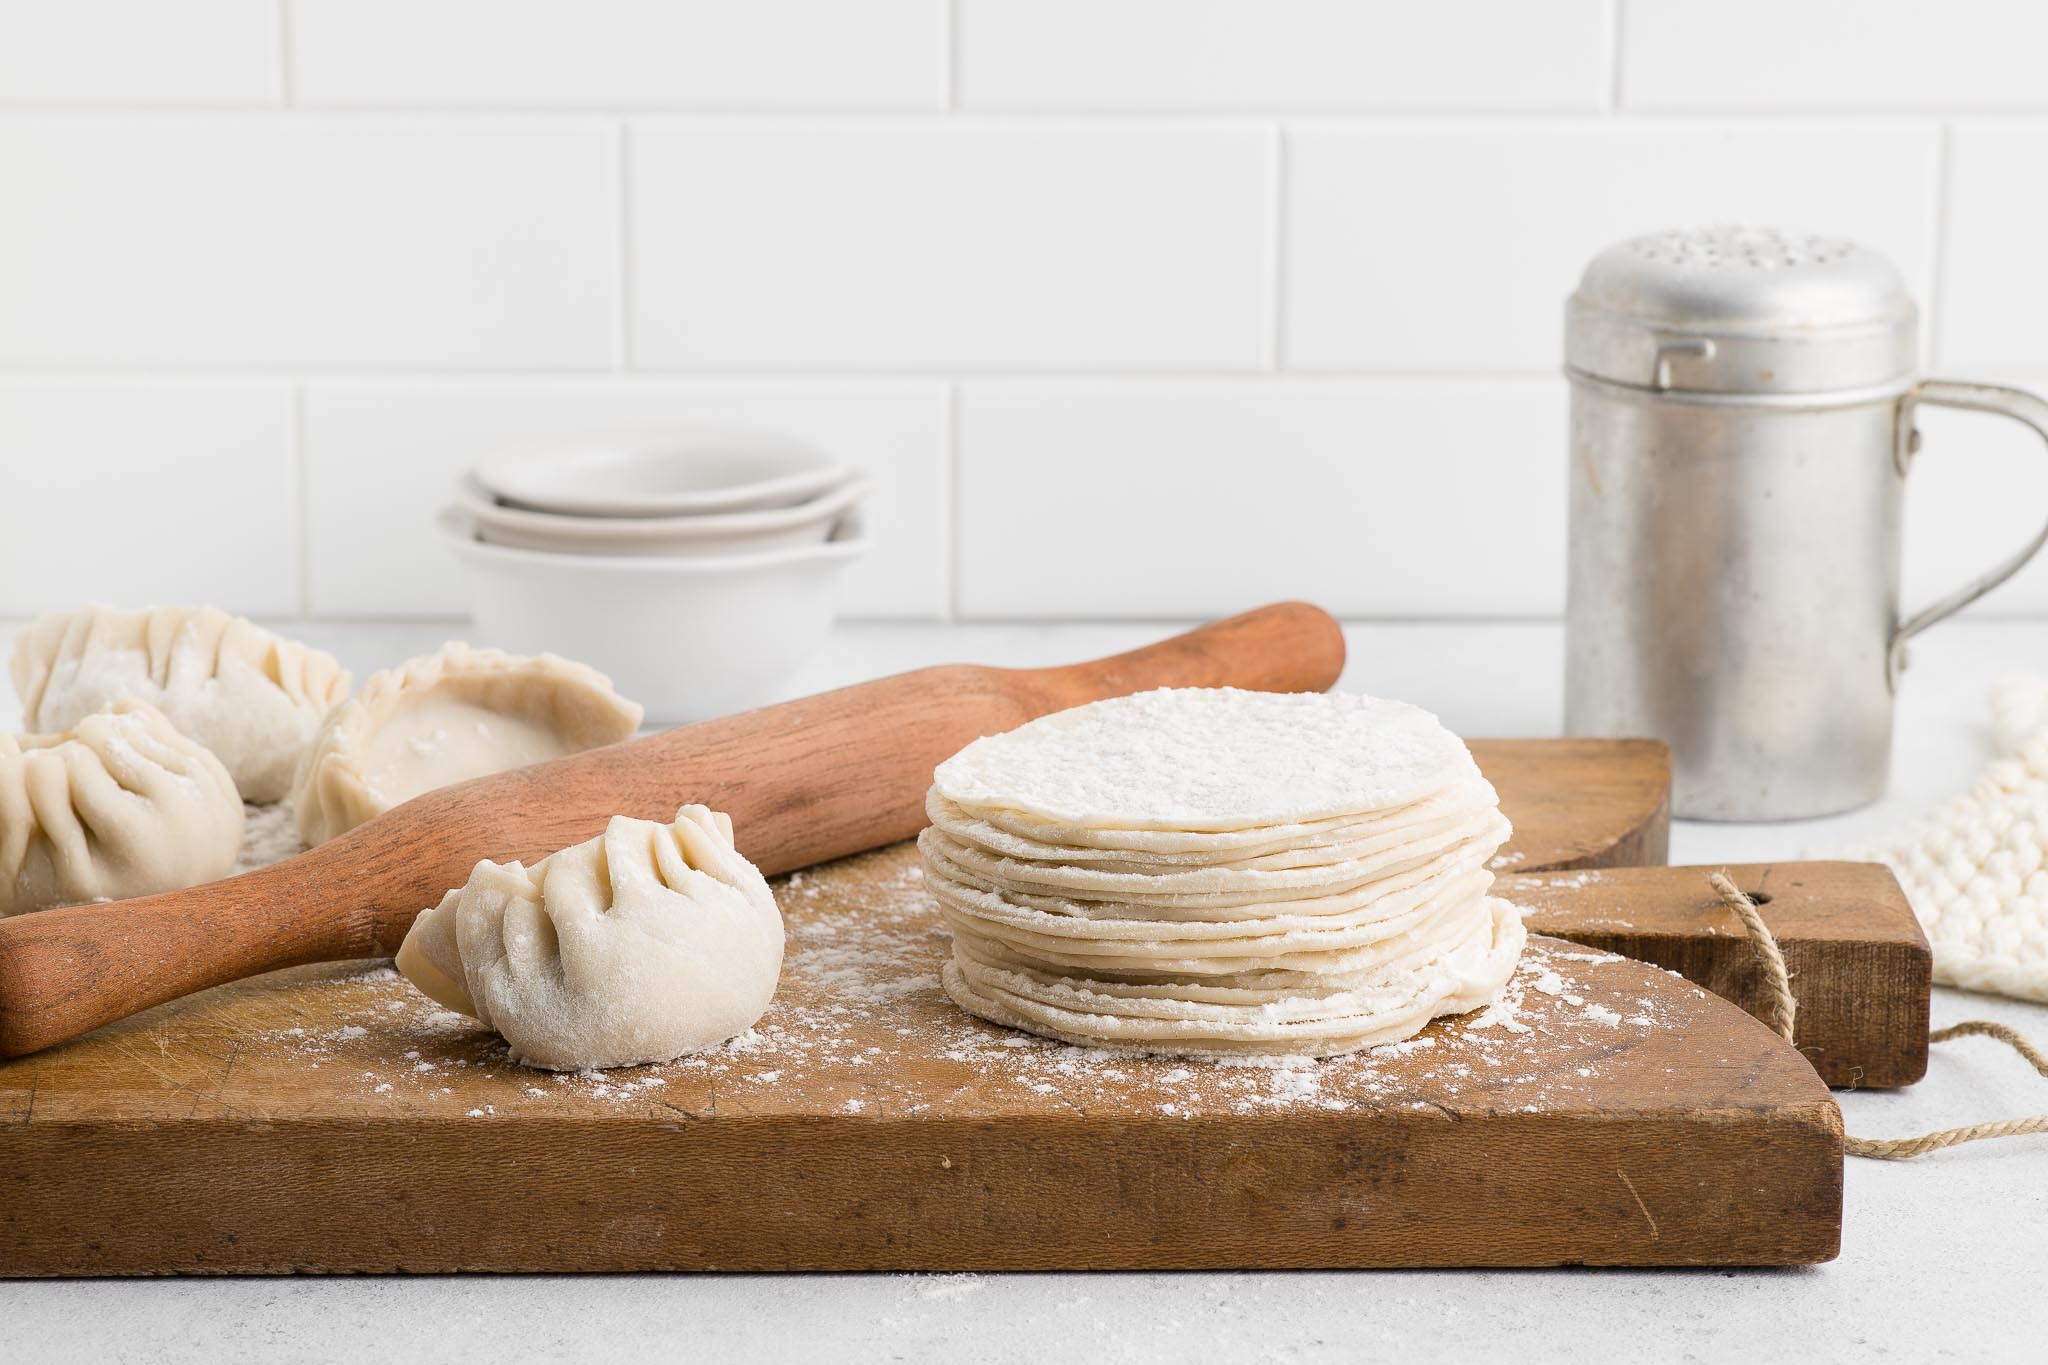
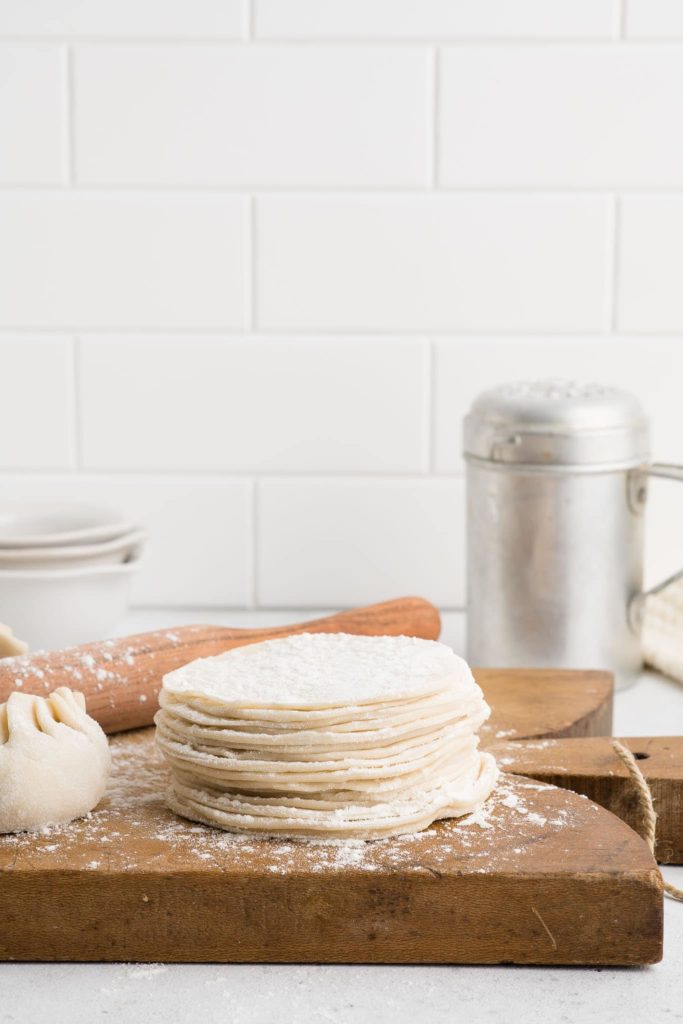
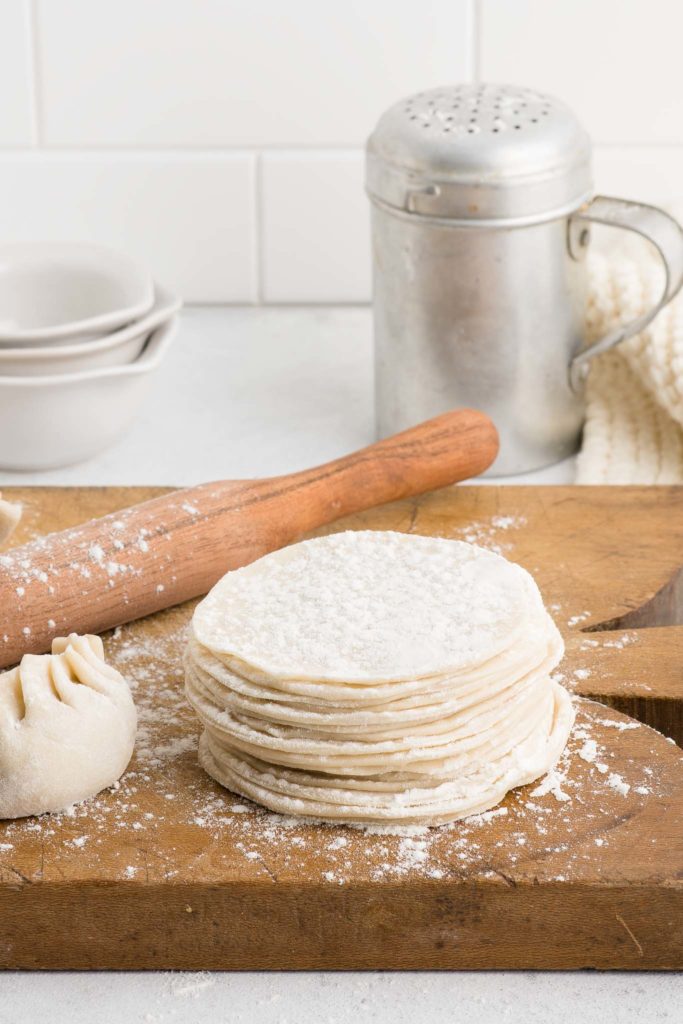
Roll a piece of dough into a small ball, and then use a floured rolling pin to roll it out into a round shape, roughly 10 cm/4 inches in diameter.
Ideally, the edges of the wrapper should be thinner than the centre; the centre of the wrapper will hold the filling, so it needs more structure, and the edges will ultimately be pleated together, so you don’t want the edges to be too thick to begin with.
But it is completely fine if the dumpling wrapper has an even thickness throughout. At a pinch, you could even roll the dough out into a thin sheet and use a cookie cutter to cut out rounds. Or see my tips below for using a pasta machine to roll out the dumpling dough.
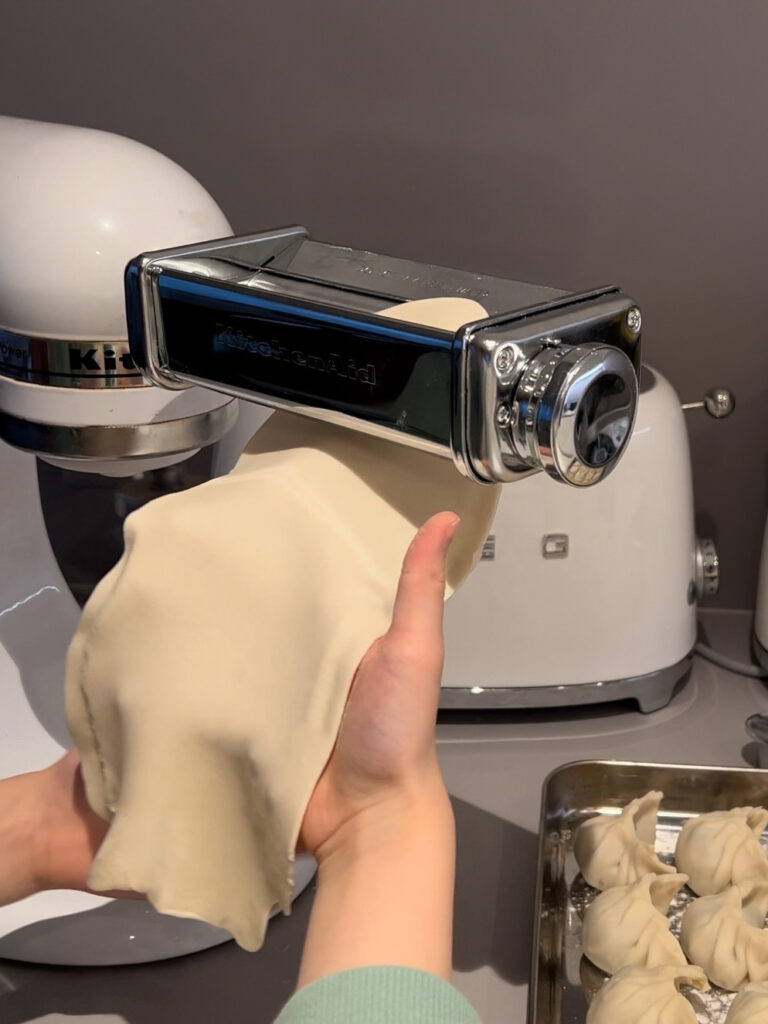
Using a Pasta Machine to Make Dumpling Wrappers
The Italians use a pasta machine to roll out thin sheets of pasta dough to make ravioli, tortellini and other filled shapes which are, categorically speaking, Italian dumplings.
So it makes complete sense to also use the pasta machine when making Asian-style dumplings. This is especially if you plan to make a large batch of dumplings (which is often the case when you are making dumplings anyway), but I suspect that once you start using a pasta machine to roll out any dough, you will quickly retire your rolling pin!
Some advantages of using a pasta maker to roll out dumpling wrappers are:
- It will be easier to roll out the dumpling dough;
- You will make the dumplings more quickly;
- All of your dumpling wrappers will have a uniform thickness.
How to Use a Pasta Machine to Make Dumplings
To roll out the dumpling wrappers using the pasta machine:
- Follow the dumpling wrapper recipe as below.
- Cut each piece of dough into quarters (for smaller, manageable sheets of dough).
- Run the dough through the widest setting at least twice until you have a smooth sheet of dough.
- Run the dough through the next setting at least twice, gradually increasing the settings (which will decrease the thickness) until you have the right thickness of dough (see notes following).
- Use a cookie cutter to cut out shapes from the dough.
- Gather the scrap pieces of dough in one pile, and when you have enough to make one small ball of dough, gently knead the scrap pieces together until you have a smooth ball of dough.
I have a pasta roller attachment for my KitchenAid stand-mixer, and I find setting 4 to be an ideal thickness for making potsticker dumplings.
If you plan to make gyozas, I recommend rolling the dough through setting 5.
Different brands of pasta makers will have different settings for the pasta roller, so you may have to experiment a little.
Tips for Making Dumpling Wrappers
- An electric stand-mixer with a dough hook will make light work of these dumpling wrappers, not least because it can knead the dough which will very hot from the boiling water.
- I also recommend using a pasta roller attachment with an electric stand-mixer to roll out the dumpling wrappers.
- If you are working alone, I recommend rolling out about 5 dumpling wrappers at a time. If you roll them out in advance and don’t use them quickly enough, they might dry out.
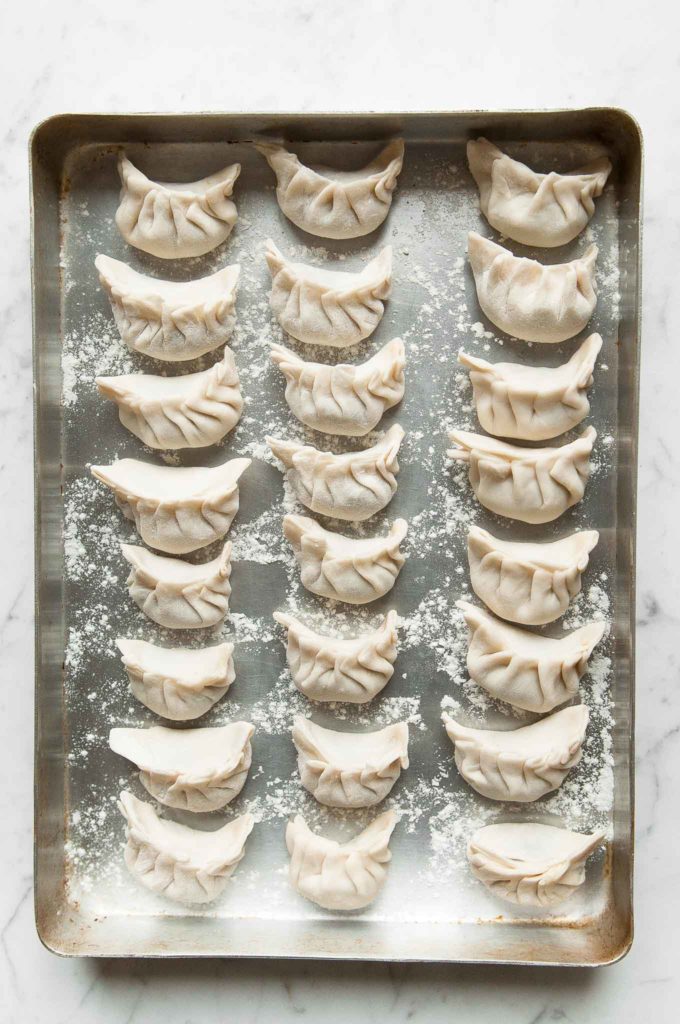
- As you finish forming the dumplings, place them onto a large plate or tray which has been lightly dusted with flour to stop them from sticking. Alternatively, place the dumplings on a sheet of baking paper.
- Homemade dumpling wrappers are best used and cooked on the same day they are made.
- Any leftover, uncooked dumplings can be frozen. Place the dumplings on a sheet pan lined with baking paper, and place the sheet pan into the freezer. Once the dumplings are frozen, you can place them into a ziplock freezer bag.
Dumpling Recipes
To make your own delicious dumplings, try my Pork and Vegetable Potsticker recipe with step-by-step photos!

Homemade Dumpling Wrappers
Ingredients
- 300 g (2 cups) plain flour , (all-purpose flour)
- 1 pinch fine salt
- 200 ml (¾ cup plus 2 teaspoons) boiling water
Instructions
To Make the Dumpling Wrappers
- Measure the flour and salt into the bowl of an electric stand mixer fitted with a dough hook.
- Slowly add the boiling water.
- Keep mixing until all of the water is incorporated.
- Add more water as necessary until the mixture comes together into a dough.
- Knead on low-medium speed for 5-10 minutes, or until the dough is soft and smooth.
- Divide the dough into two pieces.
- Shape both pieces of dough into a ball.
- Use your thumbs to poke a hole in the centre of the dough to create a bagel or donut shape.
- Cover each piece of dough with cling film.
- Set the dough aside on the kitchen counter for about 30 minutes to rest.
To Roll Out the Dumpling Wrappers
- Lightly flour your work surface.
- Unwrap the cling film from the dough.
- By this stage, the dough should be moist and sticky on the surface.
- Cut into the dough so that it is now a long log in shape.
- Roll the dough lightly in the flour so that it is no longer sticky.
- Cut small pieces from the dough, about 15 g/0.5 oz each.
- Roll each piece of dough into a ball, and roll out the dough into a round shape measuring about 10 cm/4 inches in diameter.
- Ideally, the edges of the dough should be thinner than the centre, but it is fine if dumpling wrapper is the same thickness all over. In which case, you could also roll out the dough into a thin sheet and use a cookie cutter to cut out rounds from the dough. You can also use a pasta machine to roll out the dough (see Kitchen Notes below).
Kitchen Notes
- USING A PASTA MACHINE
I like to use the pasta roller attachment for my KitchenAid stand-mixer to roll out the dough. Run 1/4 piece of dough through the widest setting at least twice, gradually increase the settings (to decrease the thickness), until you have achieved the desired thickness.
* For potsticker dumplings, I like to use setting 4.
* For gyozas, I like to use setting 5. - RECIPE CREDIT
This recipe is adapted from the Dumpling Sisters. - CONVERSIONS
To convert from cups to grams, and vice-versa, please see this handy Conversion Chart for Basic Ingredients.
Did you make this recipe?
Please leave a comment below and share your photos by tagging @eatlittlebird on social media and using #eatlittlebirdUpdate
This recipe was first published on 4 January 2021. It has been updated with new photos and more comprehensive recipe notes.

This was my first time making potstickers and the dumpling wrappers from scratch. They were so delicious! Your recipes and photos are so helpful.
Very good recipe. The dough was much easier to make than I expected and very delicious too.
Hi Stella,
So glad you enjoyed this recipe! Thank you 🙂
Great recipe! My kids and I tried your potsticker recipe on the weekend and had a fun time making them. I will make a double batch next time to freeze some! They are so good.
I’ve made this recipe twice and the dumplings tasted great.
Excellent recipe. Made several times now.
Thank you for the recipe! I loved making the dumplings from scratch and these wrappers had the perfect taste and texture.
Wow, these dumpling wrappers tasted delicious. And they were so easy to make! I made them with your pork filling – the best dumplings ever!
Delicious! I made your potsticker recipe with these dumpling wrappers and they were just amazing!
Great recipe, dumplings turned out fantastic!
Yummy recipe! Definitely worth the time making these dumpling wrappers from scratch.
I used your recipe over the weekend for the LNY and it was perfect.
Amazing recipe for dumpling wrappers! Definitely worth the time and effort.
Fantastic recipe which my family really enjoyed. Thank you.
I absolutely loved this post! The step-by-step photos made it so easy to follow along. I can’t wait to try making my own dumpling wrappers this weekend. Thank you for sharing such a clear and delicious recipe!
Wow, this post is amazing! The step-by-step photos make it so easy to follow along. I can’t wait to try making my own dumpling wrappers at home. Thank you for sharing such a detailed guide!
I absolutely love this recipe! The step-by-step photos make it so easy to follow. I can’t wait to try making my own dumpling wrappers at home. Thank you for sharing such a detailed guide!
I loved this guide on making homemade dumpling wrappers! The step-by-step photos were super helpful and made the process much easier to follow. Can’t wait to try making dumplings from scratch! Thank you for sharing your tips!
These homemade dumpling wrappers look amazing! I love the step-by-step photos; they make it so easy to follow along. Can’t wait to try this recipe for my next family dinner. Thanks for sharing!