Focaccia Bread
When I lived in Australia, focaccia was a staple which was sold in all bakeries and supermarkets. So when I first moved to Switzerland nearly 20 years ago, I was surprised that, despite being next door to Italy, no focaccia bread could be found in sight.
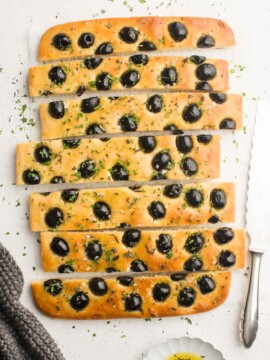
So I set about making my own focaccia at home. It was probably the first time I had made bread at home, and just as well because it is the easiest bread you can make. There is no requirement to knead the dough (great for those who don’t have strong wrists or an electric stand mixer), and the toppings are endless. I love to make my Focaccia with Herbs and Olives whenever I serve a grazing board with various cheeses and cured meats 🙂
What is Focaccia?
Focaccia is a yeasted flat bread which originates from Italy.
It is similar in taste and texture to a pizza base, but it is generally thicker and softer than a pizza dough. Although, you could use the focaccia dough to make a very soft and thick pizza dough.
Focaccia is commonly served as a starter or appetiser, and my family likes it best served straight from the oven when the crust is still warm and crispy. Any leftover focaccia can be sliced horizontally to make sandwiches.
Focaccia Recipe
Often when we have friends over for dinner, I like to turn to this focaccia recipe for an easy starter or appetiser. Although I would describe this focaccia recipe as easy, there are multiple steps involved if you want to achieve the best texture.
I happen to think the easiest way of making focaccia is to start the night before, which will allow you to break down the steps and split the proofing time over 2 days. Please scroll down to see my steps my making focaccia overnight.
Having experimented with many focaccia recipes over the years, I have found that bread recipes with at least 80% hydration give the best results for a focaccia dough. This means the dough will be quite wet and sticky, but the moisture content means a soft and chewy bread with just the right amount of air bubbles.

Stretching and Folding the Dough
For a “normal” bread dough which yields a soft ball of dough, you have to knead the dough to develop the gluten, which is what gives you the nice chewy texture of bread.
But for a wet bread dough, like this focaccia dough or a No-Knead Bread, which is impossible to knead, you instead stretch and fold the dough to activate the gluten. And the more often you stretch and fold, the better the texture the resulting bread will be. Hence, this recipe calls for 3 rounds of stretching and folding, although each round only requires about 1 minute of your time.
I have seen many focaccia recipes where no stretching is performed at all – the dough is simply mixed together, left to proof, and then transferred to the baking dish before dimpling and baking. I have tried this method too, and whilst you can produce a decent loaf of focaccia with absolutely minimal effort, I do actually think spending a few minutes to stretch and fold the dough makes a difference to the final result. Focaccia recipes which do not call for any stretching or folding generally produce a dough which is denser and with few air bubbles.
On those occasions where I stretch and fold the dough, I have found that the dough holds its shape better, meaning a taller bread which is soft and pillowy, and with more air bubbles.
How to Make Focaccia
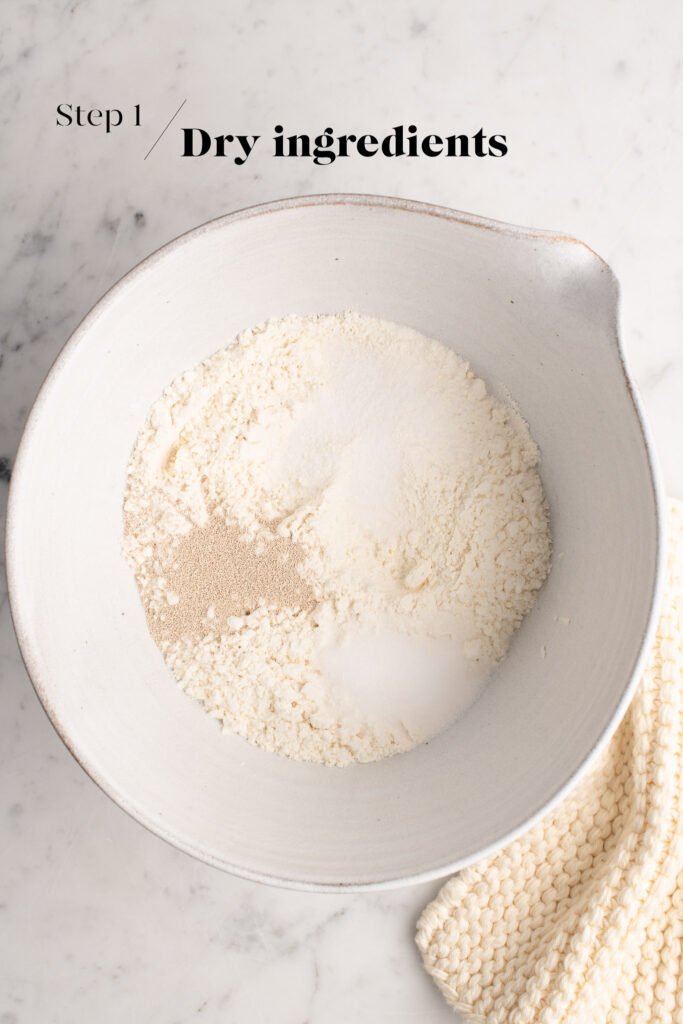
Step 1
Place all of the dry ingredients into a large mixing bowl. Mix lightly.
Step 2
Add the water and oil, and mix until all of the flour is hydrated with the water. I prefer to do this using my electric stand mixer with dough hook, but you can also use a large wooden spoon. The dough should be quite wet in texture.
Cover the bowl and place it somewhere warm for about 15 minutes to proof.

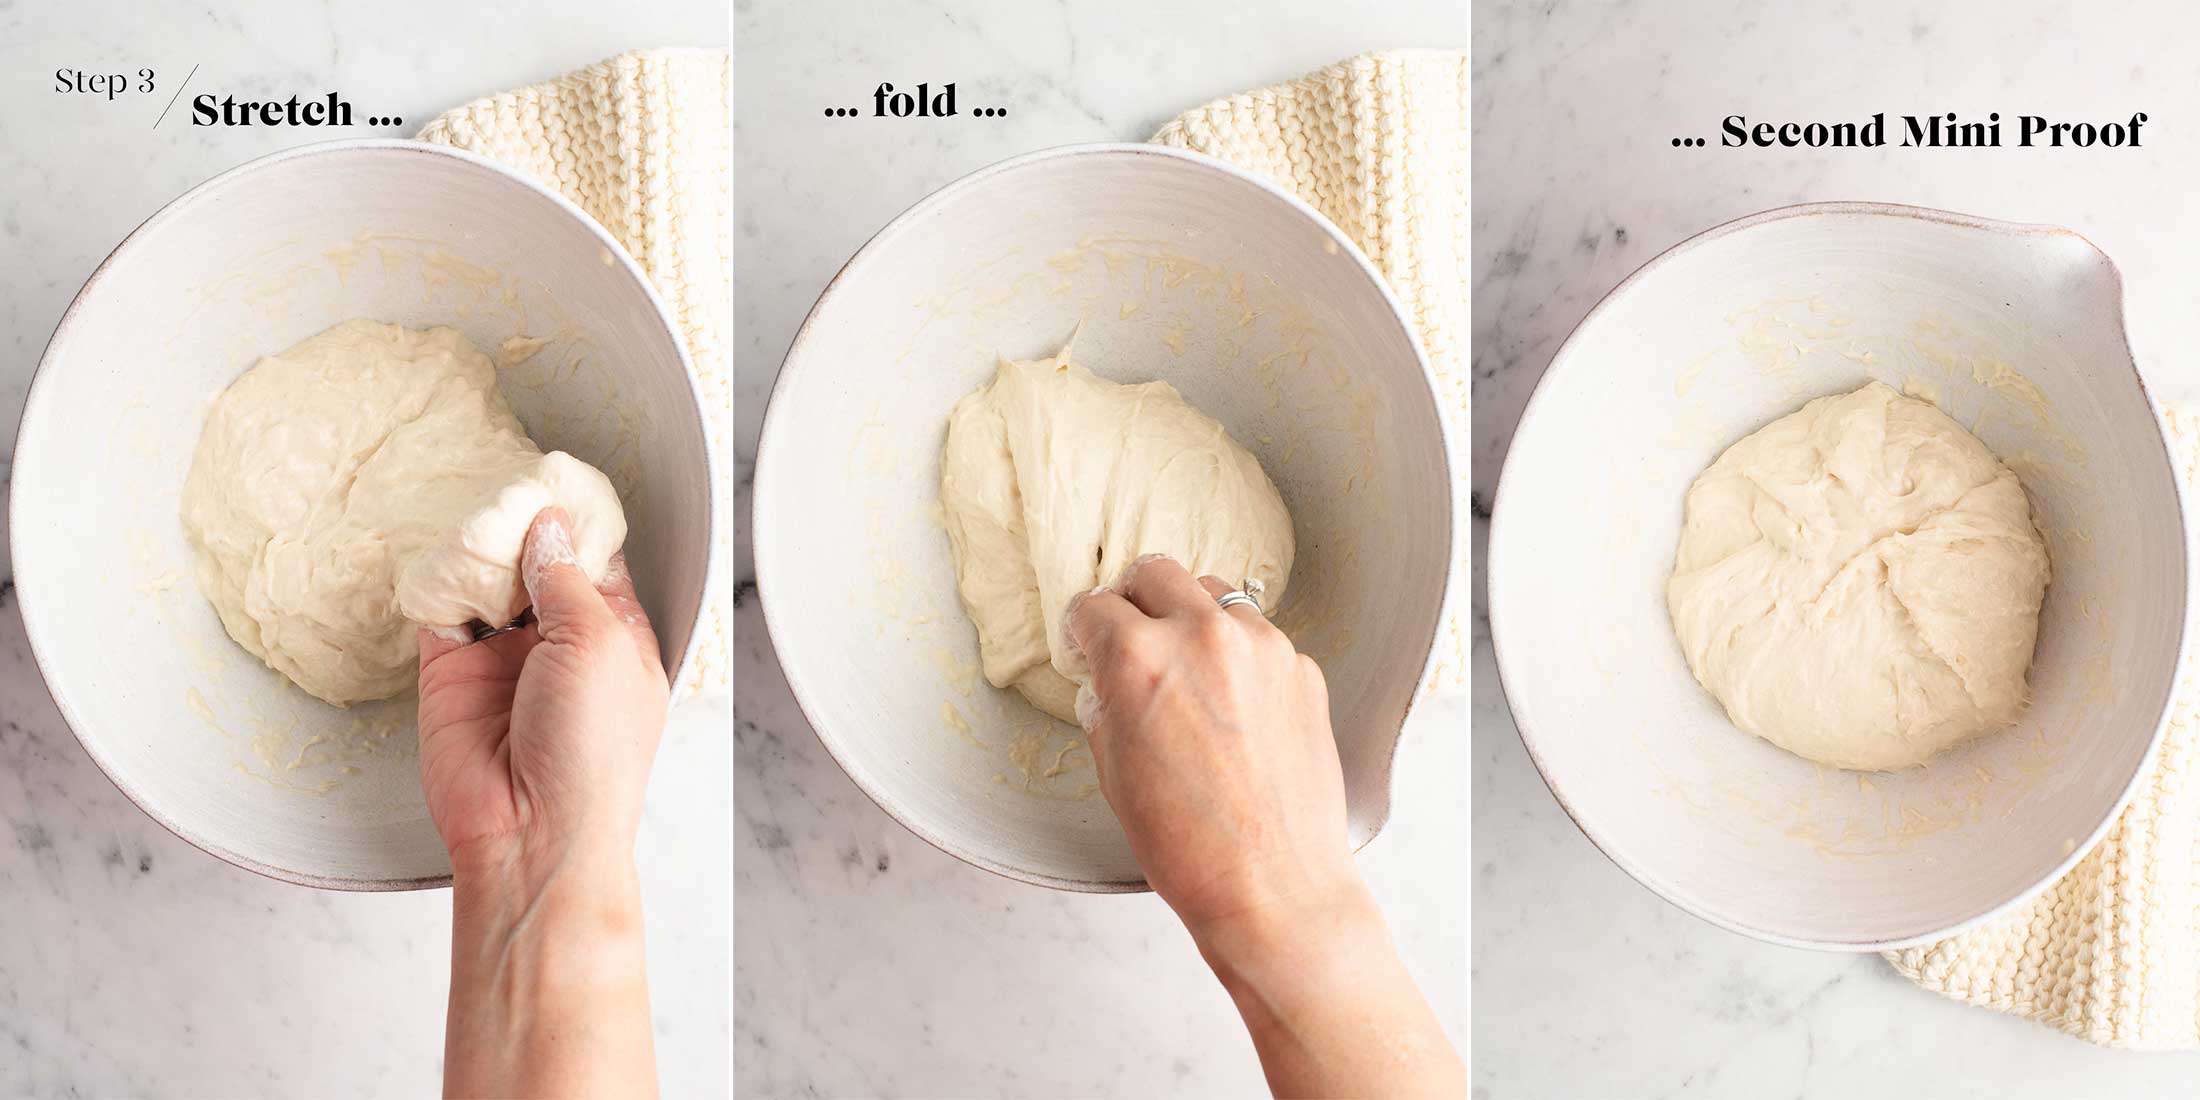
Step 3
Wet your hands, and use one hand to lift up one edge of the dough, stretching it upwards, before folding it towards the centre. Repeat with all of the edges of the dough, rotating the bowl as you go, and until you can loosely form a ball of wet dough in the bowl.
Cover the dough and place it somewhere warm for another 15 minutes.
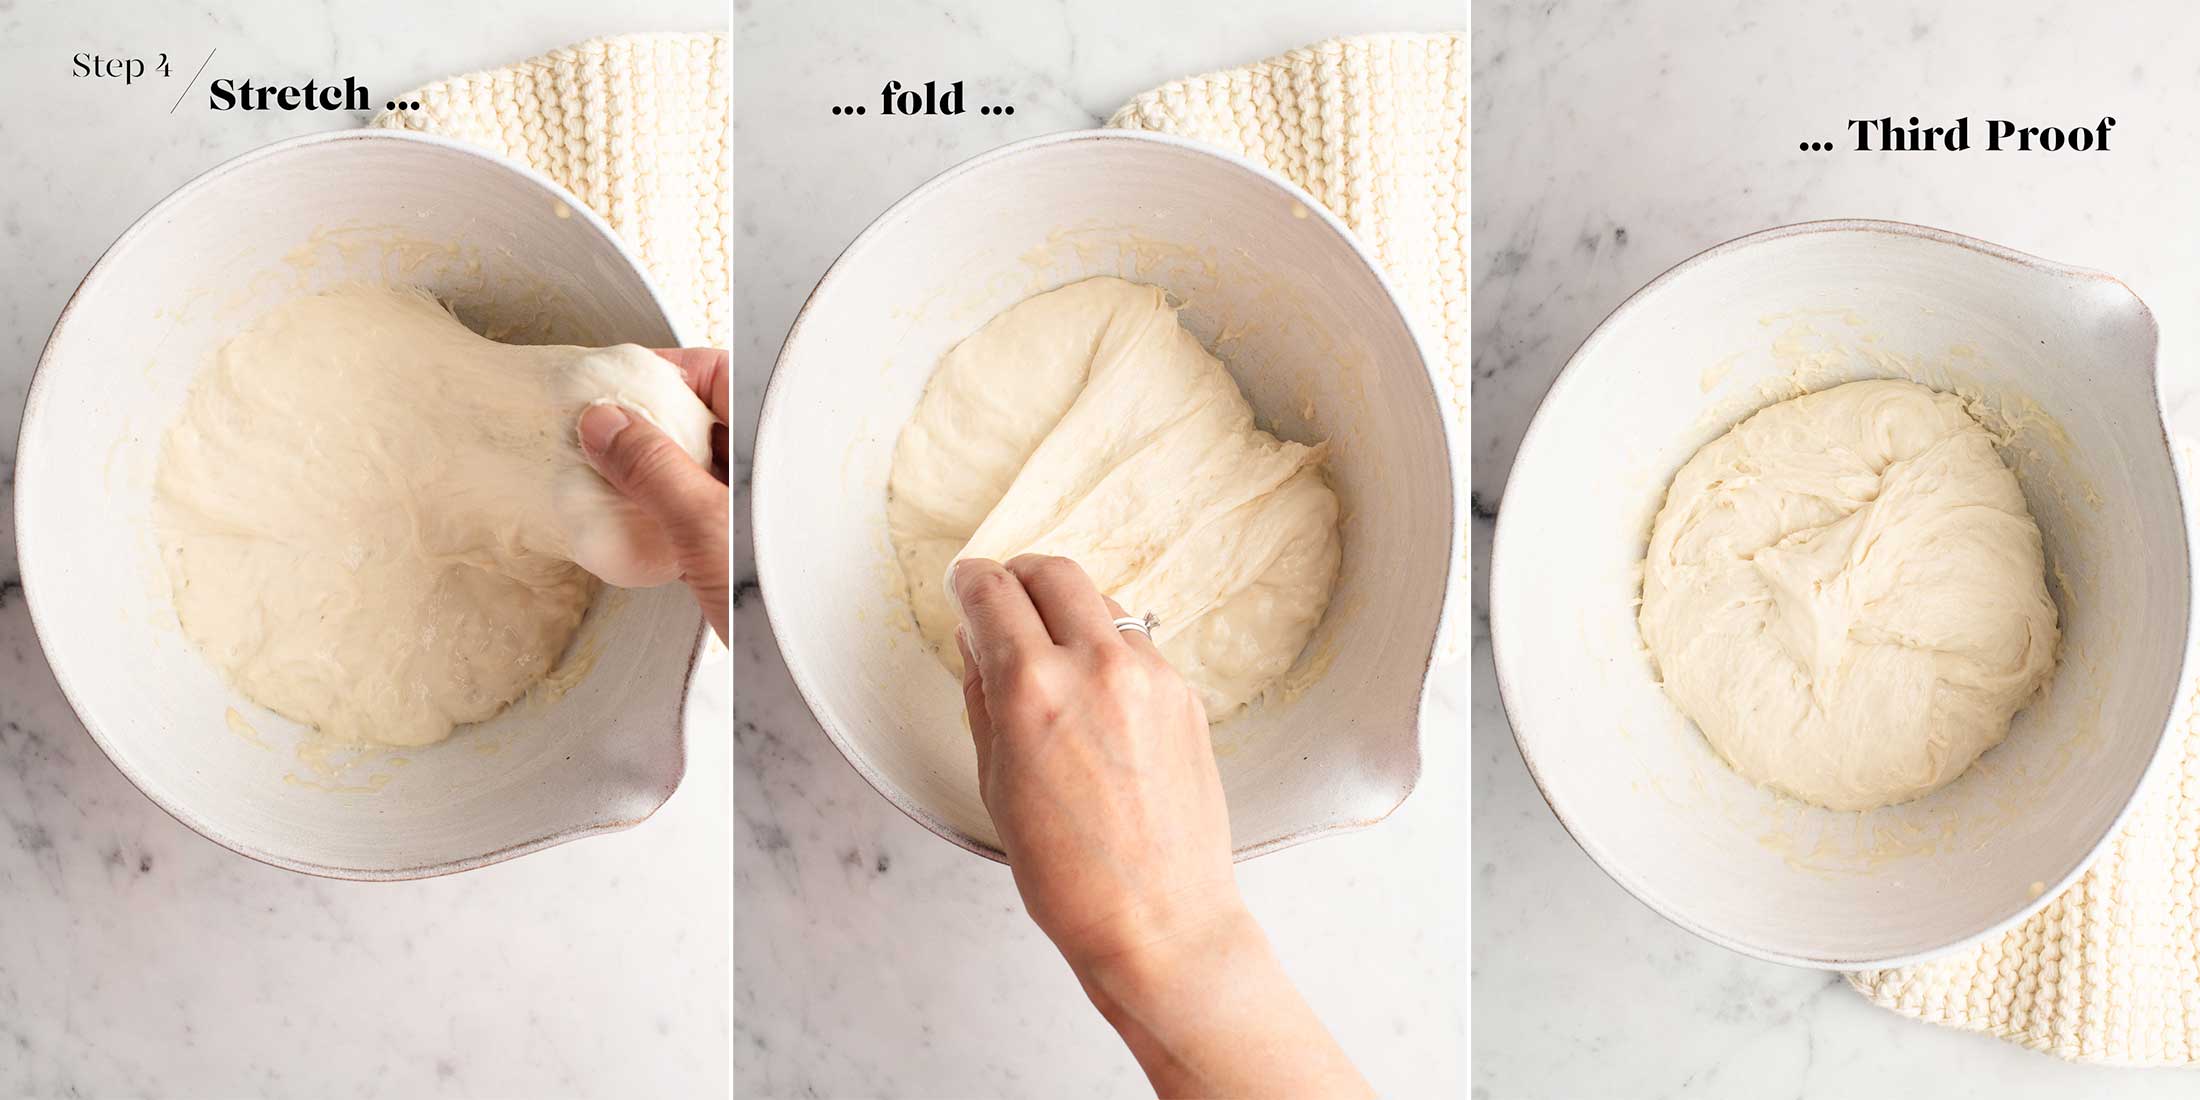
Step 4
By now, the dough should have risen a bit.
Repeat the stretching and folding method mentioned in Step 3. The dough should feel more firm and elastic by now, so it should be easier to stretch and fold at this stage.
Cover the bowl and place it somewhere warm for 1 to 1.5 hours, or until the dough has doubled in size.
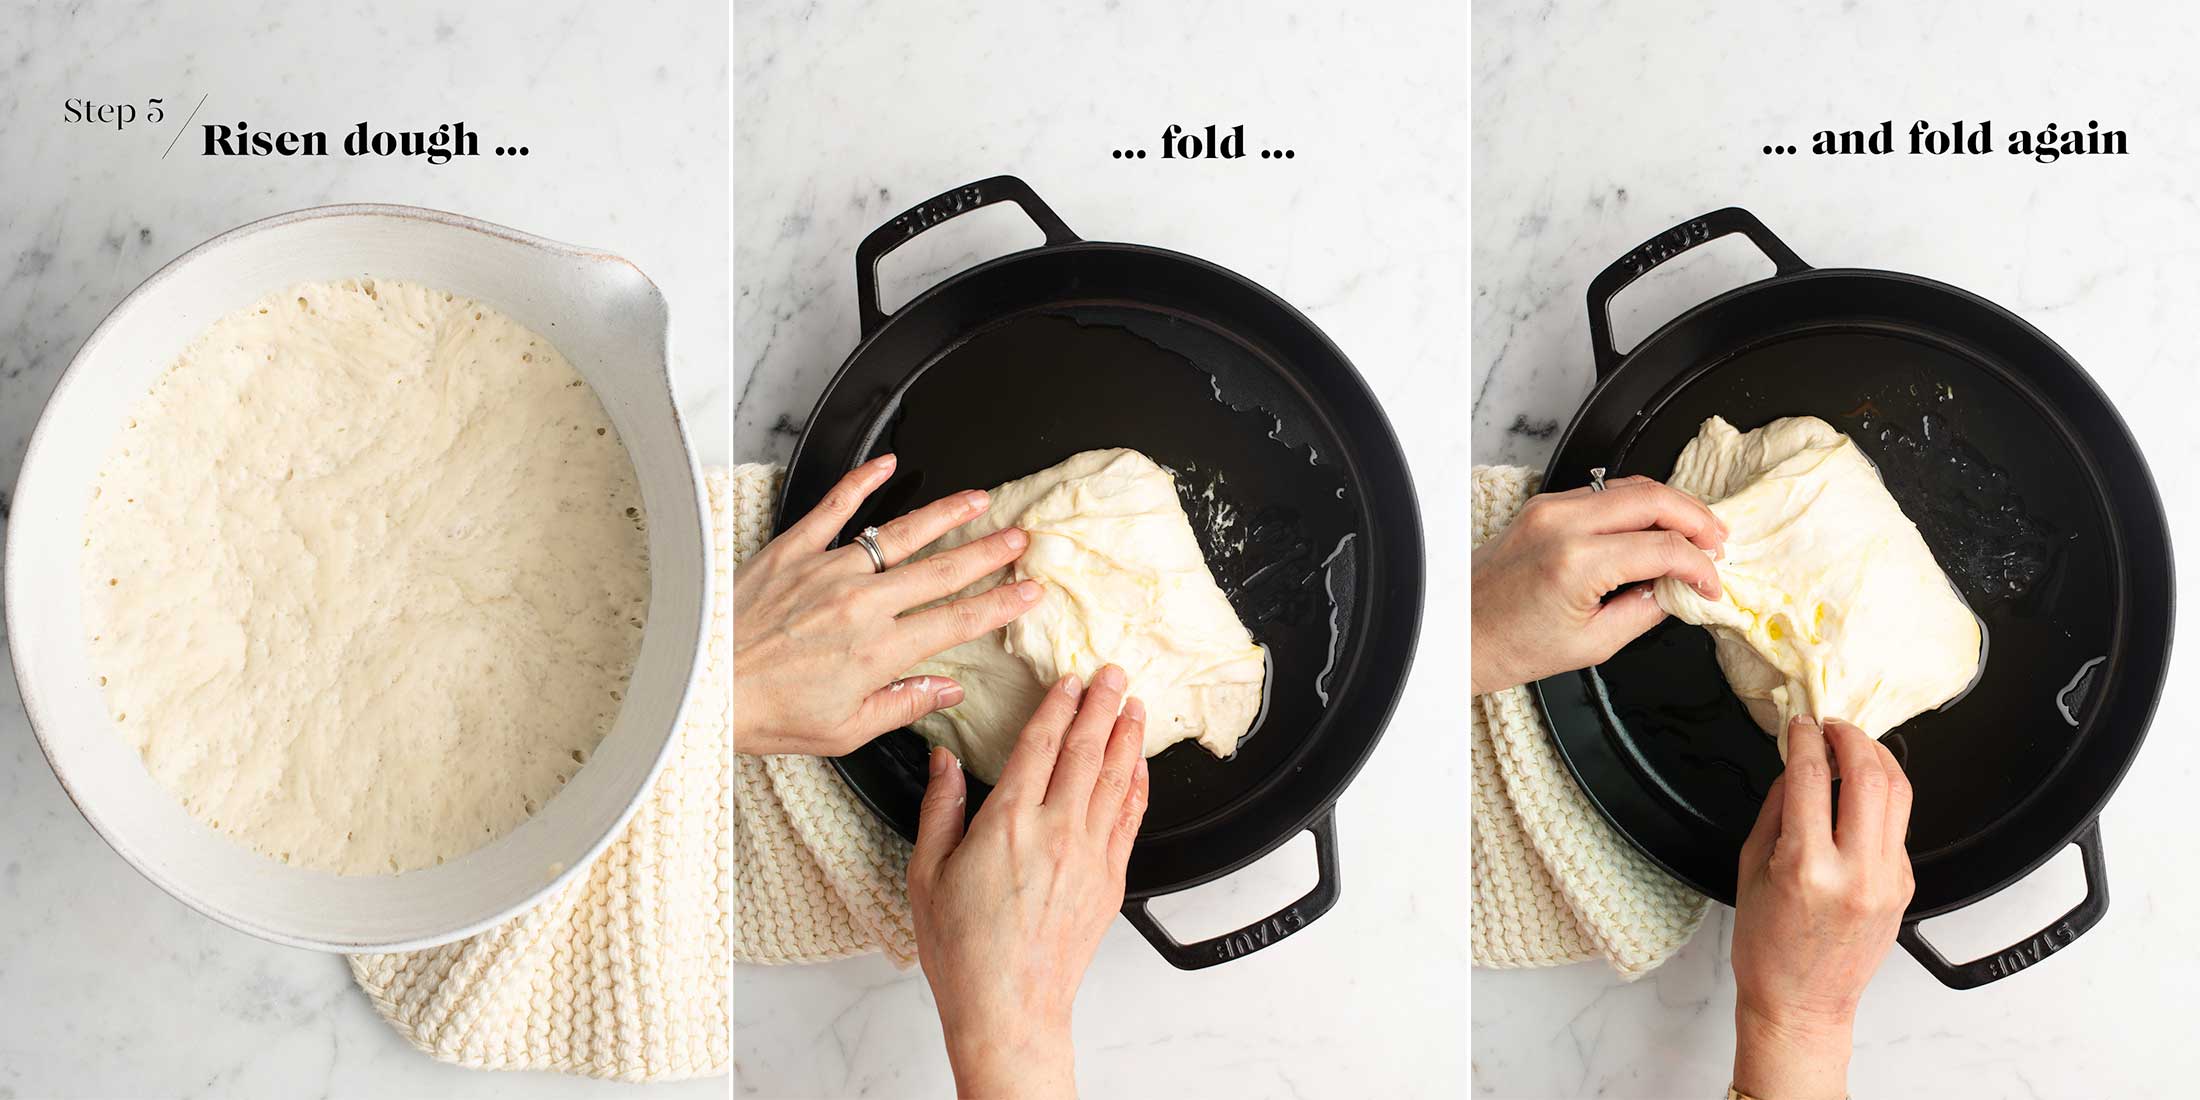
Step 5
Drizzle 2-3 tablespoons of olive oil onto a non-stick baking tray or cast-iron skillet.
For a rectangular focaccia, I use a baking tray which measures 23 x 33 x 5 cm/9 x 13 x 2 inches (see more in Kitchen Notes below).
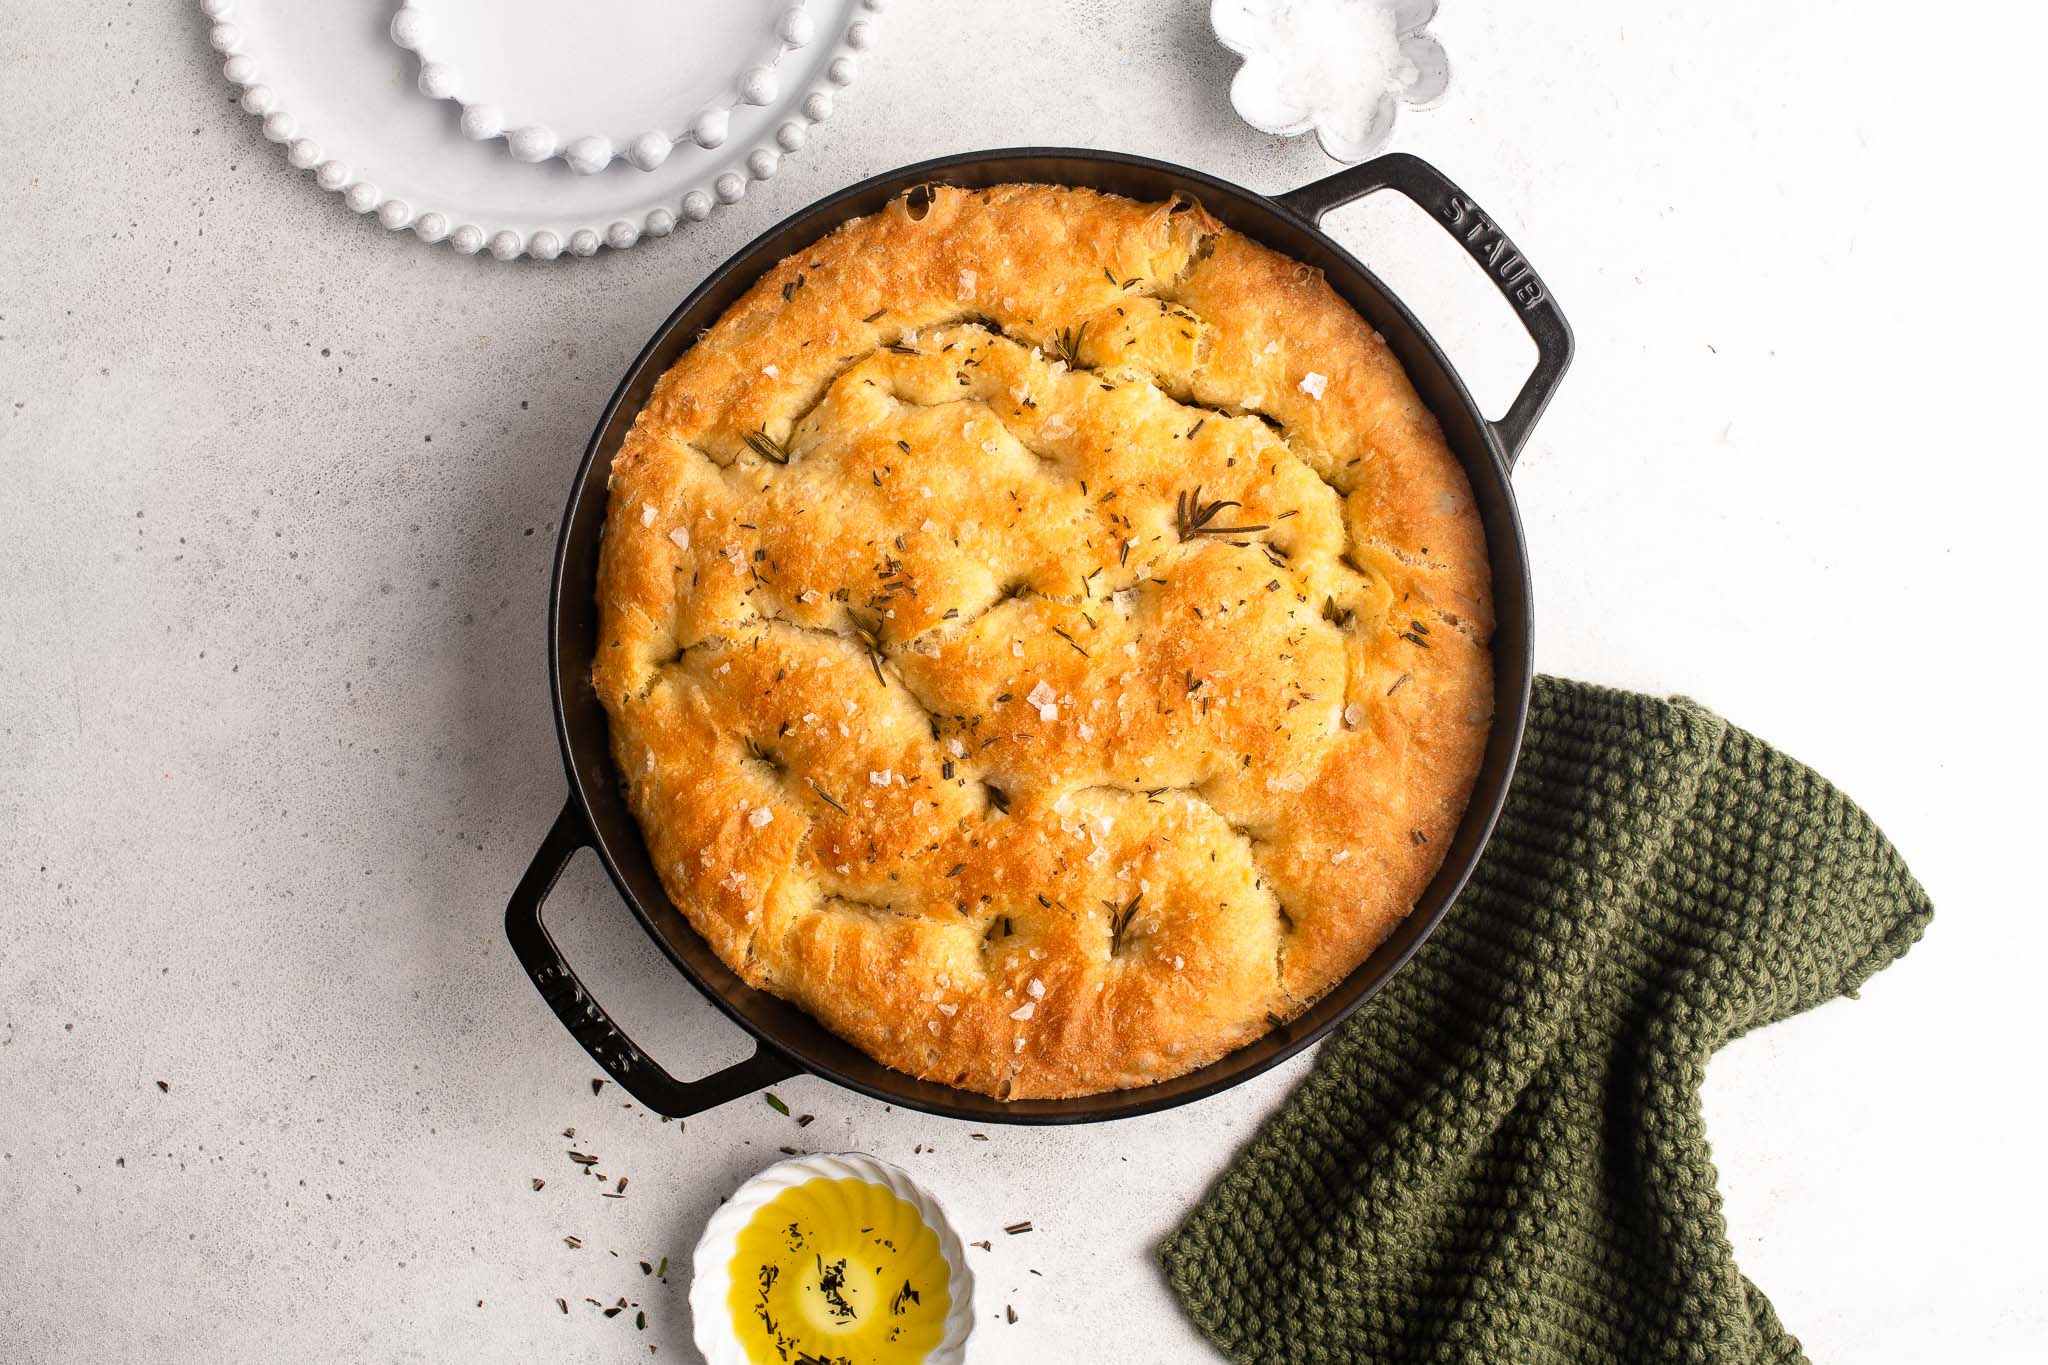
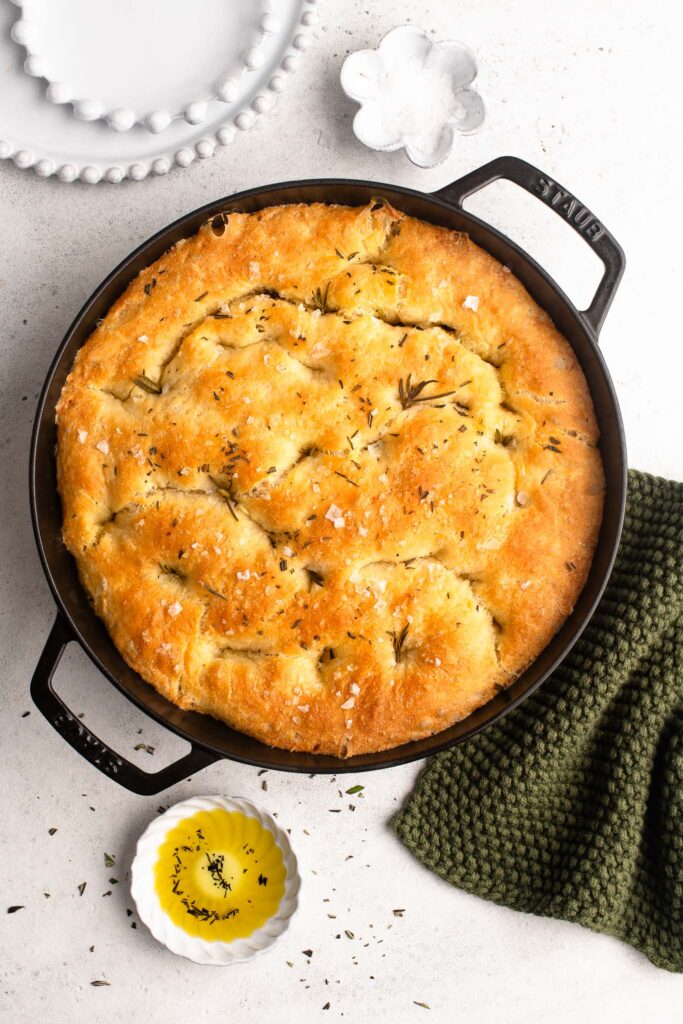
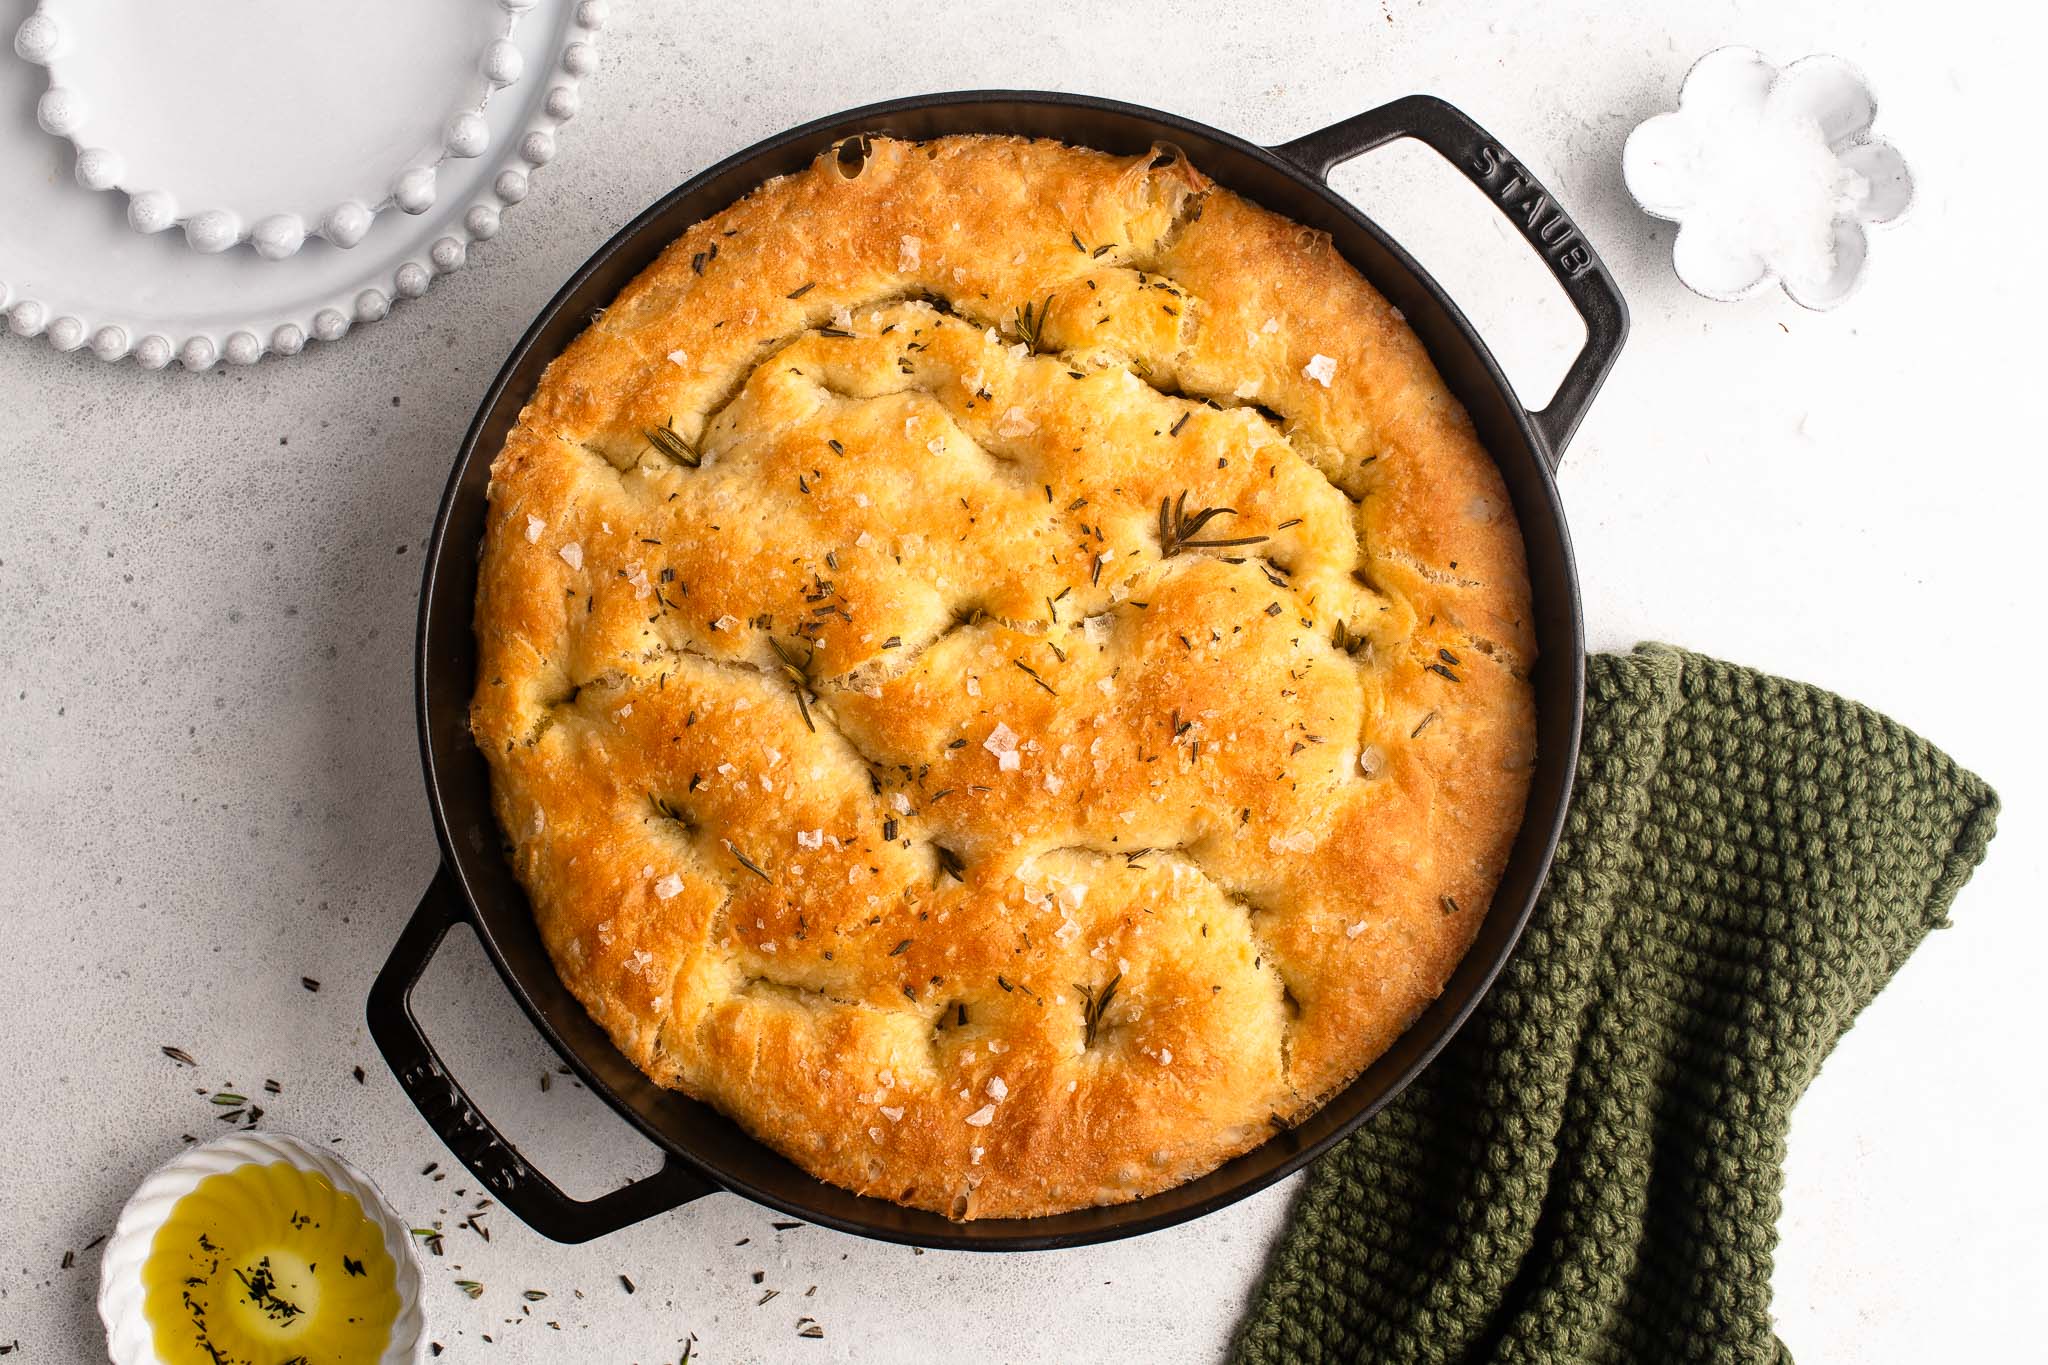
For a round focaccia, I use a cast-iron skillet which is 26 cm/10 inches in diameter.
Use a spatula to transfer the dough onto the pan, but try not to deflate the dough.
Wet your hands and then fold the dough like an envelope, i.e. fold the top third down towards the centre of the dough, and then fold the bottom third up towards the centre.
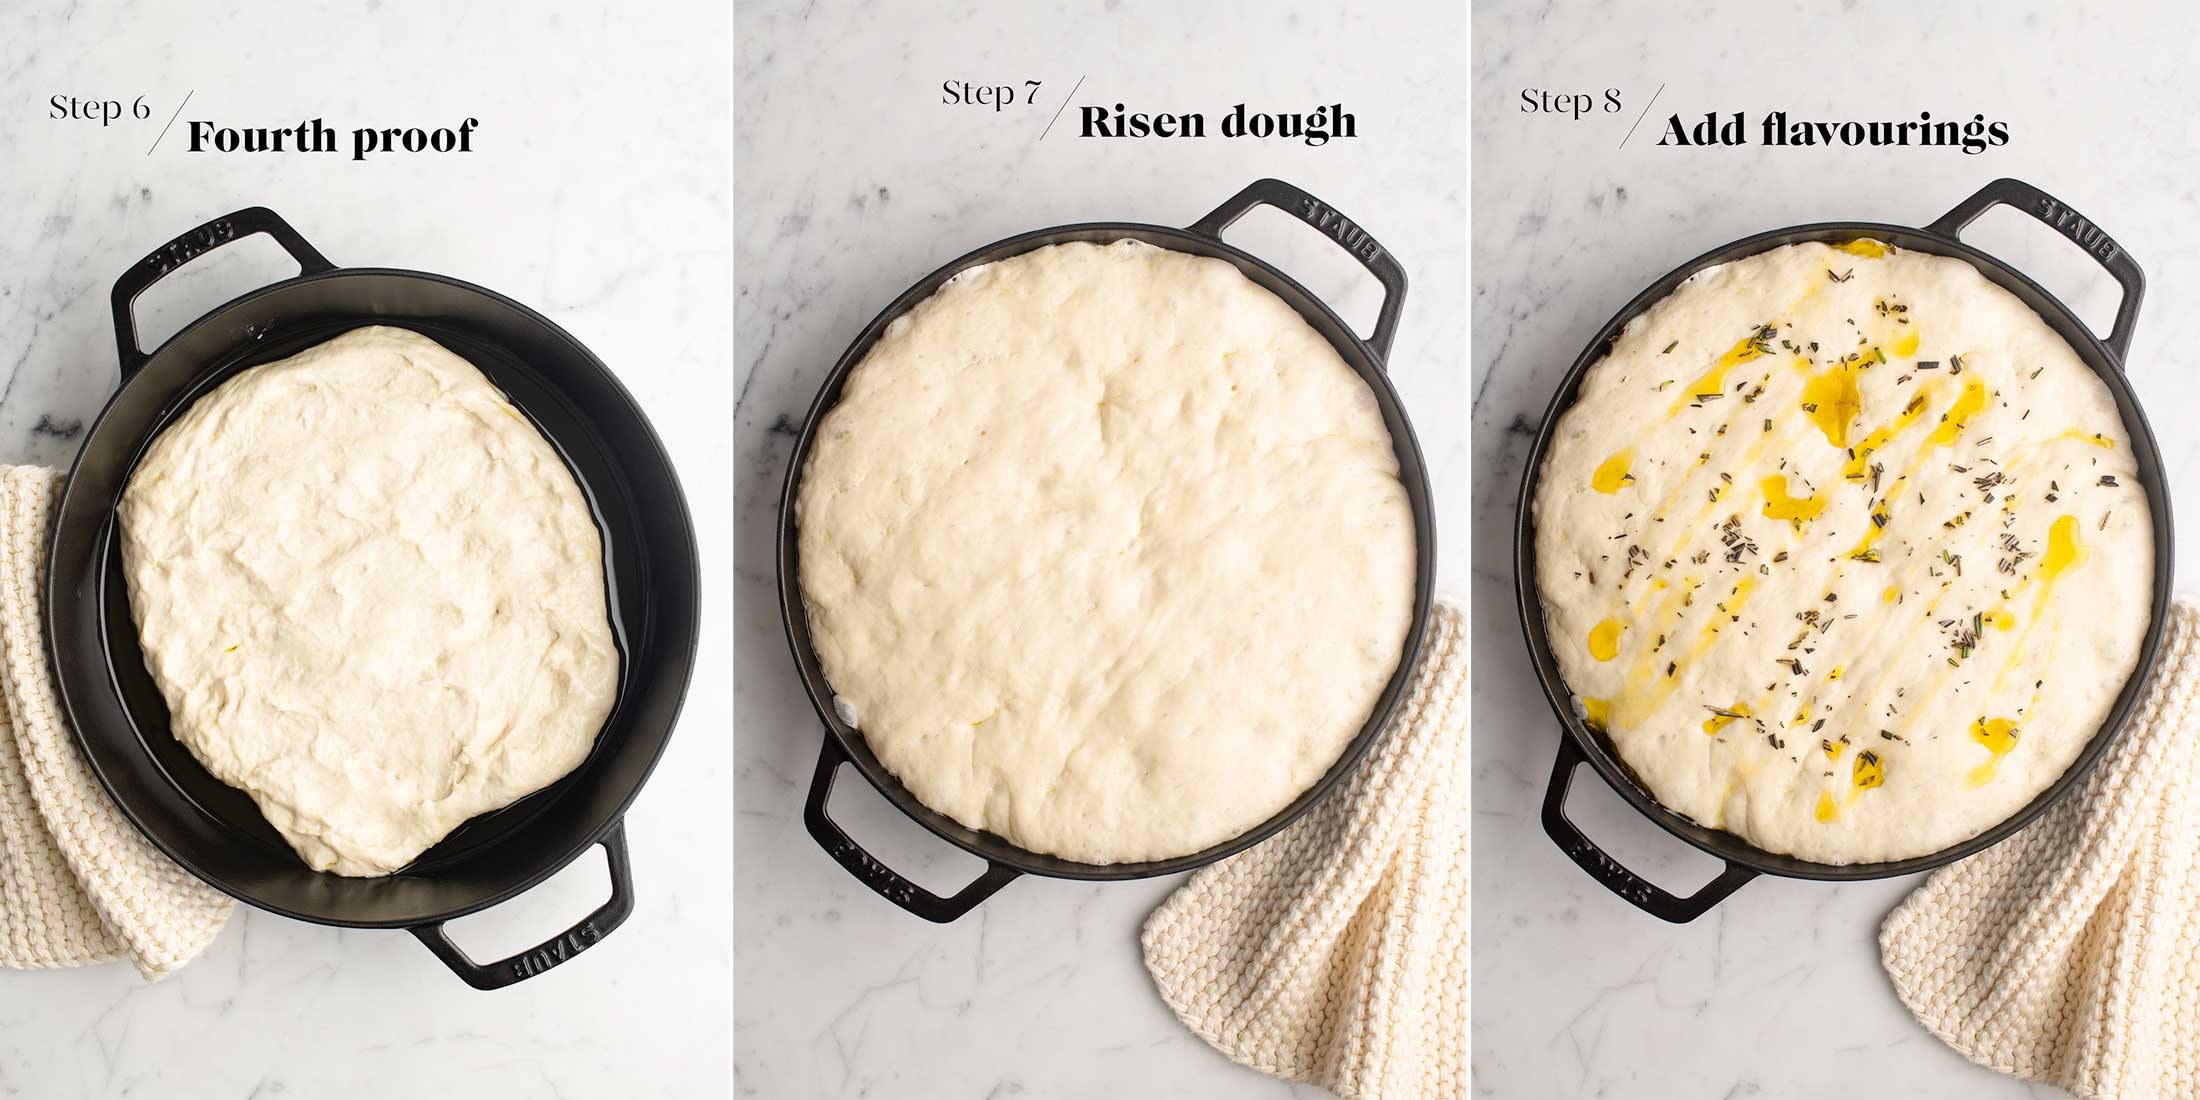
Step 6
Carefully flip the dough so that the seam is facing down. If you are using a rectangular baking tray, rotate the dough so that the long side of the dough is following the length of the baking tray. Gently push out the dough with your fingertips so that it fills most of the baking tray.
Step 7
Cover the tray with a clean tea towel or sheet of baking paper, and place the tray somewhere warm for about 1 to 1.5 hours, or until the dough has risen to almost the top of the tray, and it has filled the entire baking tray with lots of large air bubbles.
At this stage, handle the tray lightly and delicately so as to not deflate the air bubbles which you have waited so patiently to form.
Step 8
Preheat the oven to 220°C/430°F (without fan). Place a metal tray in the middle of the oven to preheat.
Drizzle 2-3 tablespoons of olive oil over the dough, and sprinkle with finely chopped rosemary.
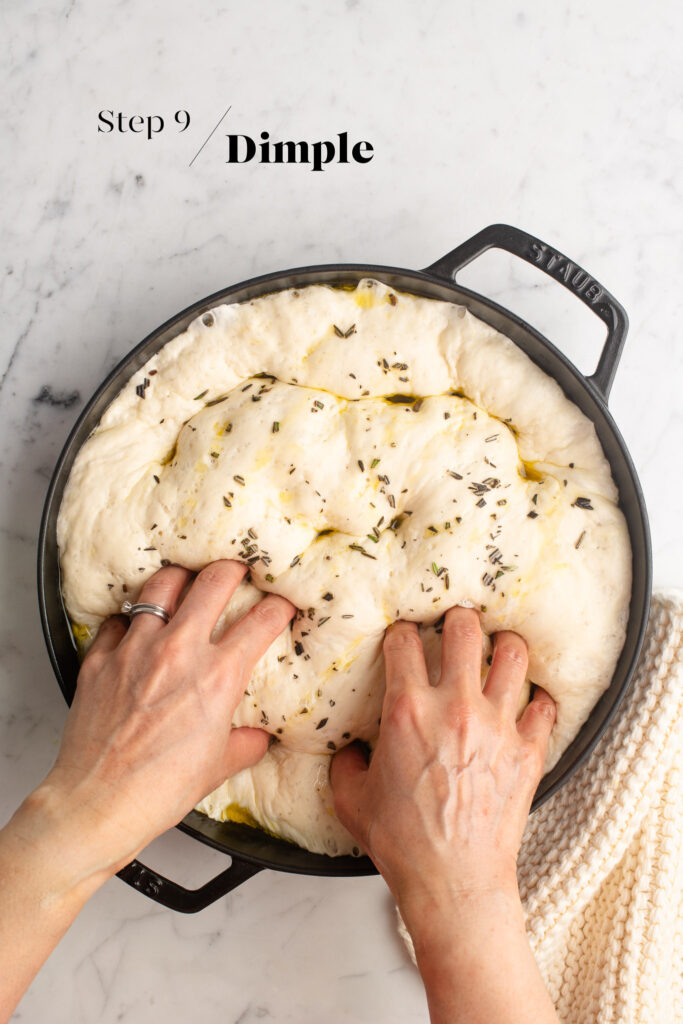
Step 9
Oil your hands and fingers, and then press your fingers into the dough to leave indents. The dough will deflate as you do so. Repeat until most of the dough is dimpled, but try not to remove too many air bubbles. Tuck in some rosemary leaves into the dimples, if you wish. Sprinkle over sea salt flakes.
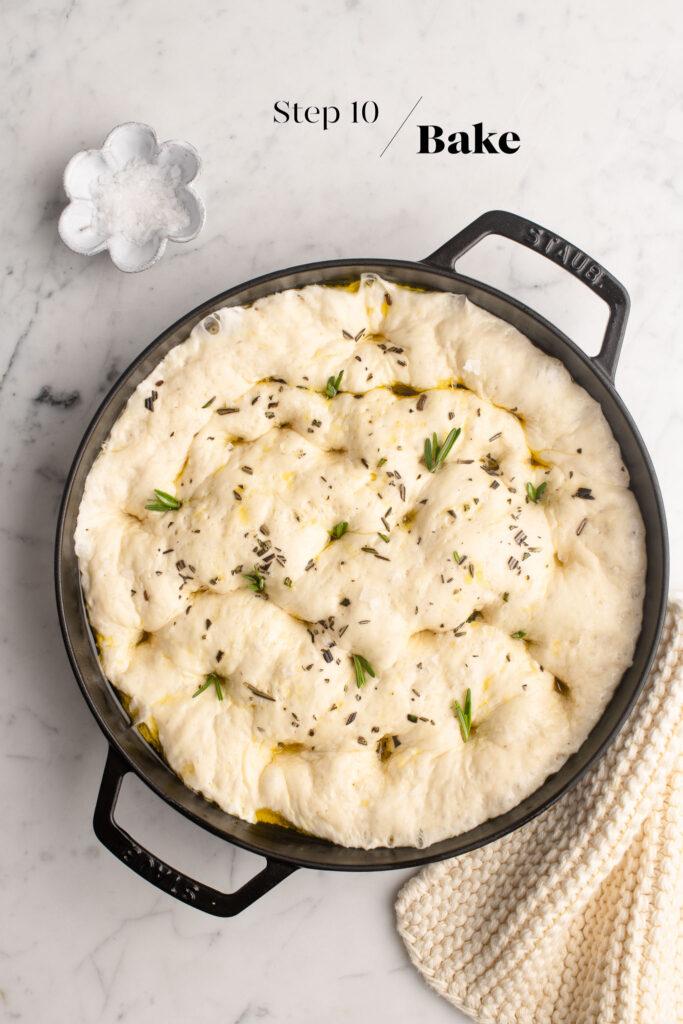
Step 10
Bake the focaccia for 15-20 minutes, or until it is nicely golden on top. If it is browning too quickly, cover the focaccia with a sheet of foil. Let the focaccia rest for about 15 minutes before slicing and serving.
Tips for Making Focaccia Dough Ahead of Time
This focaccia recipe involves a bit of waiting time for the dough to proof at various stages – you will need to set aside about 4 hours to make and serve the focaccia. Despite the time commitment, very little effort is required on your part at each stage.
As with most bread recipes, I typically make the dough the night before and allow it to rise slowly in the fridge overnight. The longer proofing time has the added benefit of allowing the dough to develop more flavour and a better texture. Come the morning, the dough will have at least doubled in size, and it will be ready for shaping as per the recipe. And for a focaccia which requires 4 rounds of proofing, I think it makes sense to start the night before.
To make the dough the night before:
- Make the dough as per the recipe until you have completed the Second Mini Proof.
- Cover the bowl with plastic wrap or a reusable bowl cover.
- Place the bowl into the fridge.
- Let the dough rise for the Third Proof overnight, or for at least 8-10 hours.
- The next morning, the dough should have at least doubled in size.
- Gently remove the dough from the bowl.
- The dough is ready for shaping in the baking tray as per the recipe.
- As the dough will be cold from the fridge, the Fourth Proof may take slightly longer.
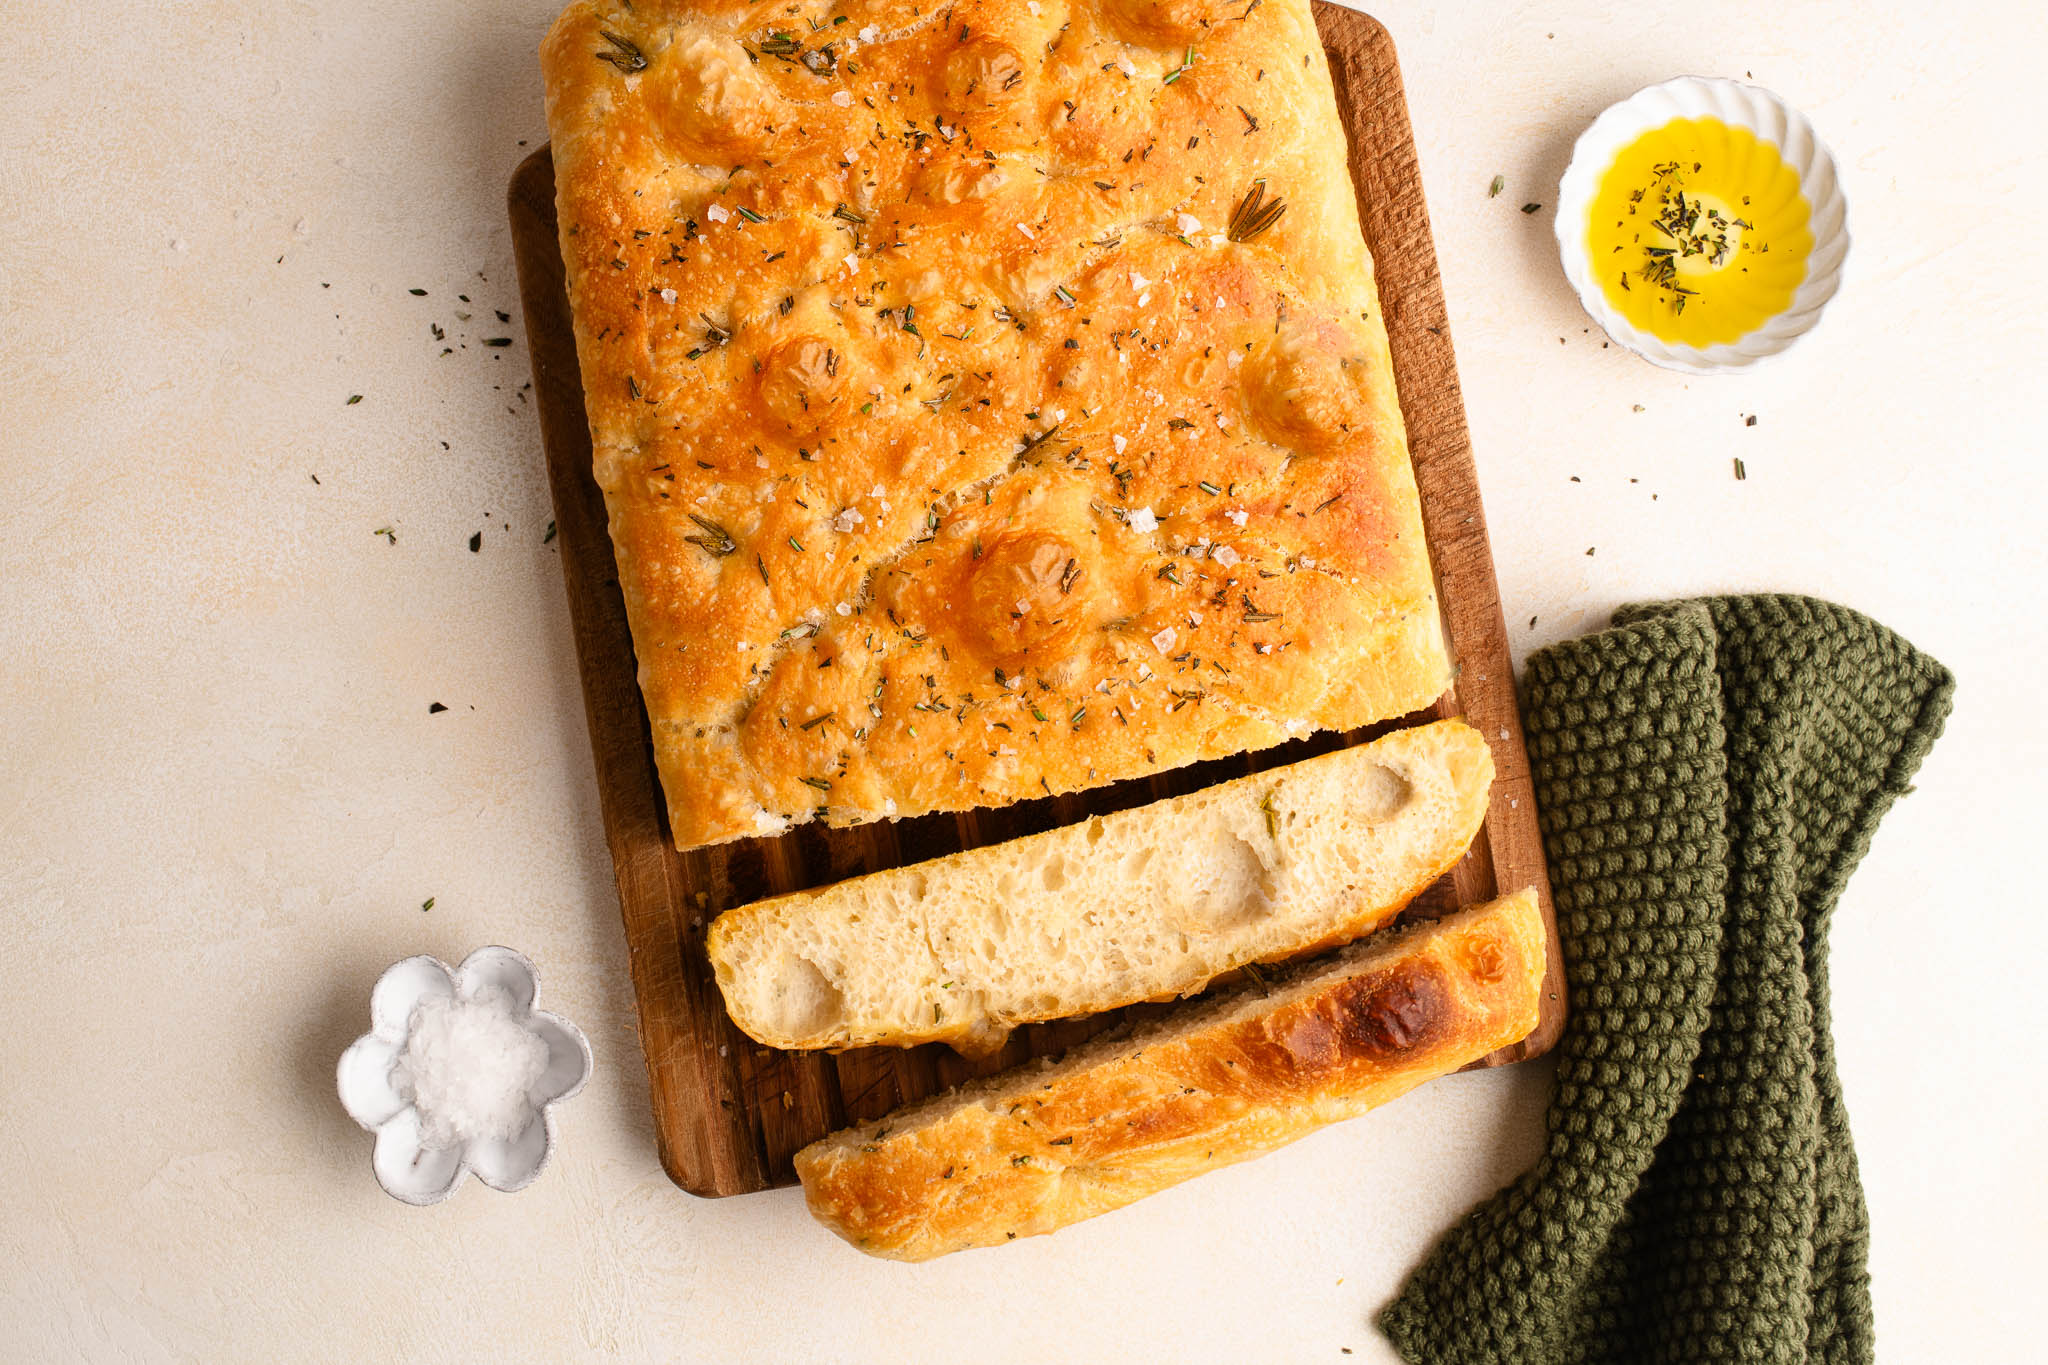

Focaccia with Rosemary and Sea Salt
Ingredients
For a Round Focaccia (see Kitchen Notes below for a rectangular focaccia)
- 375 g (2 ½ cups) white bread flour
- 5.25 g (1 ½ teaspoons) instant dried yeast, see Kitchen Notes
- 9 g (1 ½ teaspoons) fine salt
- 8 g (2 teaspoons) caster sugar, (superfine sugar)
- 315 ml (1 ¼ cups) warm water
- 15 ml (1 tablespoon) olive oil, for the dough
- 2-3 tablespoons olive oil, for the pan
Instructions
BEGIN THIS RECIPE ABOUT 4 HOURS BEFORE SERVING
To Make the Focaccia Dough
- Measure the flour, yeast, salt and sugar into the bowl of an electric stand mixer.
- Lightly mix the dry ingredients together with the dough hook.
- Measure the water and 1 tablespoon olive oil into a small measuring jug.
- Slowly add the wet ingredients to the dry ingredients.
- Knead the dough on low-medium speed until all of the flour is combined with the water. This step should take about 2 minutes.
First Mini Proof
- Cover the bowl of dough.
- Place the bowl somewhere warm for 15 minutes.
- Wet your hands with some warm water.
- Pull up the dough from one edge of the bowl, stretching it as you go up, and bringing it down towards the centre of the dough. You can either use your hands or a spatula for this task.
- Repeat this stretching motion with the remaining edges of the dough.
Second Mini Proof
- Cover the bowl of dough again.
- Place the bowl somewhere warm for another 15 minutes.
- By now, the dough should have increased in size.
- Repeat the stretching motion mentioned in the First Mini Proof.
Third Proof
- Cover the bowl of dough.
- Place the bowl somewhere warm for 1 to 1.5 hours, or until the dough has doubled in size.
Fourth Proof
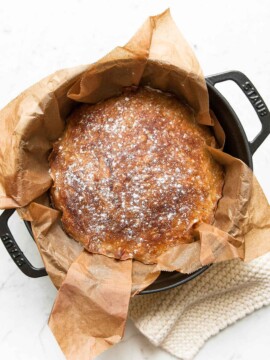
- Drizzle 2-3 tablespoons of olive oil into a cast-iron skillet measuring 26 cm/10 inches in diameter. If you are worried about the focaccia sticking to the pan, you can also line the pan with baking paper first.
- Carefully transfer the dough onto the skillet.
- Fold the bottom third of the dough towards the centre.
- Then fold the top third of the dough towards the centre. You should now have a fat log of dough.
- Turn the dough over so that the seam is facing down.
- Use your fingertips to gently push the dough out to almost fill the pan.
- Cover the dough with a clean tea towel and place the pan somewhere warm for about 1 to 1.5 hours, or until the dough has almost risen to the top of the pan, and it has spread to fill the pan (or most of the pan) with large air bubbles.
To Decorate the Focaccia
- Preheat the oven to 220°C/430°F (without fan).
- Place a metal baking sheet on the middle shelf of the oven.
- Drizzle 2-3 tablespoons of olive oil over the dough.
- Sprinkle with chopped rosemary.
- Oil your hands with some olive oil to prevent the dough from sticking to your fingers.
- Use your fingers to make random indents in the dough, pushing all the way to the bottom. As you do so, push out the dough to fill the baking tray, if necessary.
- Sprinkle the dough generously with sea salt flakes.
- Decorate the dough however you wish (such as with rosemary twigs).
To Bake the Focaccia
- Bake for 15-20 minutes, or until the focaccia is lightly golden.
- I recommend waiting about 15 minutes before slicing the focaccia. This will allow the bread to rest, which will result in a cleaner slice when you cut it with a serrated knife.
- The focaccia is best eaten on the same day.
Kitchen Notes
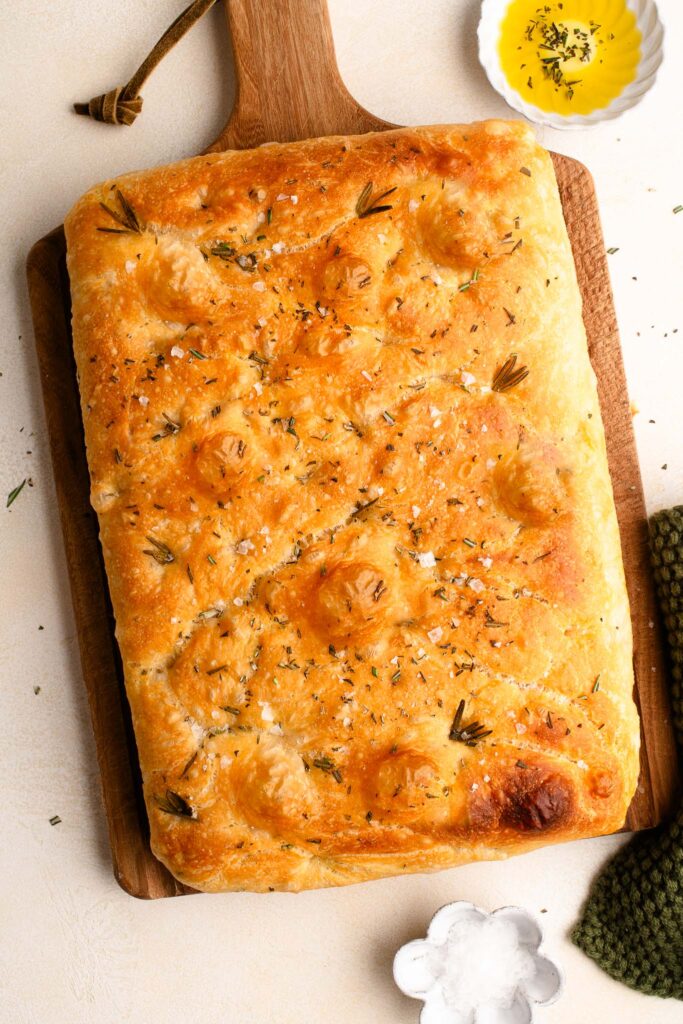
- MAKE A RECTANGULAR FOCACCIA
To make a rectangular focaccia, I use a non-stick baking pan which measures 23 x 33 x 5 cm/9 x 13 x 2 inches, and I increase the recipe by 25% as follows:
500 g (3 1/3 cup) bread flour
7 g (2 teaspoons) instant dried yeast (see Kitchen Notes)
2 teaspoons fine salt
1 tablespoon caster sugar (superfine sugar)
400-420 ml (1 2/3 cup) warm water, about 40°C/105°F
1 tablespoon olive oil, for the dough
2-3 tablespoons olive oil, for the baking tray - DIFFERENT TYPES OF FLOUR
For Swiss readers: I use Zopfmehl (or farine pour tresse) when making bread and enriched dough. - DIFFERENT TYPES OF YEAST
* Please note that there is a difference between instant yeast (also called instant dried yeast or fast-action dried yeast) and dried yeast (also called active dry yeast). If you are not sure what type of yeast you have, please check the packaging for instructions on how to use the yeast.
* With instant yeast, you can add it directly to the flour mixture without having to activate it first.
* With dried yeast, you will need to activate it first (usually in some warm liquid). - PROOFING THE DOUGH
Dough needs a warm environment for the yeast to activate and cause the dough to rise. If you don’t have a warm place in your home, try one of the following ideas:
* In the oven with the oven light switched on (works only for some ovens).
* In the oven with a tray of boiling water on the bottom shelf.
* In the oven at a low temperature of about 25-30°C (77-86°F). - OVEN TEMPERATURES
All recipes on this website state temperatures for a regular oven (i.e. a conventional oven without fan). If you have a convection oven with a fan, please consult the manufacturer’s handbook on how to adjust the temperature and baking time accordingly. - CONVERSIONS
To convert from cups to grams, and vice-versa, please see this handy Conversion Chart for Basic Ingredients.


What if I don’t have a cast iron skillet? Can I use a normal cake pan?
Hi Elin,
Sorry for my delayed response. Yes, of course, you can also bake this focaccia in a normal cake pan. For this particular recipe, I would recommend using a 26 cm/10 inch round cake pan, either non-stick or lined with baking paper.
I regularly bake focaccia in a rectangular cake pan and don’t really notice the difference between a metal cake pan and cast-iron.
My focaccia turned out really soft and fluffy on the inside with a beautiful crust. Thank you for the helpful instructions!
Perfect recipe!