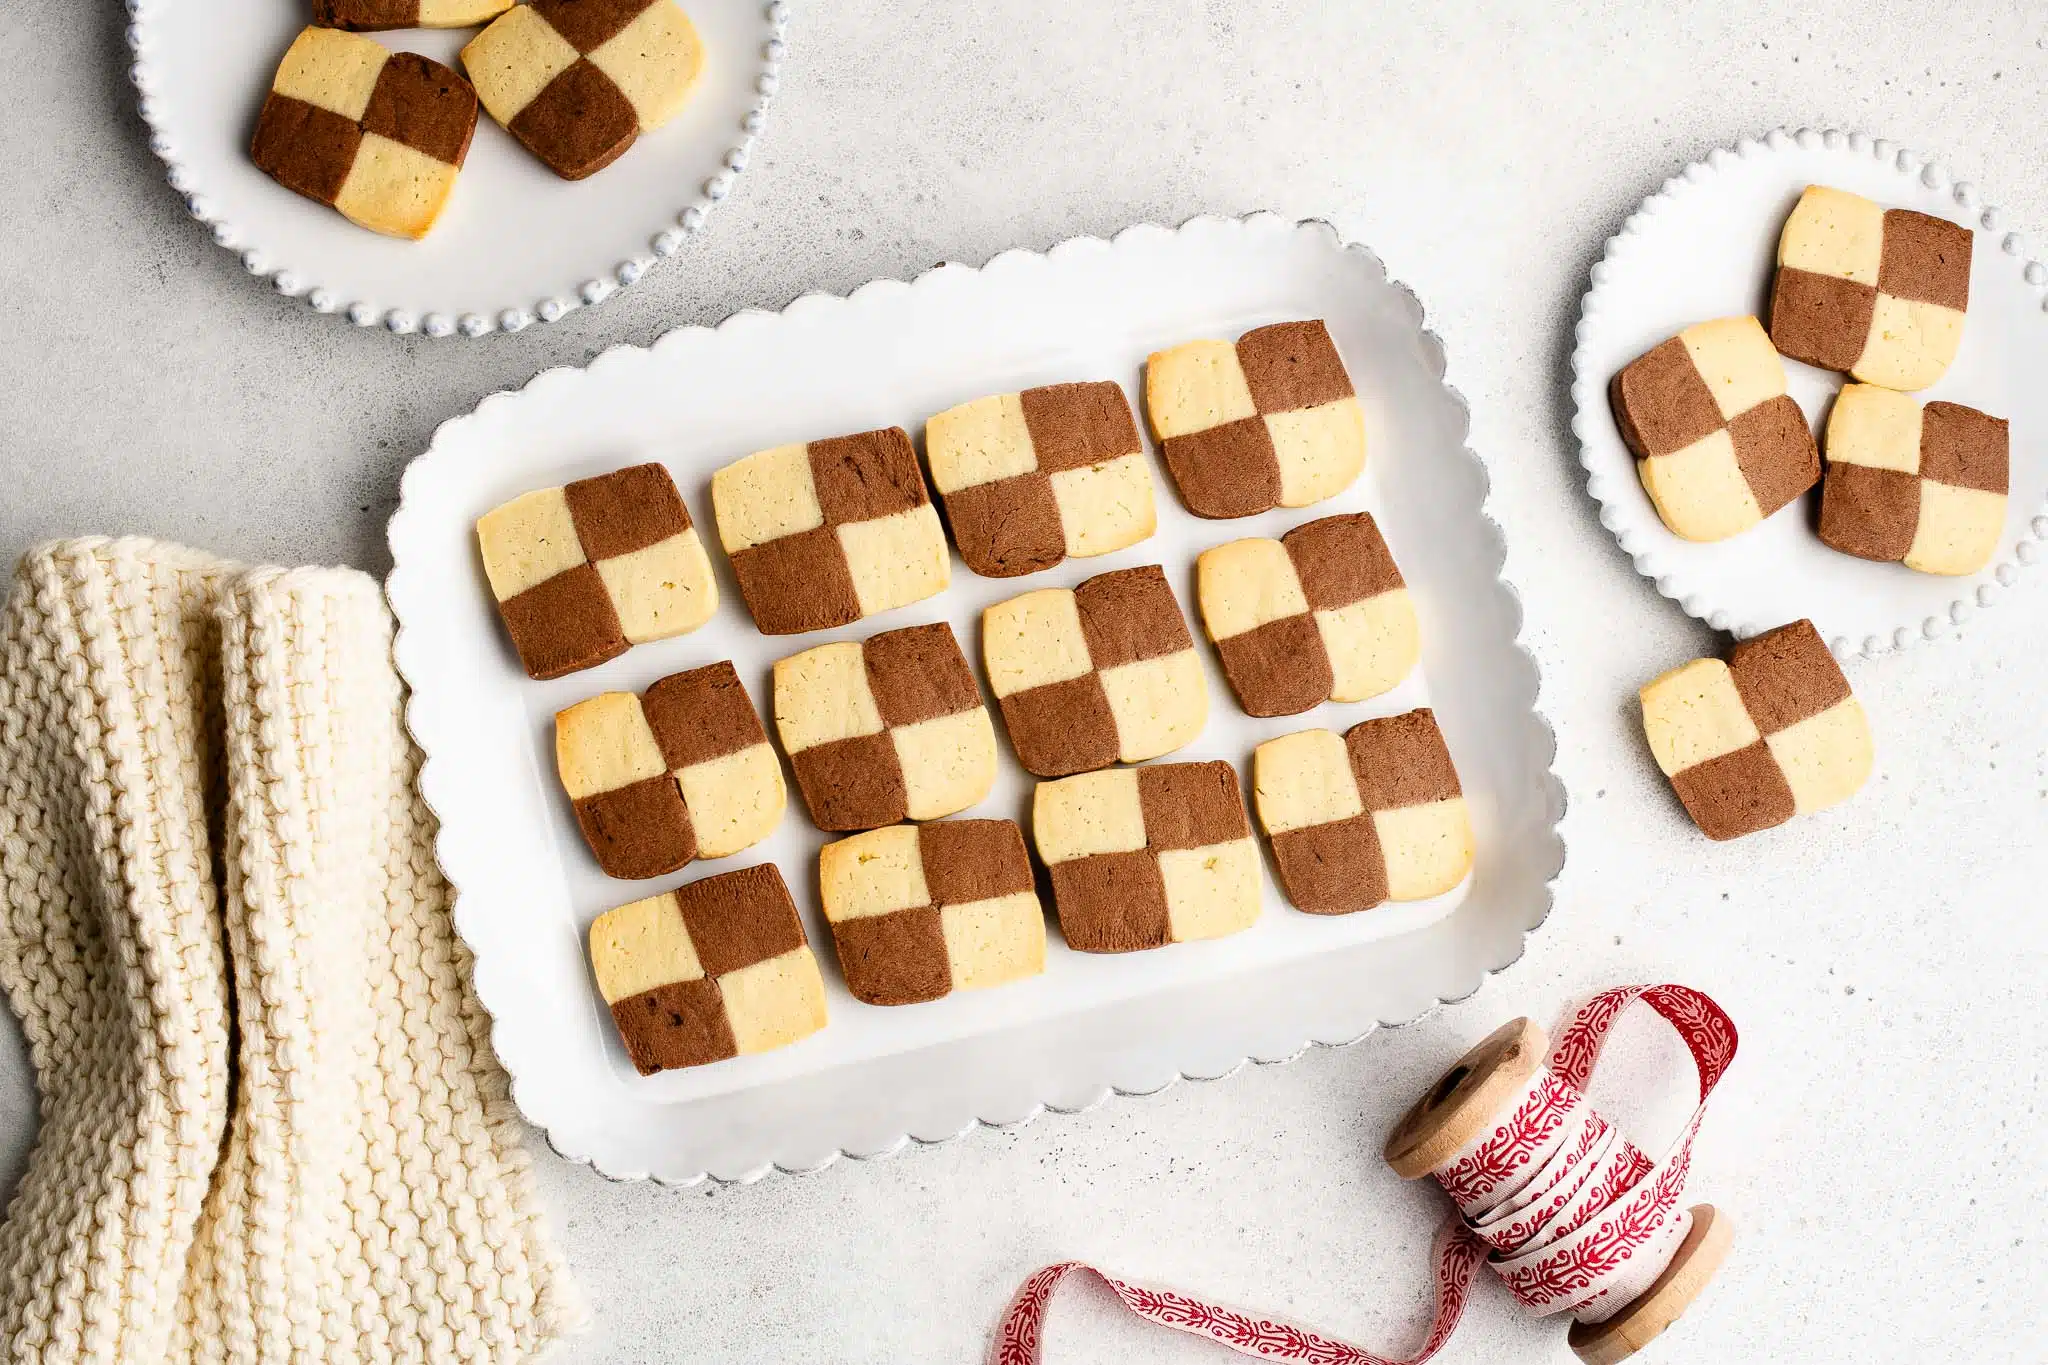
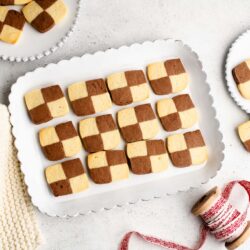
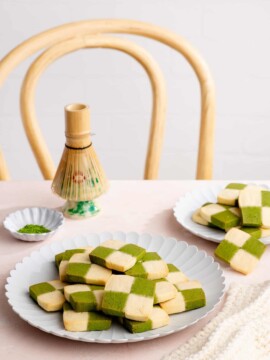
Checkerboard Cookies
These Checkerboard Cookies might be my favourite cookie to make and bake at Christmas. And if you, like me, like to bake a variety of cookies at Christmas, whether for your own consumption or to give away as gifts, I find Checkerboard Cookies are always so beautiful and visually appealing alongside other traditional Christmas biscuits. People always marvel at how these cookies are made, and despite there being a bit of geometry involved, these cookies are rather easy to make! In fact, if I can make them, anyone can ????

Christmas Cookie Exchange
If you participate in a Christmas Cookie Exchange, or you simply like to bake a variety of cookies to gift at Christmas, these Checkerboard Cookies are a fun inclusion.

Checkerboard Cookies Recipe
My recipe for Checkerboard Cookies uses the same cookie dough as for my French Sablé Cookies. Which is handy because, if you plan to make a few types of cookies at Christmas, you can use this one recipe to produce several varieties of cookies.
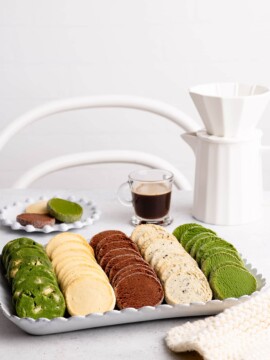
French Sablé Cookies are buttery French-style biscuits, similar to English shortbread. My recipe for French Sablé Cookies includes variations for Vanilla Sablé, Chocolate Sablé, Matcha Sablé and Black Sesame Sablé.
For a fun variation, these Checkerboard Cookies combine two different flavours (you can add more) in a visually-appealing pattern.

How to Make Checkerboard Cookies
My recipe for Checkerboard Cookies is an easy one which produces a 4 x 4 cm cookie with 4 squares featuring 2 flavours. To make cookies with more squares – and more flavours – you will need to do a bit of maths and produce enough logs of each flavour to create the pattern you want. Each segment should be the same size, and the cookie itself should be a square or rectangle shape. But I will shortly post my recipe for round checkerboard cookies!
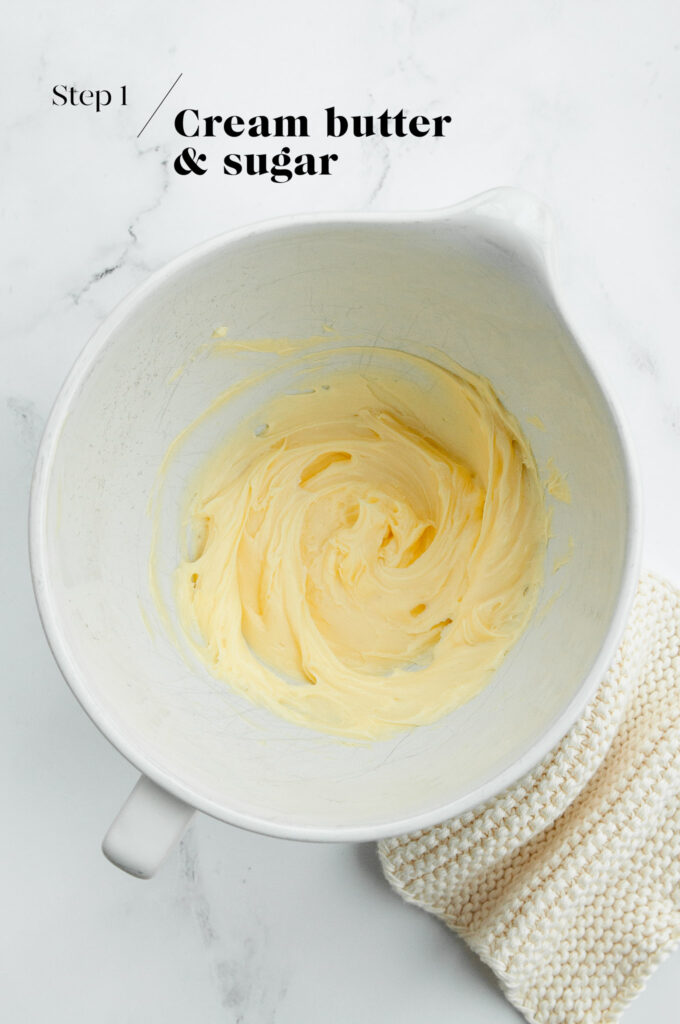
Step 1
Cream the butter, salt and sugar until the mixture is light and fluffy.
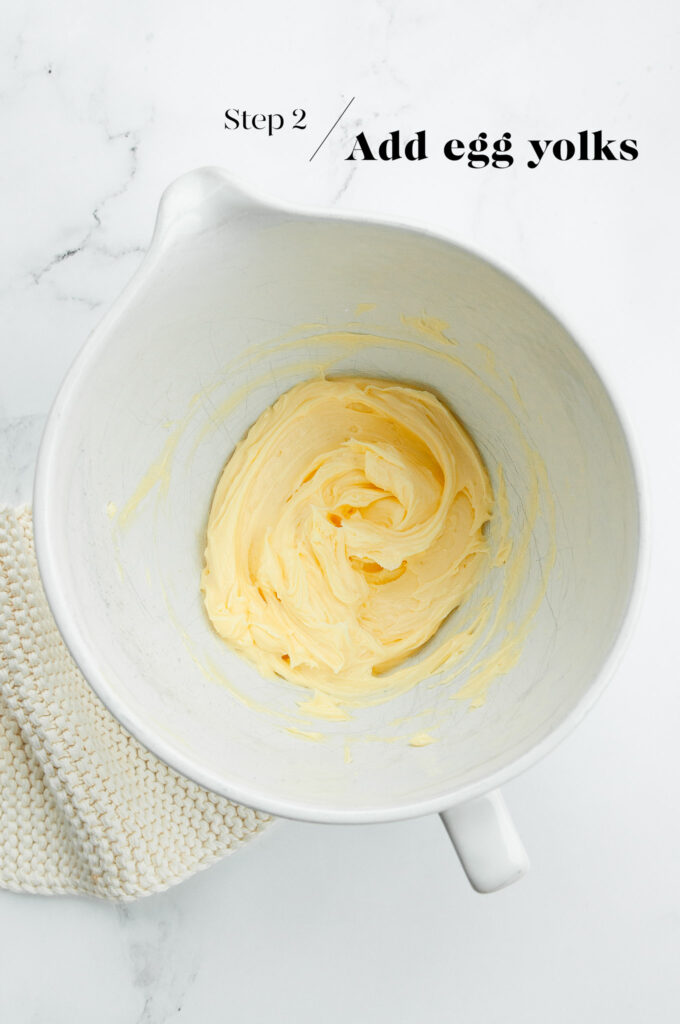
Step 2
Add the egg yolks, and continue mixing until everything is well combined.
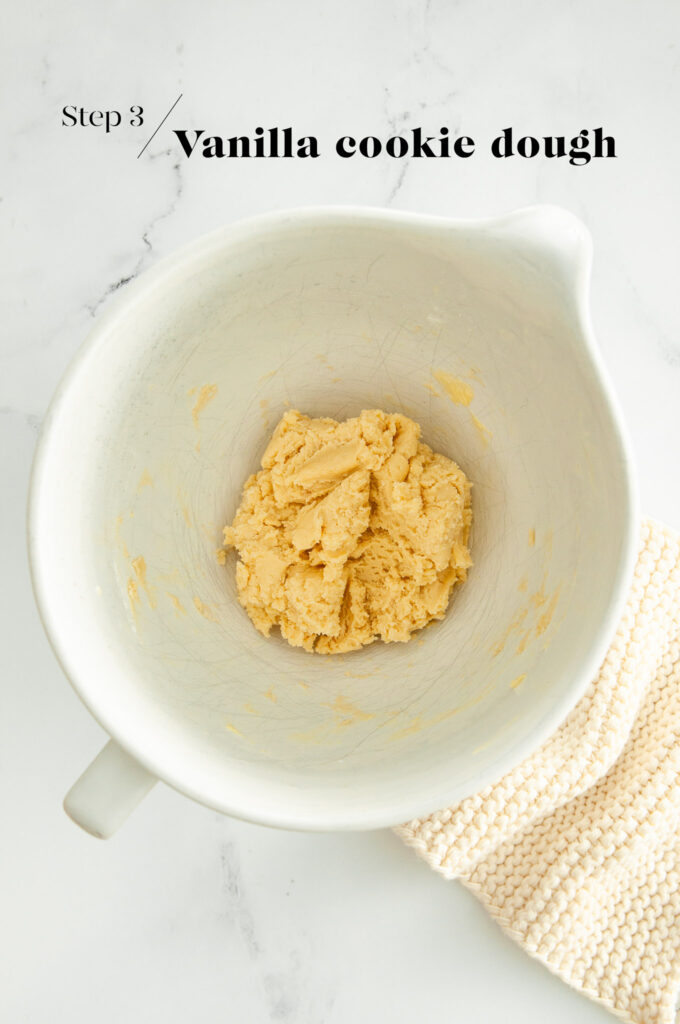
Step 3
Divide the butter mixture into 2 mixing bowls. To do this evenly, weigh the full mixture in a clean bowl, and then divide this number by 2.
To make the Vanilla Cookie Dough, place half of the butter mixture into a mixing bowl, and add the dry ingredients. Mix until everything is combined and the mixture resembles crumbly wet sand. Add enough cold water until the mixture comes together in a soft dough.
Step 4
Transfer the dough to the kitchen bench and knead gently to produce a soft dough with no air pockets. Shape the dough into two logs measuring 4 cm in width, 2 cm in height, and 16-18 cm in length.
Wrap the dough tightly in plastic wrap, smoothing and levelling the edges as you do so. Place the dough in the fridge for 30 minutes, or in the freezer for 15 minutes, to chill. Alternatively, you can freeze the dough at this stage to use at a later time.

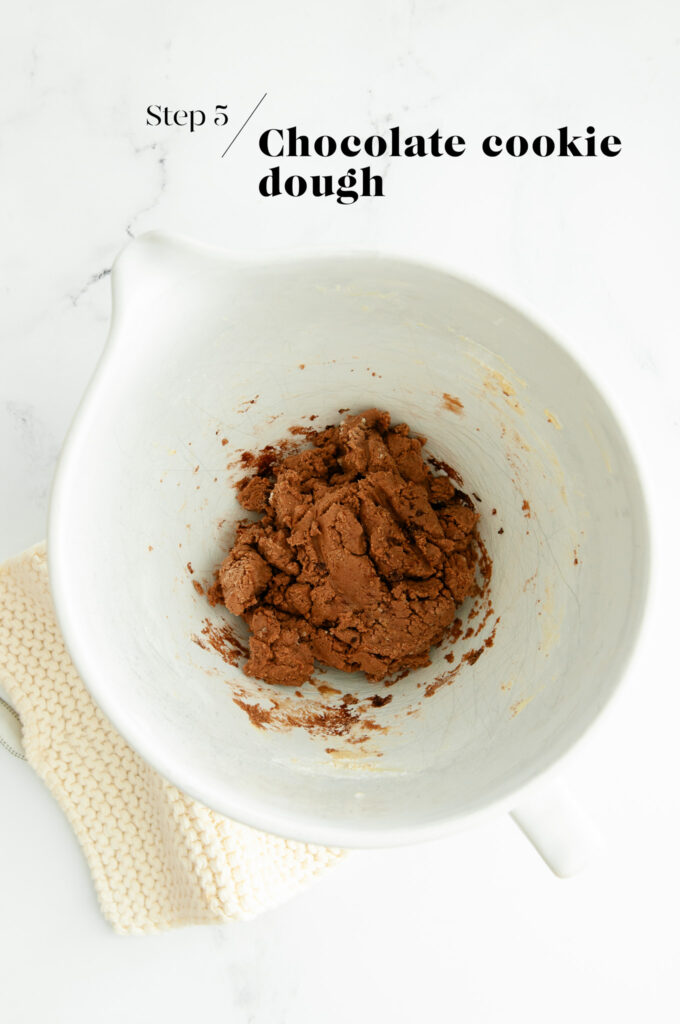
Step 5 & 6
Repeat Steps 3 and 4 to make the Chocolate Cookie Dough. I recommend starting with vanilla so that you don’t need to clean the bowl 😉

Step 7
Once the cookie dough logs are chilled, use a sharp knife to cut them in half lengthwise. Each log should now be 2 cm x 2 cm in width and height.
If you want to be very precise, you can clean or trim the edges with a sharp knife so that each log is exactly the same. But keep in mind that, as the cookies bake, they will expand slightly and may not keep their shape perfectly.
Step 8
Brush some egg white onto one side of a Vanilla Cookie Dough log to “glue” it to a Chocolate Cookie Dough log. Repeat with the other two cookie dough logs.
Brush one of the vanilla-chocolate logs with egg white, and then place the other vanilla-chocolate log on top so that the colours are alternating. Wrap the entire log tightly in some plastic wrap, and place in the fridge for 30 minutes or the freezer for 15 minutes to firm up. At this stage, you can keep the cookie dough in the freezer for up to 1-2 months.


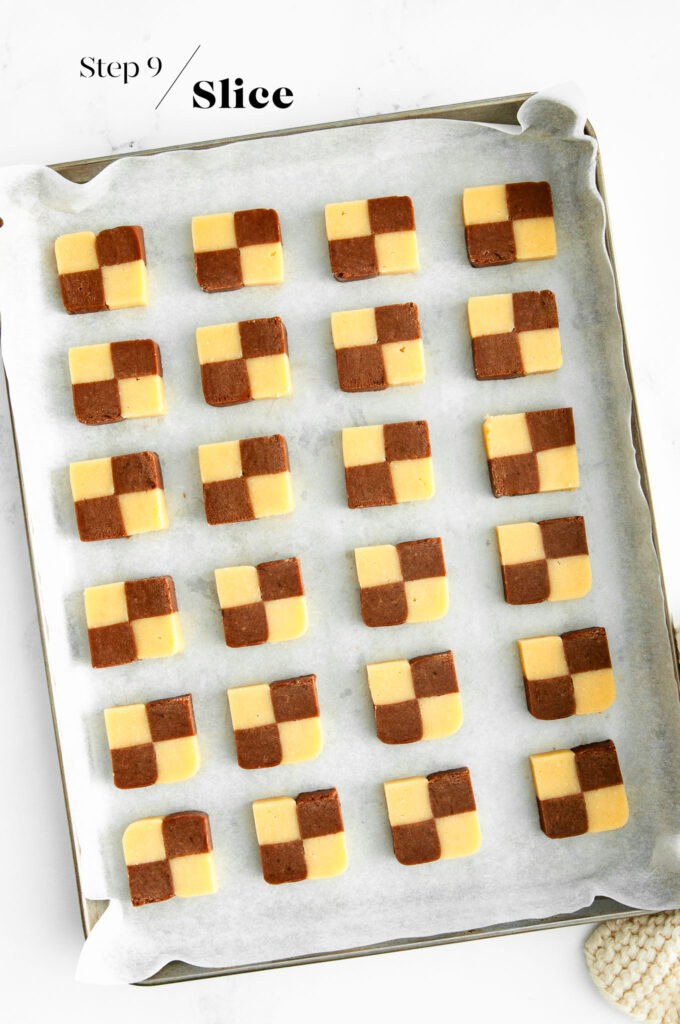
Step 9
To make evenly-sized cookies, use a ruler to mark the dough in 1 cm increments, or however thin or thick you want to make the cookies. Alternatively, you can also eyeball the measurements.
Use a sharp knife to slice the cookie dough. Arrange the sliced cookie dough on a large baking tray lined with baking paper.
At this stage, you can also clean or correct the edges with a sharp knife. I like my cookies to have a homemade look, so I don’t bother too much with exact edges.
If your kitchen is warm, it might be a good idea to pop the baking tray into the fridge for 15-30 minutes for the dough to chill again.
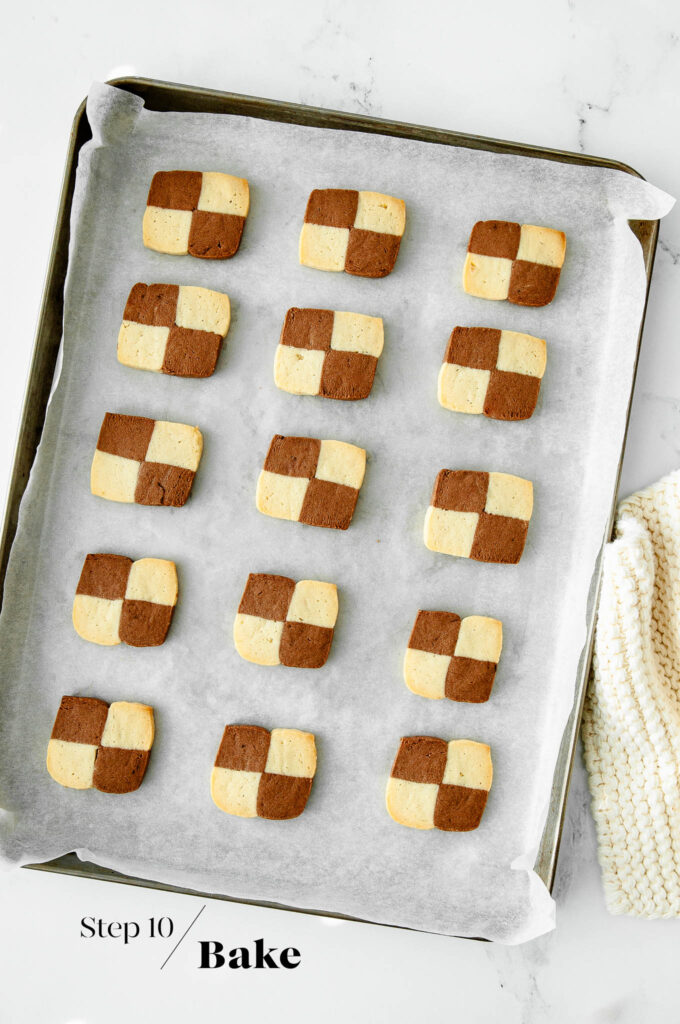
Step 10
Preheat the oven to 180°C/356°F (without fan). Place a metal tray on the middle shelf of the oven.
Place the baking tray on the pre-heated metal tray in the oven, and bake the cookies for 15-18 minutes, or until the cookies are lightly golden. The baking time will vary depending on the size and thickness of your cookies, as well as your oven.
Remove the baking tray from the oven, and leave the cookies on the hot tray for a further 5-10 minutes to firm up. Cool the cookies on a wire rack.
Tips for Making Checkerboard Cookies
- Use a ruler. If precision is important to you, you will want to measure your cookie dough logs so that each segment is the same size. I recommend keeping a metal ruler in the kitchen for your baking activities.
- Use levelling strips. Similar to a ruler, levelling strips helps you to roll the dough evenly. They come in a variety of sizes, and are available in acrylic or wood.
- Correct with a sharp knife. If, after you have sliced your cookies, you want to “fine-tune” the measurements, simply use a sharp knife to even or clean the edges of each cookie. Keep in mind that the dough will expand slightly during baking, and the cookie shape may move a bit. But as these are homemade cookies, I think some imperfect edges are more than fine ☺️

Checkerboard Cookies
Ingredients
For the Cookie Dough Base
- 200 g (2 sticks minus 1 tablespoon) unsalted butter, softened
- 3 g (½ teaspoon) fine salt
- 100 g (¾ cup) icing sugar, (powdered sugar)
- 2 egg yolks
- 1 egg white
For the Vanilla Cookie Dough
- ½ of the Cookie Dough Base
- 200 g (1 ⅓ cup) plain flour, (all-purpose flour)
- 1 teaspoon vanilla extract
- ½ to 1 tablespoon cold water
For the Chocolate Cookie Dough
- ½ of the Cookie Dough Base
- 200 g (1 ⅓ cup) plain flour, (all-purpose flour)
- 10 g (2 tablespoons) cocoa powder
- 1 teaspoon vanilla extract
- ½ to 1 tablespoon cold water
Instructions
To Make the Cookie Dough Base
- Place the butter, salt and icing sugar (powdered sugar) into a large bowl.
- Cream the ingredients together until the mixture is light and fluffy. If you are using an electric stand mixer, use the flat-paddle attachment.
- Add the egg yolks.
- Beat to combine well.
- Weigh the mixture in a clean bowl.
- Halve the mixture into separate mixing bowls.
To Make the Vanilla Cookie Dough
- Place one half of the Cookie Dough Base into the mixing bowl.
- Add the additional ingredients for Vanilla Cookie Dough.
- Beat the mixture together until the mixture resembles wet sand.
- Add just enough water to bring the mixture together into a soft dough.
- Remove the mixture to the kitchen bench.
- Knead the dough lightly so that all of the ingredients are well-combined and there are no air-pockets in the dough.
- Shape the dough into 2 logs, measuring 4 cm in width, 2 cm in height, 16-18 cm in length.
- Wrap each log in plastic wrap.
- Place the dough in the fridge for 30 minutes, or in the freezer for 15 minutes, to firm up.
To Make the Chocolate Cookie Dough
- Repeat the same steps as for the Vanilla Cookie Dough.
To Shape the Checkerboard Cookies
- Unwrap the cookie dough logs from the plastic.
- Slice each log in half lengthwise, so that you have 4 logs of each flavour, which are 2 cm in width.
- Take one vanilla log.
- Brush each vanilla log with some egg white.
- Place a chocolate log on top of each vanilla log.
- Brush one pair of the vanilla-chocolate logs with egg white.
- Place the other vanilla-chocolate log on top, so that the colours are alternating.
- Wrap the checkerboard cookie dough in plastic wrap.
- Place the dough in the fridge for 30 minutes, or in the freezer for 15 minutes, to firm up.
To Slice the Checkerboard Cookies
- If you want even-sized cookies, use a ruler to mark the width of each cookie (about 1 cm thick). Otherwise, you can eye-ball it and cut as you please.
- Use a sharp knife to slice the cookie dough.
- Place a sheet of baking paper on a large baking tray.
- Arrange the cookie slices on the baking tray. The cookies do not spread very much upon baking, but space them apart to allow them to bake evenly.
To Bake the Checkerboard Cookies
- Preheat the oven to 180°C/356°F (without fan).
- Preheat a metal tray on the middle shelf in the oven.
- Place the tray of cookies on the preheated metal tray.
- Bake the cookies for 15-18 minutes, or until the cookies are lightly golden.
- Remove the tray from the oven.
- Leave the cookies on the hot tray for about 5-10 minutes to firm up.
- Remove the cookies to a wire rack to cool completely.
Kitchen Notes
- OVEN TEMPERATURES
All recipes on this website state temperatures for a regular oven (i.e. a conventional oven without fan). If you have a convection oven with a fan, please consult the manufacturer’s handbook on how to adjust the temperature and baking time accordingly. - CONVERSIONS
To convert from cups to grams, and vice-versa, please see this handy Conversion Chart for Basic Ingredients.


I tried this recipe today but I was in a rush so my squares were not exactly the same size. But they taste lovely and I’m very happy with how they turned out.
Hi Michelle,
Rustic-looking cookies have their charm, too! So glad you enjoyed this recipe 🙂
Great tasting cookies and easy to follow recipe, thanks to the photos.
Hi John,
Glad you enjoyed this recipe!
Very tasty and yummy recipe so keep sharing this type of recipes with us thanks!