by
Mochi Waffles
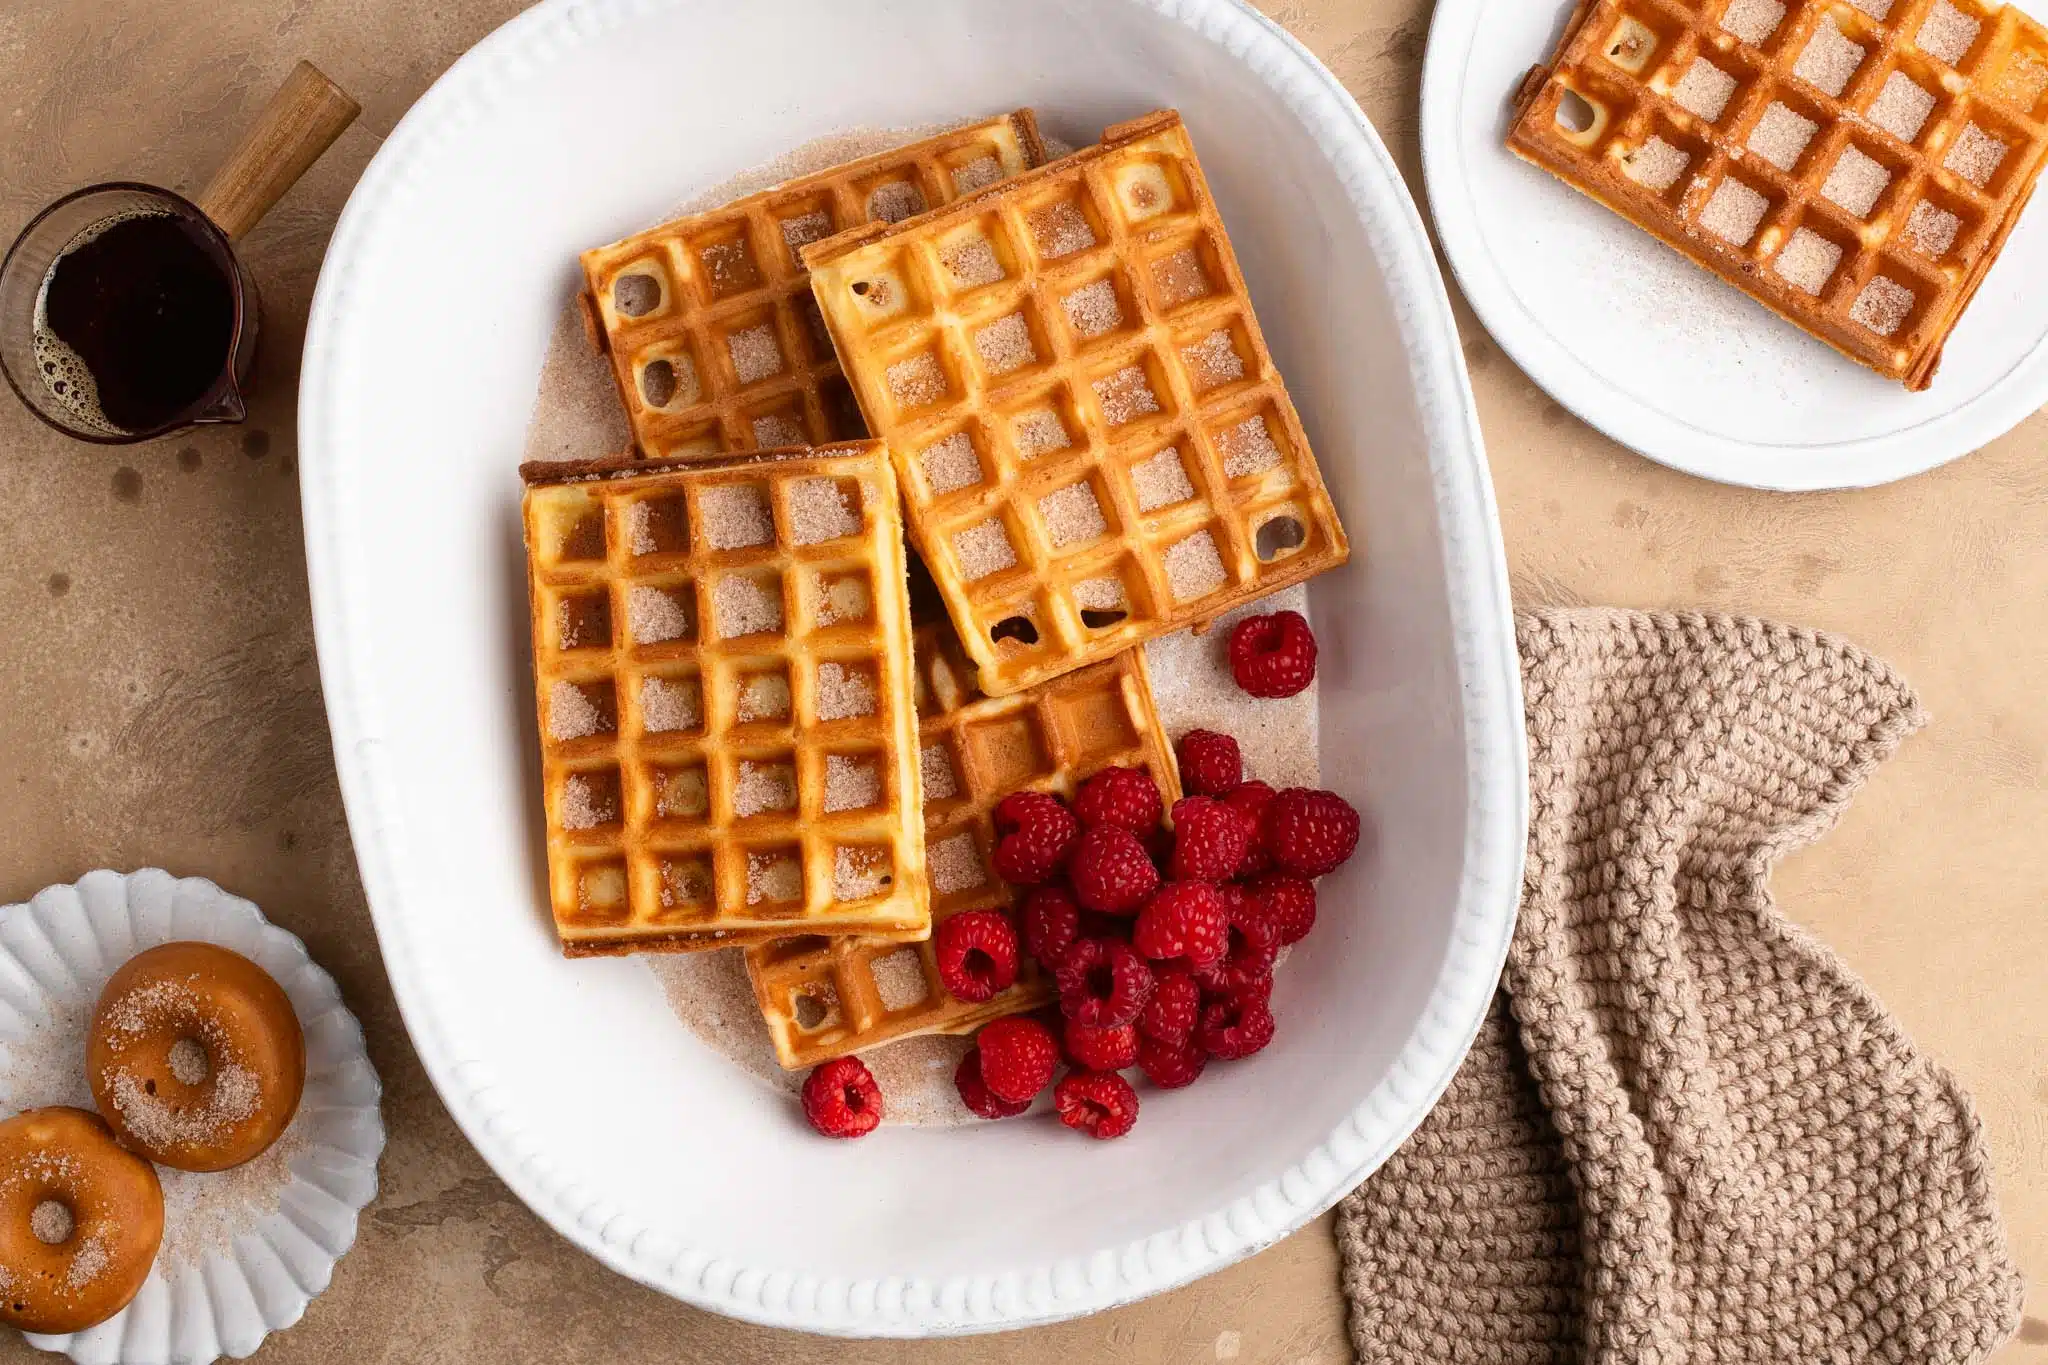
If you are into crispy waffles, then you need to try Mochi Waffles. I guarantee that they will be the crispiest, crunchiest, most scrumptious waffles you have ever tried. And like any dessert made with glutinous rice flour, these Mochi Waffles are also slightly chewy, making for a delicious textural affair.
Whilst I think there is a time and place for your classic waffles with lashings of maple syrup at breakfast, I think of these Mochi Waffles more as snack waffles, i.e., the kind you grab at afternoon tea for a pick-me-up with a cup of coffee. My kids love them as a snack after school, and they also work great as a dessert waffle served with ice-cream or your favourite toppings.
Whilst most regular waffles can be crispy when they are freshly made, they start to soften as they cool down. These Mochi Waffles, on the other hand, stay crispy and crunchy even when they have cooled down completely!
Mochi Waffles Recipe
Making Mochi Waffles is similar to making regular waffles, except the only change to your usual recipe is to use glutinous rice flour instead of plain flour (please see below for more information on what type of glutinous rice flour to use).
The batter is thicker than a regular waffle batter, but it also means it is less messy. Simply use an ice-cream scoop to transfer the batter to the waffle maker, and cook the waffles until golden.
What Flour to Use to For Mochi
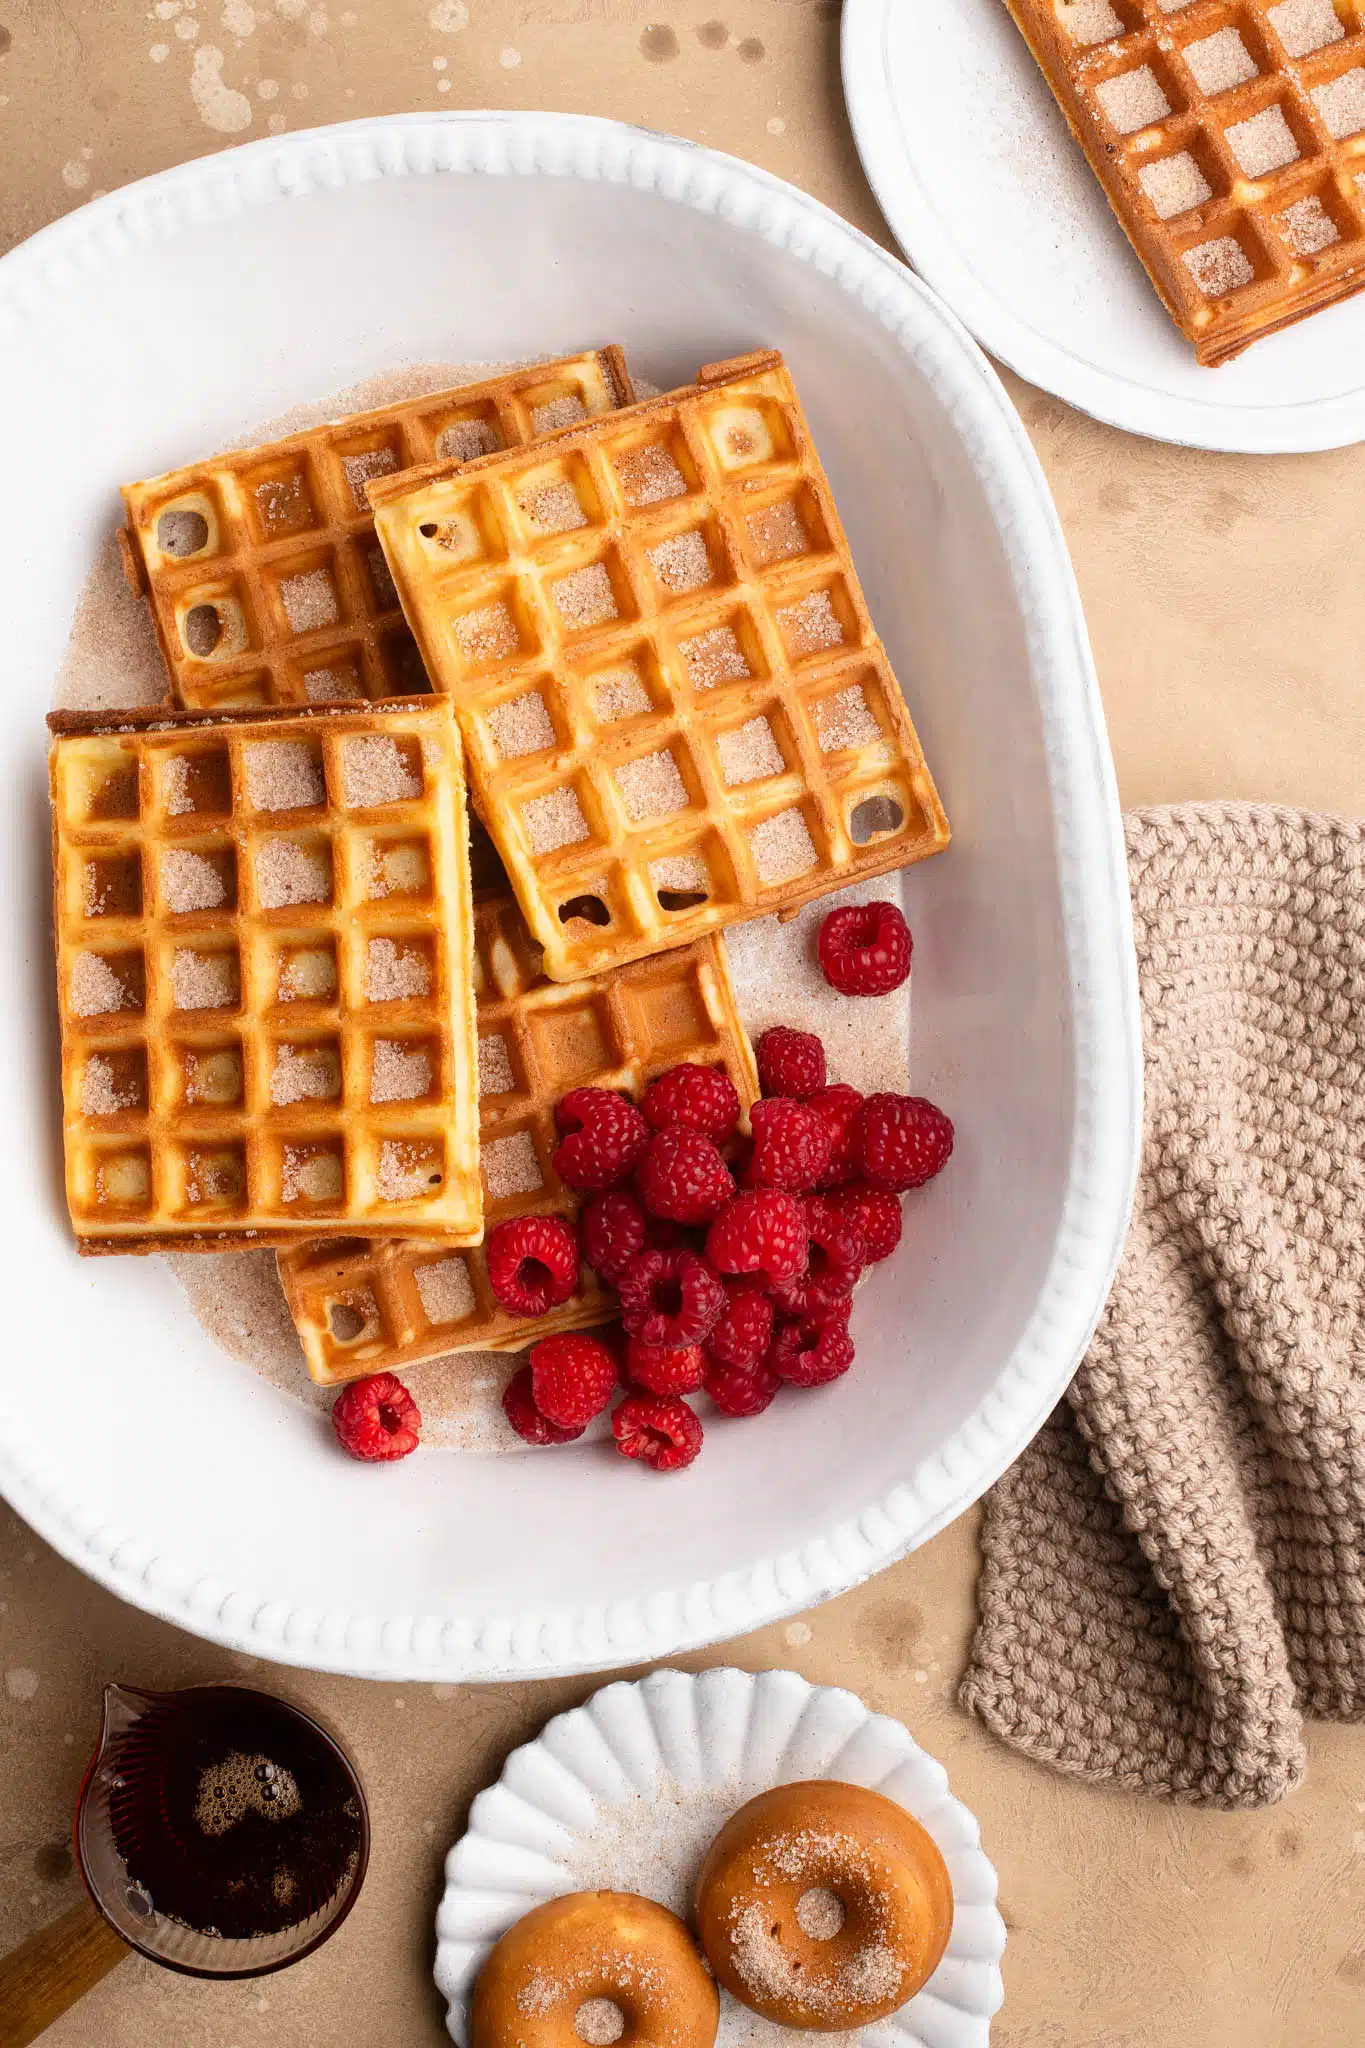
Mochi is made with glutinous rice flour, which is also called sweet rice flour in the US.
I highly recommend that you buy the variety sold at most Asian grocers, as they are very finely milled compared to the versions sold in western supermarkets. Glutinous rice flour is typically sold alongside other types of flour and starches used in Asian cooking, so make sure you read the packaging carefully.
One trick I have learnt is that glutinous rice flour is often sold with green packaging (glutinous = green), whereas rice flour is often sold with red packaging (rice = red). But that might not always be the case, so please always check first.
Japanese grocers also sell glutinous rice flour called mochiko, and which is made from short grain rice. It costs double or triple the price of other types of glutinous rice flour (which are made from long grain rice), and having made mochi many times using both types of glutinous rice flour, I have not noticed any discernible difference.
How to Serve Mochi Waffles
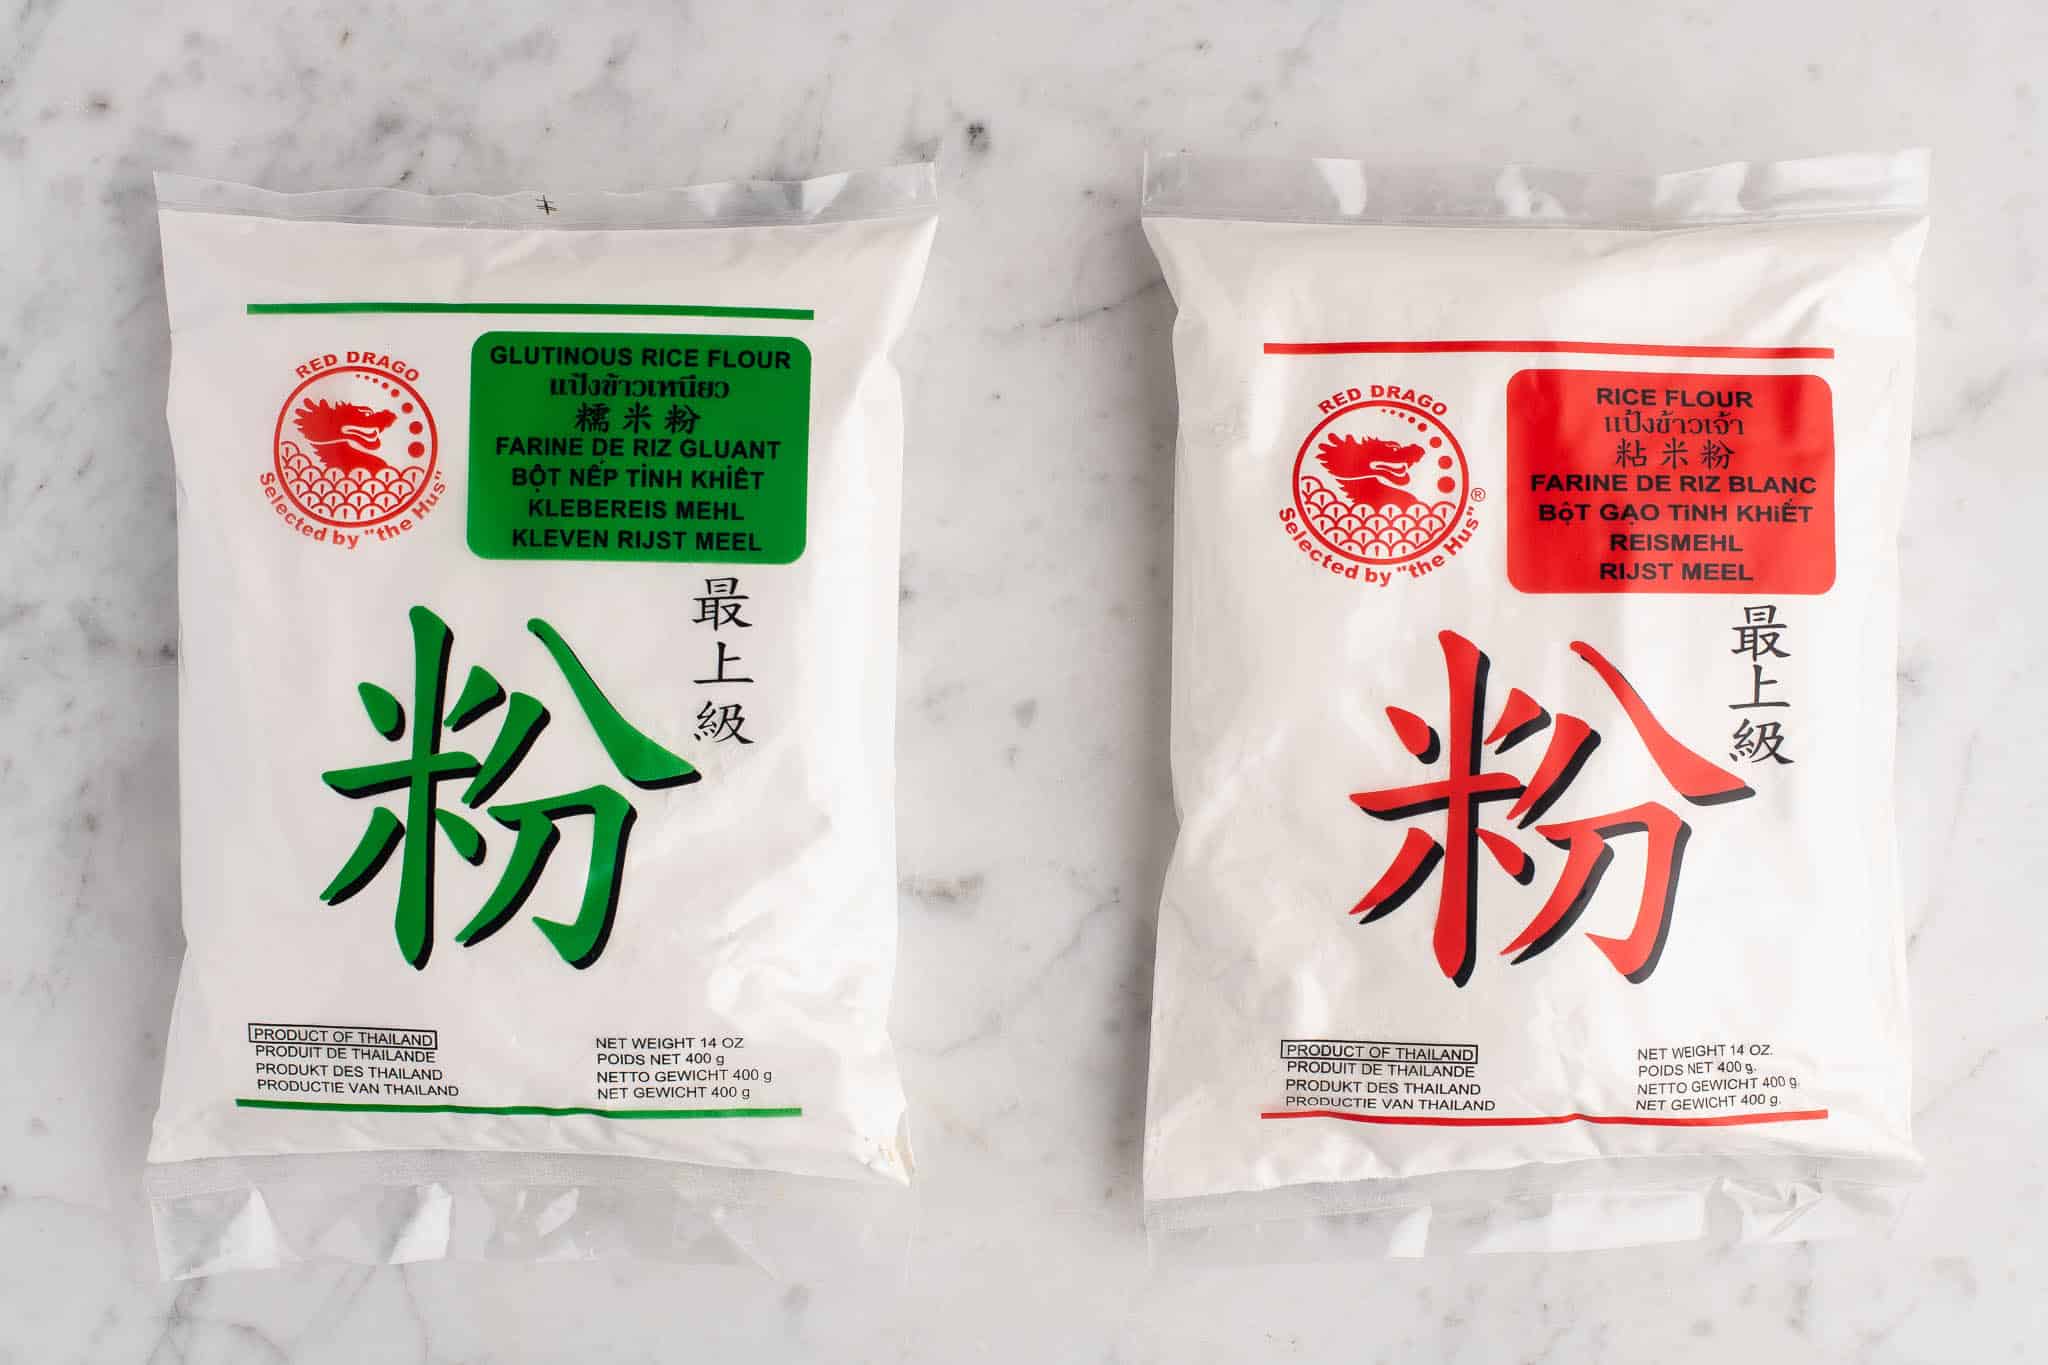
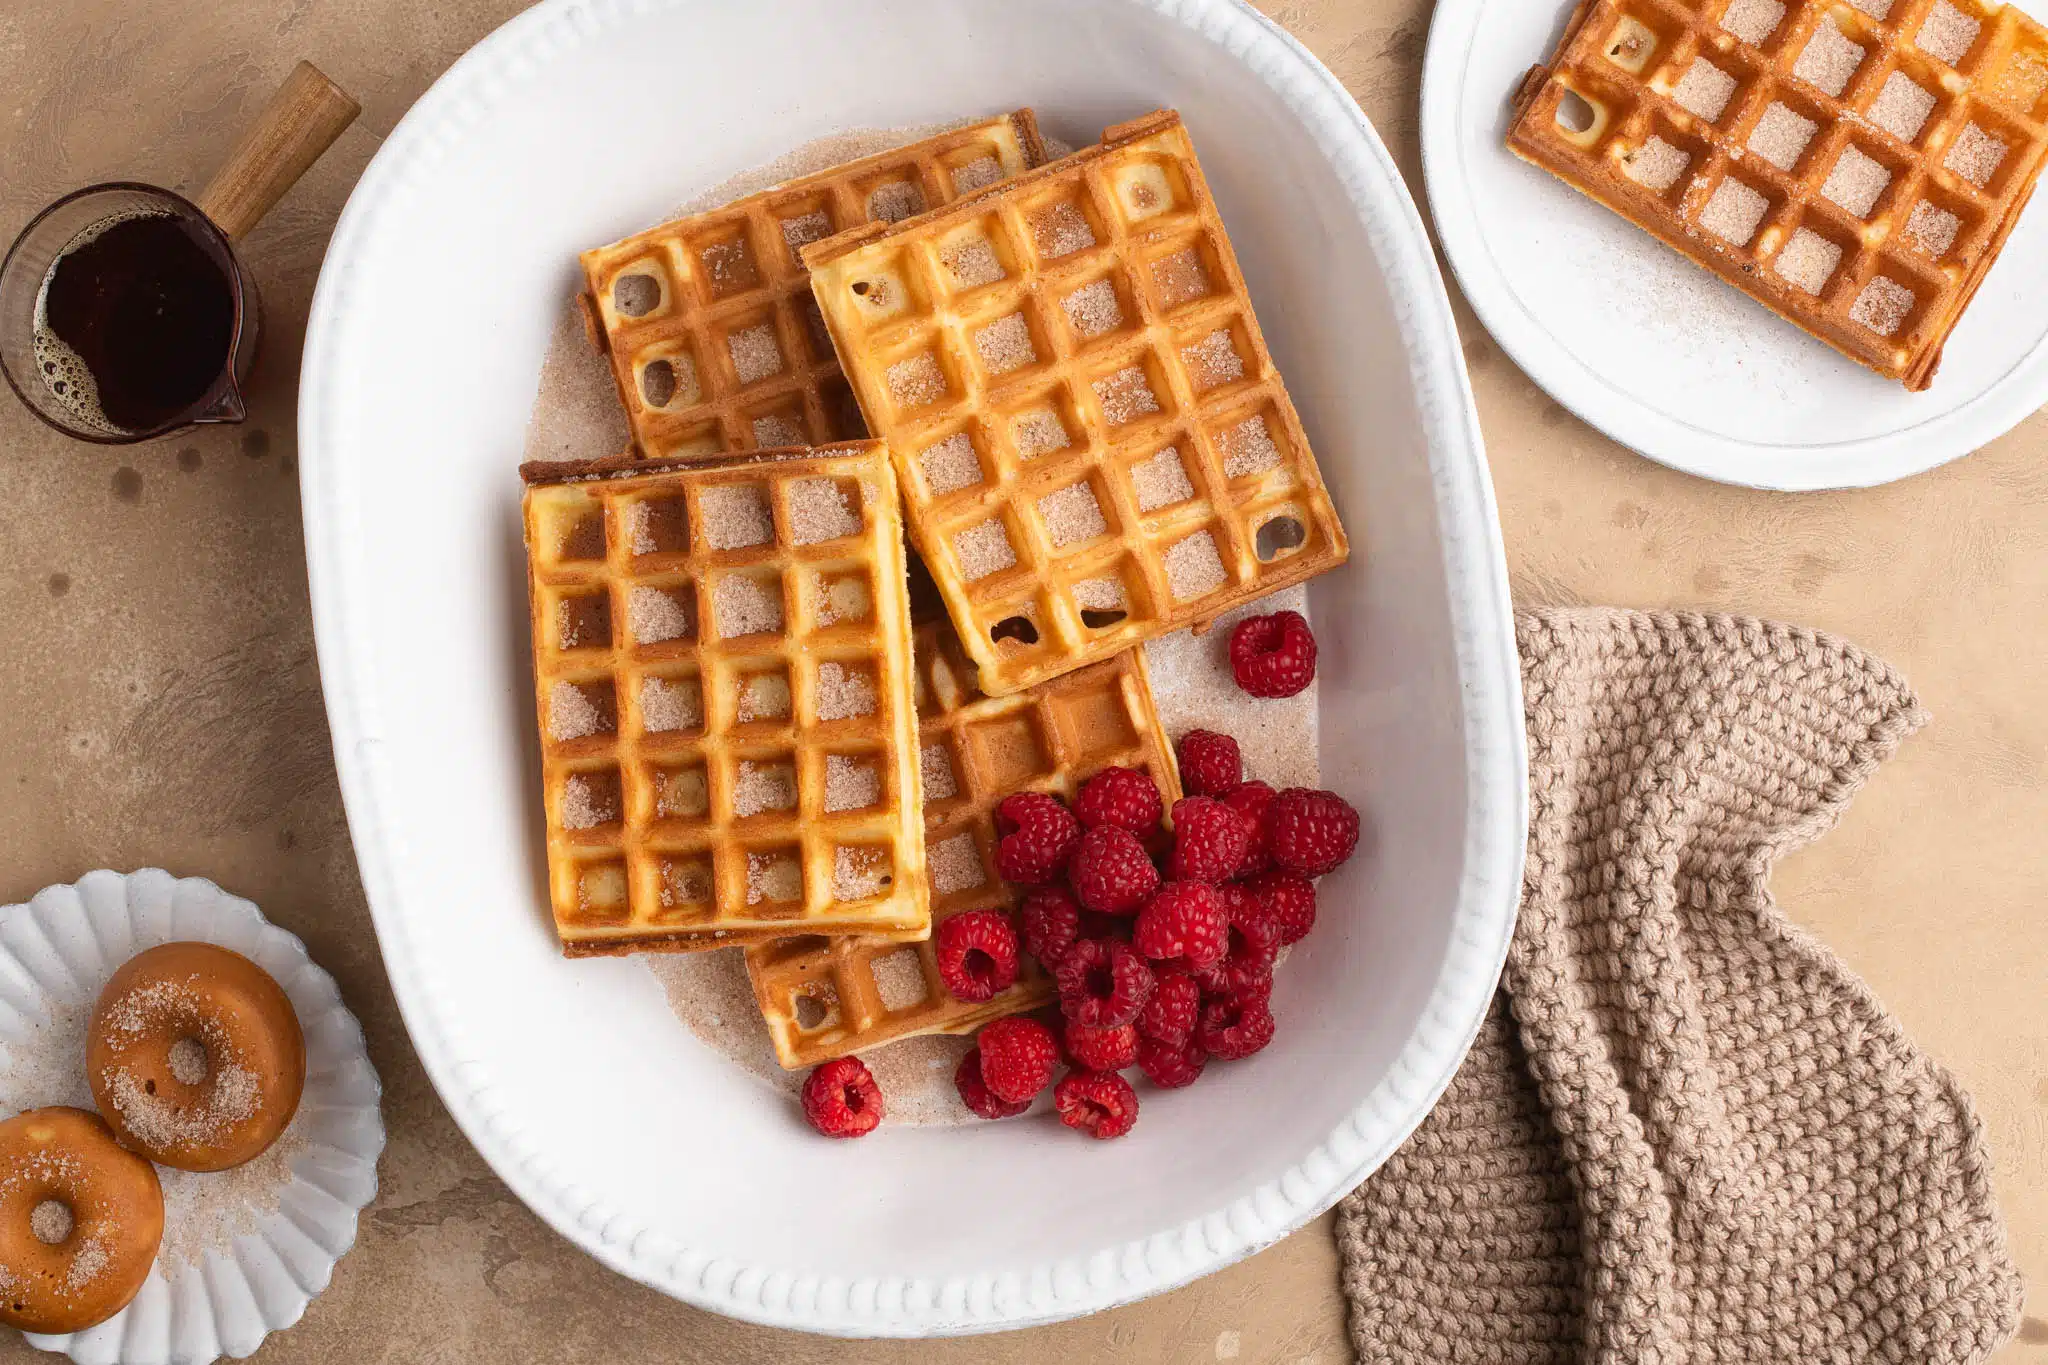
For crispy and crunchy waffles like these, I think the best way to serve them is with a generous sprinkle of cinnamon sugar. However, my kids pour maple syrup over everything breakfast related, so feel free to do the same, or serve them with your favourite toppings.
Making Mini Mochi Donuts
When making waffles, I use a sandwich maker which comes with various interchangeable plates, including those for Belgian-style waffles. I also own the plates for small donuts so, on a whim, I decided to use some leftover batter and ended up with some delicious mini mochi donuts! The coating is lovely and crispy, but the centre is soft and chewy. So if you have the same sandwich maker as me, feel free to give these mini mochi donuts a try 🙂
Tips For Making Mochi Waffles
- Room temperature ingredients. Make sure your eggs and milk are at room temperature, so they do not solidify the melted butter. If your eggs are cold from the fridge, simply place them in a bowl of warm water for about 5-10 minutes. You can microwave milk until it is room temperature.
- Reheat waffles. Any leftover waffles can be reheated in the oven or air fryer at 180°C/356°F for a few minutes.
Mochi Waffles

Ingredients
For the Mochi Waffles
- 230 g (1 ½ cups) glutinous rice flour, also called sweet rice flour or Mochiko flour
- 50 g (¼ cup) caster sugar, (superfine sugar)
- ¼ teaspoon fine salt
- 10 g (2 teaspoons) baking powder
- 125 ml whole milk
- 2 eggs
- 1 teaspoon vanilla extract
- 100 g (1 stick) unsalted butter, melted and cooled
For the Cinnamon Sugar
- ½ cup granulated sugar
- 2-3 teaspoons ground cinnamon, or to taste
Instructions
To Make the Batter
- Place the dry ingredients into the bowl of an electric stand mixer.
- Measure the liquid ingredients into a large jug.
- Using the flat paddle attachment, mix the dry ingredients together briefly.
- Slowly add the liquid ingredients to the dry ingredients.
- Mix on low speed until all of the ingredients are well incorporated.
- Turn up the speed slightly and beat until the batter is thick and smooth.
To Make the Mochi Waffles
- Heat a Belgian waffle maker according to the manufacturer's intructions.
- Scoop some batter into the waffle maker. I like to use an ice-cream scoop for this task. How much batter you need will depend on the size of your waffle maker, so you might have to experiment with 1-2 waffles.
- Close the lid on the waffle maker.
- Cook for 3-4 minutes, or until the waffles are golden to your liking.
- Place the waffles on a wire rack to cool. If you don't use a wire rack, the waffles may steam and go soft or soggy underneath.
- Repeat with the remaining waffle batter.
- Whilst the waffles are still hot, sprinkle them generously with cinnamon sugar, or with your favourite toppings.
- These waffles are best served immediately, but they can also be reheated in the toaster or the air fryer.
Kitchen Notes
- MAKING THE CINNAMON SUGAR STICK
To make the cinnamon sugar stick better to the waffles, you can brush the waffles first with some melted butter. But since there is already so much butter in the batter (which helps to make the waffles crispy and golden), I prefer to just sprinkle the waffles with the cinnamon sugar. - OVEN & STOVE TEMPERATURES
All recipes on this website have been tested on an induction stove and/or with a conventional oven (i.e. an oven without fan). All recipes on this website use temperatures for a conventional oven, unless otherwise mentioned. Convection ovens (i.e. fan-forced ovens) are typically 20°C/70°F hotter than conventional ovens, but please check your manufacturer’s handbook. - CONVERSIONS
To convert from cups to grams, and vice-versa, please see this handy Conversion Chart for Basic Ingredients.