Freezing Garlic
If you cook a lot, chances are that you use everyday staple ingredients such as onions and garlic frequently. For the longest time, I was content to peel and chop my garlic whenever needed. The process only required a few minutes, and it never occurred to me that it was a process I could make more efficient. Until one day, I made a mistake with my online shopping order and discovered 1 kg of garlic bulbs instead of just 1 which I thought I had ordered!
Although garlic can keep quite well for a long time in a cool and dark place, I wasn’t sure I would get through 1 kg of garlic in good time. So I tried my hand at freezing garlic, and I haven’t looked back!
Freezing Minced Garlic
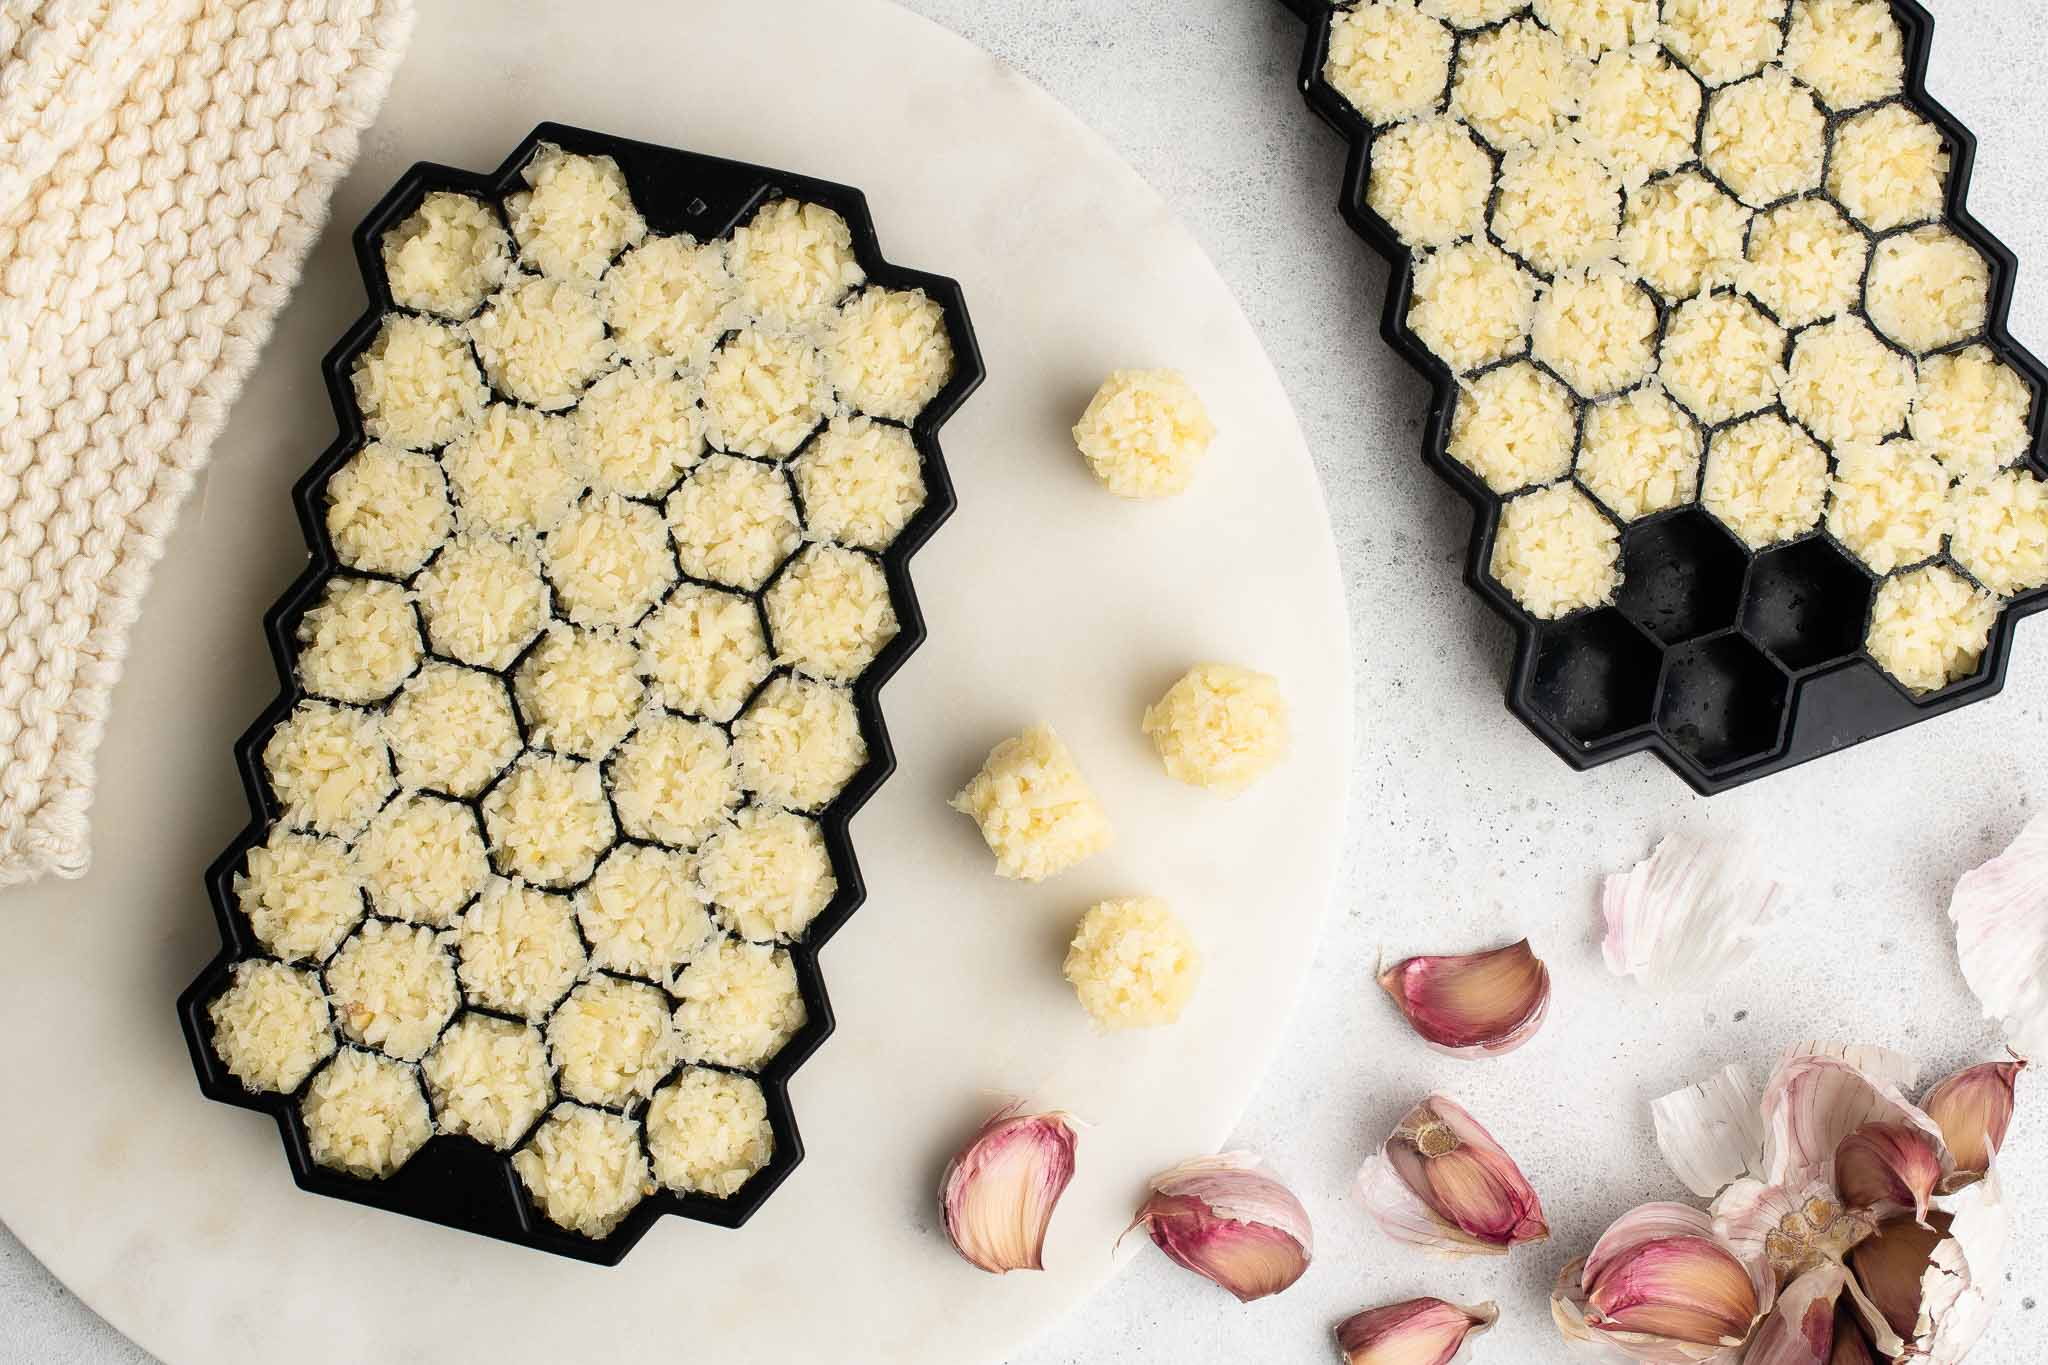
I like to freeze finely chopped garlic into small blocks, which roughly equates to 1 teaspoon of finely chopped garlic or 1 garlic clove.
The small blocks of garlic need about 5 minutes at room temperature to defrost before you should start using them.
Why You Should Freeze Garlic
Although it hardly takes any time to peel and chop a clove of garlic, I have found that having chopped garlic, ready to use, can nevertheless speed up the cooking process, making things a little bit more stress-free in the kitchen, especially during the busy working week.
The process of preparing the garlic cloves for freezing may be time-consuming, but I feel the process is worth it in the end. It is one less ingredient to prepare, and sometimes it means less cleaning up too.
Also, as I tend to freeze other ingredients – such as spring onions, coriander roots, ginger, lemongrass – I am already in the habit of using my freezer as part of my cooking routine.
How to Freeze Garlic
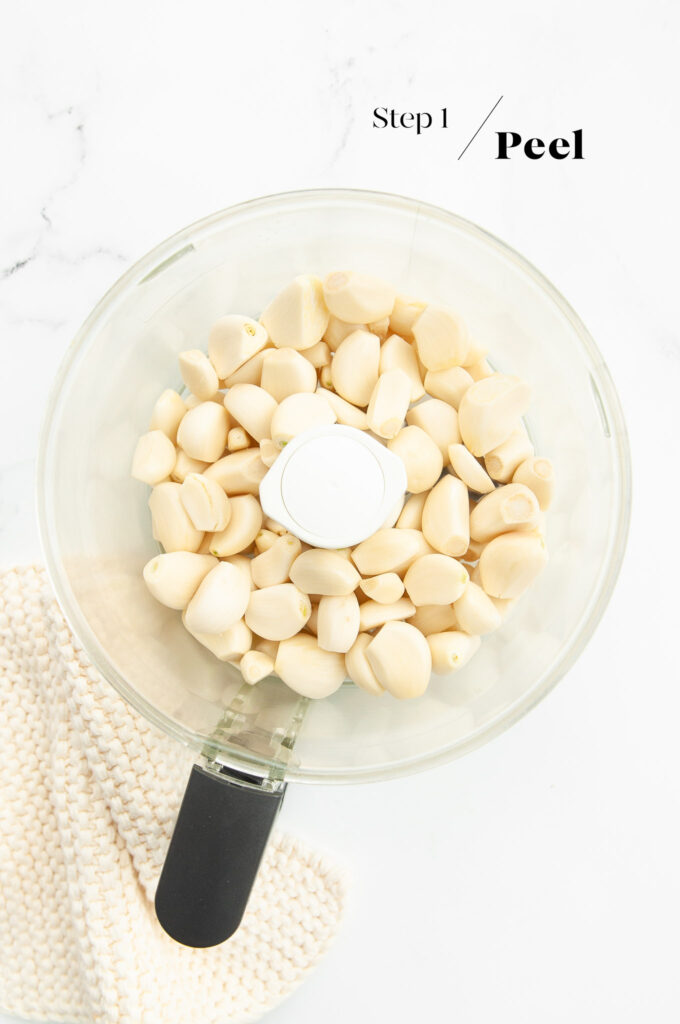
Step 1
Break up the garlic bulbs and separate all of the cloves.
Cut off the end of each clove where it was attached to the bulb, and peel each clove. To peel the cloves, you can bruise them with the palm of your hand, but your hands will start to hurt after doing this a few times. I prefer to place the cloves into a mortar and to gently bruise them with the pestle. The skins should then come off easily.
If you can buy ready-peeled garlic bulbs where you live, all you need to do is to trim the end of the cloves where it was attached to the bulb.
Any brown markings or other imperfections on the cloves should also be removed.
Place the peeled cloves of garlic into the bowl of a food processor.
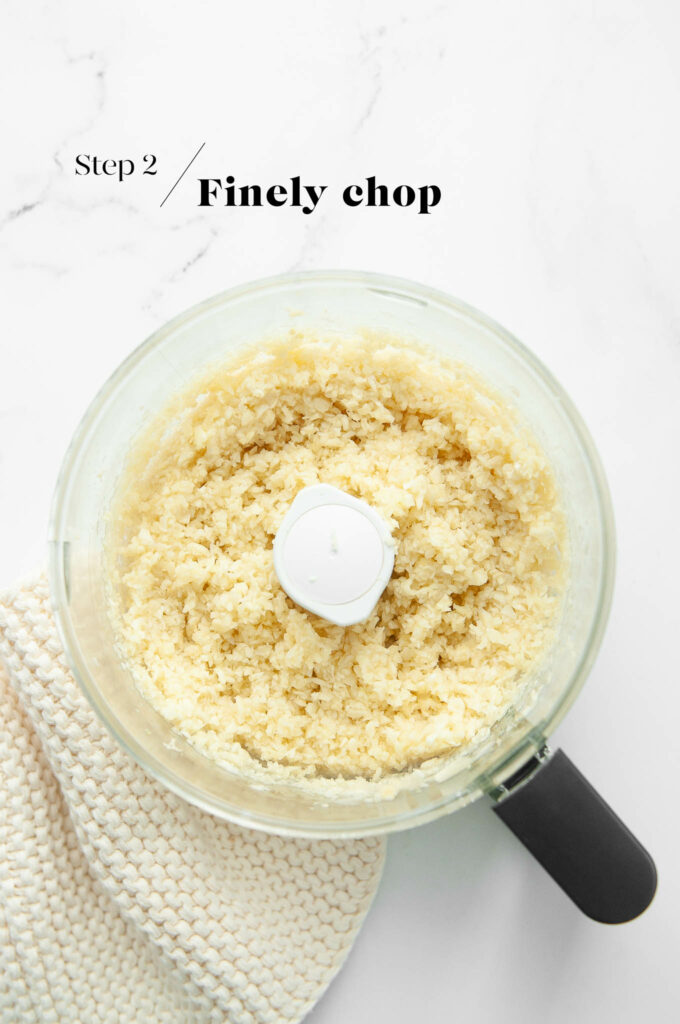
Step 2
Pulse the food processor so you can control how finely chopped the garlic will be. I like my garlic to be finely chopped, but not minced.
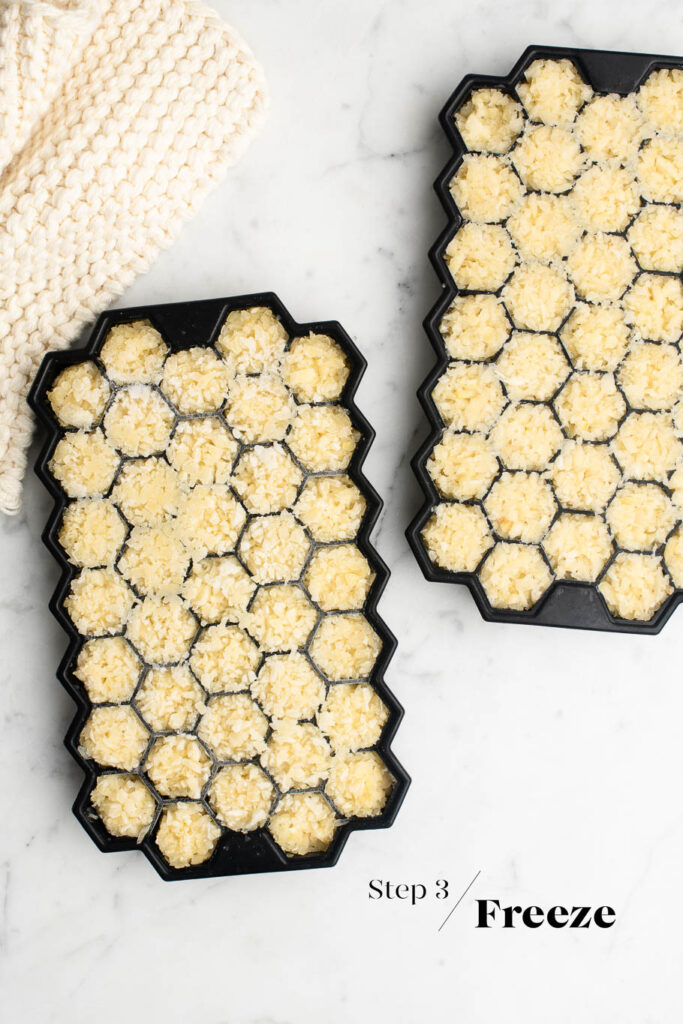
Step 3
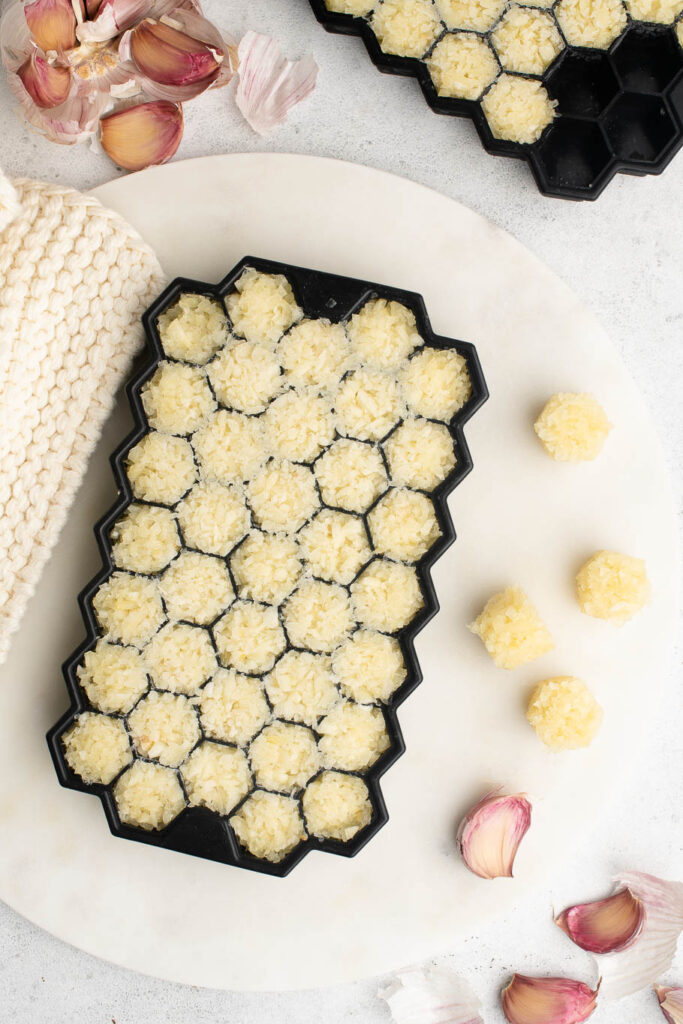
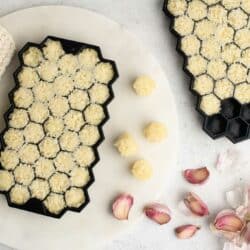
Once the garlic has been chopped to your liking, transfer the chopped garlic to a silicone ice tray with a lid.
Fill the ice tray completely with the chopped garlic, cover with a lid, and place in the freezer until the garlic is completely frozen.
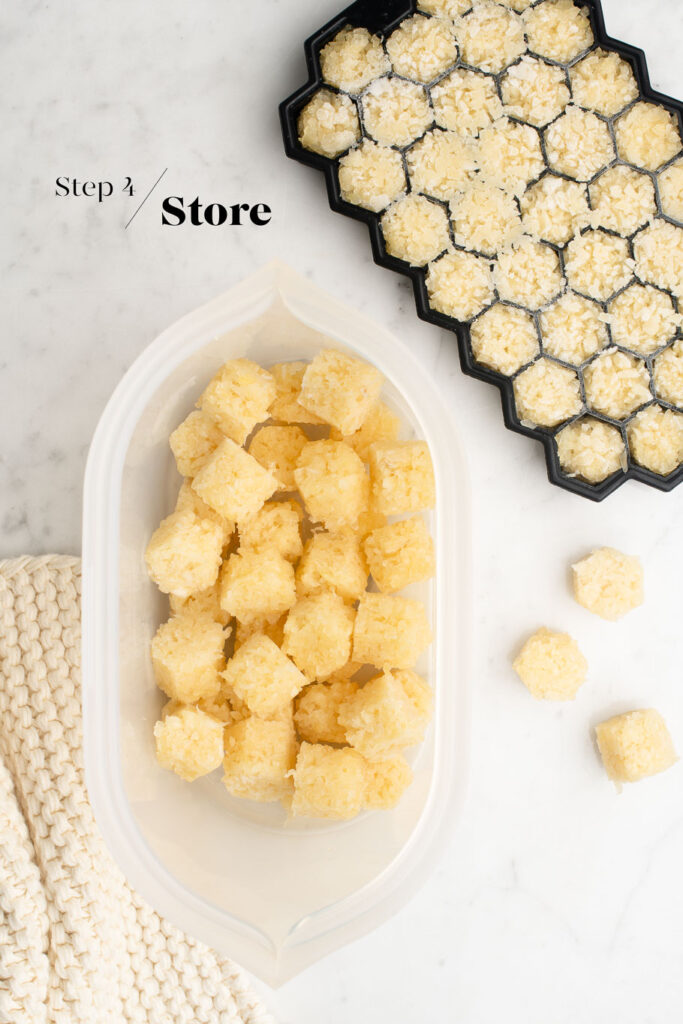
Step 4
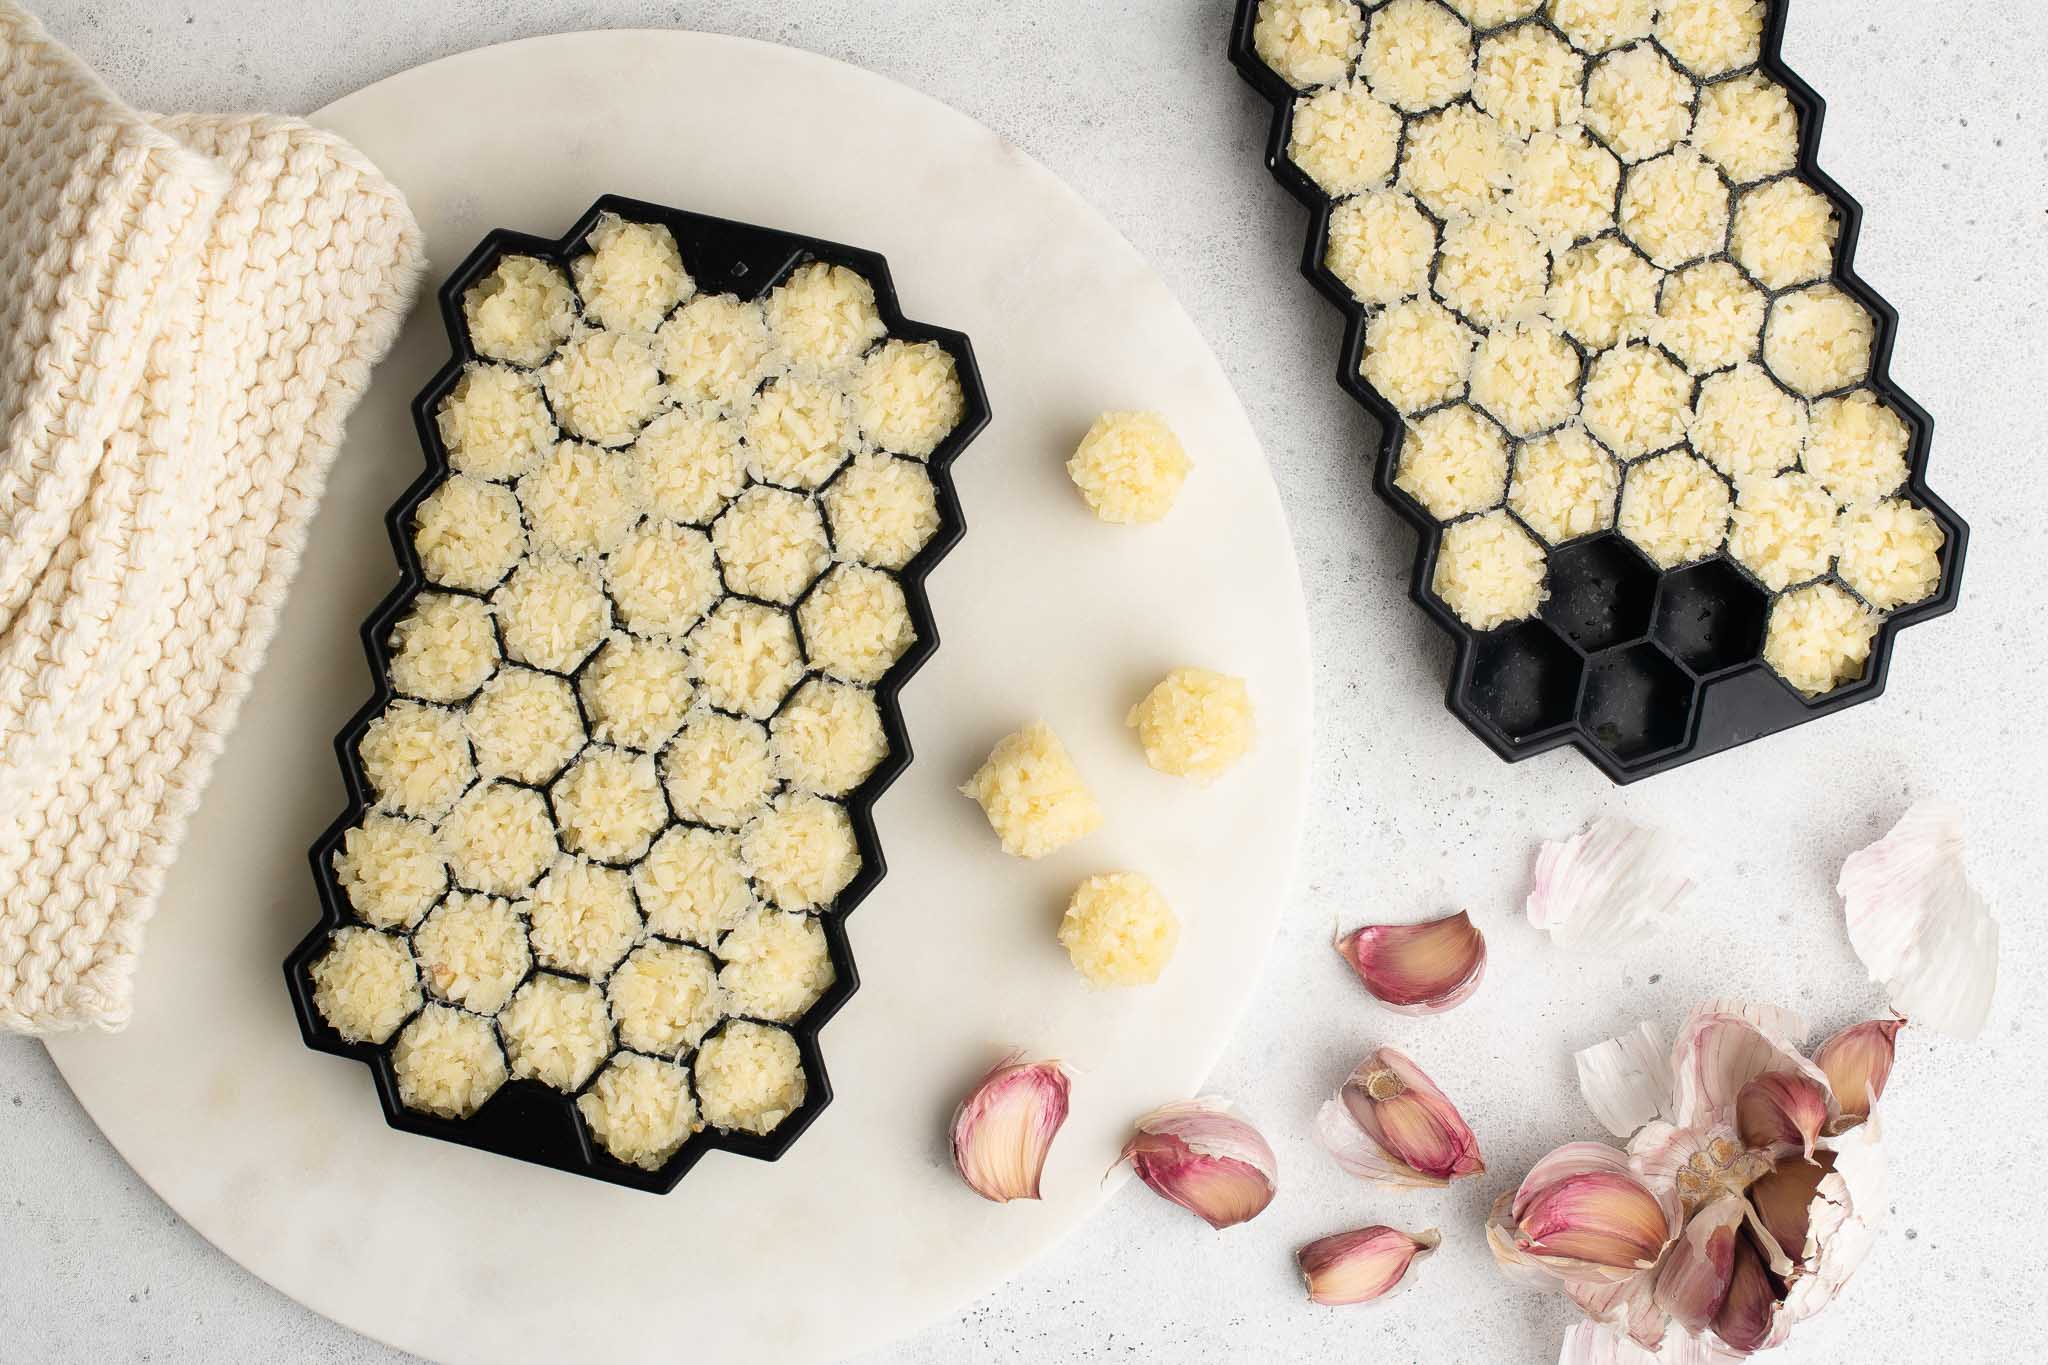
Once the garlic is completely frozen, you can remove the garlic cubes from the ice tray and place them into a silicone freezer bag or plastic freezer bag.
To use the garlic cubes, let them stand at room temperature for about 5 minutes to soften and defrost before using.
Tips for Freezing Garlic
- Silicone ice trays allow for easier and quicker removal of the garlic cubes later.
- Choose a silicone ice tray with compartments which are approximately 15-20 ml (1 teaspoon) in volume.
- Use a silicone ice tray with a lid so that your freezer will not smell of garlic later.
- Dedicate the silicone ice tray for freezing garlic and nothing else. The silicone ice tray will absorb some of the garlic odour, so do not use it for freezing anything else. I use a honeycomb-shaped ice tray for freezing garlic so that we do not confuse it with the normal ice trays for our summer drinks!
- Make a large batch each time. I have two ice trays for freezing garlic, which makes about 75 garlic cubes, and which lasts me 2-3 months.
- Depending on how much garlic you normally cook with each time, you can also half-fill some containers to make smaller-sized garlic cubes.
Tips for Freezing Aromatics
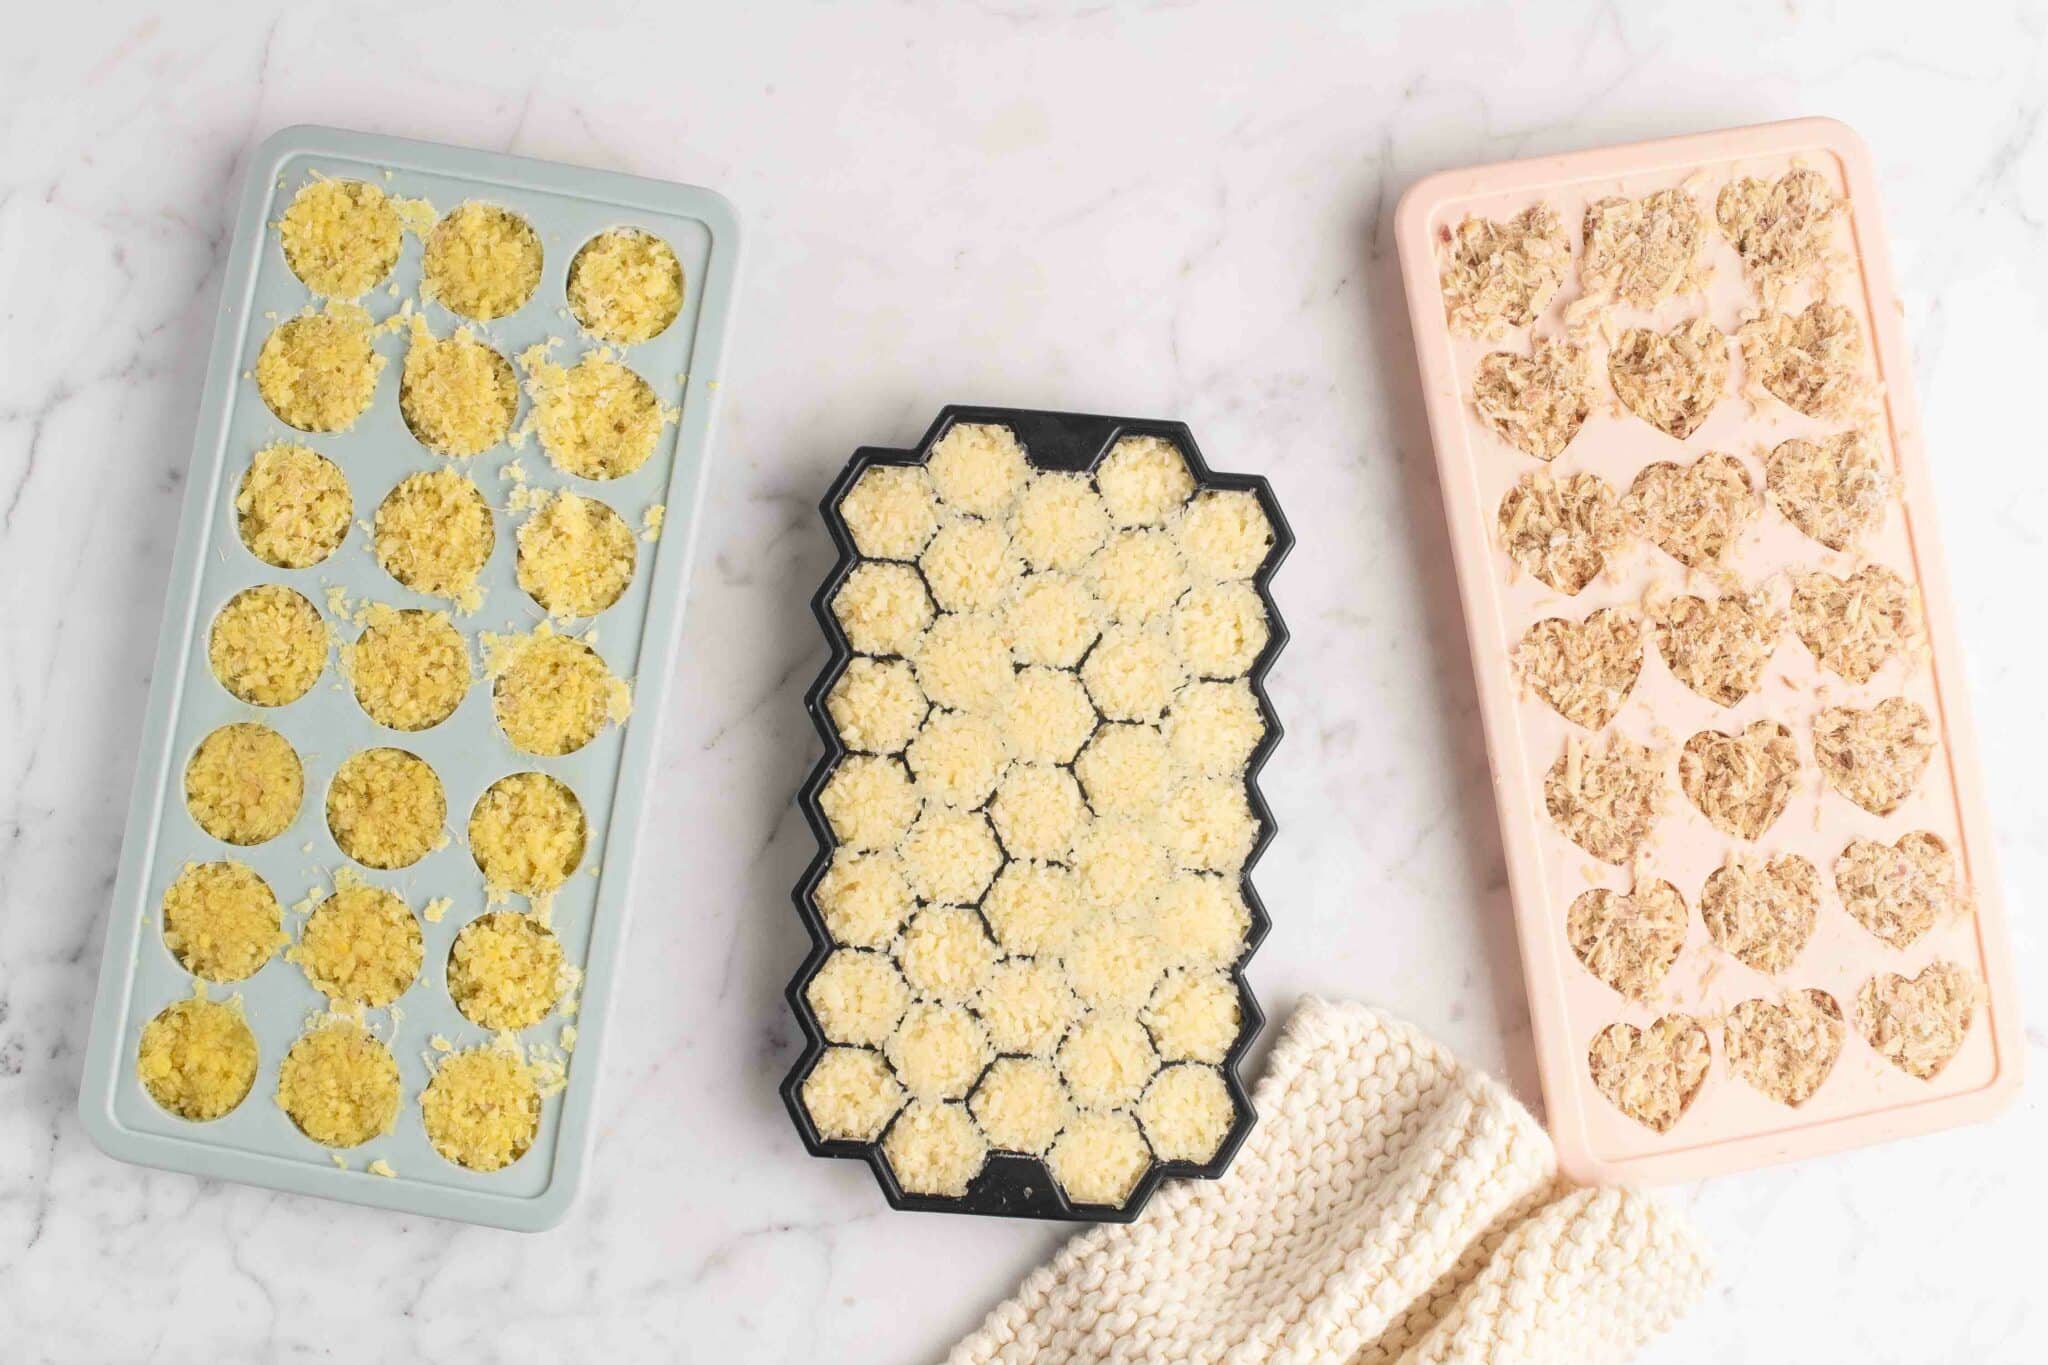
If you would also like to organise your freezer with other aromatics, such as ginger and lemongrass, I recommend using different shaped ice cube trays to help you quickly identify the ingredients. For example, I freeze garlic in hexagonal shapes, ginger in round shapes, and lemongrass in heart shapes (it was the next best thing!). I store all of the frozen cubes in silicone freezer bags, and using different shapes means that I don’t have to label the bags.
Alternatively, you can use the same ice cube trays for various ingredients, but make sure you label the freezer bags well. Garlic and ginger look very similar when they are chopped and frozen, and you don’t want to confuse these two!
When looking for silicone ice cube trays, it is important to note the capacity of each indent (aim for 1-2 teaspoons), and a fitting lid is also ideal to let you stack the trays in the freezer, as well as to keep any smells contained.
How to Freeze Garlic
Ingredients
- 8 to 10 bulbs of garlic, as much or as little as you want
- OR
- 1 kg (2 lb) garlic cloves, already peeled (this is enough to fill 3 silicone trays as pictured)
Instructions
TO PREPARE FRESH GARLIC CLOVES
- Break the bulbs of garlic and separate each clove of garlic.
- Use a sharp knife to cut off the ends of the garlic where it was attached to the bulb.
- Peel each garlic clove. You can do this by bruising each clove with your wrist, but your hands will quickly tire. I prefer to place the garlic cloves into a mortar and to bruise them with a pestle. The skins should peel off easily.
- Remove any brown markings or other imperfections on the garlic cloves.
TO PREPARE READY-PEELED GARLIC CLOVES
- Use a sharp knife to cut off the ends of the garlic where it was attached to the bulb.
- Remove any brown markings or other imperfections on the garlic cloves.
TO FINELY CHOP THE GARLIC
- Place the peeled garlic cloves into the bowl of a food processor.
- Pulse the food processor until the garlic is finely chopped, or chopped to your liking. I like my garlic to be finely chopped, but not finely minced.
TO FREEZE THE GARLIC
- Transfer the chopped garlic to a silicone ice tray with a fitted lid. Make sure each compartment is tightly packed with garlic.
- Place the covered ice tray into the freezer until the garlic is completely frozen.
- Once the garlic is completely frozen, remove the cubes of garlic and store them in a silicone freezer bag or plastic freezer bag.
- To use, place the desired quantity of garlic cubes at room temperature for about 5 minutes to soften and defrost.
Kitchen Notes
- FOR HOW LONG CAN YOU FREEZE GARLIC?
Unless food is vacuum-sealed for storage in the freezer, I would recommend using any frozen foods within 3 to 6 months. - STORING GARLIC IN THE FRIDGE
Any leftover chopped garlic which does not fit into the ice cube trays can be kept in a sealed glass container in the fridge for up to 1 week. - CONVERSIONS
To convert from cups to grams, and vice-versa, please see this handy Conversion Chart for Basic Ingredients.


Thanks for the recipe! I hate peeling and chopping garlic so it’s great to do this all in advance.
I buy Garlic in a bag & this is the answer for me. Thank you.
Hi Mariana,
Ha ha, you are indeed lucky if you can buy garlic ready peeled for you! I would still go one step further and chop them up and freeze them, but at least some of the hard work has already been done for you 🙂