Lunch Box Ideas
I have a love-hate relationship with Instagram. I hate it for many reasons which I will not go into here, but, at the same time, I love scrolling through my Instagram feed when I am looking for ideas.
When I am not mindlessly looking at home decorating ideas, I get a kick out of seeing what other mothers are packing in their childrens’ lunch boxes. Most of the time, I am in awe of their daily creations and can only imagine the joy their children must have every time they open their lunch box.
And then there is a tiny part of me which feels guilty because my children are served cucumbers haphazardly chopped into batons and not into cute star shapes and stuffed with cheese in the centre. And have you seen this adorable teddy bear sandwich?? Could they pack my lunch too, please?
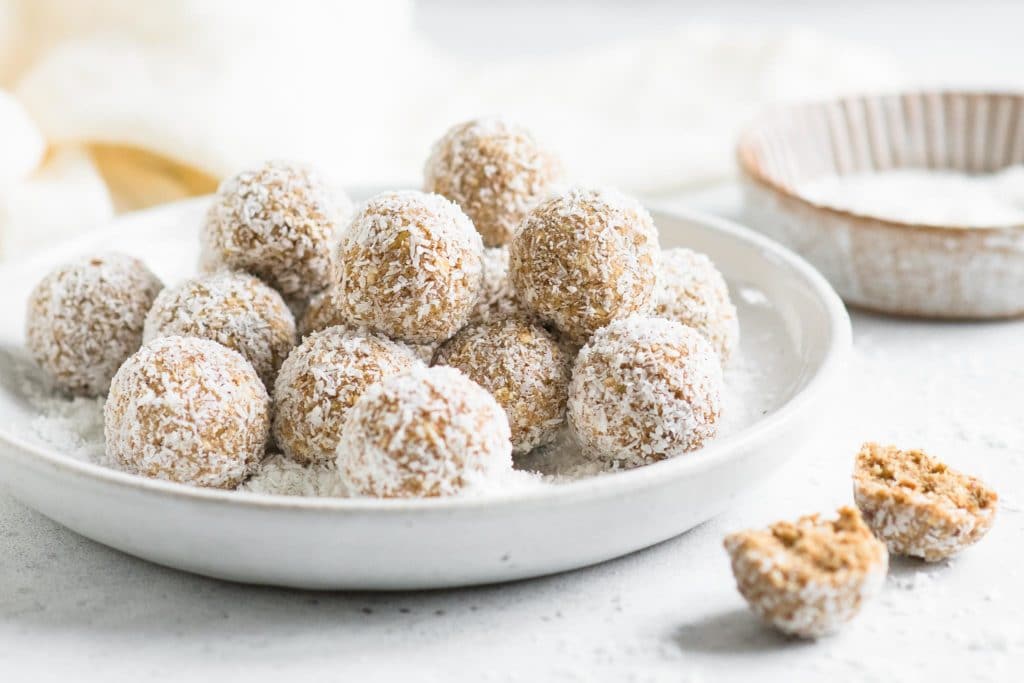
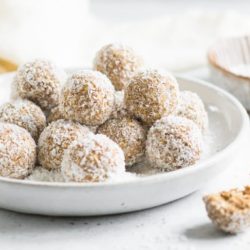
Apple Pie Bliss Balls
Anyway, when I came across these Apple Pie Bliss Balls, they sounded too good to not try. Plus, bliss balls are generally fuss-free and require very little effort – perfect for creatively-challenged mothers like myself!
Also, I am always on the lookout for sugar-free recipes for my childrens’ lunch boxes, and bliss balls are generally a healthy choice.
Why This Recipe Works
- These bliss balls contain no added sugar!
- These bliss balls are naturally sweetened with fresh apples, dried apples and medjool dates.
- They are also nut-free and gluten-free, so perfect for sharing at the playground.
Bliss Ball Recipe
These Apple Pie Bliss Balls contain both fresh apple and dried apple, with a subtle sweetness from medjool dates.
If you need a touch more sweetness, by all means add some maple syrup, or perhaps add more dates.
The thing about bliss ball recipes is that they are often very forgiving and very flexible!
Although dried fruit is considered a “health food” and is more nutritious than, say, candy, it is highly concentrated in sugar which can stick to your teeth. But I don’t mind putting dried fruit into my childrens’ lunch boxes because, in Switzerland, the children all brush their teeth after eating their lunch. (Whether they brush properly is another matter …)
How to Make Bliss Balls
Simply place all of the ingredients into a food processor and blitz until everything is finely chopped, and the mixture clumps together into a moist dough.
Roll about 1 tablespoon of the mixture into small balls, and repeat until all of the mixture has been used. I use a small ice-cream scoop with a 15 ml (1 tablespoon) capacity so that each bliss ball is the same size.
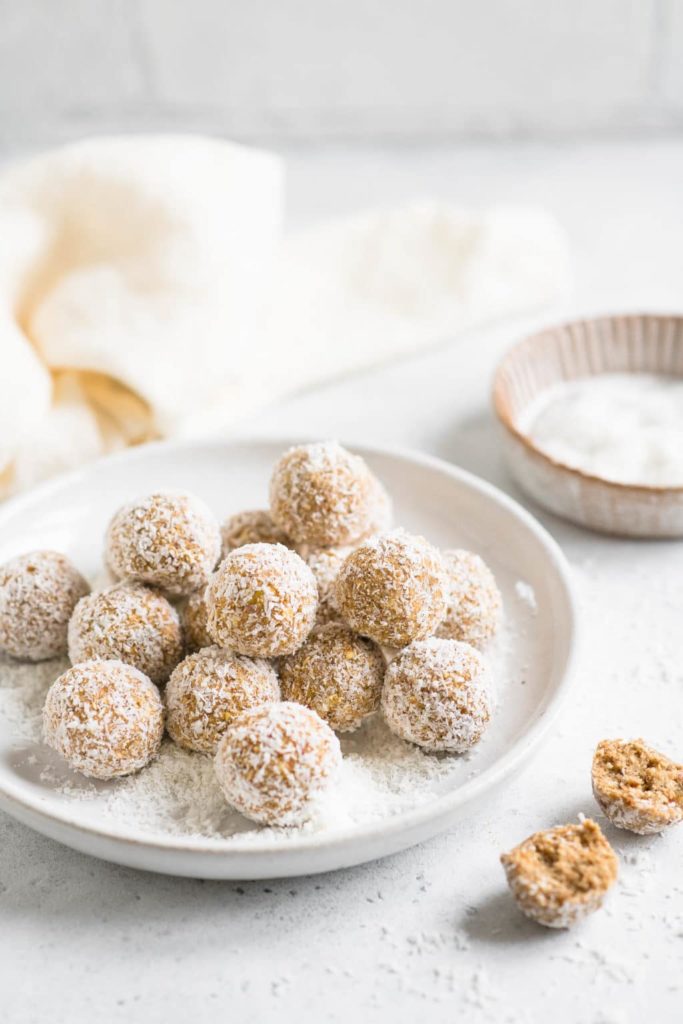
Sprinkle the extra coconut onto a plate. Roll the bliss balls in the coconut, and then roll them in your hands again to evenly coat each ball.
Store the bliss balls in a covered container in the fridge.
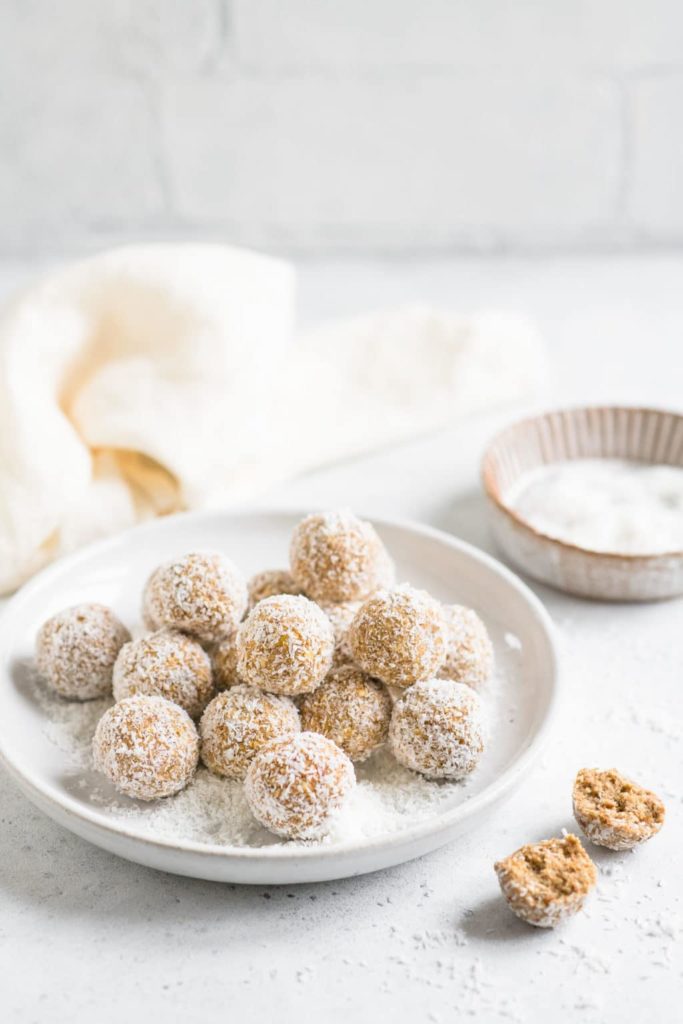
Apple Pie Bliss Balls
Ingredients
- 1 large apple, I use Gala, cored and diced
- 265 g (1 ½ cups) rolled oats
- 35 g (⅓ cup) dessicated coconut, (shredded coconut), plus 3 tablespoons extra for rolling
- 6 medjool dates, deseeded
- 50 g (1 cup) dried apple
- 1 ½ teaspoons ground cinnamon
- 1 tablespoon maple syrup, optional
Instructions
- Place all of the ingredients, except the extra coconut, into a food processor.
- Blitz for 1-2 minutes until everything is finely chopped and comes together in a moist ball of dough.
- Roll about 1 tablespoon of the apple mixture into a small ball, and repeat until you have used all of the mixture. I like to use a small ice-cream scoop with a 15 ml (1 tablespoon ) capacity to make all of the bliss balls the same size.
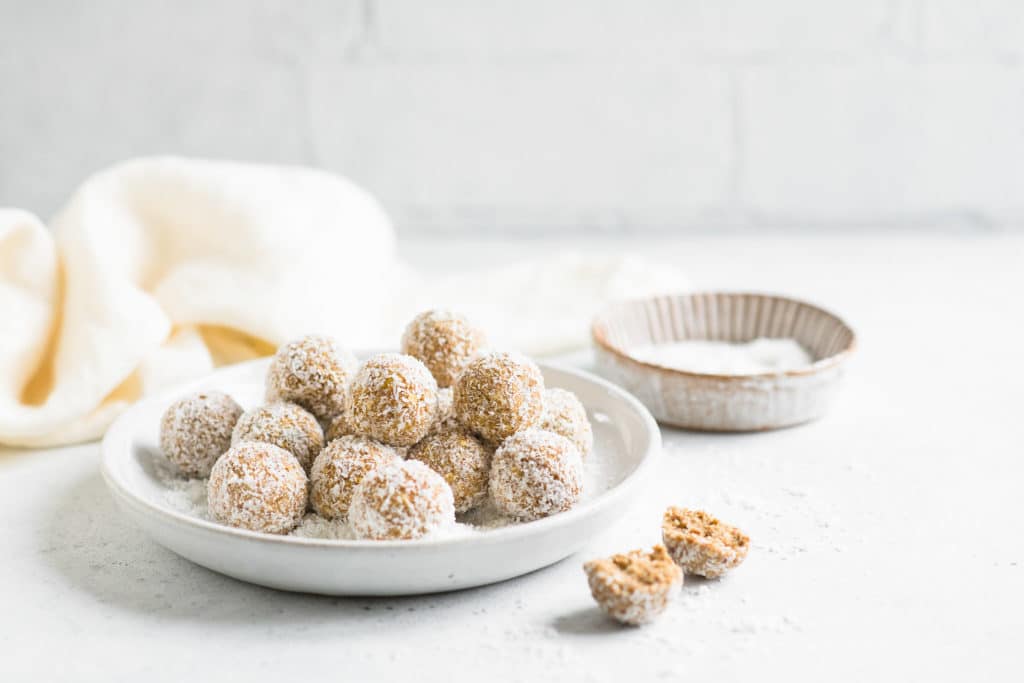
- Place the extra coconut onto a small plate.
- Gently roll each bliss ball in the coconut, and then roll them again in your hands so that each bliss ball is evenly coated.
- Store the bliss balls in a covered container in the fridge
Kitchen Notes
- STORAGE TIPS
The bliss balls keep well in the fridge for several days, and they can also be frozen. Simply pop the frozen bliss balls into your child’s lunch box and it should defrost by lunch time 🙂 - RECIPE CREDIT
This recipe is adapted from Goodie Goodie Lunch Box - CONVERSIONS
To convert from cups to grams, and vice-versa, please see this handy Conversion Chart for Basic Ingredients.

my mixture seems very dry , not sure it will form into balls
Hi Leanne,
If you mixture feels too dry, you can add some more maple syrup or even some water to moisten the mixture.
Hi, is there a way to make this without using a food processor?
Hi Saloni,
To achieve the fine texture for these bliss balls, I recommend using a food processor. You could try to finely chop all of the ingredients, but you will have a more rough texture for the bliss balls.