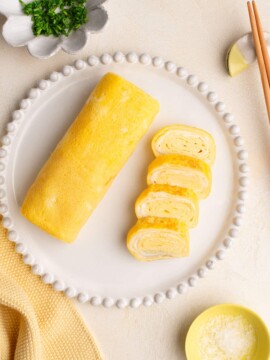
Sushi Rice
My family love Japanese food, especially sushi and poké bowls, so I find myself making sushi rice at least once a week in our home. Making sushi rice is very similar to making Jasmine Rice, except a few additional steps are added which differentiates sushi rice from other types of rice.
What Type of Rice to Use for Sushi?
In Japanese cuisine, Japanese short-grain rice is used to make sushi rice. It is sometimes labelled as Koshihikari rice, or simply sushi rice.
Unlike Jasmine rice, sushi rice is a smaller grain and, when cooked, it is quite sticky in texture, thereby making it perfect for rolling and moulding into various types of sushi.
At a pinch, you could, of course, use Jasmine rice to make sushi. I have done so on countless occasions and, although I could taste and feel the difference, my kids have been none the wiser 😉 I realise, though, that admitting this could get me into trouble with many Japanese readers ????
Sushi Rice Seasoning
Cooking sushi rice is the same as cooking Jasmine rice, but it is common practice in Japanese cuisine to season the sushi rice – once cooked – with rice vinegar and salt. Sugar is also often added to balance out the tanginess from the vinegar.
The vinegar and salt act as preservatives, which will help to keep the rice from spoiling if it is kept out of the fridge for a few hours, e.g. in a lunchbox. The vinegar also helps to keep the rice moister for longer.
If you plan to make and eat the sushi rice right away, you can skip the seasoning. However, some people like the flavour of the sushi seasoning. I suggest that you try it at least once to see if you prefer it to unseasoned sushi rice.
Sushi Rice Recipe
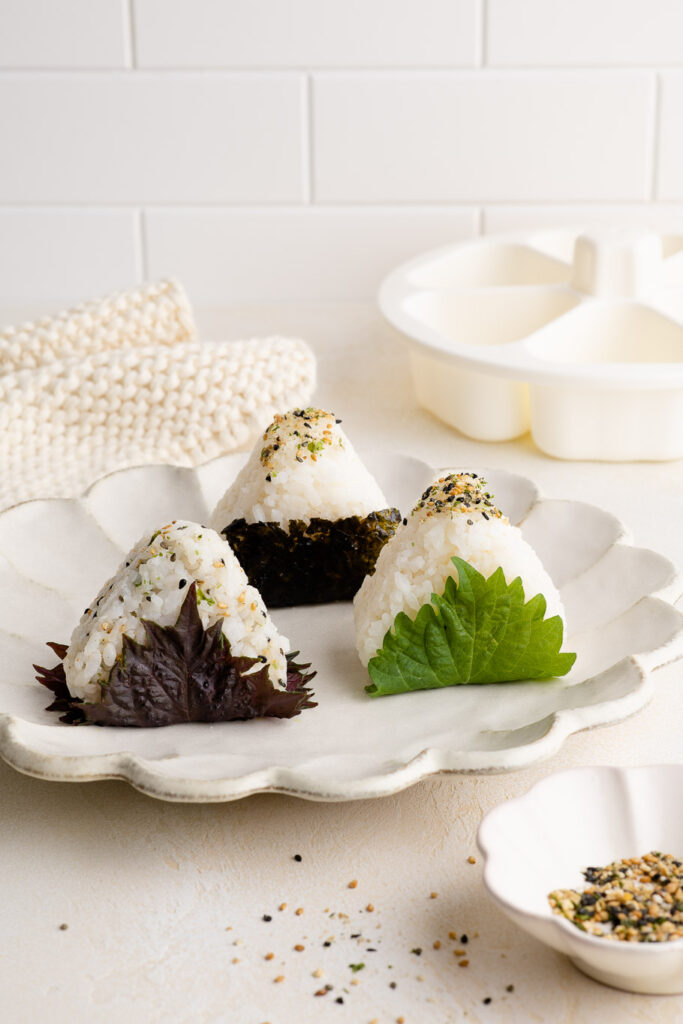
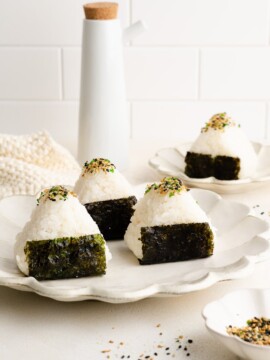
My recipe below is a simple recipe for making sushi rice to be used in sushi, onigiri, poké bowls and the like.
To add even more flavour to the rice, you can add a small piece of dried kombu to the rice pot, and/or 1 tablespoon of sake. Once you are in the habit of making sushi rice regularly, you might decide to flavour it differently, depending on how you plan to serve the rice.
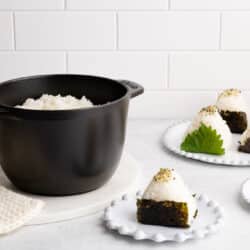
How to Make Sushi Rice
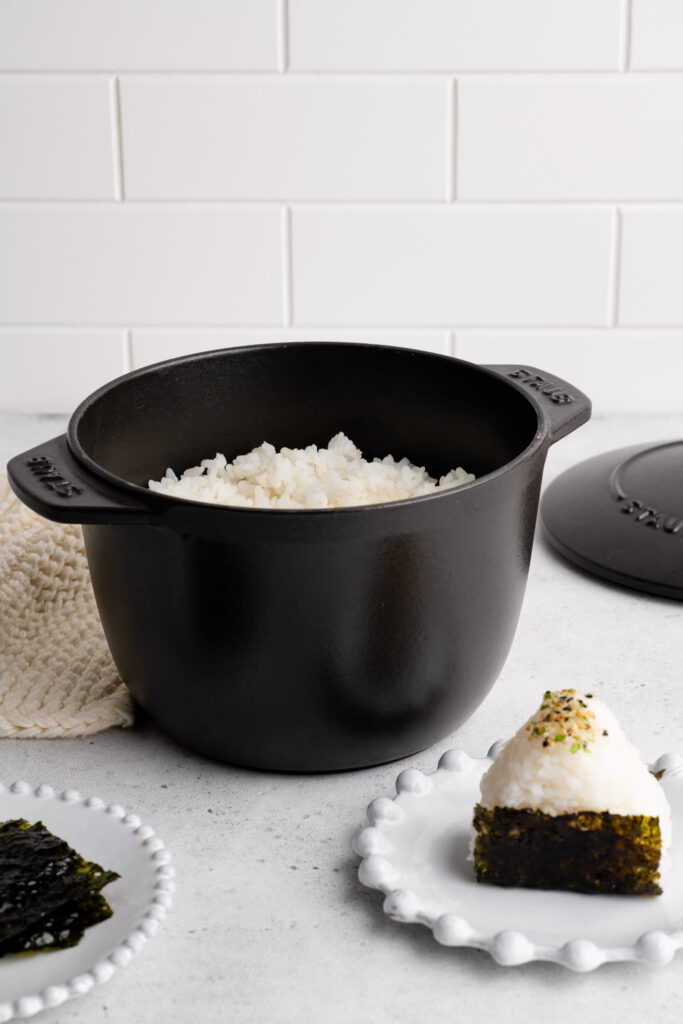
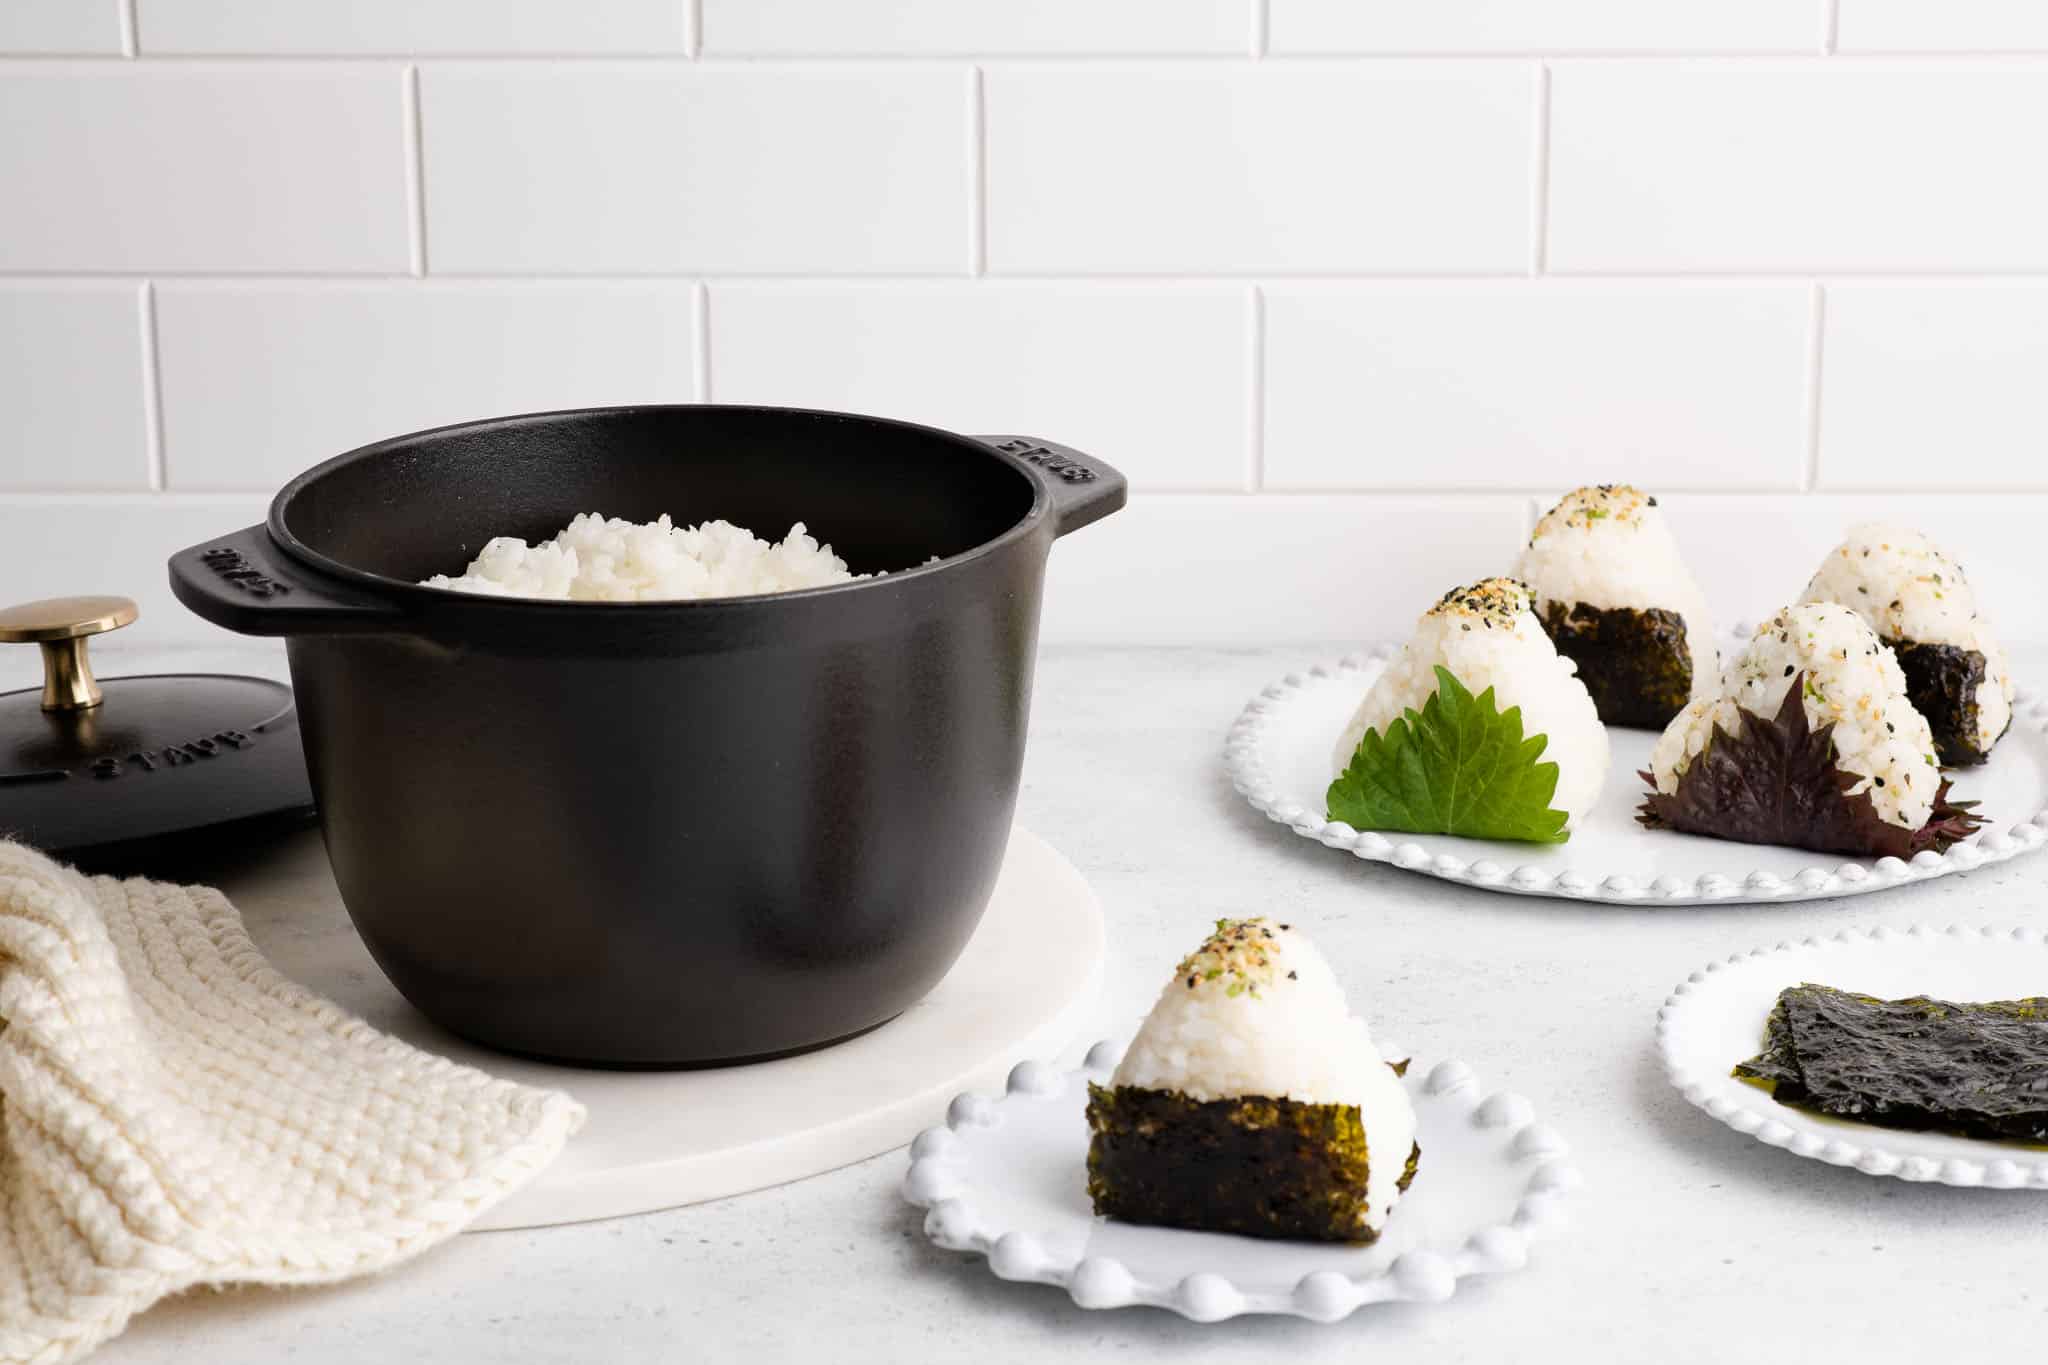
I cook rice on the stove in a small cast-iron pot using the absorption method, but the same method applies for stainless steel pans, too.
Most recipes for cooking rice on the stove require you to bring the water with the rice to the boil, before turning it right down to a low simmer for the rest of the cooking time. This method absolutely works, but it requires you to stand by the stove and to wait for the water to boil. If you are busy in the kitchen, you may not notice that the water is boiling or, worse, you forget and the rice has already burnt (yes, it has happened to me many times!).
My method of cooking rice on the stove takes a little bit longer than other recipes, but it is less fiddly and more foolproof. You essentially cook the rice on a gentle simmer for the whole cooking time. This means that, once you put the lid on the pot and turn on the stove, you can set the timer and not have to worry about checking on the rice until the time is up. My 8 year old daughter cooks the rice for our family using the recipe below and her rice turns out perfectly each time!
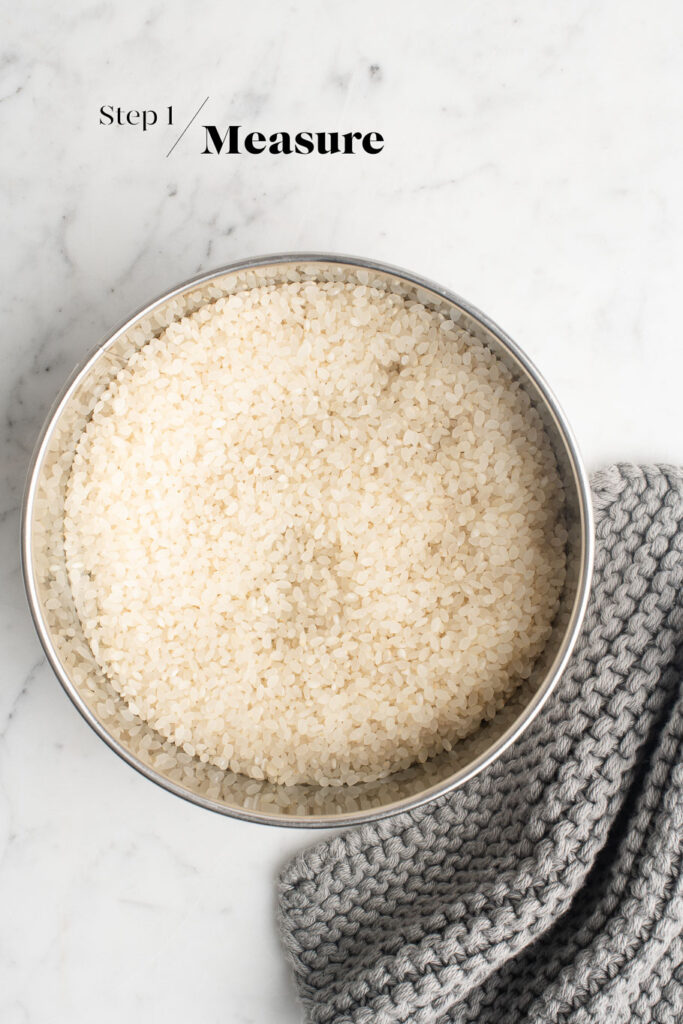
Step 1
Measure the rice and place it into a fine sieve. If the sieve is too big, the grains of rice might fall out.
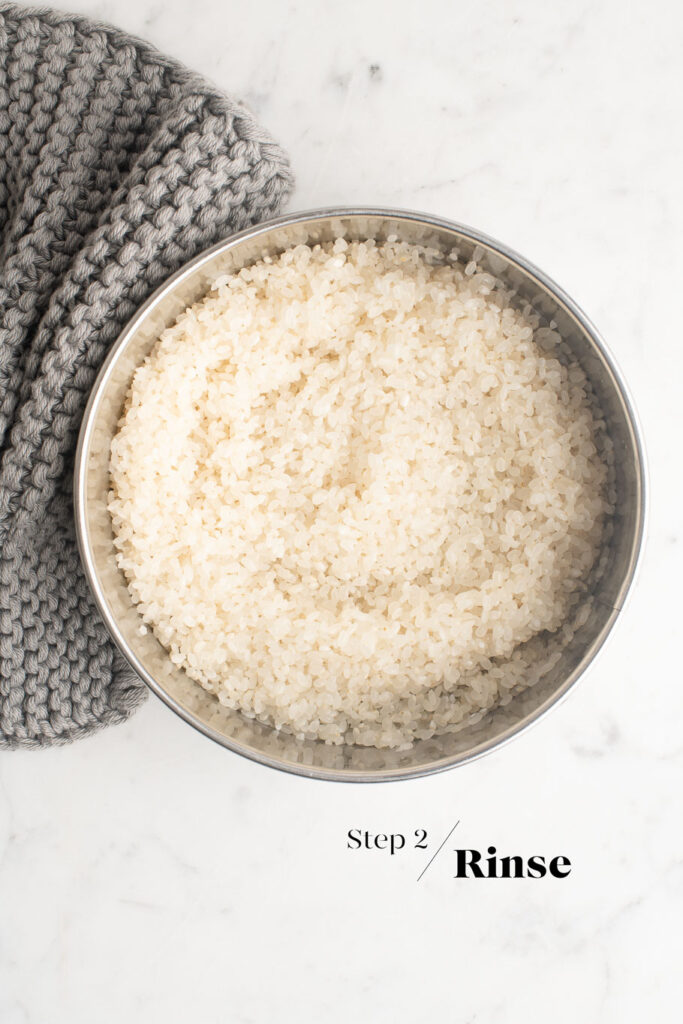
Step 2
Rinse the rice in the sieve under cold running water. Use your hands to move the grains around in the sieve. As the starch is being washed away, the water will appear milky and cloudy. Once the water starts looking clear, you can stop. This step should only take 1-2 minutes.
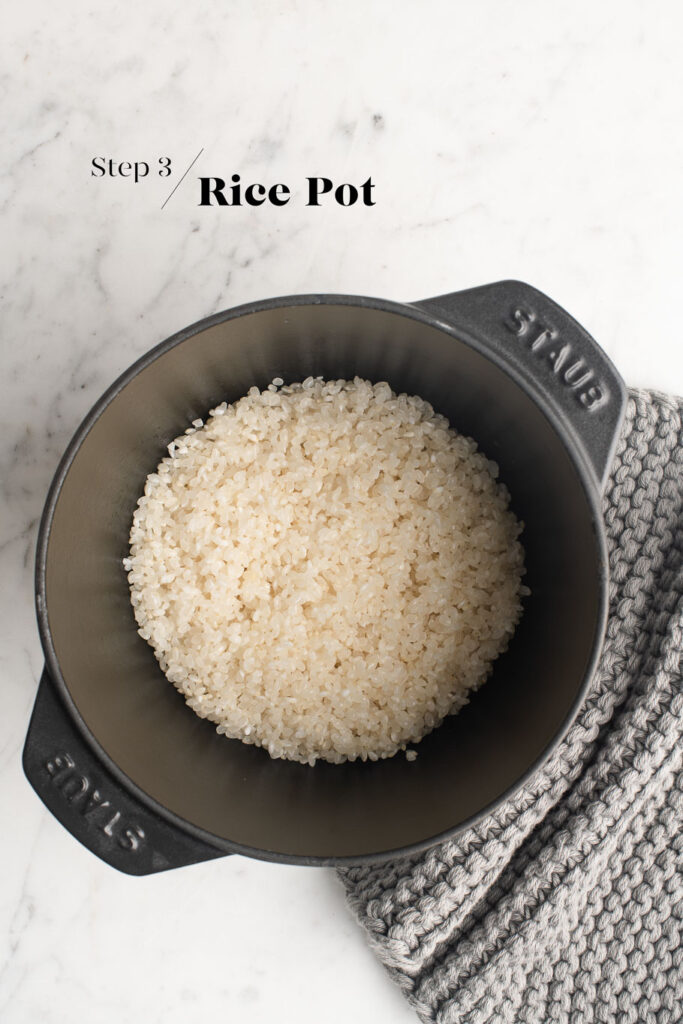
Step 3
Transfer the rinsed rice to a saucepan which has a tight-fitting lid.
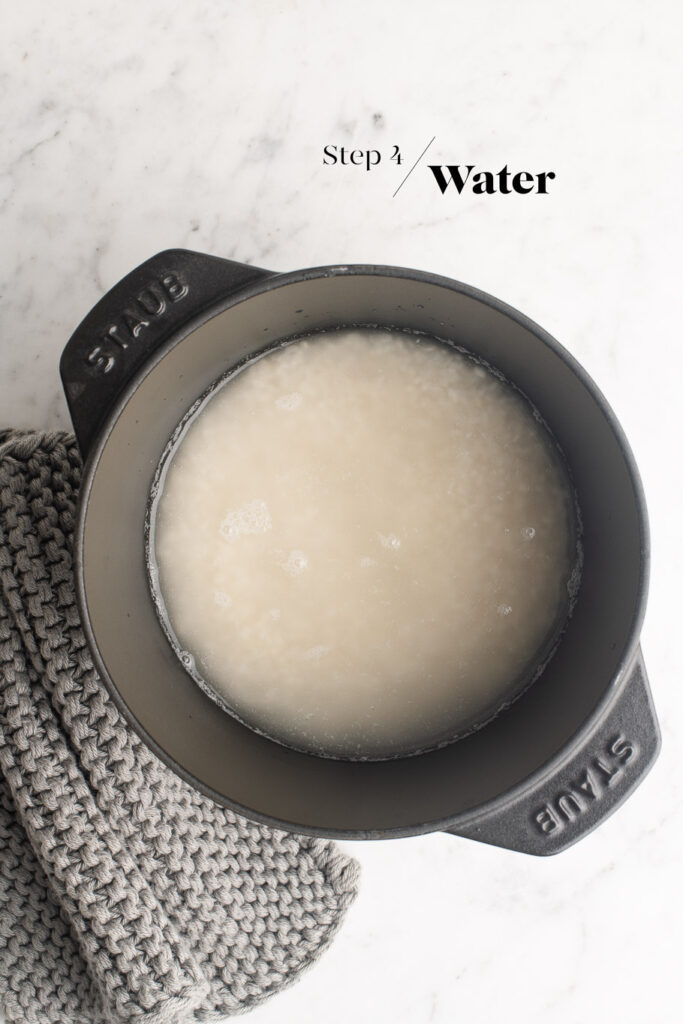
Step 4
Measure the water and pour this over the rice in the saucepan.
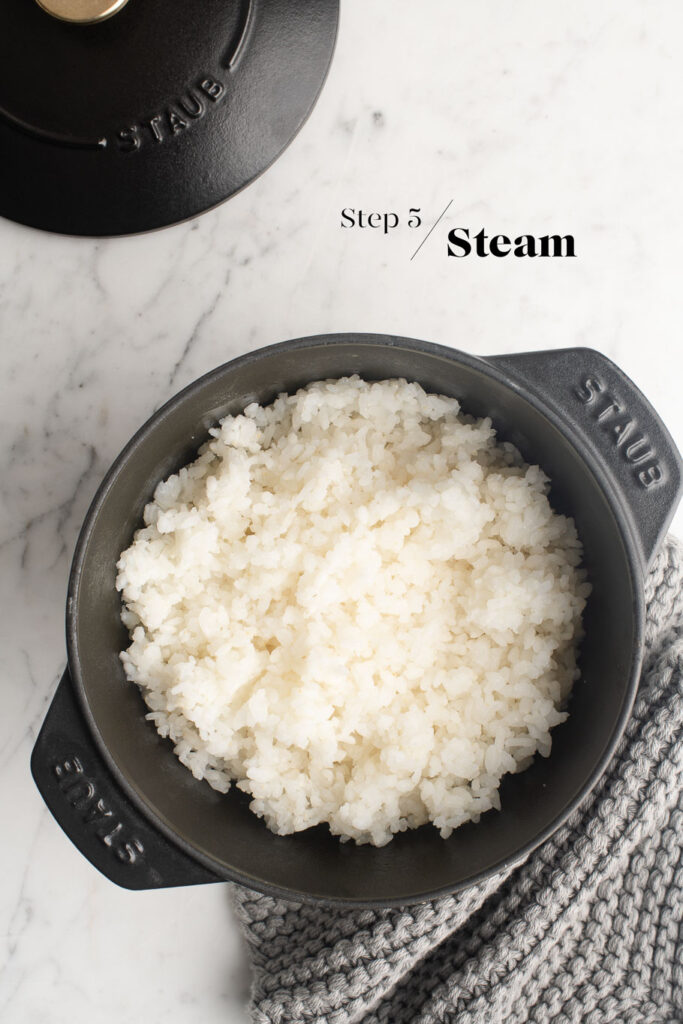
Step 5
Place the lid on the saucepan. Cook the rice over low to medium heat for 30 minutes. The water should not boil; it should just simmer gently.
After 30 minutes, remove the saucepan from the heat and allow the rice to continue resting and steaming for about 10 minutes.
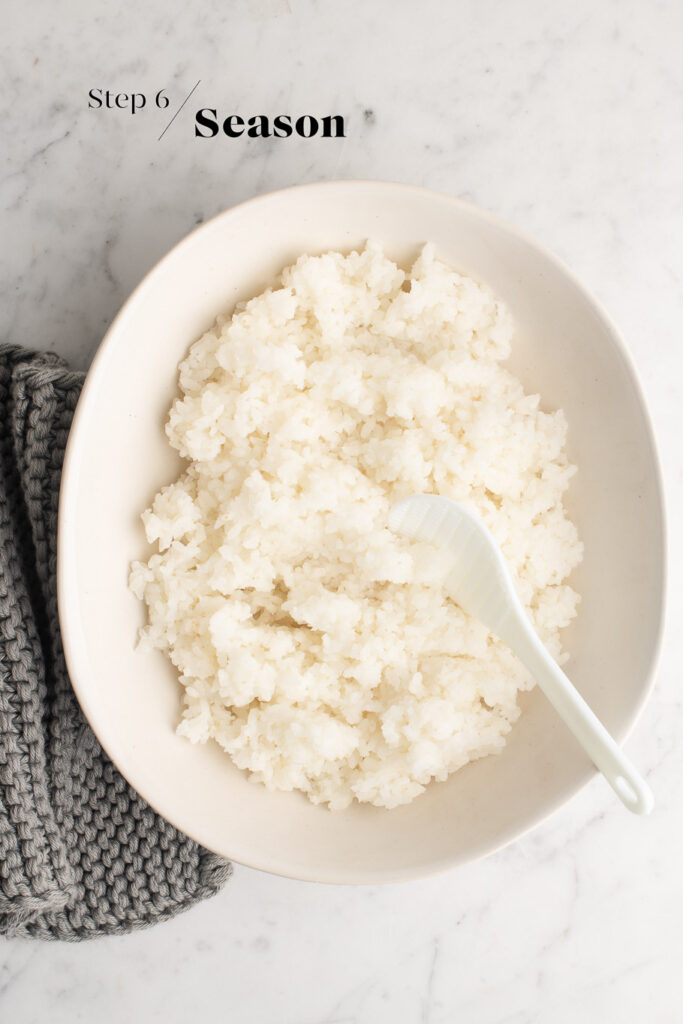
Step 6
Place the rice into a large baking dish or onto a sheet pan. Sprinkle the seasoning ingredients over the rice, and then use a rice paddle or spatula to mix the seasoning into the rice. Spread the rice into a thin layer to allow it to cool quickly.
To make sushi, onigiri or rice balls, the rice should be at room temperature and not too hot, especially if you are pairing the rice with raw fish and/or raw vegetables.
Leftover Sushi Rice
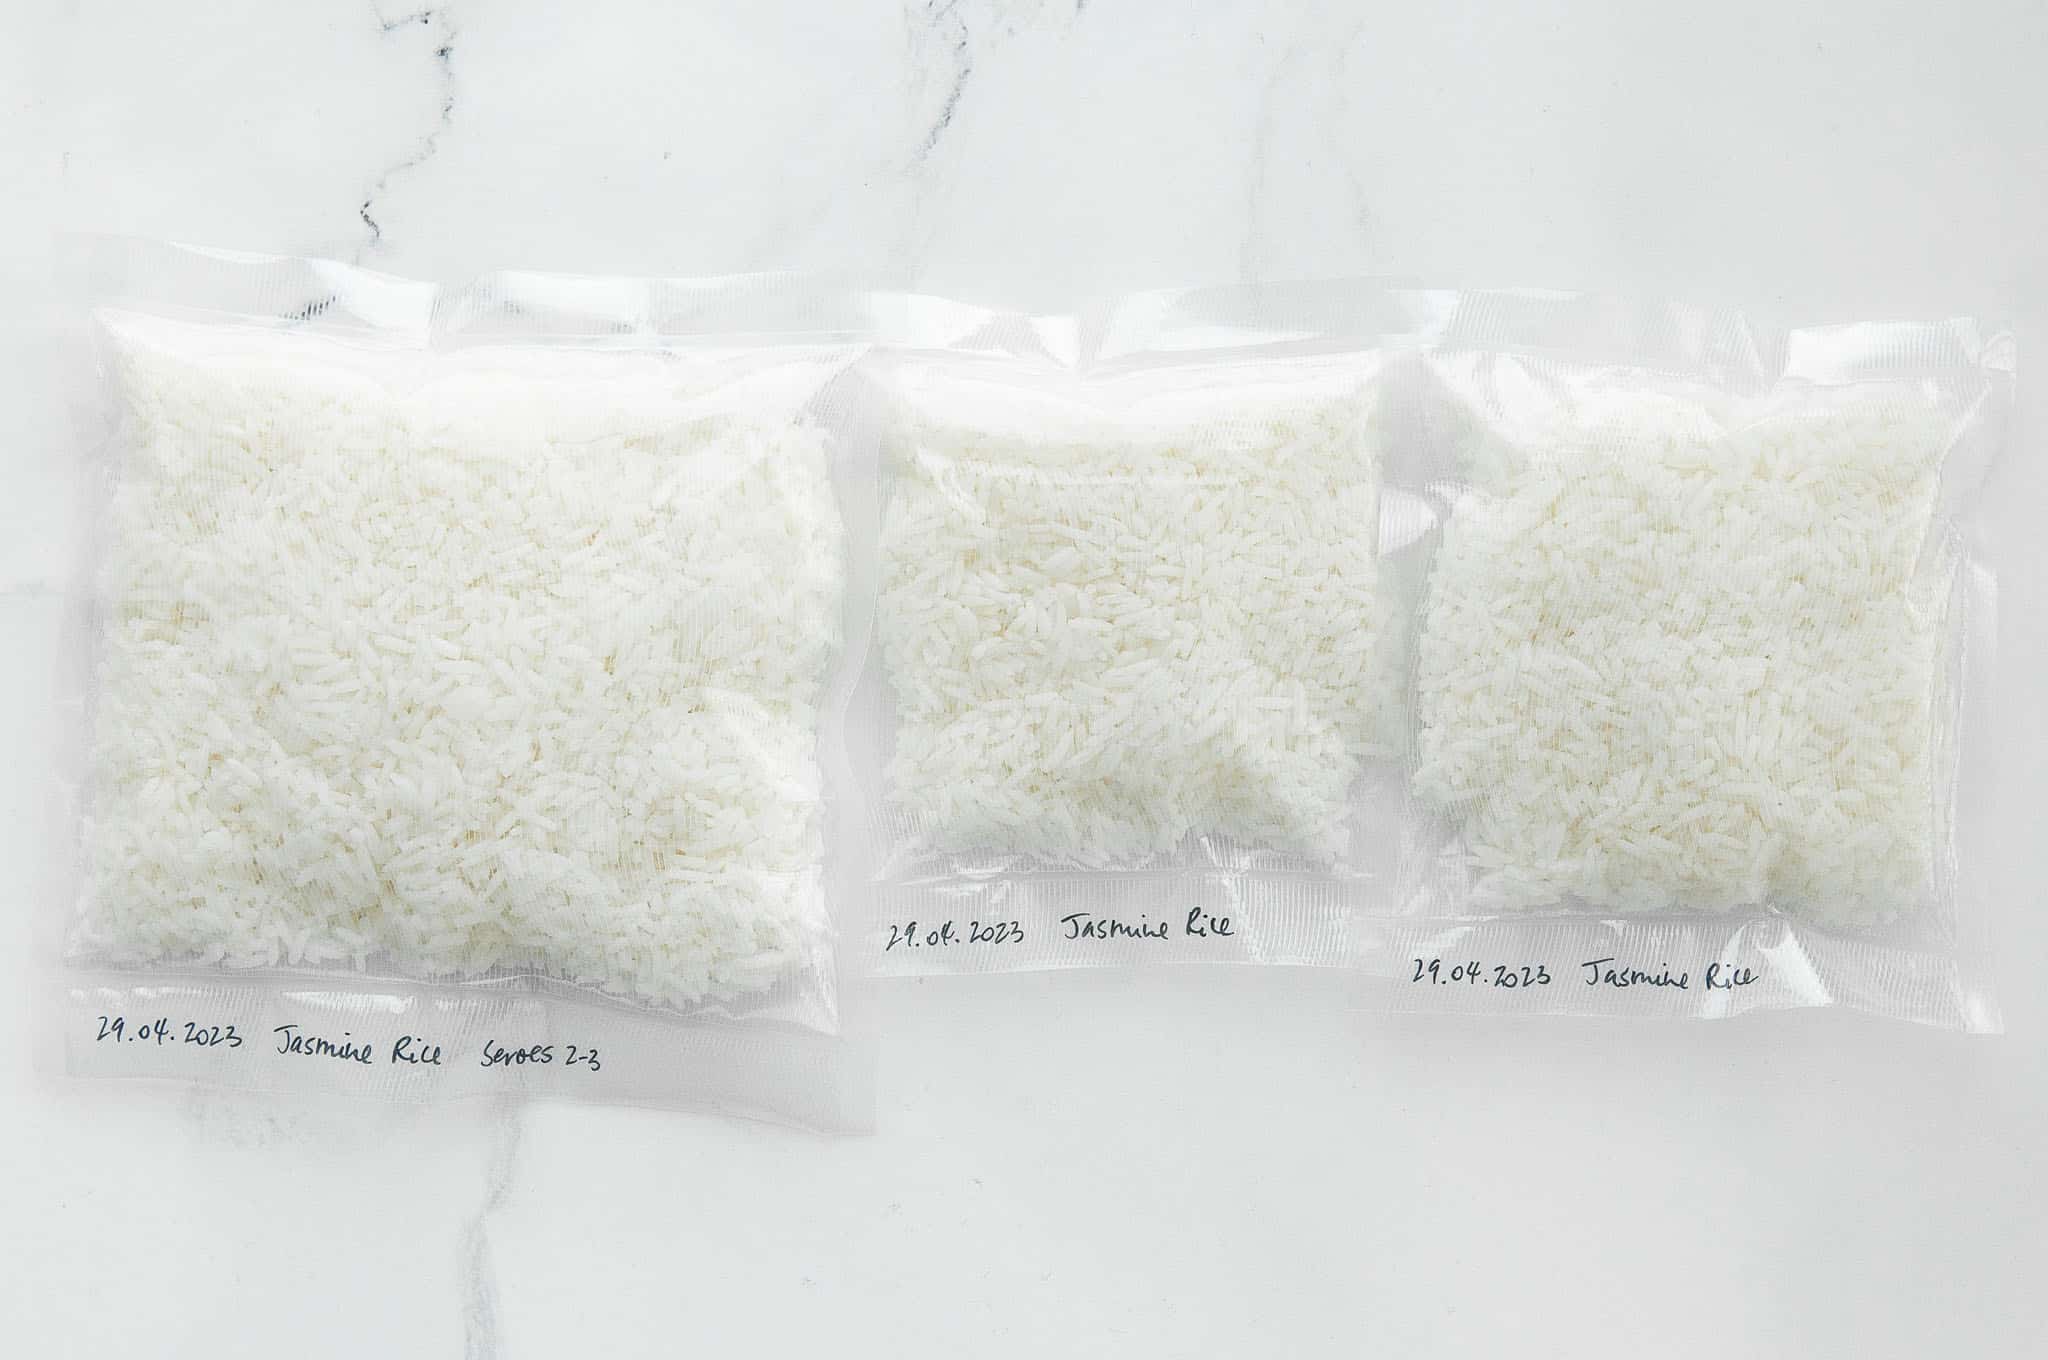
Any leftover cooked sushi rice, whether seasoned or not, can be kept in the fridge for a few days or in the freezer. Once rice has been refrigerated or frozen, it changes slightly in texture, i.e. it becomes harder. Rice that has been kept in the fridge is best reheated in a dish such as fried rice.
However, I find frozen rice to reheat really nicely in the microwave, such that it almost tastes freshly cooked. For this reason, unless I plan to make fried rice in the coming days, I always freeze any leftover cooked rice in individual portions. This means that I always have rice on hand when I find myself eating solo, or sometimes I have enough portions of frozen rice that I can skip cooking rice altogether.
I would not recommend making sushi with defrosted sushi rice which has been microwaved, though. The texture is still not the same as freshly cooked rice, which you definitely want when making sushi.
Sushi vs Kimbap
Japanese sushi uses rice seasoned with vinegar (as per the recipe below) and commonly contains raw fish, although many other ingredients are often used in combination with the raw fish or in place of the raw fish. Sushi is often eaten with soy sauce and wasabi for additional flavour and seasoning.
Kimbap (or Gimbap) is the Korean version of Japanese sushi, but the rice is usually seasoned with sesame oil, and the filling typically contains cooked protein such as grilled beef (Bulgogi), as well as cooked vegetables. As the cooked filling is often well-seasoned, Kimbap is generally eaten as is, i.e. with no soy sauce on the side.
To make rice for Kimbap, simply follow the instructions as below for making sushi rice, but instead of using the sushi seasoning, mix a generous drizzle of sesame oil through the hot rice. And as the Kimbap fillings are usually already cooked, you can start assembling the Kimbap while the rice is still hot or warm.
How to Cook Sushi Rice
Ingredients
For the Sushi Rice
- 350 g (1 ½ cups) sushi rice
- 500 ml (2 cups) cold water
For the Seasoning
- 2 ½ tablespoons rice vinegar
- 1 ½ teaspoon sugar
- ½ teaspoon fine salt
Instructions
To Make the Sushi Rice
- Measure the rice into a bowl.
- Transfer the rice into a fine sieve through which the rice grains cannot escape.
- Wash and rinse the rice under a cold tap until the water runs clear. Use your hands to gently move the rice around the sieve. At first, the water will appear milky and cloudy, but as the starch rinses away, the water will start to look clear.
- Shake the sieve to remove as much excess water as possible.
- Transfer the rinsed rice to a medium-sized saucepan with a tight-fitting lid. I like to use a cast-iron pot to cook my rice, but any stainless steel pan will work as well.
- Measure the water.
- Pour the water over the rice in the saucepan.
- Cover the saucepan with a lid.
- Place the saucepan on the stove.
- Cook the rice on low to medium heat for 30 minutes. The water should not come to a boil; it should just gently simmer so that the rice will cook slowly and gently. A glass lid will help you to see how the rice is cooking.
- After 30 minutes, turn off the stove and remove the saucepan from the heat source.
- Let the rice continue to steam for about 10 minutes, but you can skip this step if you are in a hurry.
- Fluff the rice before serving.
To Season the Sushi Rice
- Transfer the rice to a large sheet pan or similar.
- Using a rice paddle, spread out the rice in a thin layer so that it can cool down quickly.
- Sprinkle over the seasoning ingredients.
- Use the rice paddle to mix everything together by folding the rice over onto itself, and then spreading it out again.
- Leave the rice to cool until it is at room temperature before using in recipes for sushi, onigiri or similar.
Kitchen Notes
- WHAT TEMPERATURE TO COOK RICE
Each stove is different, so you will have to experiment with your stove a bit. But generally speaking, you want a low to medium heat so that the water comes to a gentle simmer. The rice will cook slowly and gently. For my Bora induction stove, I use setting 5 out of 9. - RATIO OF RICE TO WATER
For sushi rice, you generally need a ratio of 1:1.25 of rice to water. My recipe uses a ratio of approximately 1:1.4. I think the ratio can vary slightly according to personal preference, as well as the rice you are using. Sometimes when I change brands of rice, I find that my usual recipe yields cooked rice which is too moist or too dry. I recommend experimenting by increasing or decreasing the amount of water by 1 tablespoon at a time. - FREEZING LEFTOVER RICE
Leftover rice can be frozen in small portions in vacuum-sealed bags or ziplock freezer bags. - QUANTITY
This recipe makes enough rice for 10-12 rolls of maki sushi, or 6 large onigiri. - OVEN & STOVE TEMPERATURES
All recipes on this website have been tested on an induction stove and/or with a conventional oven (i.e. an oven without fan). All recipes on this website use temperatures for a conventional oven, unless otherwise mentioned. Convection ovens (i.e. fan-forced ovens) are typically 20°C/70°F hotter than conventional ovens, but please check your manufacturer’s handbook. - CONVERSIONS
To convert from cups to grams, and vice-versa, please see this handy Conversion Chart for Basic Ingredients.

this food is very delicious thank you for making this delicious recipe
Worked perfectly!
Hi Emma,
That’s great to hear!