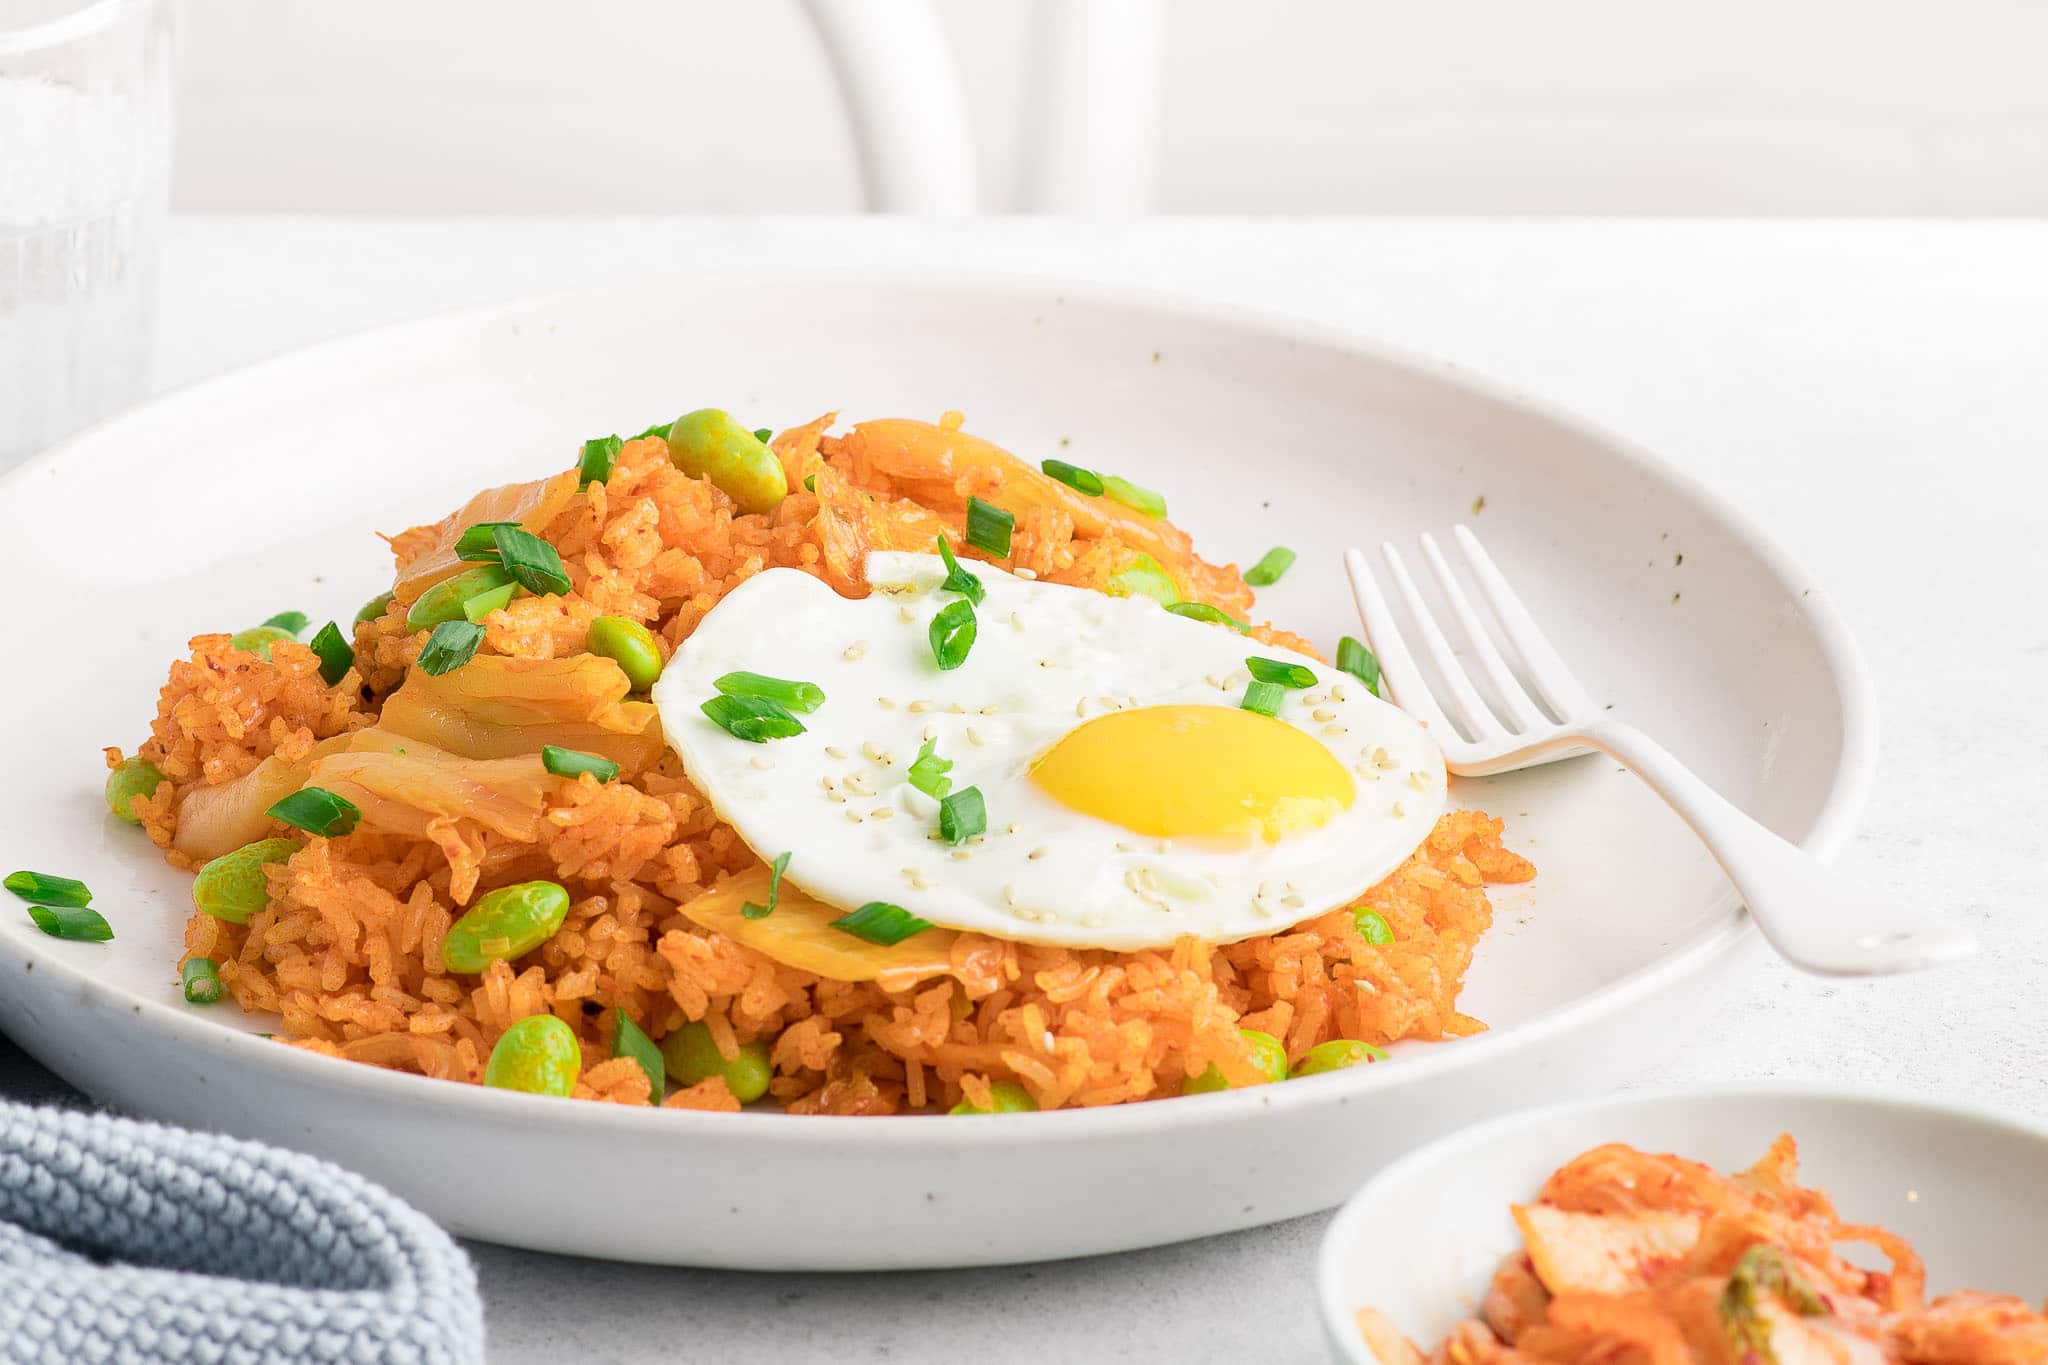
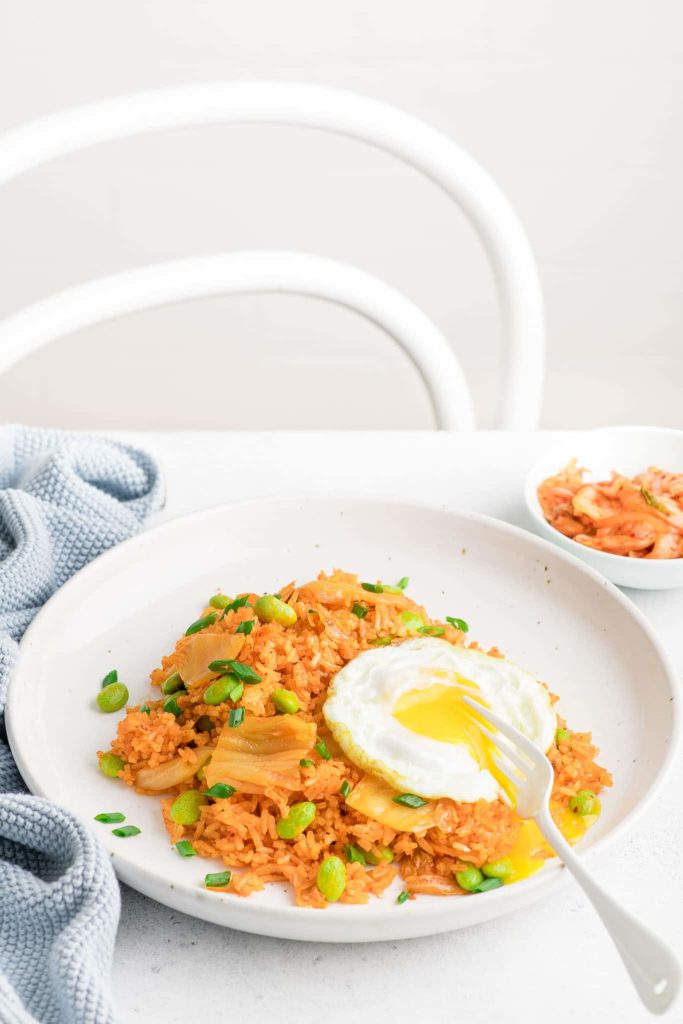
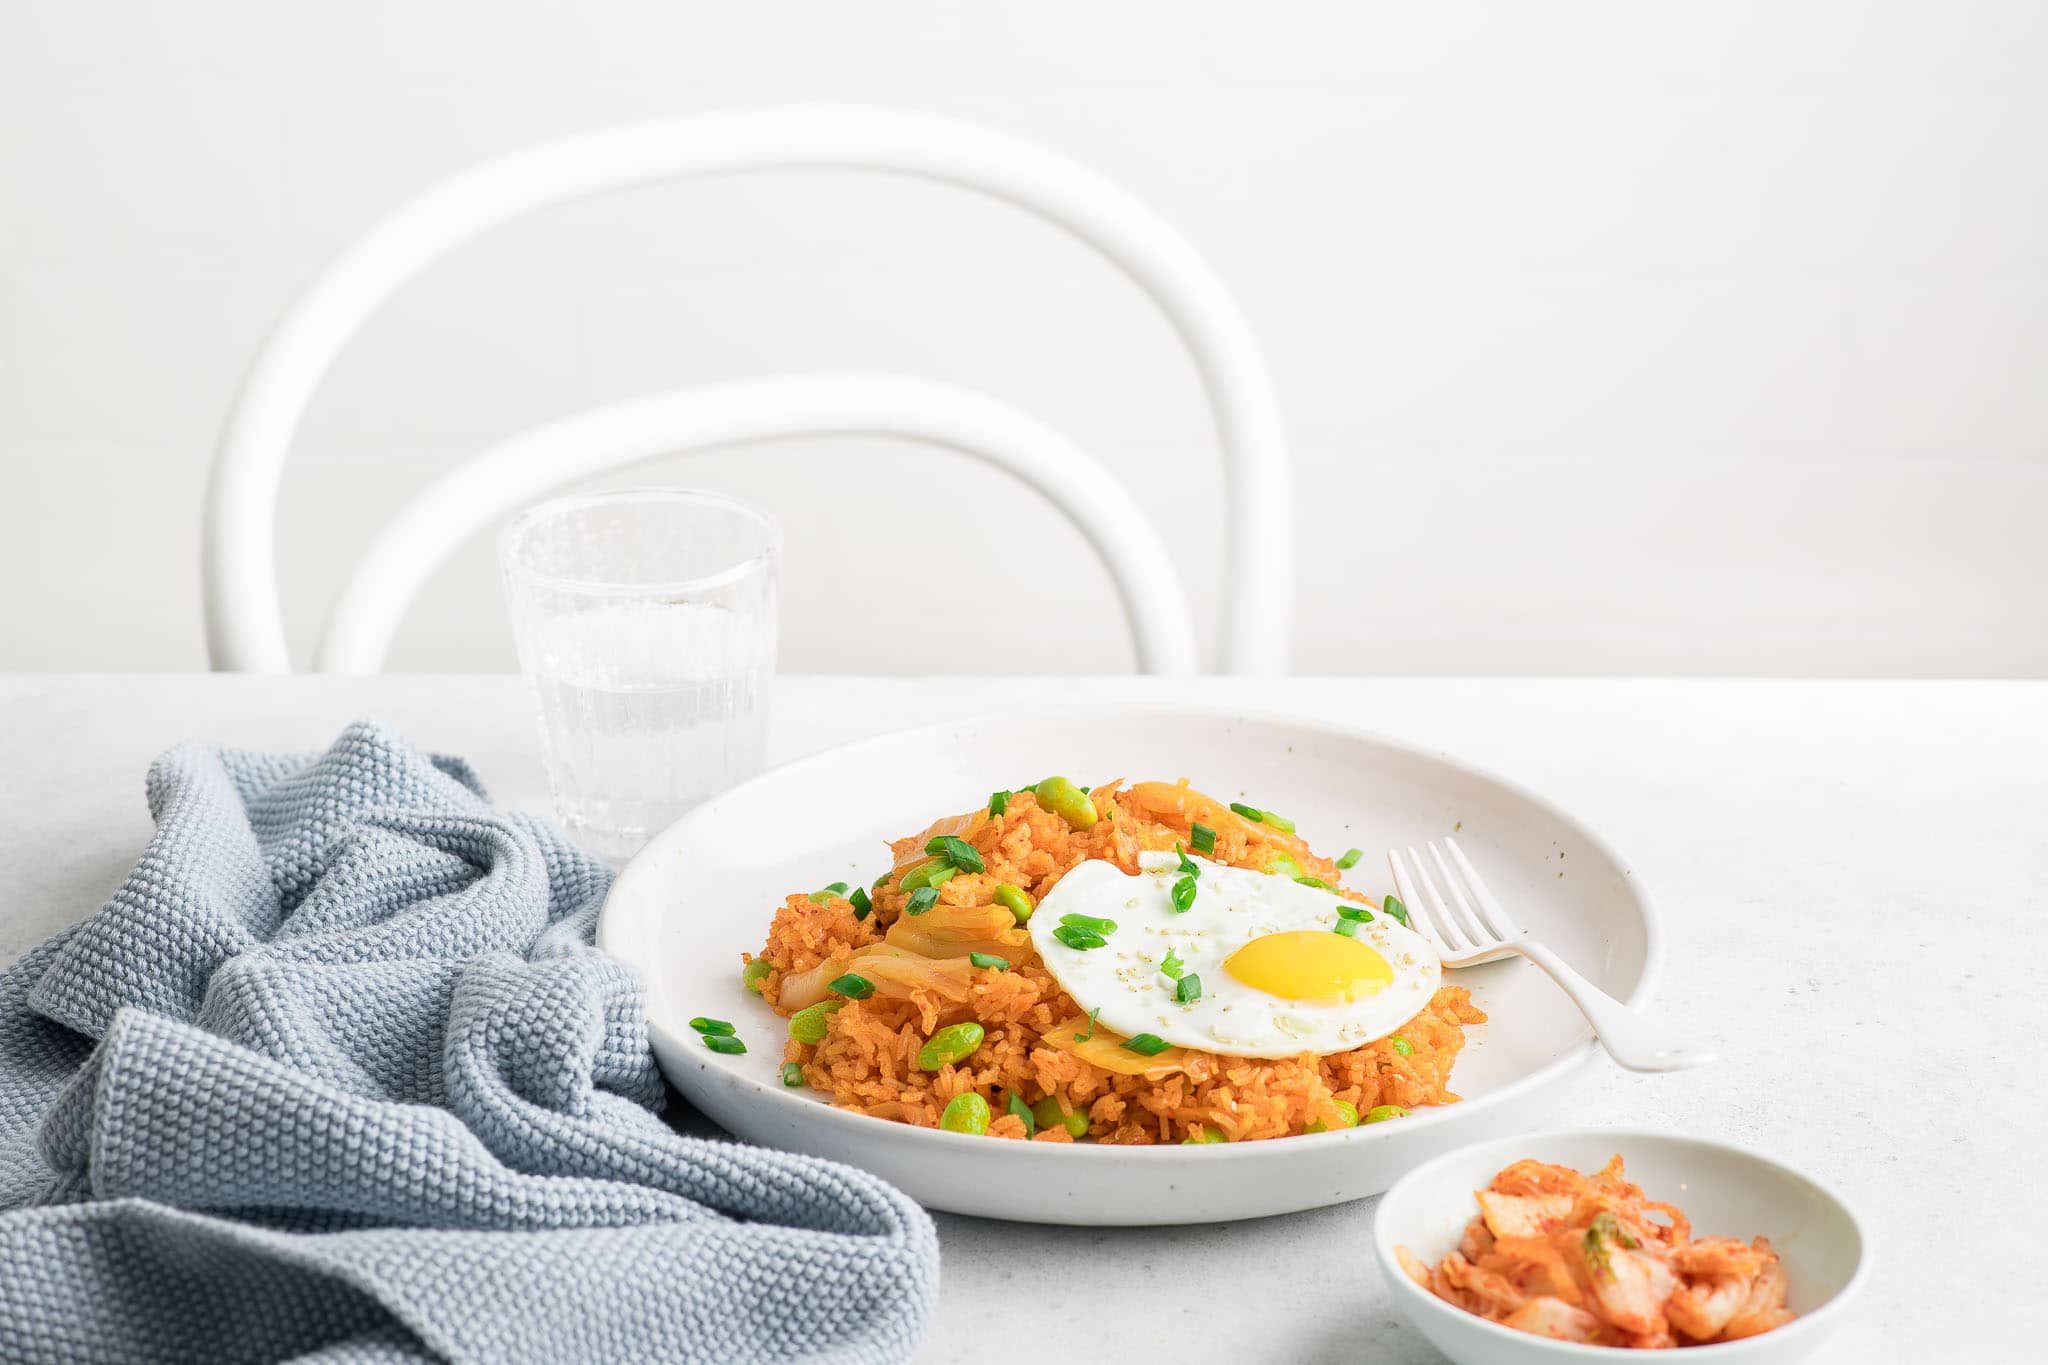
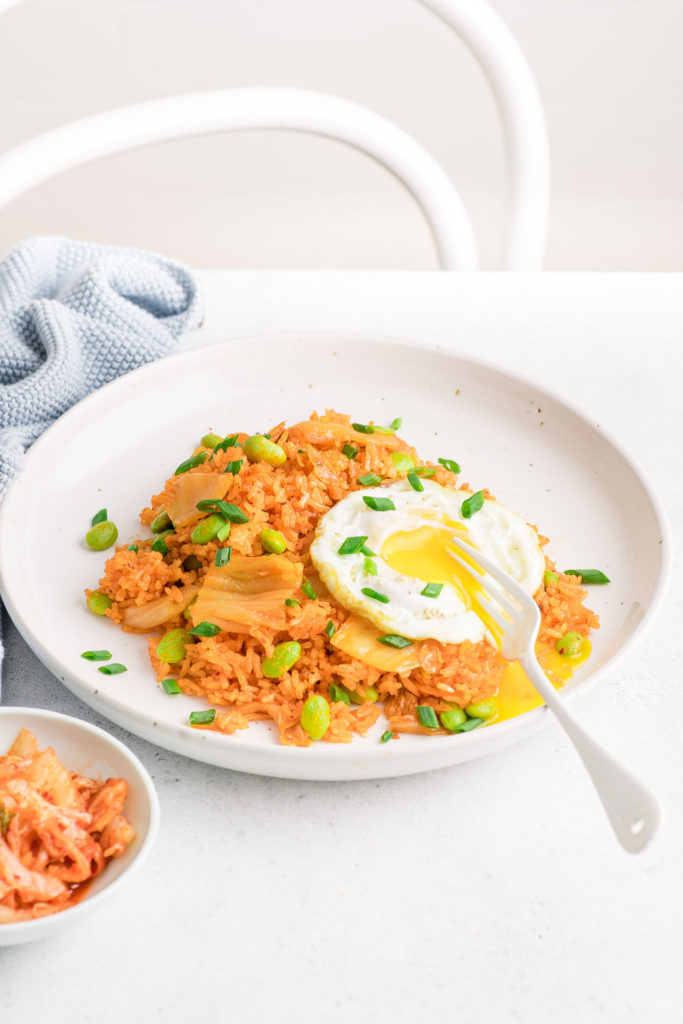
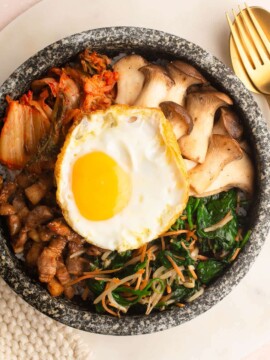
Kimchi Fried Rice
As an Asian, I always have leftover cooked rice in the fridge. As my children often come home for lunch during the school day, I find that having leftover rice to hand means that I can quickly whip up something warm for lunch with a myriad of other leftover and/or pantry ingredients.
And when I am not making my usual fried rice, aka fridge-raid-fried-rice, kimchi fried rice is one of my go-to recipes.
If you have kimchi in the fridge, the world is your oyster! Well, not quite, but from this one ingredient, you can make so many tasty dishes!
Why This Recipe Works
- To make Kimchi Fried Rice, you need just kimchi, rice and spicy sauce. But a few extra ingredients will make this simple dish taste fabulous!
- Make this dish in less than 20 minutes!
- Kimchi is good for your gut health, plus it is delicious!
What is Kimchi?
Kimchi is fermented cabbage with a mix of spices and seasonings, including, garlic, ginger and chillies.
Some kimchi recipes also include carrots and/or radishes. There are, in fact, many variations of kimchi, including many different spice levels of kimchi. So you may have to shop around until you find a brand which you and your family enjoy.
My favourite kimchi is from the Korean grocer and it packs a punch! But it happens to be too spicy for my family, so for them, I buy the kimchi sold at the Swiss supermarkets which is “Swiss spicy” (foreigners living in Switzerland will know what that term means ;-)).
How to Make Kimchi Fried Rice
The best thing about Kimchi Fried Rice is that you need just a handful of ingredients in order to make this tasty dish. At a minimum, you will need:
- cooked rice, preferably cold and leftover
- kimchi, either homemade or store-bought
- gochujang (Korean chilli paste) or Sriracha chilli sauce
The other ingredients are optional, and I have even listed in the recipe below, several variations to Kimchi Fried Rice which you can try.
Using Leftover Rice
For any fried rice dish, it is usually best to use leftover cooked rice because it tends to have a drier texture, which means that the cooked rice grains will separate easily upon frying, and which makes for a good fried rice.
How to Make Rice for Fried Rice
Freshly steamed rice is generally too soft and sticky to turn into a fried rice. But that has never stopped me from making freshly steamed rice just for a fried rice!
What I often do is reduce the water slightly to produce rice which is more “al dente” in texture. The rice will then cook further once you turn it into a fried rice. It is perhaps not as good as using leftover cooked rice, but it’s a pretty good compromise in my book.

Kimchi Fried Rice
Ingredients
For the Kimchi Fried Rice
- 1-2 tablespoons vegetable oil
- 1 cup kimchi, chopped if you prefer small pieces
- 2-3 spring onions, (scallions) finely sliced, or substitute with a shallot or small onion
- 2-3 cups leftover cooked rice
- 1-2 tablespoons gochujang, Korean chilli paste, or to taste
- 1 tablespoon soy sauce
- 1 cup edamame beans, fresh or frozen
To Serve
- fried egg, at least 1 per person
Instructions
- Heat the oil in a large wok or non-stick frying pan over high heat.
- Add the kimchi and fry until the kimchi is slighty charred. If your kimchi has a lot of liquid, you might want to squeeze the kimchi to remove the liquid (but reserve the liquid to add back to the dish later), but I find this to be a messy task, so I skip it completely.
- Add the white part of the spring onions (scallions) – reserve the green part for garnish later.
- Add the rice, gochujang and soy sauce.
- Give everything a good mix until well-combined.
- Taste for seasoning. Add more gochujang if you want things more spicy, or more soy sauce (or a pinch of salt) for more saltiness.
- Add the edamame beans. If they are frozen, stir everything together for a few minutes until the edamame beans are warmed through.
- Serve with the green spring onions (scallions) to garnish, together with a fried egg for each person.
Kitchen Notes
- ADD TOFU
* I often like to add firm tofu pieces, cut into 2 cm (1 inch) pieces, which I will crisp up at the beginning of cooking by lightly frying in some oil in the wok.
* This Kimchi Fried Rice is also delicious with silken tofu mixed into the rice. The silken tofu will break up in the dish, and you may not really taste it, but it is a great way of adding protein. - ADD BACON
For a nice savoury hit, fry some chopped bacon in some oil at the beginning, and before adding the kimchi. - ADD CHICKEN
You can also fry some diced chicken breast in some oil at the beginning, before adding the kimchi. - FRIED EGG
How you cook the fried egg is up to you, but what is important is that the yolk remains runny. I like to cook my fried eggs the Asian way, i.e. with lots of oil and on high heat, so that the bottom of the egg and the edges become crispy. - OVEN & STOVE TEMPERATURES
All recipes on this website have been tested on an induction stove and/or with a conventional oven (i.e. an oven without fan). All recipes on this website use temperatures for a conventional oven, unless otherwise mentioned. Convection ovens (i.e. fan-forced ovens) are typically 20°C/70°F hotter than conventional ovens, but please check your manufacturer’s handbook. - CONVERSIONS
To convert from cups to grams, and vice-versa, please see this handy Conversion Chart for Basic Ingredients.

Nice recipe! I made it with chicken and it was delicious. Very simple and quick.
This was very easy and delicious!
This recipe was so quick and easy, and the flavors were just spot on. I will be making this regularly!
Great easy recipe!
I have lost count of how often I have made this recipe. It’s a firm family favorite! So easy and delicious.
Wow!!! So easy and quick AND SO YUMMY THANK YOU.
Hi Stuart,
Thank you! So glad you enjoyed this recipe ????
So simple and delicious! Definitely making this again soon 🙂
Hi Nina,
So glad you enjoyed this recipe! I always have kimchi in the fridge and this recipe is one of my favourite ways to use up leftovers.
This was really easy to make and so tasty. 10/10
Hi Luis,
So glad you liked this recipe!