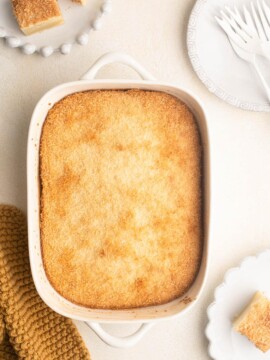
Homemade Mochi
If you grew up in an Asian household, chances are that you ate mochi as a dessert. Many Asian desserts are a textural affair, and the soft chewiness of mochi is a texture unique to Asian cuisine. I’m rather surprised that mochi has become so widely popular these days, among both Asian and western consumers alike. Perhaps it has something to do with the rise in popularity of Bubble Tea, but had you told me when I was a child that mochi would become a worldwide sensation one day, I would not have believed you.
What is Mochi?
Mochi is the Japanese name for a dumpling-sized rice cake made from glutinous rice flour. It has a soft, chewy and bouncy texture, and, as it is quite plain on its own, mochi is often paired with other flavourings.
Other Asian countries have a very similar dessert in their cuisine, albeit with different flavourings, but the Japanese term “mochi” has been applied to those desserts too by many westerners. Before “mochi” became a popular term, these desserts were commonly called “glutinous rice balls” which doesn’t quite have the same appeal 😅

Vietnamese Mochi
I grew up in a Vietnamese household and my mother always made “Vietnamese mochi”, which are glutinous rice balls filled with mung beans and served in a sweet ginger syrup. This dessert is typically served at Lunar New Year and at large family celebrations.
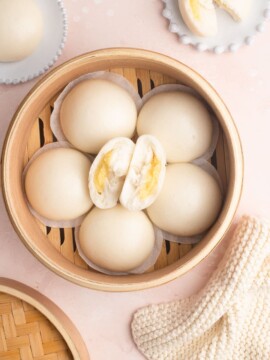
Another popular Vietnamese-style mochi are glutinous rice balls with a sweet peanut filling, and coated in coconut. This combination is also popular in China and Taiwan. Below, I have included my quick and easy version where, instead of filling the mochi with a sweet peanut filling, I instead make an inside-out version and coat the mochi with the sweet peanut mixture instead. It’s addictive!
Japanese Mochi
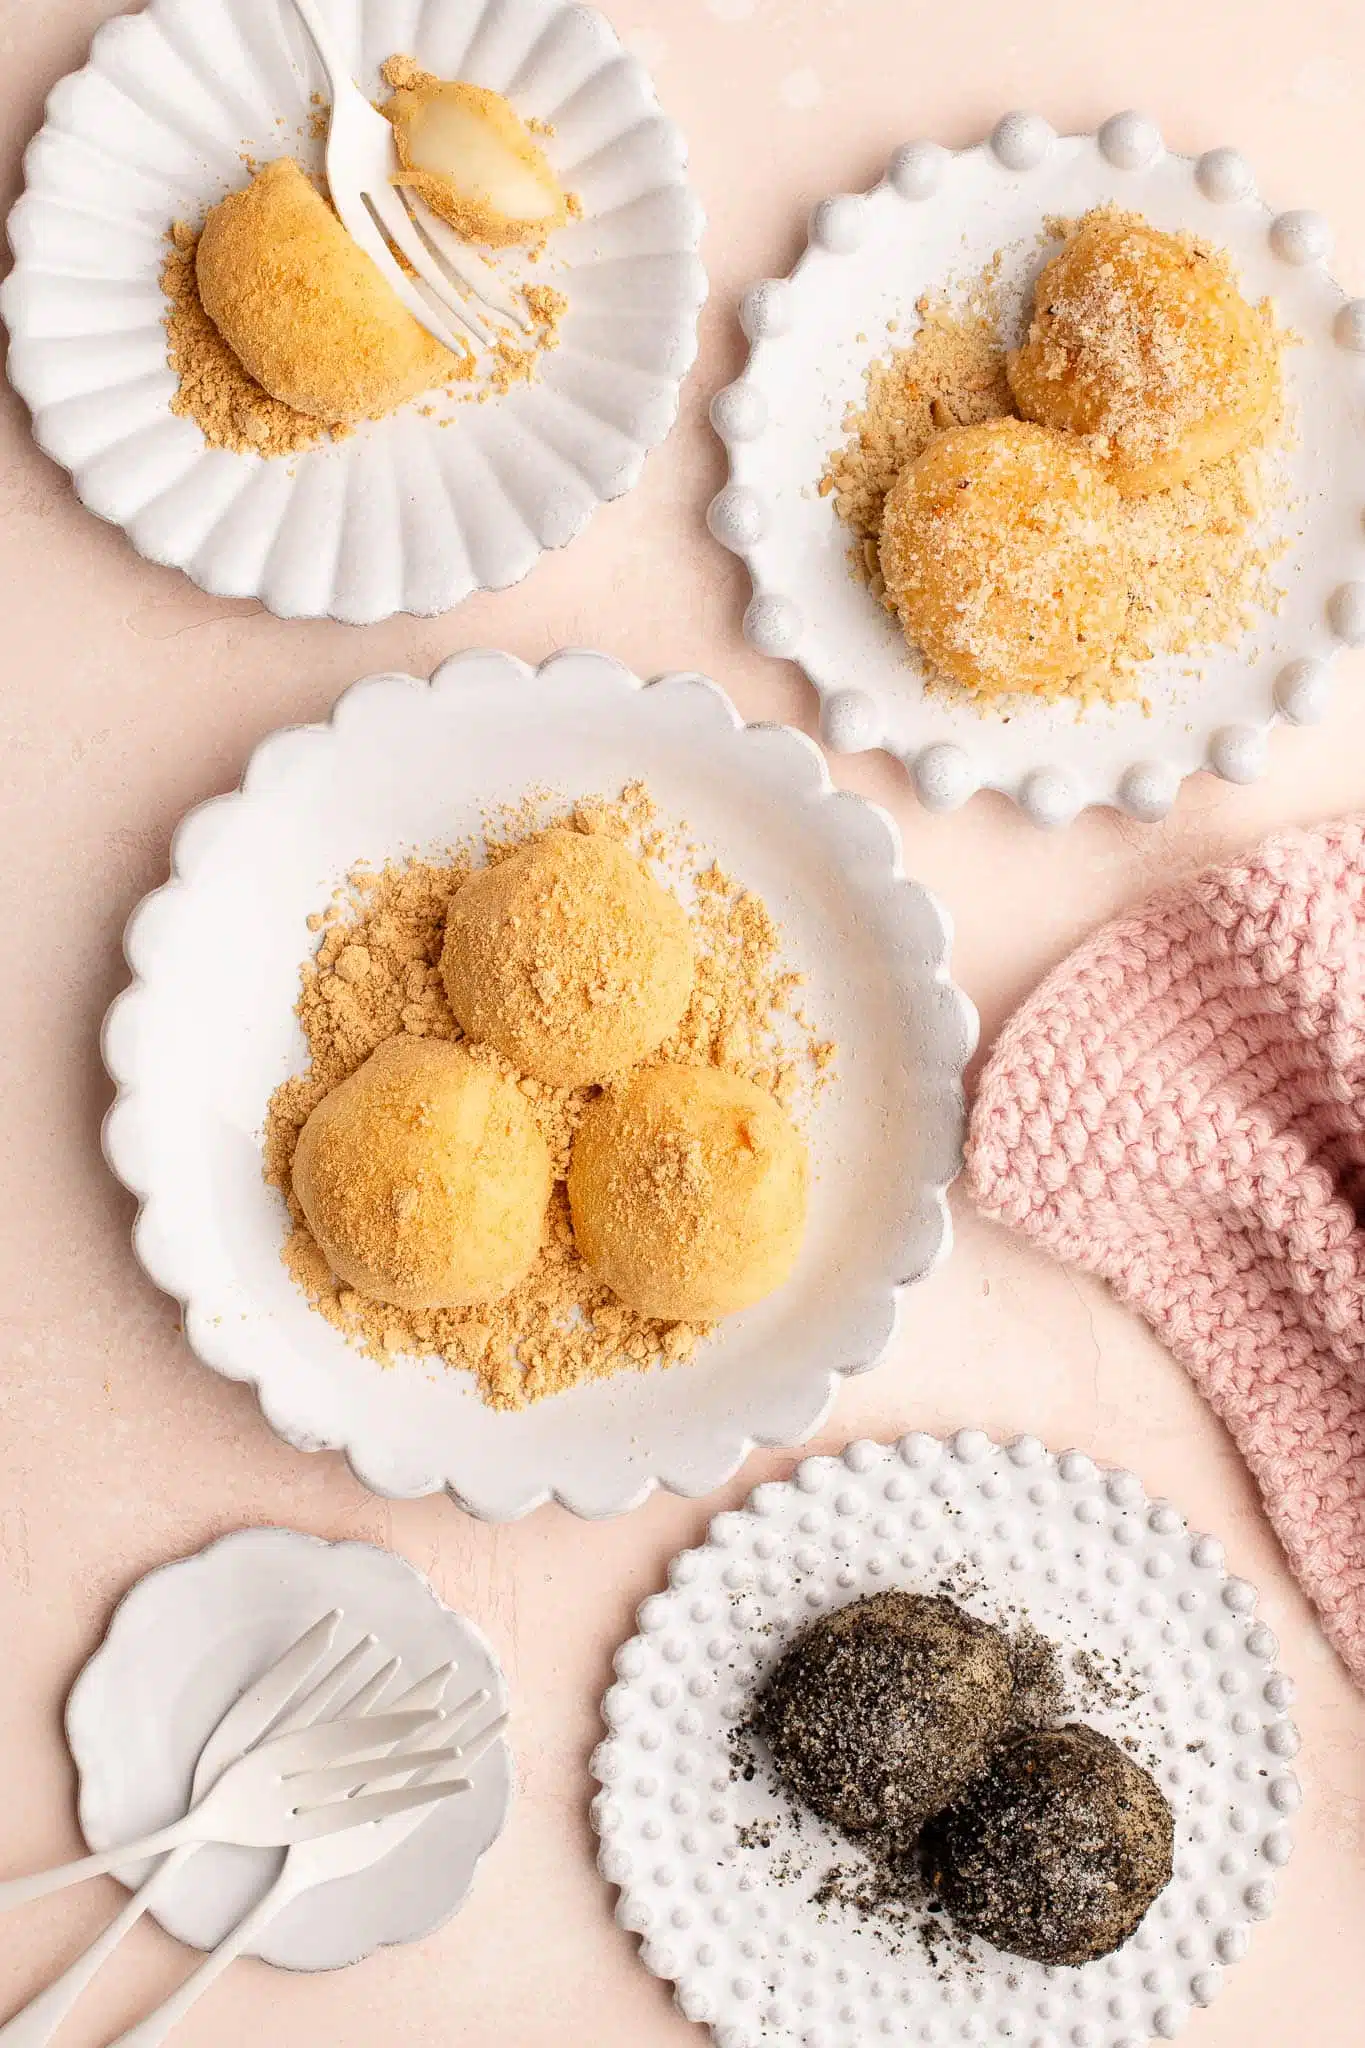
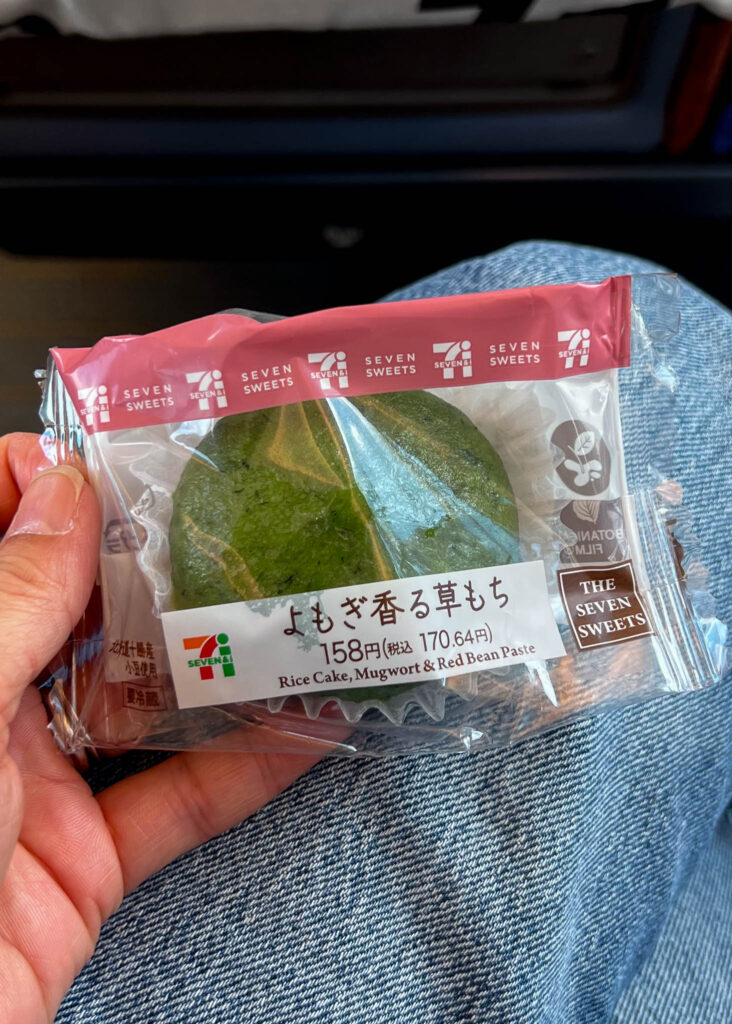
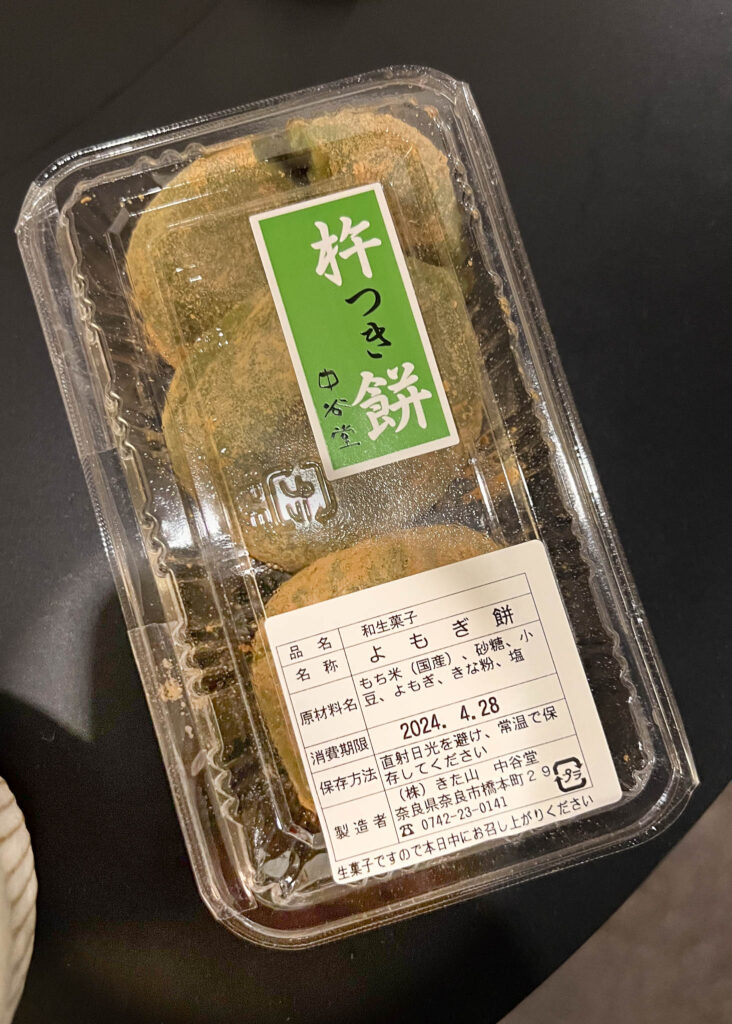
One style of mochi which I tried in Nara, Japan, was a very soft-set mugwort mochi filled with red beans and dusted in roasted soybean powder (kinako). It was one of the most delicious things I had eaten in Japan! I loved it because it was not overly sweet, and I love the toasted nuttiness of the soybean powder.
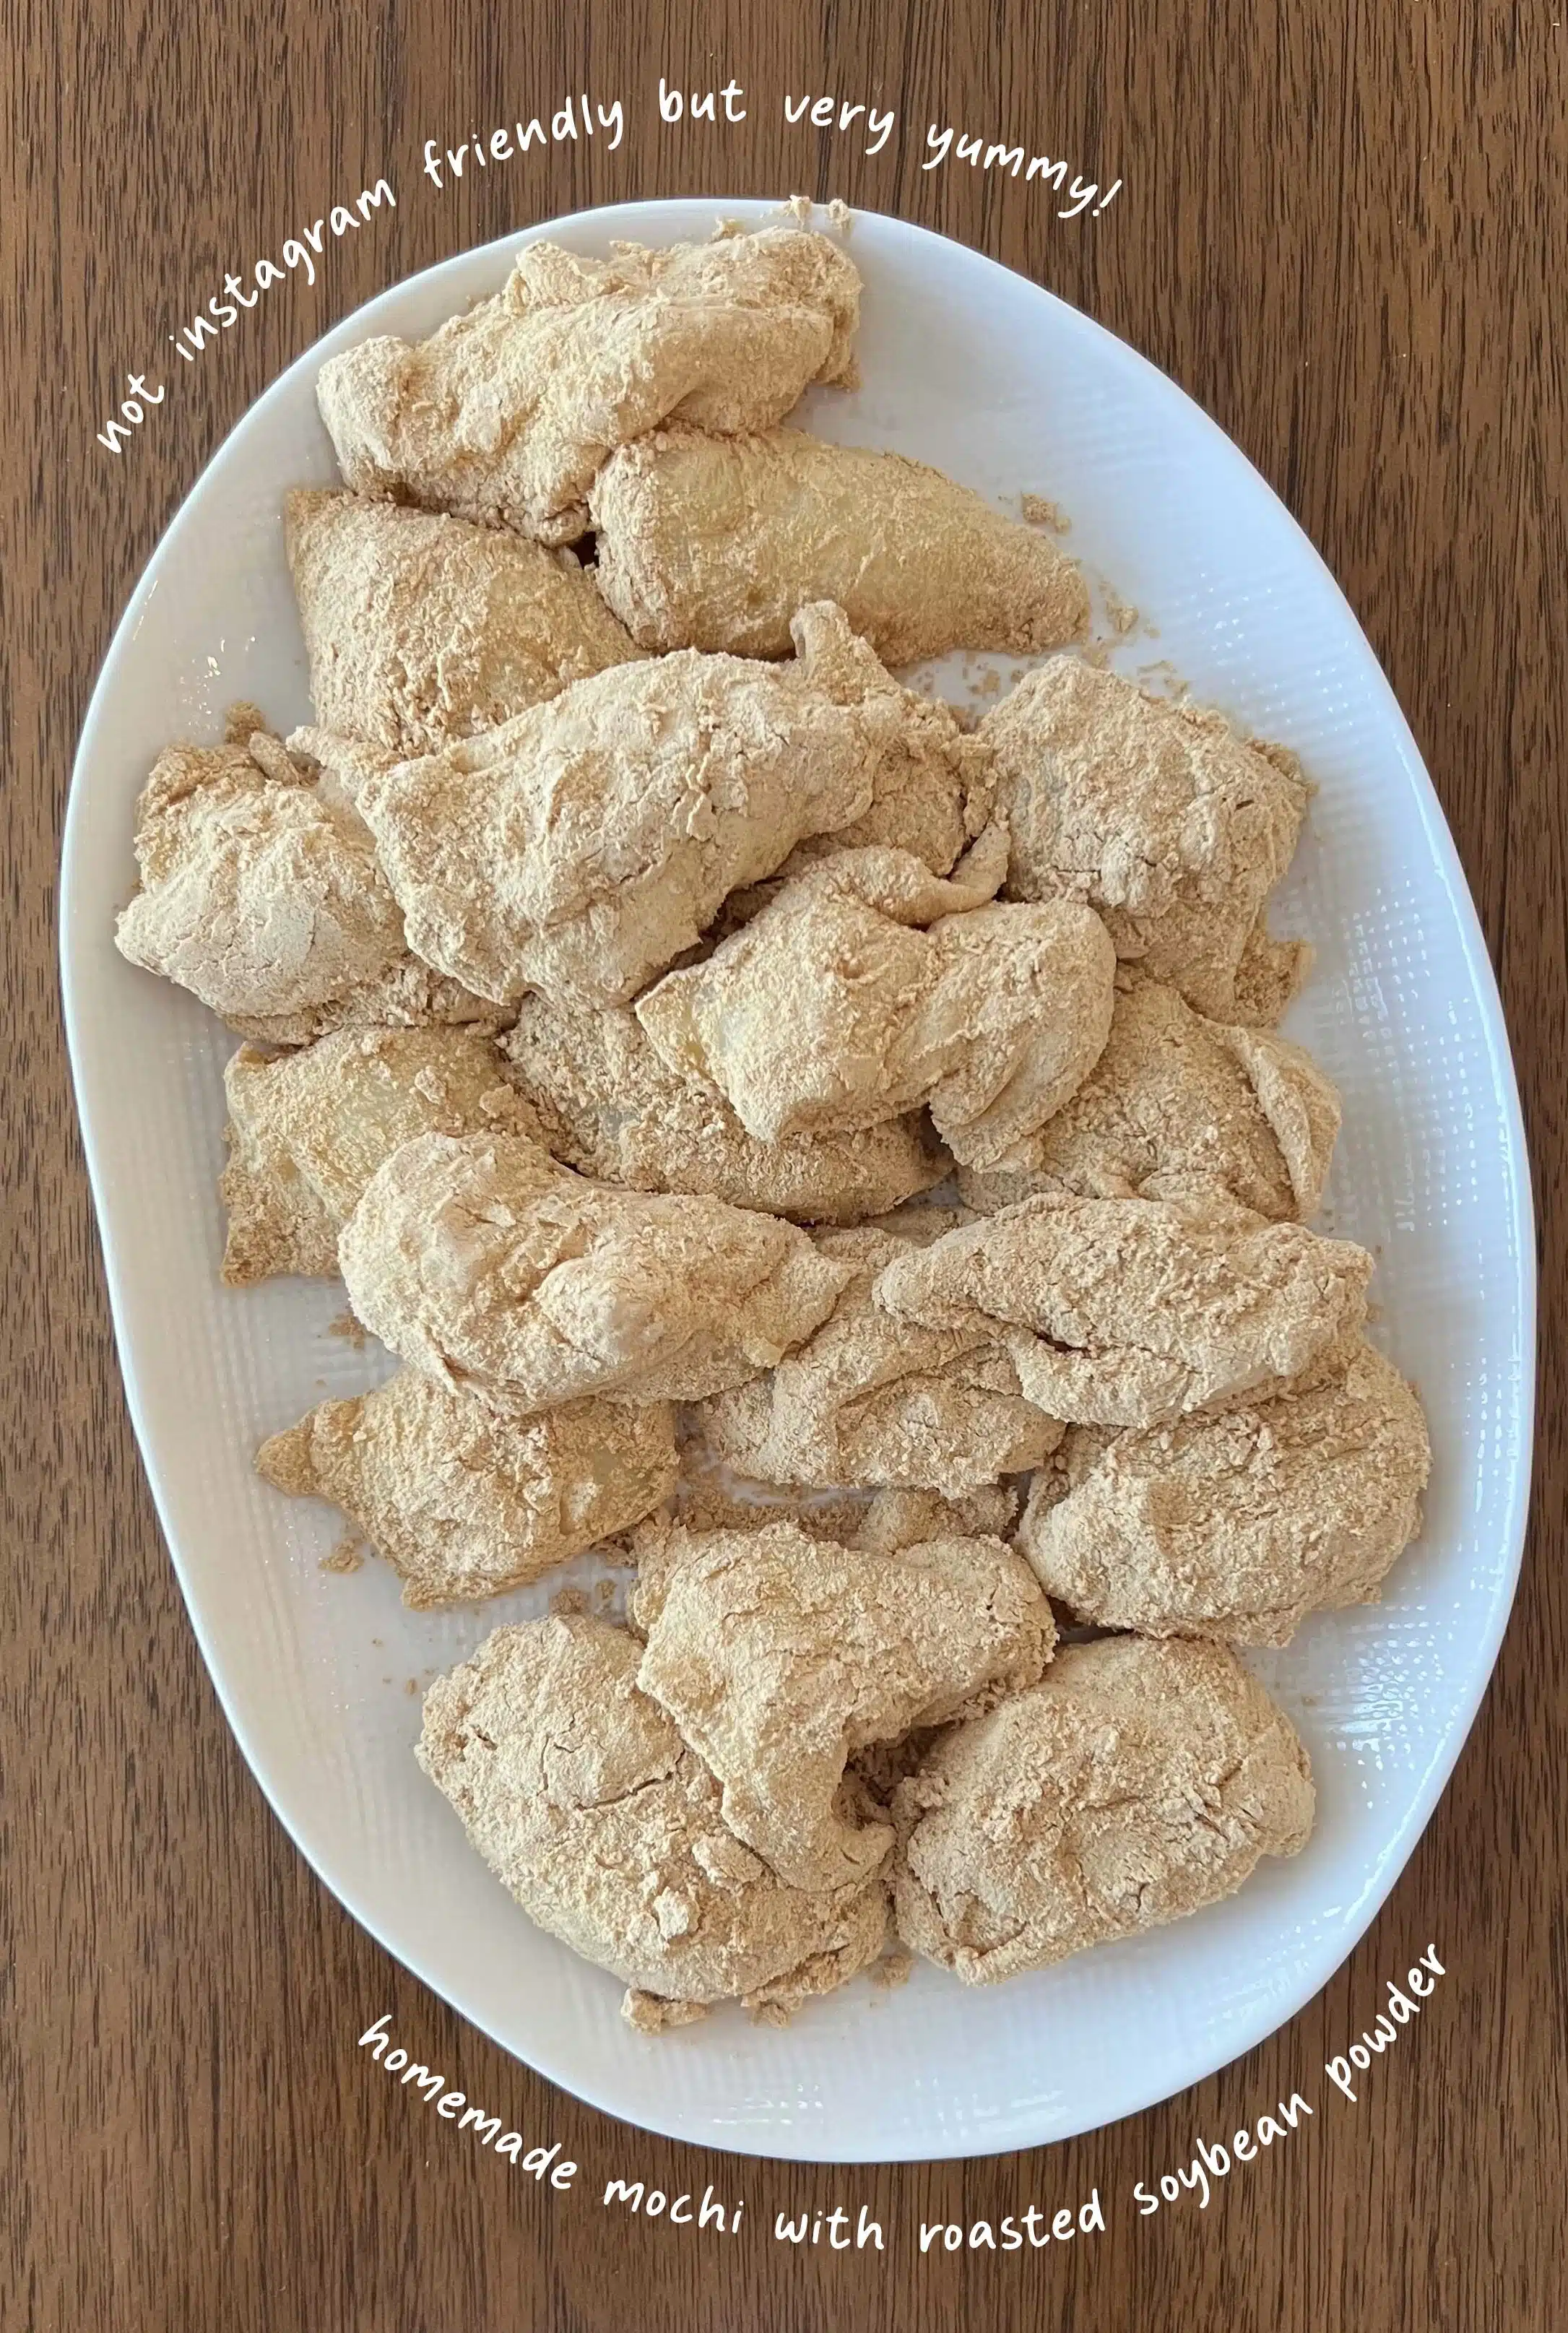
I also got to try a much simpler version, called Kinako Mochi, where plain mochi is coated with roasted soybean powder. It was one of the first things I tried to recreate when I got home!

Mochi Recipe
The following mochi recipe is largely inspired by the Japanese-style mochi, where the glutinous rice balls are shaped simply and sprinkled with a variety of flavourings. I find this style of homemade mochi much easier and quicker to make than those which contain a filling.
This mochi recipe also produces very soft and tender mochi balls; a fork should cut through the mochi like a sharp knife. This type of soft mochi is very pleasant to eat because, although it is still nicely chewy, it almost melts in your mouth. They also feel lighter to eat, so you can eat more 😊
Generally speaking, the softer the mochi, the stickier the dough. But I have some tips below for handling the mochi dough, and the more often you make this mochi recipe, the easier it will get 😊
Dairy-Free Mochi Recipe
My mochi recipe uses milk and butter, two ingredients which are not commonly used in Asian cuisine.
You can, of course, substitute the milk for simply water, and omit the butter entirely to make dairy-free mochi.
If you don’t have any dietary restrictions, I highly recommend making homemade mochi with milk because, having experimented with many recipes, I find the mochi made with milk (as well as butter added towards the end), creates a softer, creamier texture, and with a nicer flavour.
What Flour to Use to For Mochi
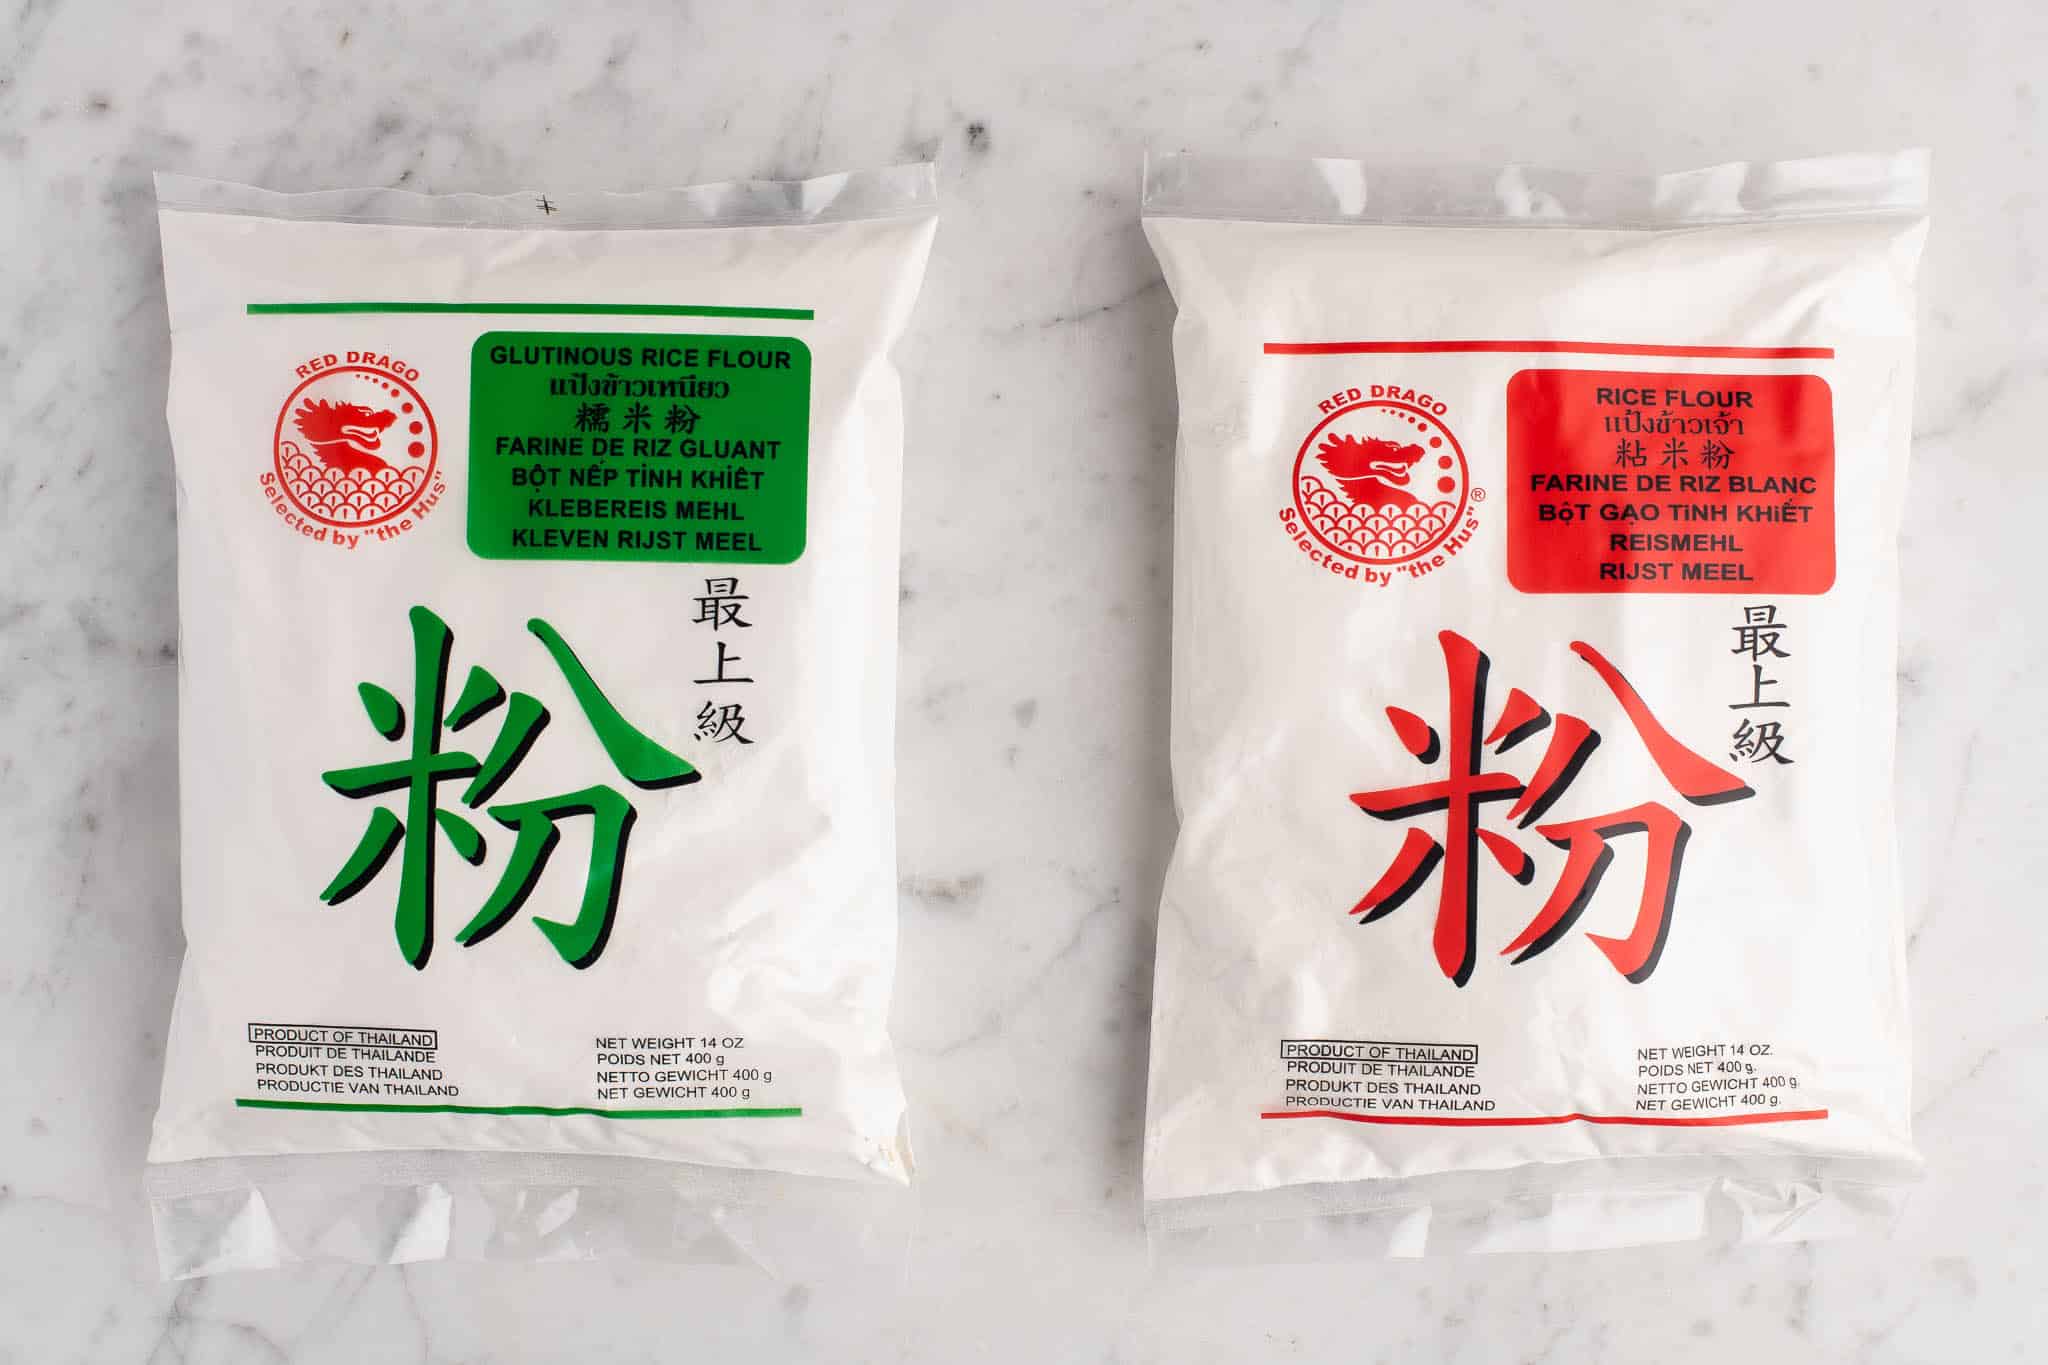
Mochi is made with glutinous rice flour, which is also called sweet rice flour in the US.
I highly recommend that you buy the variety sold at most Asian grocers, as they are very finely milled compared to the versions sold in western supermarkets. Glutinous rice flour is typically sold alongside other types of flour and starches used in Asian cooking, so make sure you read the packaging carefully.
One trick I have learnt is that glutinous rice flour is often sold with green packaging (glutinous = green), whereas rice flour is often sold with red packaging (rice = red). But that might not always be the case, so please always check first.
Japanese grocers also sell glutinous rice flour called mochiko, and which is made from short grain rice. It costs double or triple the price of other types of glutinous rice flour (which are made from long grain rice), and having made mochi many times using both types of glutinous rice flour, I have not noticed any discernible difference.
How to Make Mochi
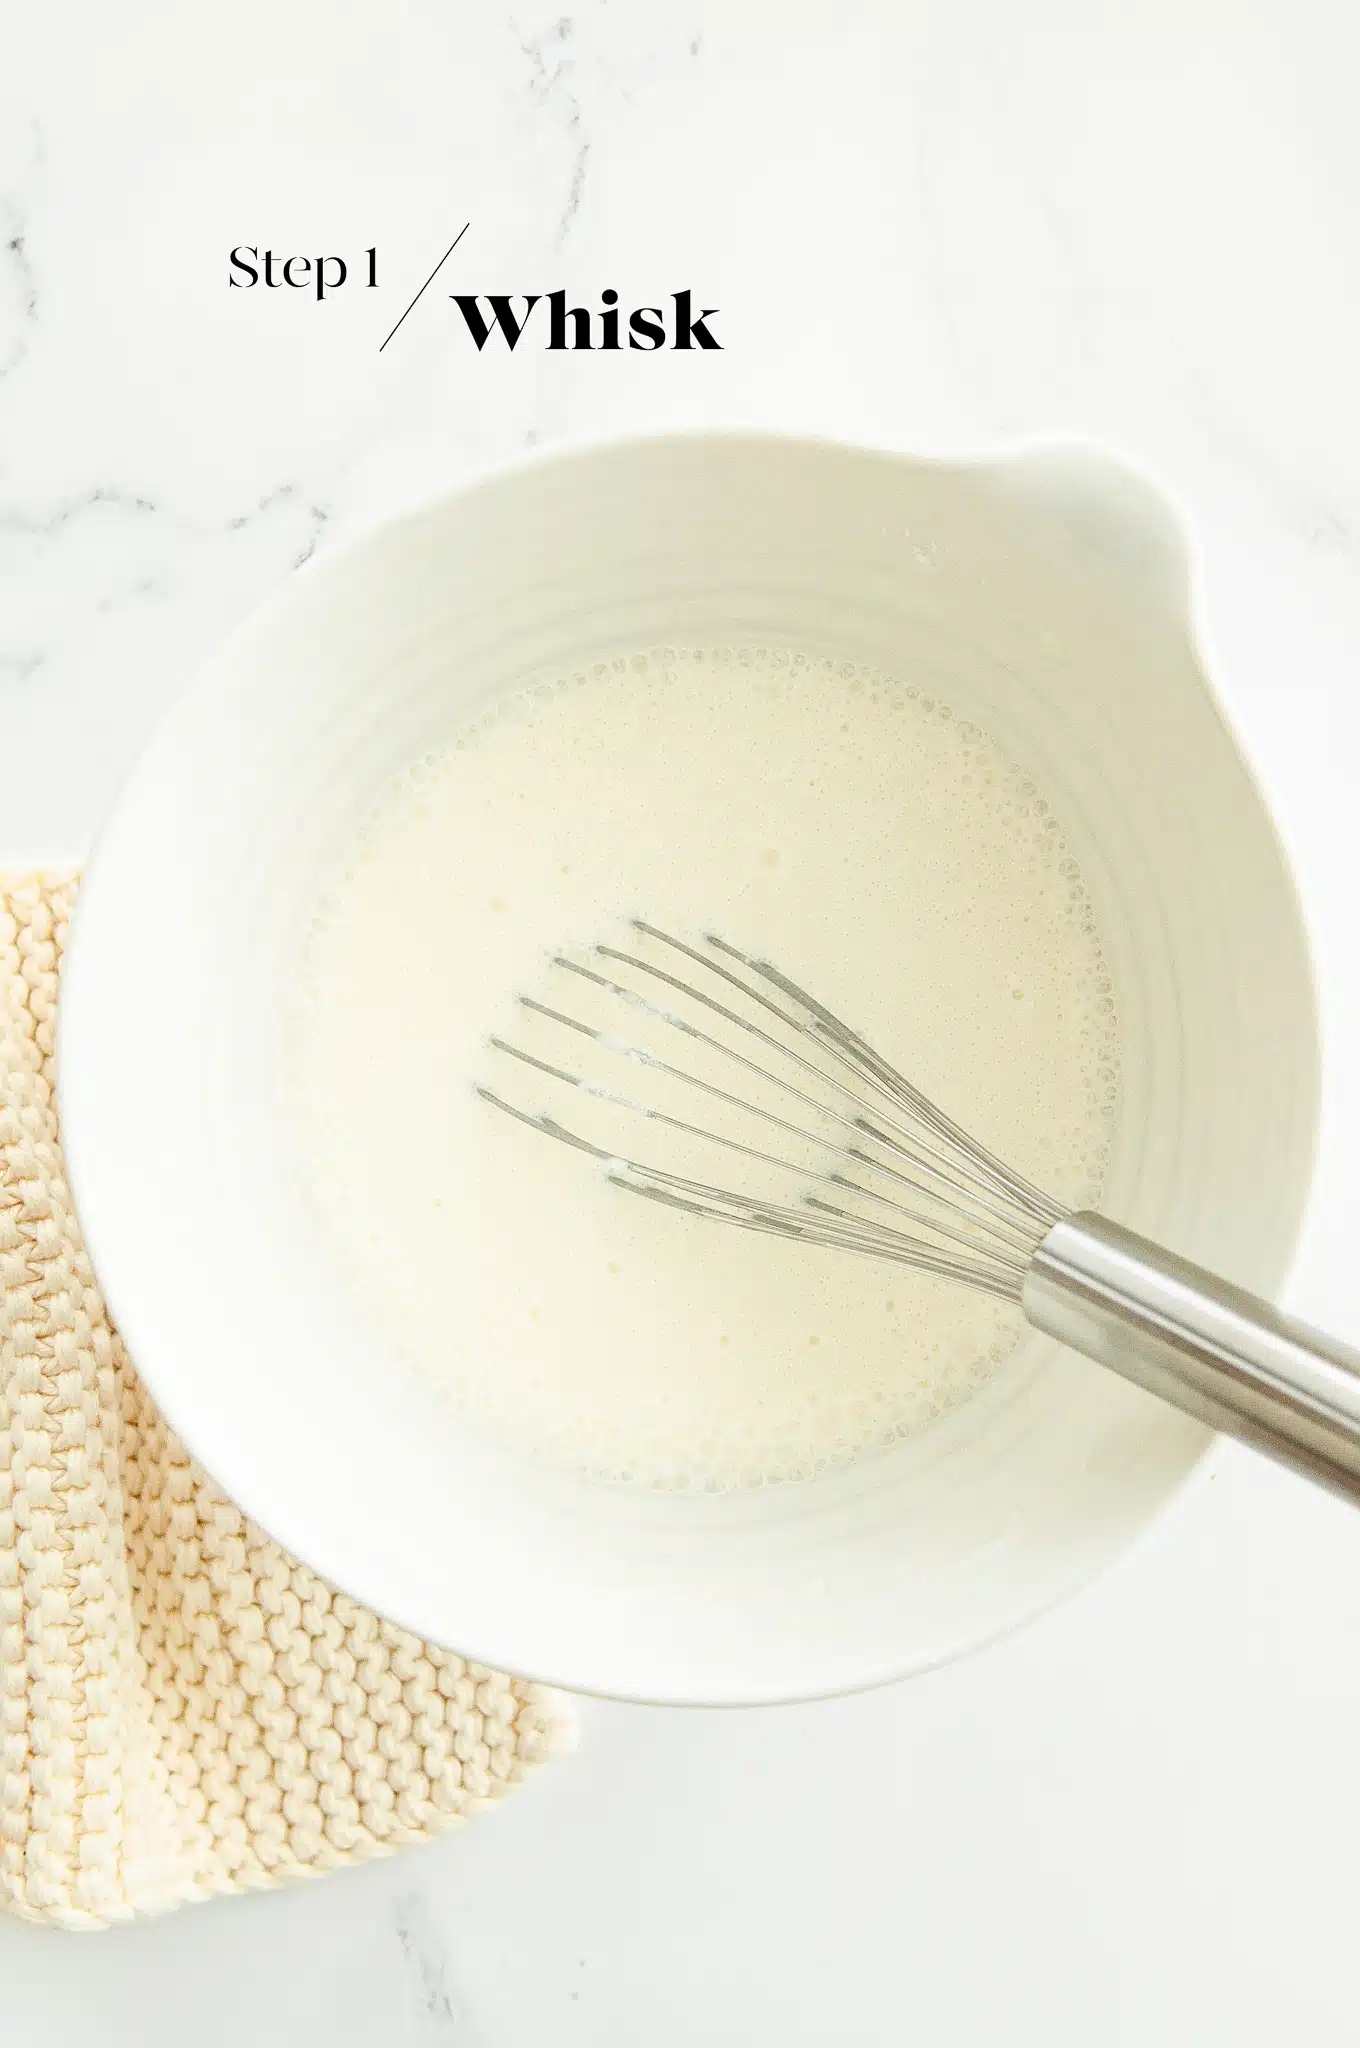
Step 1
Place all of the dry ingredients together in a large bowl. Add the milk, and whisk until you have a smooth batter.
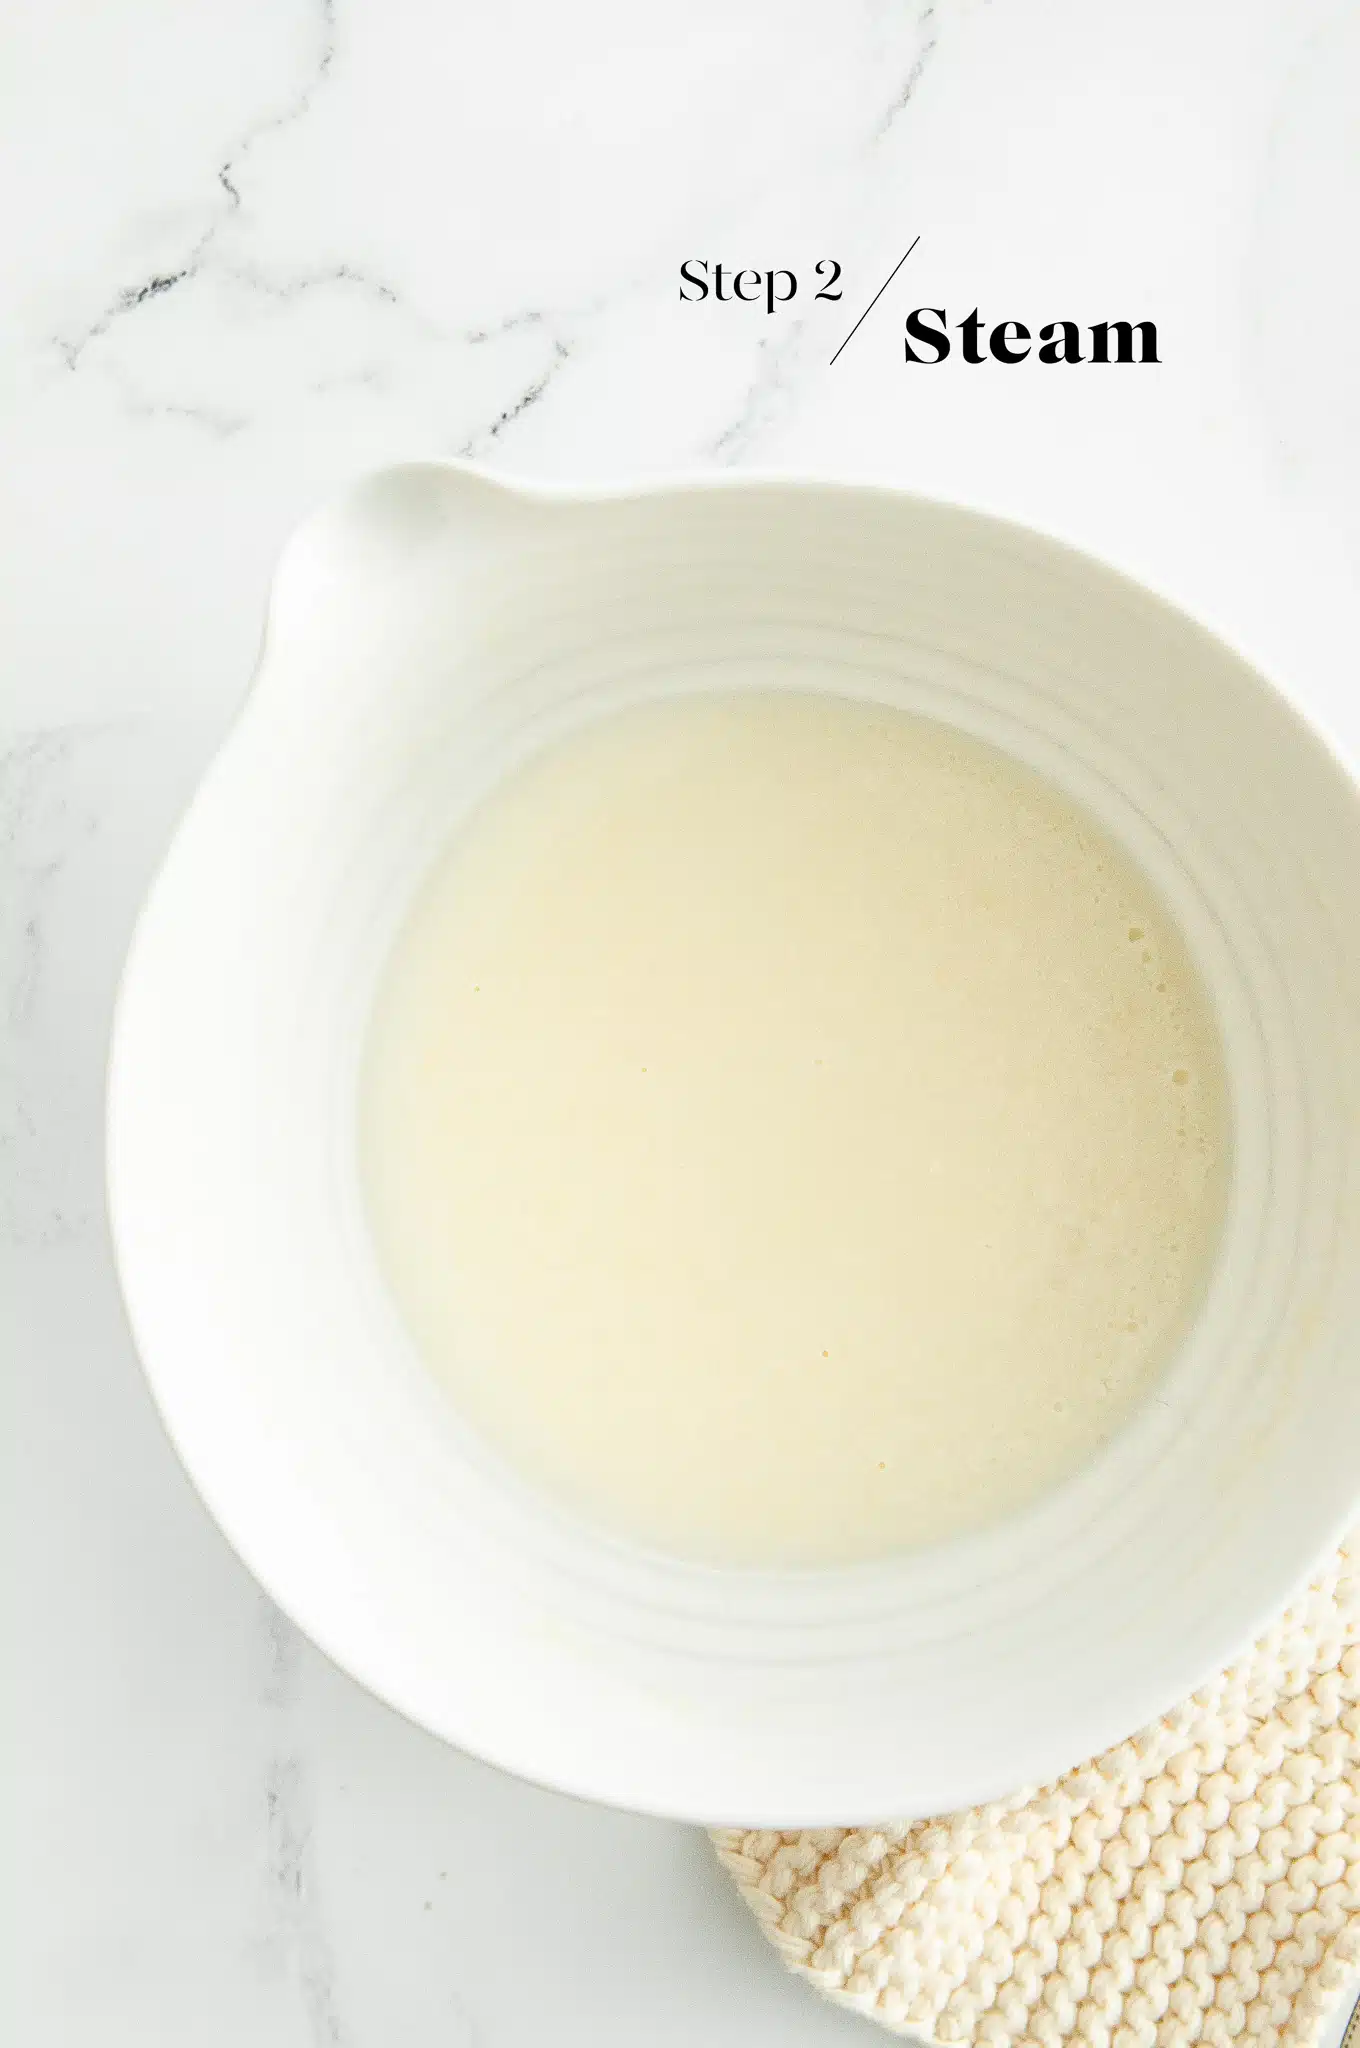
Step 2
Steam the batter for about 20 minutes on high heat. I have a steam oven, so I can place the whole mixing bowl into my steamer. If you don’t have a steam oven, carefully transfer the batter to a bowl large enough to fit into your stovetop steamer.
You can also microwave the batter. Cover the bowl with a sheet of plastic wrap, and poke a few holes to let the steam escape. Microwave on high power for about 3 minutes, stir with a wooden spoon, and then microwave for another 3 minutes until the batter is cooked through.
Once the mochi dough is cooked, it should be transparent in colour, and both firm and bouncy to touch. Use a wooden spoon to mix the hot mochi dough. If, as you are mixing, you see any liquid, cook the mixture for a bit longer.
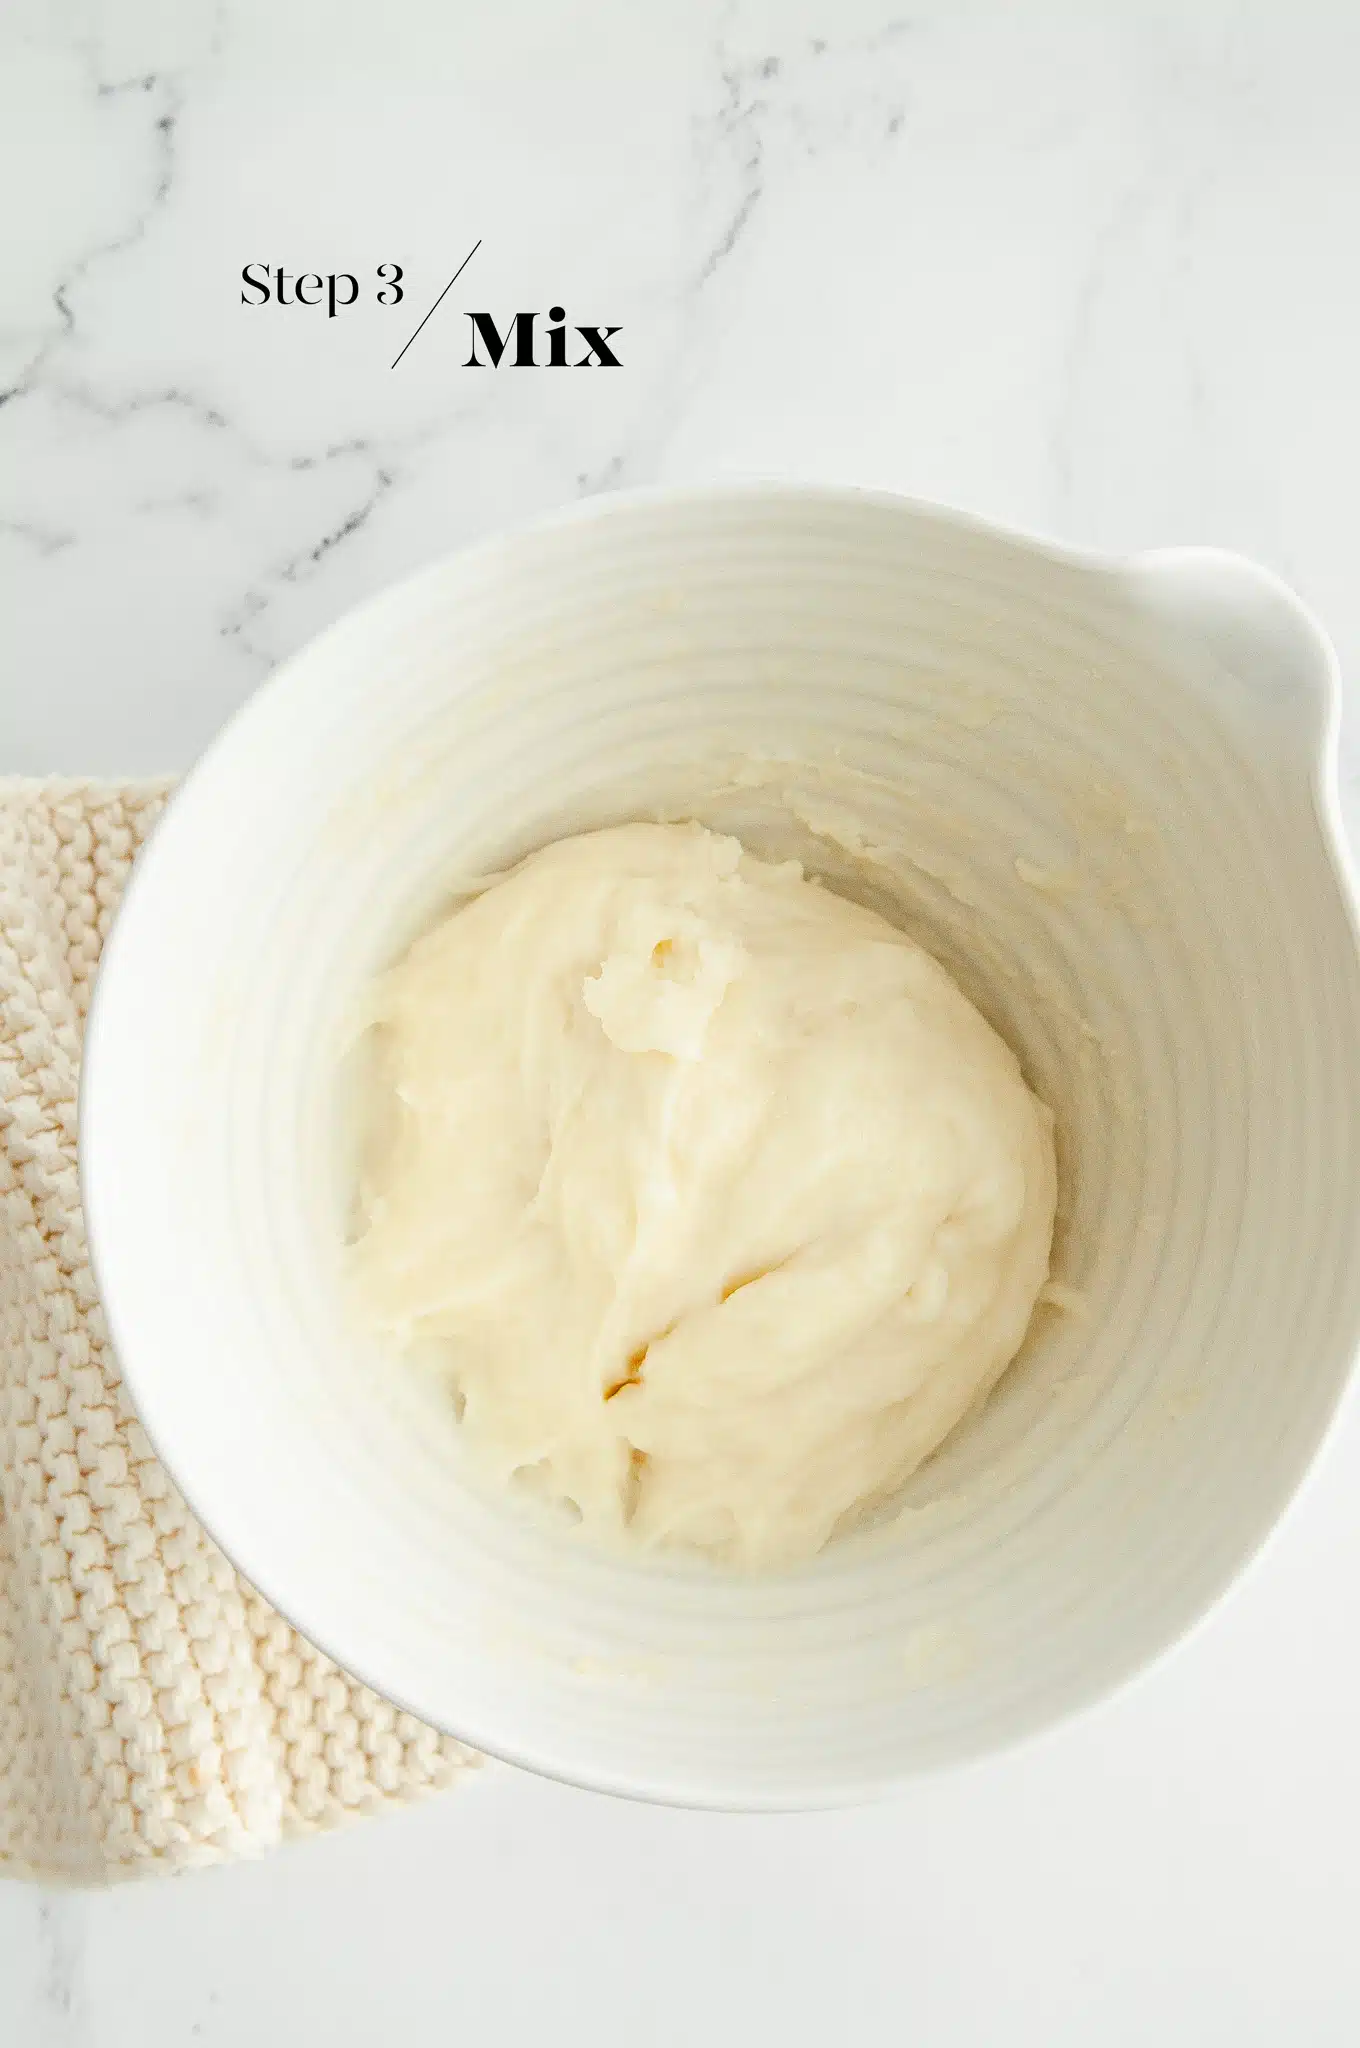
Step 3
While the mochi is still warm, beat in the butter with a wooden spoon until the butter is fully incorporated.
Once the mochi is cool enough to handle (but not cold), I recommend kneading the mochi with your hands until you have a smooth mochi dough. I also recommend wearing food-safe disposable gloves for this task.
Step 4
As the mixture is incredibly sticky, there are several ways that you can shape the mochi. Many recipes instruct you to dust the mochi dough in cornflour (cornstarch) or similar to minimise the stickiness. However, the downside is that the mochi takes on the starchy flavour, which I find to be unpleasant. I prefer to use one of the following methods:
- Use disposable gloves. This method is easiest for producing small round balls of mochi. Using a pair of food-safe disposable gloves, take a handful of dough, and then squeeze it between your thumb and forefinger, then pinch off the balls. Drop the mochi balls directly onto a large tray sprinkled with the flavourings of your choice.
- Use a large piping bag. Scrape the mochi dough into a large piping bag (I prefer to use disposable ones for this recipe), snip off the end to create a large opening, squeeze out small sections of mochi and cut them off with a pair of scissors which have been dipped in vegetable oil. Drop the cut mochi dough directly onto a large tray sprinkled with the flavourings of your choice. Lightly oil the scissors each time before cutting.
- Cut strips with a knife. This is the quickest and easiest method, but produces rough looking shapes. Scrape the mochi dough onto a sheet of baking paper, and use a large knife or dough cutter coated in vegetable oil to cut strips or pieces of mochi, and transfer them to a large tray sprinkled with the flavourings of your choice. Lightly oil the knife each time before cutting.
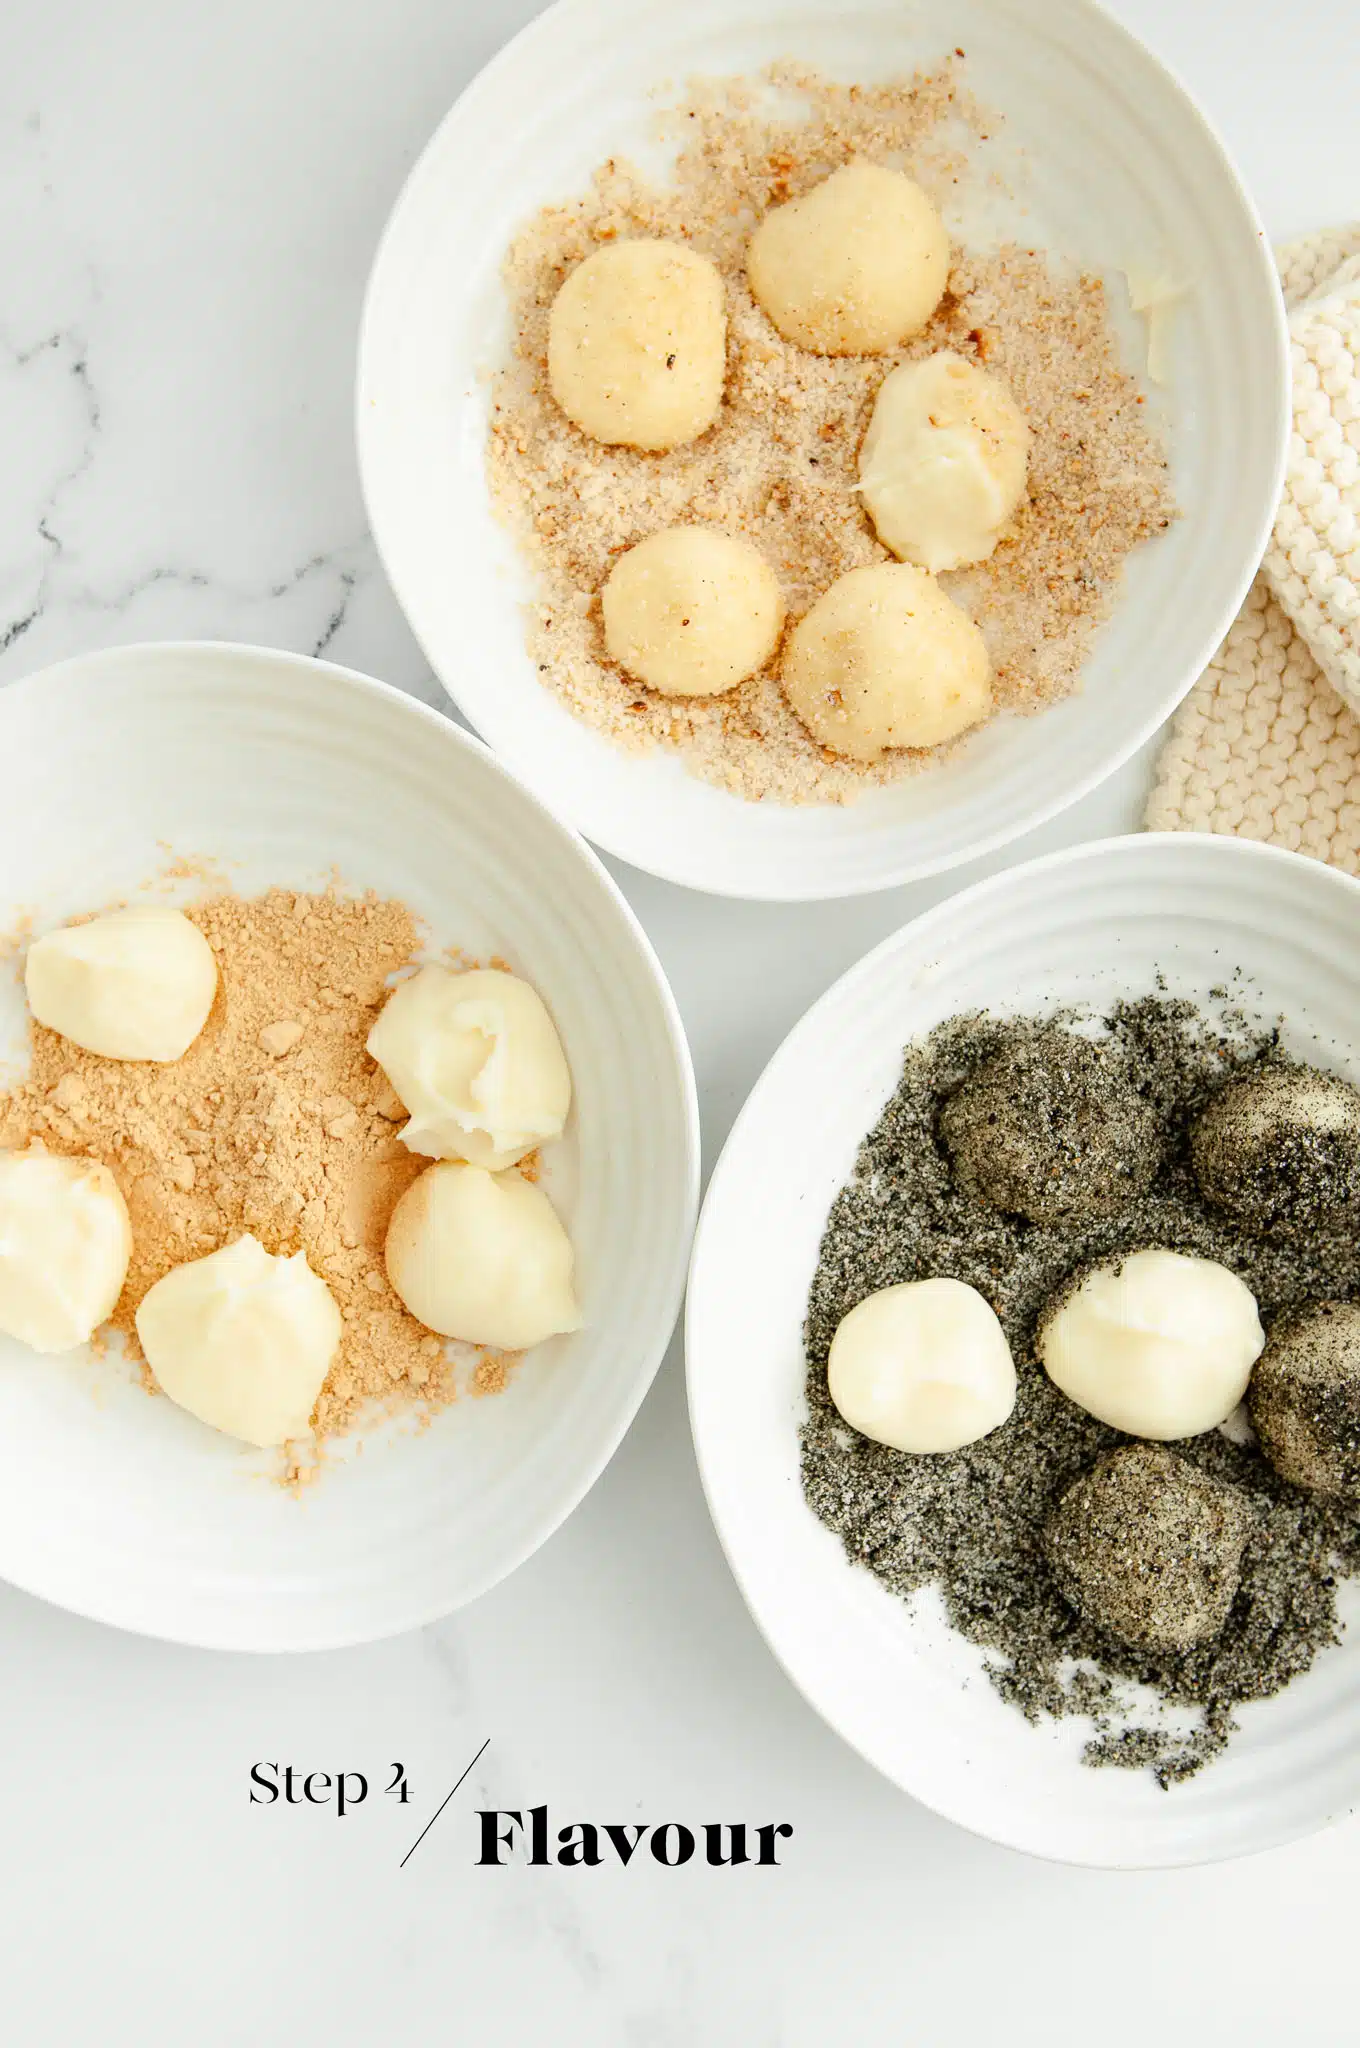
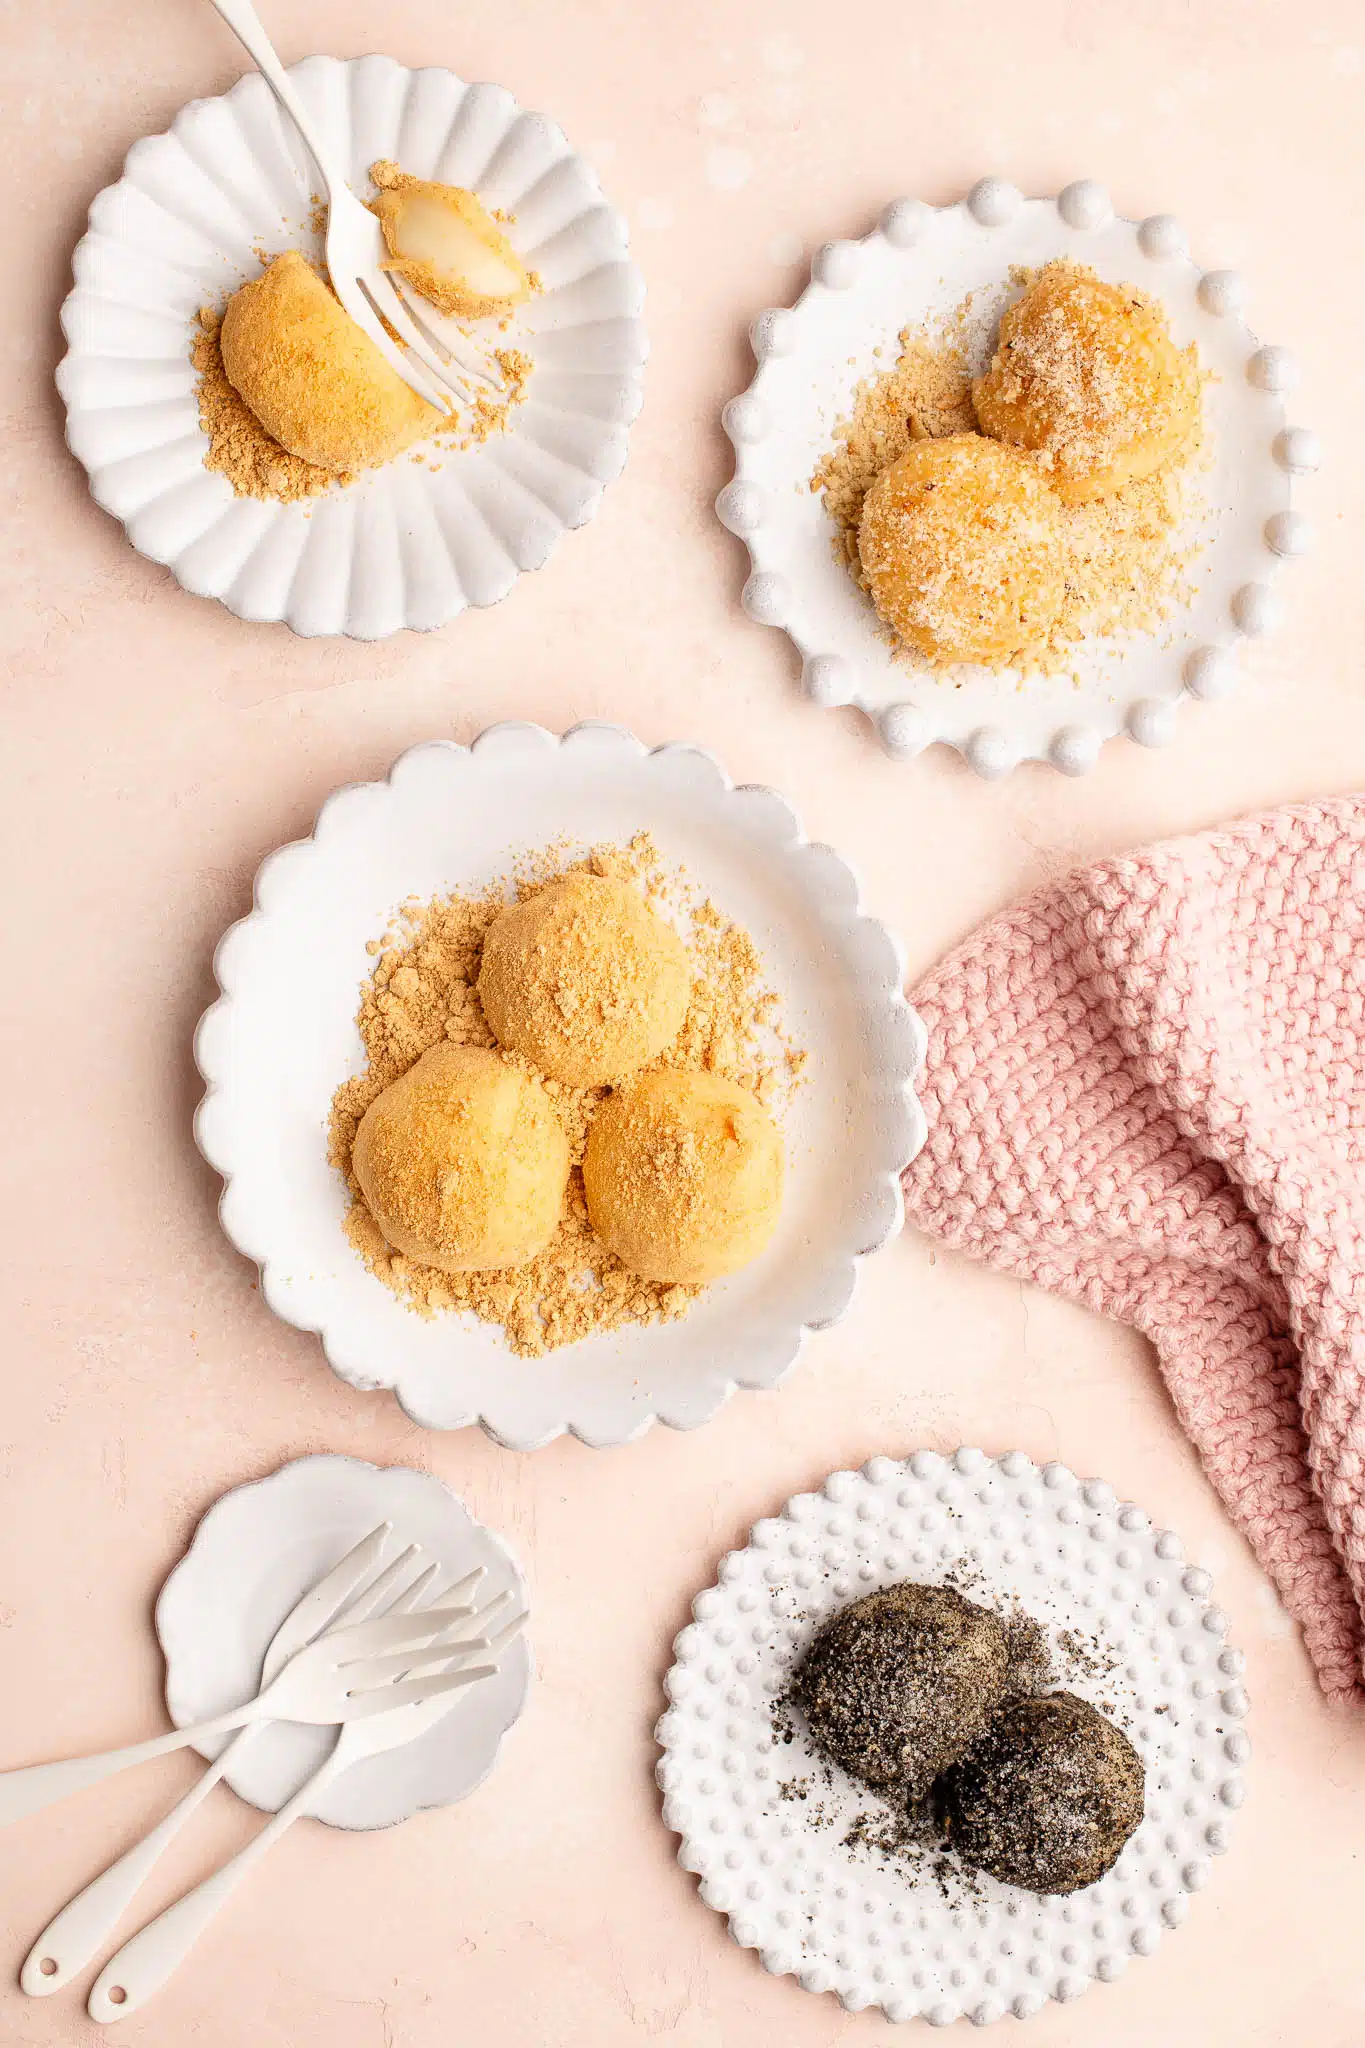
Types of Mochi Flavourings
There are many ways you can flavour the mochi balls. Here are some of my favourites:
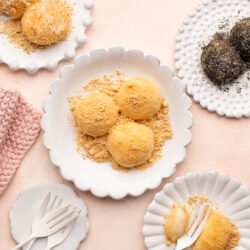
- Kinako Mochi. Simply roll the mochi balls in some roasted soybean powder.
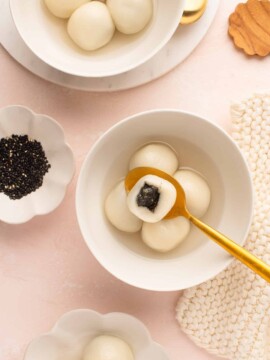
- Black Sesame Mochi. Finely grind 1/2 cup of toasted black sesame seeds, and mix with 1/4 cup granulated sugar and 1/2 teaspoon fine salt. Coat the mochi balls generously with the mixture.
- Peanut Mochi. Finely grind 1/2 cup toasted blanched peanuts, and mix with 1/4 cup granulated sugar and 1/2 teaspoon fine salt. Coat the mochi balls generously with the mixture.
- Matcha Mochi. Simply dust some match powder through a fine sieve over the mochi balls.
- Coconut Mochi. Simply roll the mochi balls in dessicated coconut. Alternatively, mix 1/2 cup dessicated coconut with 1/4 cup granulated sugar and 1/2 teaspoon fine salt. Coat the mochi balls generously with the mixture.
- With ice-cream and/or red beans. Serve small pieces of mochi with scoops of ice-cream and a spoonful of cooked and sweetened red beans.
How to Store Mochi
Mochi is best eaten as soon as it is made, or on the same day.
Store the mochi in an airtight container at room temperature, and it will keep soft for 2-3 days. Depending on what type of flavouring you have used, some condensation might occur.
Don’t be tempted to store mochi in the fridge as it will harden and not be very pleasant to eat.

Homemade Mochi
Ingredients
For the Mochi
- 100 g (3 ½ oz) glutinous rice flour, from an Asian grocer
- 20 g (3 tablespoons) cornflour, (US: cornstarch)
- 12 g (1 tablespoon) caster sugar, (superfine sugar)
- 190 ml (¾ cup) milk, or water
- 15 g (1 tablespoon) unsalted butter , optional
Kinako Mochi
Black Sesame Mochi
- ½ cup black sesame seeds, finely ground
- 55 g (¼ cup) granulated sugar
- 3 g (½ teaspoon) fine salt
Peanut Mochi
- ½ cup toasted blanched peanuts, finely ground
- 55 g (¼ cup) granulated sugar
- 3 g (½ teaspoon) fine salt
Instructions
To Make the Mochi
- Measure the dry ingredients into a large bowl.
- Add the milk.
- Whisk until you have a smooth batter.
- Steam the batter for 20 minutes on high heat. If you have a steam oven, you can place the whole bowl into the oven. Otherwise, transfer the batter to a bowl which will fit into a stove-top steamer.
- Alternatively, cover the bowl with plastic wrap, poke a few holes in the plastic, and microwave the batter on high power for 3 minutes. Stir with a wooden spoon, and microwave for another 3 minutes until the dough is cooked through.
- Once the mochi dough is cooked, it should have set completely and be firm and bouncy to the touch. Use a wooden spoon to mix the dough to check that it is cooked through. If you see any liquid, cook the dough for a bit longer.
- While the mochi dough is still hot, beat in the butter with a wooden spoon. Keep beating until all of the butter is incorporated.
- When the mochi dough is cool enough to handle (but not cold), use your hands to knead the dough into a soft ball. I recommend wearing food-safe disposable gloves for this task because the dough is very sticky.
To Shape the Mochi
- Method 1: The easiest method is to use food-safe disposable gloves to shape the mochi. Take a handful of dough and squeeze it between your thumb and forefinger to create small balls of dough. Pinch off the ends and drop the dough directly into the mochi flavouring.
- Method 2: Scrape the dough into a large piping bag, and snip off the end to create a fairly wide opening (about 2 cm). Squeeze the dough out, cut off small pieces of mochi with a pair of oiled scissors, and drop the mochi pieces directly into the mochi flavouring.
- Method 3: Scrape the dough onto a large sheet of baking paper. Use a sharp knife or dough scraper, which has been lightly oiled, to cut off small strips or pieces. Transfer the mochi pieces to the flavouring.
To Flavour the Mochi
- Mix the ingredients for the flavouring of your choice in a small bowl.
- Sprinkle most of the flavouring onto a large plate or small tray.
- As you are shaping and cutting the mochi, drop it directly onto the plate or tray with the flavouring. The flavouring will coat the mochi and prevent it from sticking to the plate.
- Use your hands to lightly toss the mochi so that it is completely covered in the flavouring.
Kitchen Notes
- MAKE IT DAIRY-FREE
To make dairy-free mochi, substitute the milk for water, and omit the butter. - OVEN & STOVE TEMPERATURES
All recipes on this website have been tested on an induction stove and/or with a conventional oven (i.e. an oven without fan). All recipes on this website use temperatures for a conventional oven, unless otherwise mentioned. Convection ovens (i.e. fan-forced ovens) are typically 20°C/70°F hotter than conventional ovens, but please check your manufacturer’s handbook. - CONVERSIONS
To convert from cups to grams, and vice-versa, please see this handy Conversion Chart for Basic Ingredients.

I have tried many mochi recipes and this is one of the better ones. The mochi is soft with the right amount of chew. The dough was very sticky though but I think this is why the mochi was a nice texture. The peanut topping was really tasty.
This is my favorite mochi recipe! The mochi is beautifully soft and delicious. It is definitely sticky to work with but thankfully the recipe has some great suggestions.
Hi Anna,
So glad you enjoyed this recipe!
It looked like it wasn’t working in the steamer but when I took it out it was bad but then I kneaded the dough and it was good I rolled it in icing sugar and flour at the end and it turned out fine
Hi Sam,
The timing will depend on your steamer set-up. But it’s not a bad idea to give the mixture a stir once or twice during the cooking process. If you see any liquid, then it needs to cook for a bit longer. Otherwise, once you have a sticky mixture with no liquid visible, then the mochi dough is cooked. Glad it worked out fine for you in the end ????
I have used this recipe 3 times and each time gets easier and quicker. The dough is sticky but the mochi is nice and soft and very delicious. My Japanese mother-in-law thinks it is the best mochi she has ever eaten and she asks me each time to make her the mochi with kinako 🙂
Whenever my family made mochi, we’d use mochiko to dust the table and our hands to keep the mochi from sticking while shaping. It won’t add any off putting flavors like using cornstarch might. Add mochiko to anything you don’t want the mochi to stick to, really.
Hi Kyle,
Thank you for your tips! You are right that mochiko has less of a taste than cornstarch/cornflour, and even compared with Asian brands of glutinous rice flour. Thankfully, for this particular recipe, we don’t need to coat the mochi in mochiko because it will be rolled right away in the flavourings. But I have been experimenting with other mochi recipes to share, particularly filled mochi, and cornstarch/cornflour is definitely NOT desirable ????
hey, i dunno what happened but the mochi wasnt soft and was lumpy when i took it out, any tips for microwving?
Hi Olivia,
The mochi should be somewhat firm and lumpy after steaming, but it will become smooth once you knead it.
Although the dough was extremely sticky, I believe this is what gave the mochi its pleasing texture. The peanut grating was delicious.
Glad you enjoyed this recipe!
To prevent the mochi from sticking during shaping, we would sprinkle the table and our hands with mochiko. Using cornstarch could impart off-putting flavors, but this won’t. Really, you can add mochiko on whatever you don’t want the mochi to adhere to.
Hi there, yes, you can roll the mochi in mochiko to prevent it from sticking, such as for filled mochi. However, for this particular recipe, you need the mochi to be sticky so it can stick to the toppings 🙂
Homemade mochi is such a delightful treat, and it’s wonderful to see more people discovering the joy of making it from scratch. The chewy texture and subtle sweetness make it the perfect base for so many toppings, from kinako to black sesame.
Ooh, this mochi recipe looks so yummy! I’ve always wanted to try making my own, especially after seeing all those cute mochi desserts in Japan. Can’t wait to give it a go!
Hope you will enjoy this recipe!
Having a great Russian creamy twist!
Homemade mochi is such a delightful treat, and it’s wonderful to see more people discovering the joy of making it from scratch.The chewy texture and subtle sweetness make it the perfect base for so many toppings, from kinako to black sesame.
Helppp, my mochi turned out wet even after covered with the flavoured powder. Any useful tips??
The mochi should be “dry” to touch once covered in the flavourings. However, if you cover them in plastic to store them, some condensation will occur. I hope this helps.
I have used this recipe twice now and the mochi tastes amazing. I bought disposable gloves just to make these mochi and they work great. The peanut sprinkle is so delicious.
Hi Emily,
So glad you have enjoyed this recipe!
This homemade mochi recipe is fantastic! I love how clearly you explained each step, especially for beginners. The texture looks perfectly soft and chewy. I can’t wait to try this at home.
Great and amazing sharing recipe.
Hi Ethel,
Thank you!
I’ve made this mochi several times now and it’s my favorite recipe ☺️ A piping bag is definitely the easiest method. I also make all three flavorings because we love them all.
Hi Monica,
That’s wonderful to hear 😊
Best mochi recipe! Works fine in the microwave but the dough is HOT. Makes very soft and chewy mochi, perfect tasting.
Hi Tom,
Glad you enjoyed this recipe!
This homemade mochi recipe looks amazing! I love how simple the instructions are, and the photos make it look so fun to make at home. Definitely trying this soon!
This homemade mochi recipe is really well explained, especially the step-by-step approach for beginners. The different variations like kinako, peanut, and black sesame make it even more useful for anyone exploring Asian desserts. Mochi’s soft and chewy texture always stands out, and it’s great to see such a simple method using glutinous rice flour to recreate it at home.
I’ve made this recipe three times, and each time it gets quicker and easier. The mochi is wonderful and soft, but the batter is sticky. Every time I make the mochi with kinako, my Japanese mother-in-law requests it because she believes it to be the best mochi she has ever had. 🙂
So glad you enjoyed this recipe!
Hello! Have you tried stuffing this kind of. Mochi with PB or azuki? Just curious if it holds up being filled. I can’t wait to try the recipe.
Hi Kristin,
This is a very soft and sticky mochi which lends itself better to be covered with a topping, rather than stuffing. For stuffed mochi, I think you need a recipe which makes a firmer mochi dough. I plan to upload a few soon 🙂
I have tried the mochi recipe before but your recipe is unique. Thanks!
Hi…
When you steam the mixture of mochi in the stove top steamer. Do you sttill need to cover the container were the mochi mixture in it ? If yes. What should I use to cover it. ?
If you are steaming the mochi in a stove top steamer, there is no need to cover the bowl with the mochi mixture. It’s fine if there is some condensation from the lid which falls into the mochi mixture. Hope you will enjoy this recipe!
I thought it hadn’t worked while it was in the steamer, and it looked pretty bad when I first took it out. But after kneading the dough a bit more, it came together nicely. I finished it off by rolling it in icing sugar and flour, and it actually turned out really well.
Hi there,
Once you have tried this mochi recipe, you will get a feel for how the dough should look at each stage. But yes, after kneading and mixing the butter through the dough, everything should come together nicely 🙂