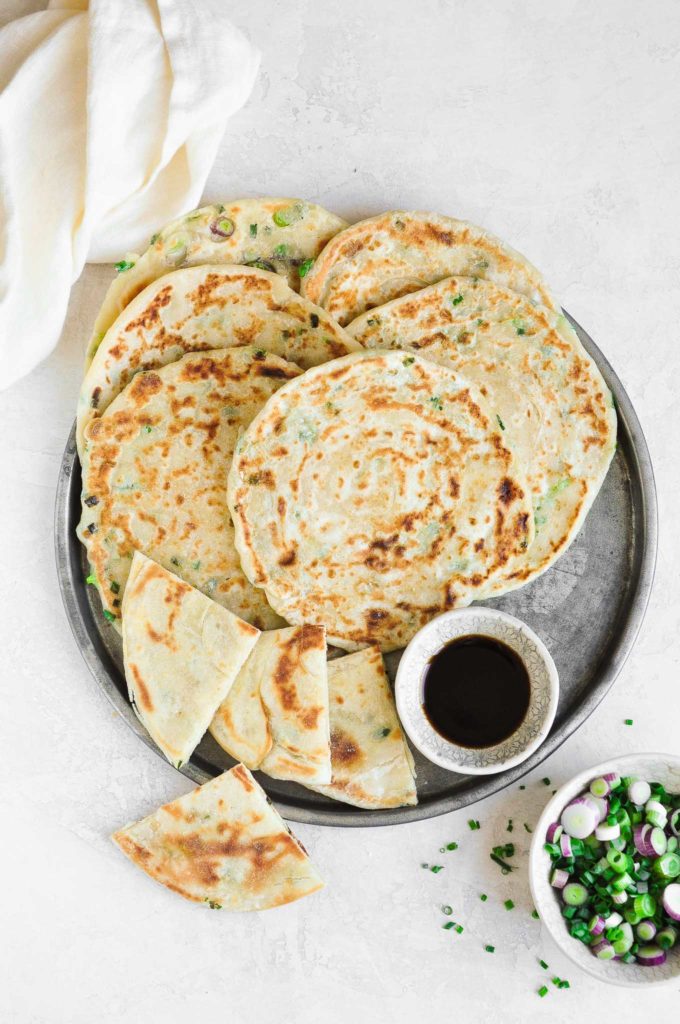
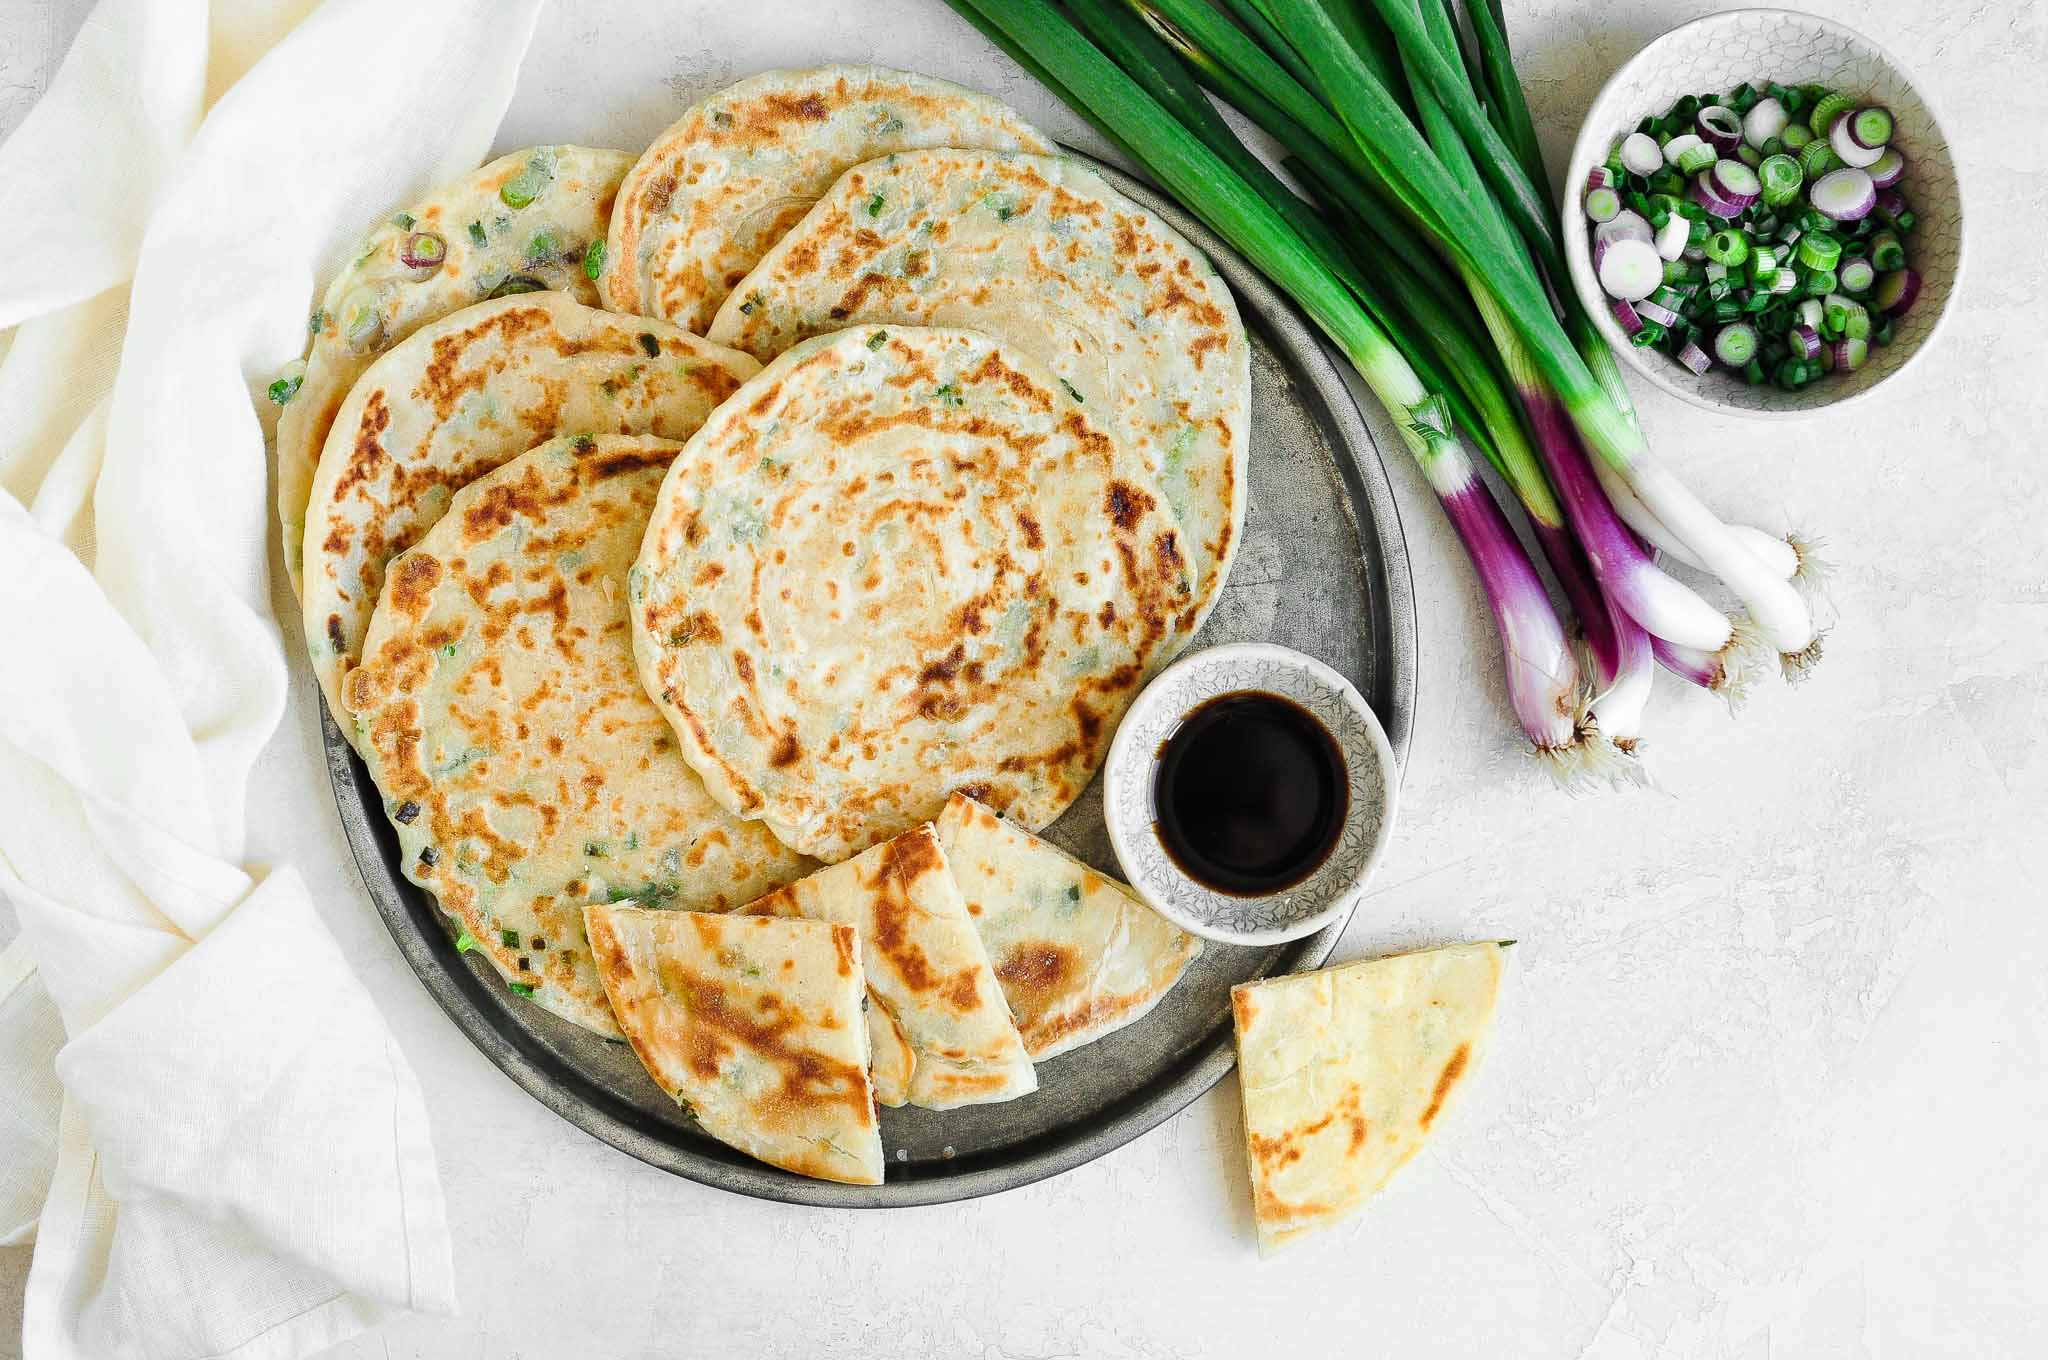
Chinese Spring Onion Pancakes (Chinese Scallion Pancakes)
I was first introduced to Chinese Spring Onion Pancakes (also called Chinese Scallion Pancakes) when I moved to Zurich many years ago. I had had the good fortune of meeting some enthusiastic Chinese food lovers in my German language class who frequently organised group lunches at a popular Chinese restaurant which specialised in Szechuan cuisine.
After many enjoyable shared meals at this Chinese restaurant, I decided to have a go at making Chinese Spring Onion Pancakes at home.
Not only are they so easy to make at home, but you can also eat as much as you want without breaking the bank!
Chinese Spring Onion Pancakes Recipe
The star ingredient in Chinese Spring Onion Pancakes are – you guessed it – spring onions, which are also called scallions or green onions.
I find the really thin and skinny spring onions to be best for this recipe as they make for easier eating, but large and fat spring onions also work well.
If you can get your hands on red spring onions (like those pictured in these photos), they add a wonderful pop of red/purple colour to these pancakes.
The rest of the ingredients are likely to already exist in your pantry, which means you can make these delicious pancakes with very little preparation.
How to Make Chinese Spring Onion Pancakes
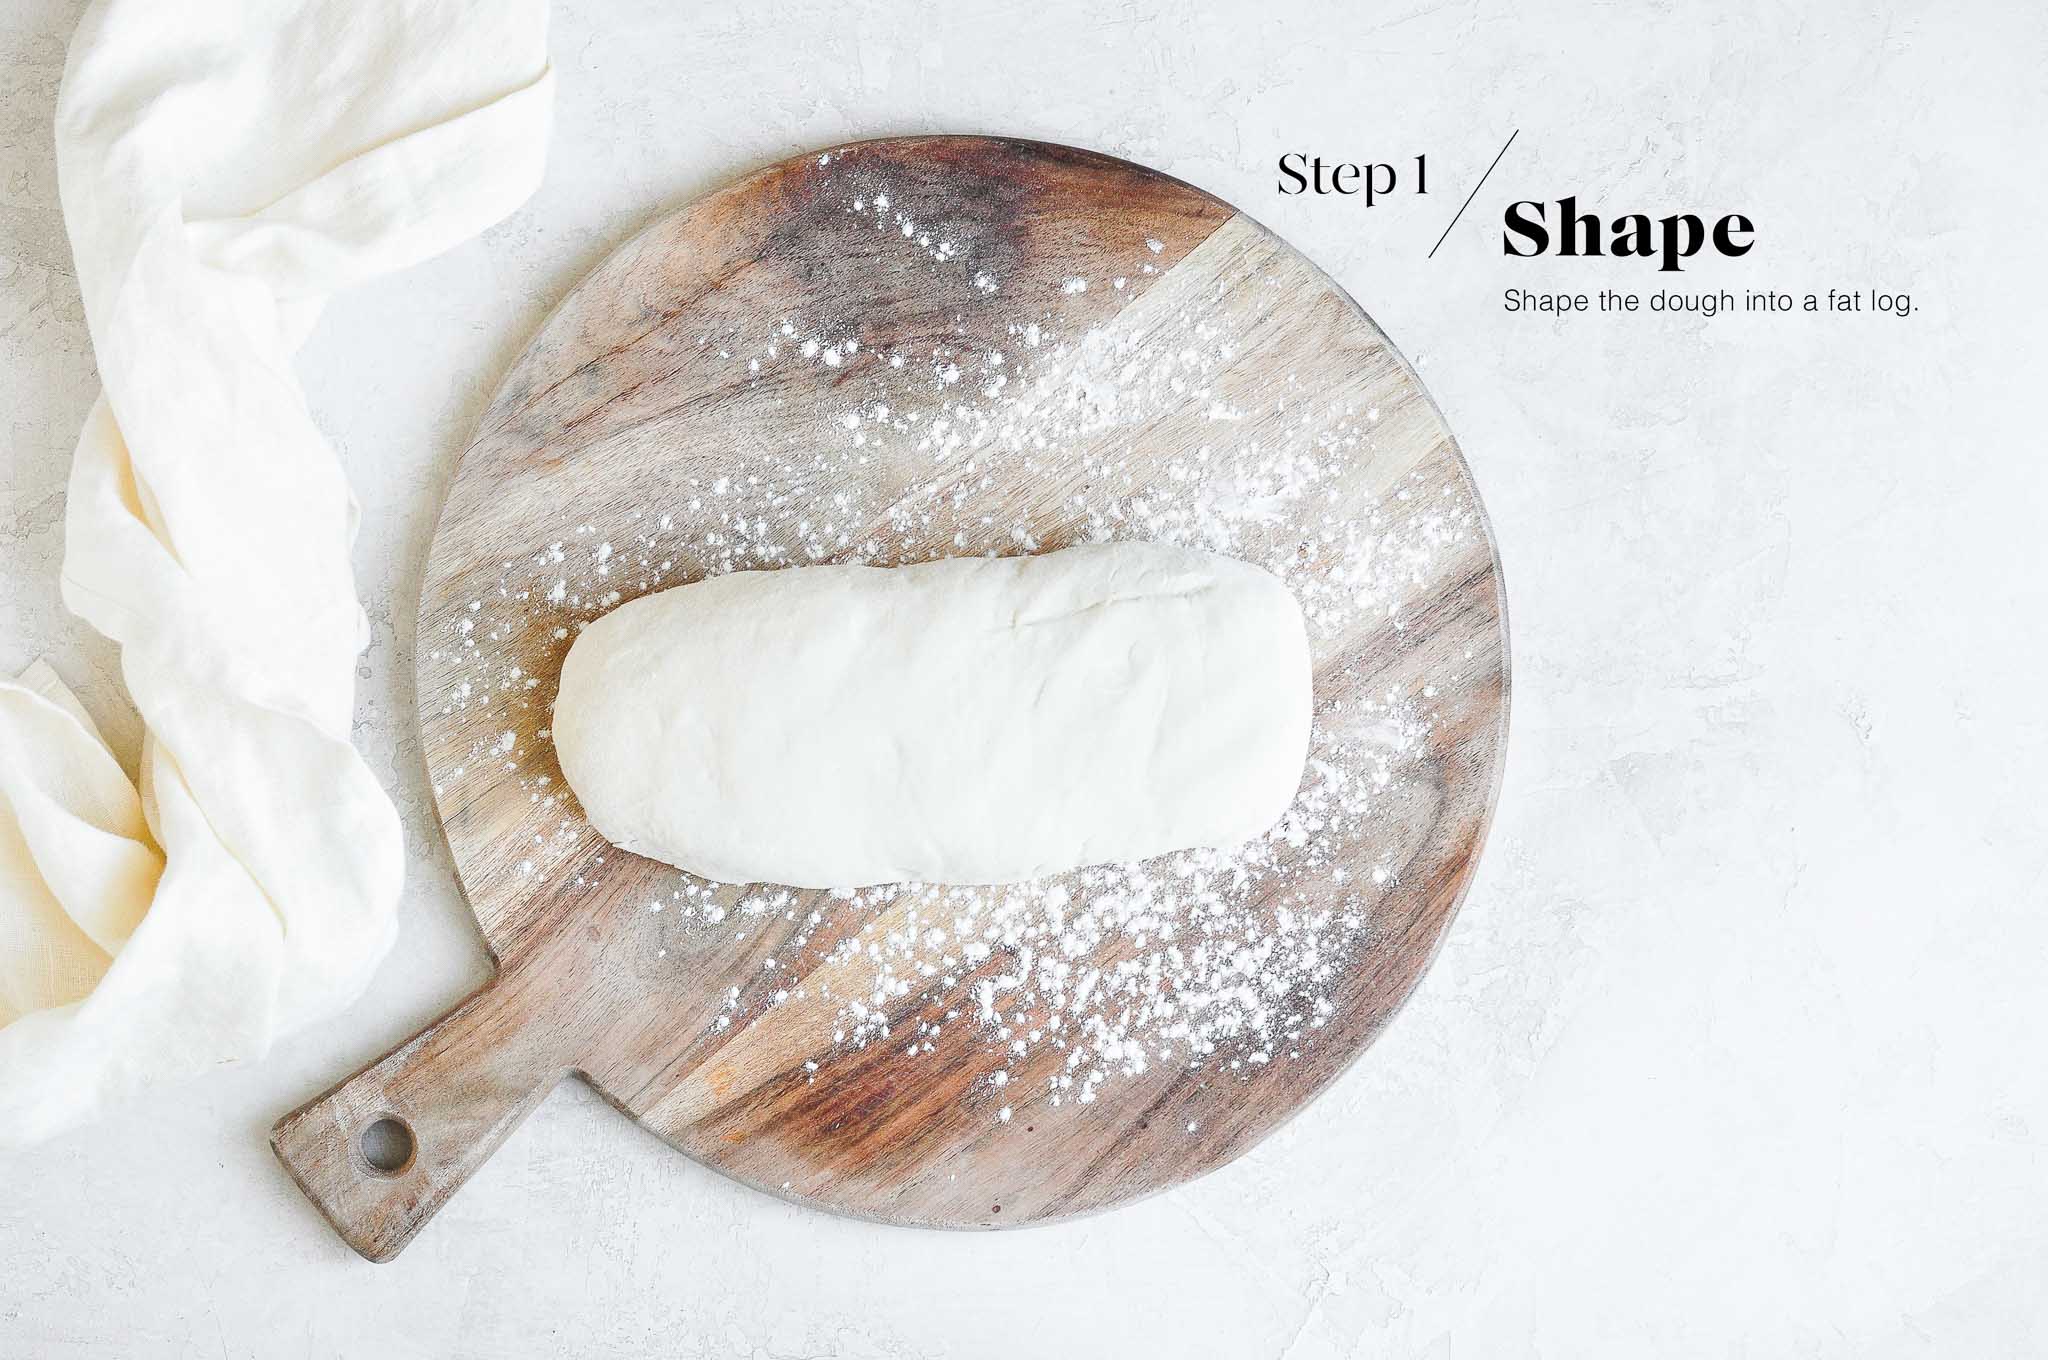
Step 1
Mix the flour and salt together in a mixing bowl. Add the warm water and mix together until a dough forms. Knead the dough for about 5-10 minutes until it is soft and smooth.
Leave the dough to rest for about 30 minutes.
Once the dough has rested, shape it into a flat log.
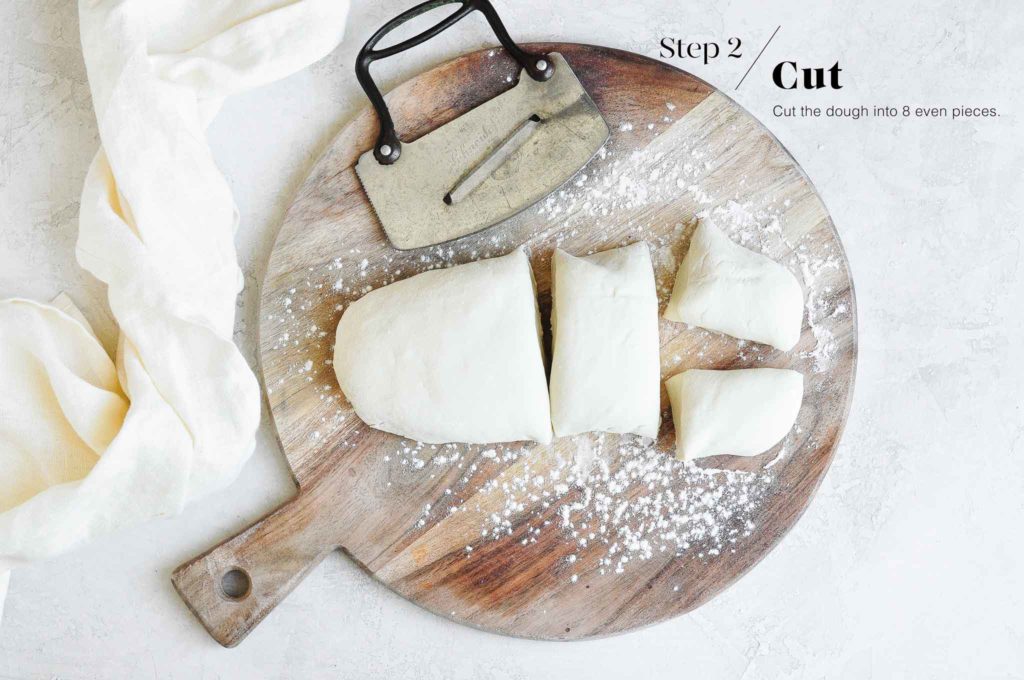
Step 2
Cut the dough into 8 even pieces.
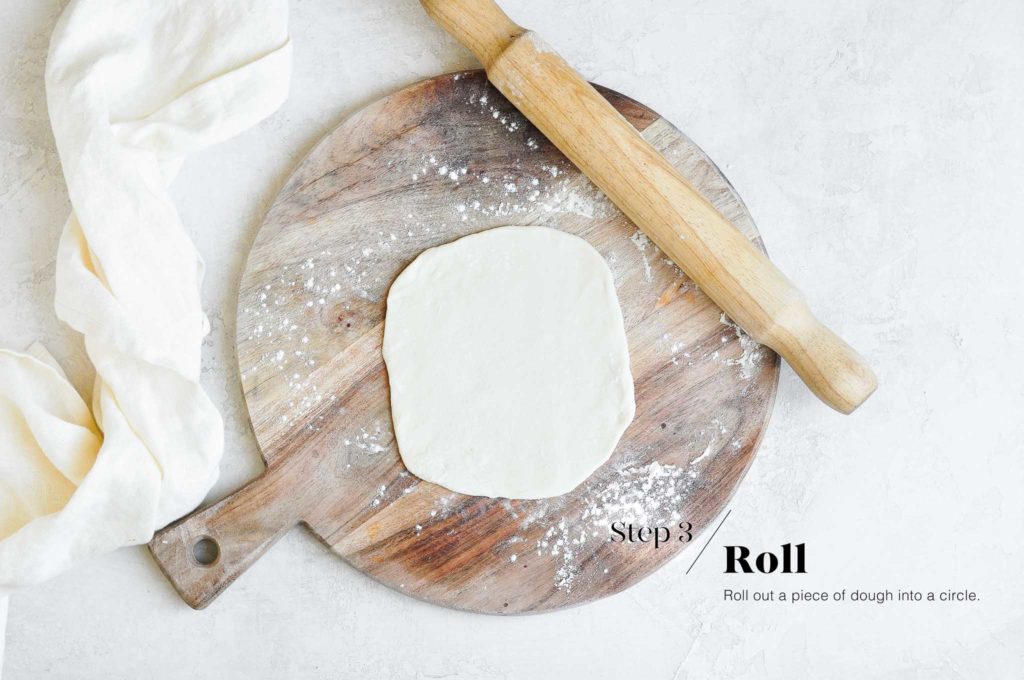
Step 3
Lightly flour a wooden board or your kitchen bench. Roll out a pice of dough into a thin, flat circle.
When making flatbreads or these Chinese Spring Onion Pancakes, I like to work on a large silicone mat so that I don’t have to use much flour (if any) when rolling out the dough.
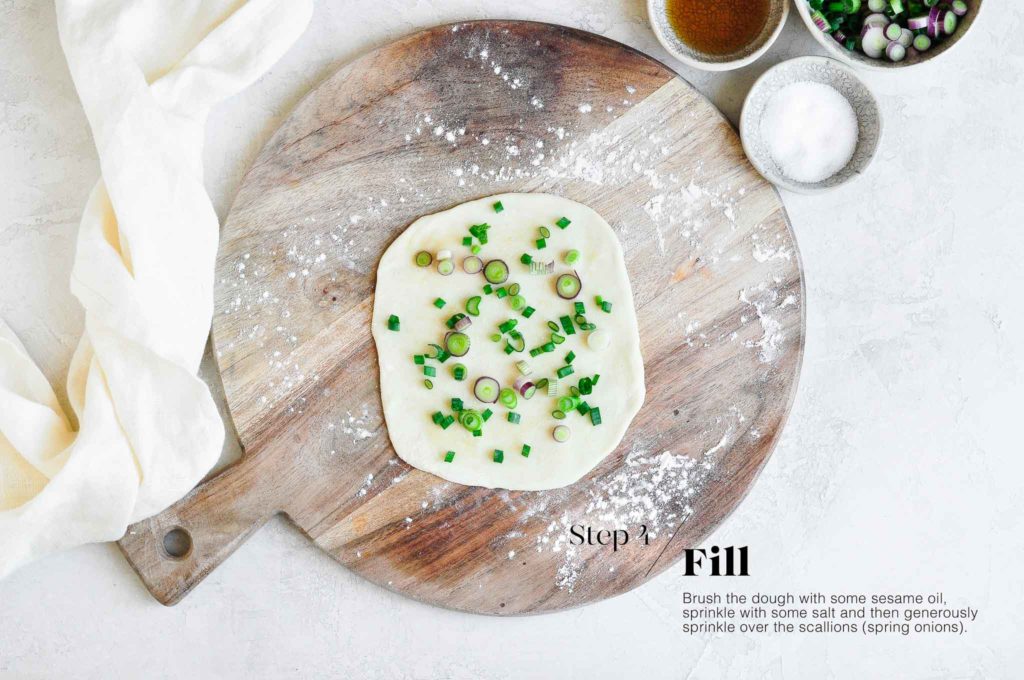
Step 4
Brush the dough with some sesame oil, sprinkle with a bit of salt, followed by a handful of scallions (spring onions).
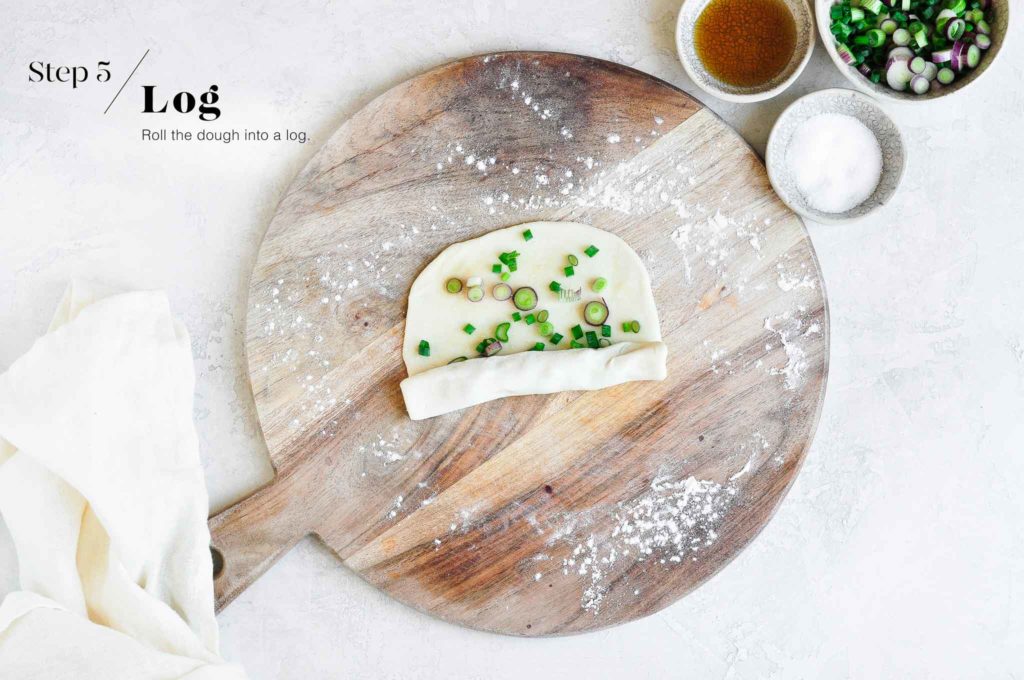
Step 5
Roll up the dough into a log.
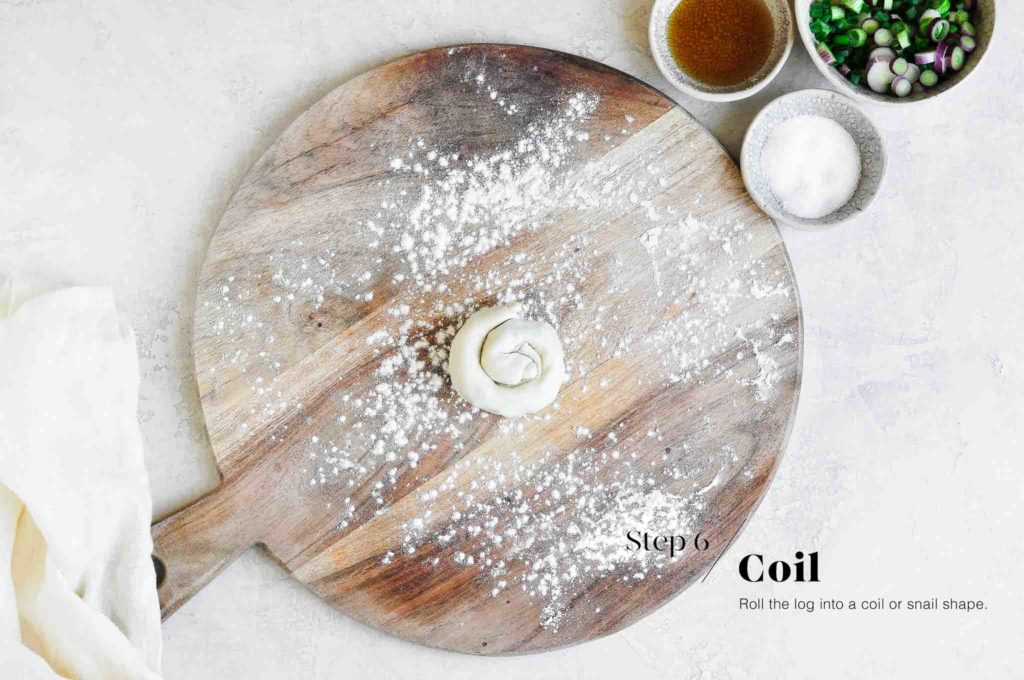
Step 6
And then roll the log into the shape of a coil or snail.
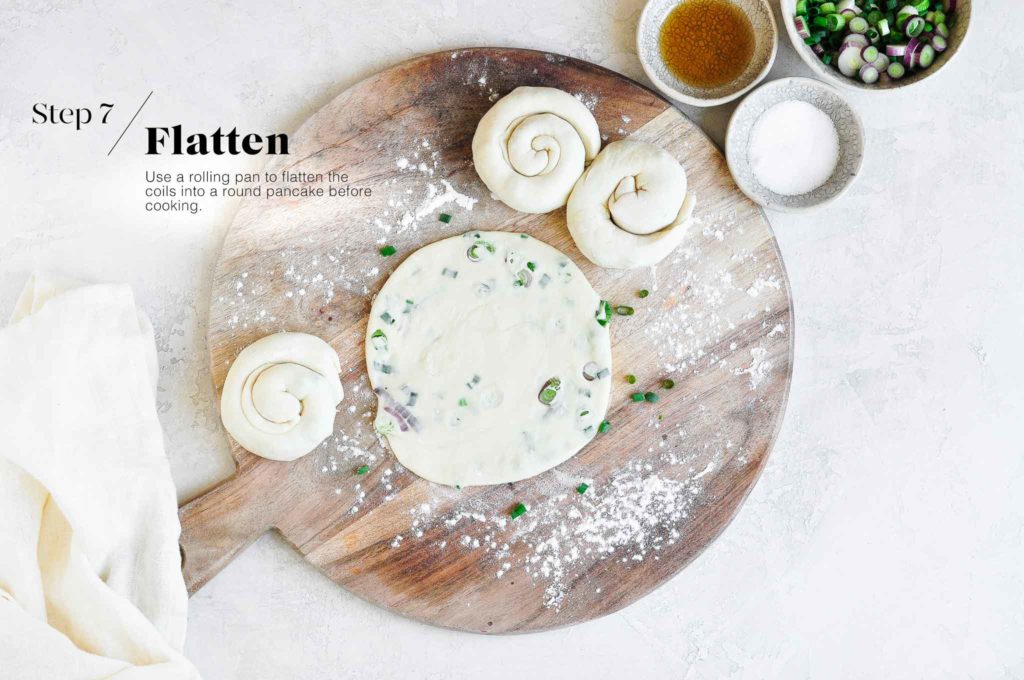
Step 7
Repeat the above steps with the remaining pieces of dough.
When you are ready to cook the Spring Onion Pancakes, flatten each coil with a rolling pin until you have a thin, flat disc.
I roll out the coils of dough just before frying as the dough tends to shrink slightly after rolling.
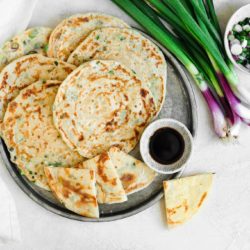
Heat some oil in a non-stick pan over medium-high heat, and cook the pancakes on each side until golden and crispy.
What to Serve with Chinese Spring Onion Pancakes
These Chinese Spring Onion Pancakes are great served as appetisers, but I often serve them as part of a meal, especially alongside dishes like Vietnamese Roast Pork Belly or Chinese Roast Duck.
I always make a dipping sauce for these Spring Onion Pancakes. Simply stir together some light soy sauce with some Chinese black vinegar (add more or less of the other to taste).
If you like a fiery kick, I would also suggest adding some Sriracha or a Chilli Oil to taste.
Chinese Spring Onion Pancakes
Ingredients
For the Spring Onion Pancakes
- 450 g (3 cups) plain flour, (all-purpose flour)
- 6 g (1 teaspoon) fine salt
- 250 ml (1 cup) warm water
- 1 tablespoon vegetable oil
- 3-4 tablespoons sesame oil
- fine salt
- spring onions, (scallions) finely sliced
- vegetable oil, for frying
To Serve
- soy sauce
- Chinkiang vinegar, chinkiang vinegar
- Chilli Oil, optional
Instructions
To make the dough
- Place the flour and salt into the bowl of an electric stand mixer.
- Attach the dough hook to the stand mixer.
- On low-medium speed, slowly add the oil and water until a dough starts to form.
- Increase the speed to medium-high to knead the dough for 5-10 minutes until the dough is soft and smooth.
- If the dough looks a bit sticky, add a bit of flour.
- If the dough looks a bit too dry, add a dash of water.
- Shape the dough into a ball and place it back in the bowl.
- Cover the bowl with a clean tea towel and leave it to rest for at least 30 minutes.
To make the Spring Onion Pancakes
- Shape the dough into a flat log.
- Cut the dough into 8 even pieces.
- Roll out one piece of dough into a thin, flat circle. Dust your work bench with flour as necessary (see also Kitchen Notes below).
- Lightly brush some sesame oil onto the dough, followed by a light sprinkle of salt, and then a good sprinkle of scallions (spring onions).
- Roll up the dough into a fairly tight log.
- Roll up the log into a coil or snail shape.
- Repeat the above steps with the remaining pieces of dough.
To cook the Spring Onion Pancakes
- Heat a non-stick frying pan over medium-high heat with about a teaspoon of vegetable oil.
- Roll out each coil of dough into a circle.
- Fry the dough for about 3-5 minutes on each side until golden and crispy. Generally, the dough is ready to flip once air pockets start to form between the layers, indicating that the layers have cooked through.
- Serve the pancakes warm or hot with a dipping sauce made from soy sauce and Chinese black vinegar.
Kitchen Notes
- LEFTOVERS
Any leftover pancakes can be kept in the fridge and warmed on the stove before serving. - OVEN & STOVE TEMPERATURES
All recipes on this website have been tested on an induction stove and/or with a conventional oven (i.e. an oven without fan). All recipes on this website use temperatures for a conventional oven, unless otherwise mentioned. Convection ovens (i.e. fan-forced ovens) are typically 20°C/70°F hotter than conventional ovens, but please check your manufacturer’s handbook. - CONVERSIONS
To convert from cups to grams, and vice-versa, please see this handy Conversion Chart for Basic Ingredients.


I made your potstickers the other day and they were so delicious. I made them again for dinner tonight and decided to also make your scallion pancakes to serve together. It was a lot of work to make everything but the kids helped! And everything tasted so delicious. I’m really loving your blog. You put so much thought into your recipes and the layout – a big thank you for sharing xx
Can’t wait to try this. Question: can you give a starting point for the sauce, would 50/50 soy sauce to vinegar work?
Hi Elaine,
For the dipping sauce, I make this to taste. I would say it is more 60/40 soy sauce to black vinegar, but you can, of course, easily adjust this to taste. Hope you will enjoy this recipe!
Delicious! My family loved these scallion pancakes. Do you have any tips for freezing?
Anything to sobstitute the spring onion with?
These scallion pancakes were so good! I also made your chilli oil to serve it with. Love your recipes 🙂