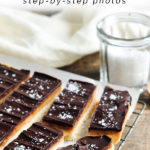
An easy recipe for Caramel Slice (or Millionaire’s Shortbread) using sweetened condensed milk to produce a lovely, thick caramel. Recipe with step-by-step photos.
Caramel Slice
My parents ran a busy bakery while I was growing up in Australia, and one of the staples they always had behind the glass counters were Caramel Slices, otherwise known as Millionaire’s Shortbread in other parts of the world.
Chocolate Caramel Slice
In Australia, these caramel slices are also known as Chocolate Caramel Slices, and they are as popular as Lamingtons and Chocolate Coconut Bars, all of which make regular appearances at bake sales and morning teas.
Caramel Slice Recipe
This caramel slice recipe is a scaled down version of that which my parents sold in their bakery.
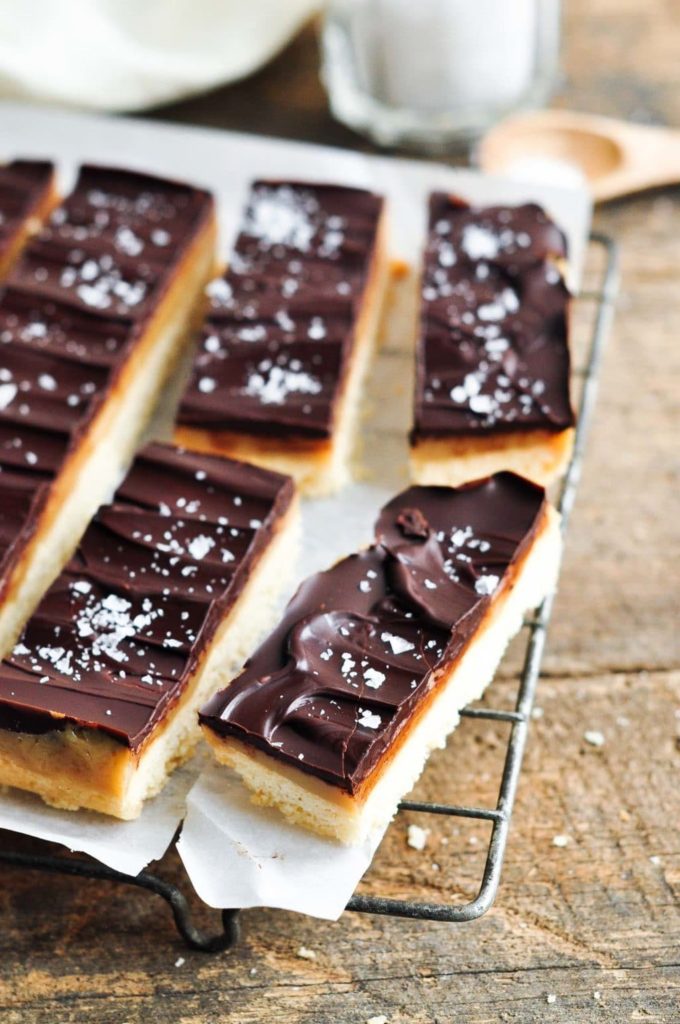
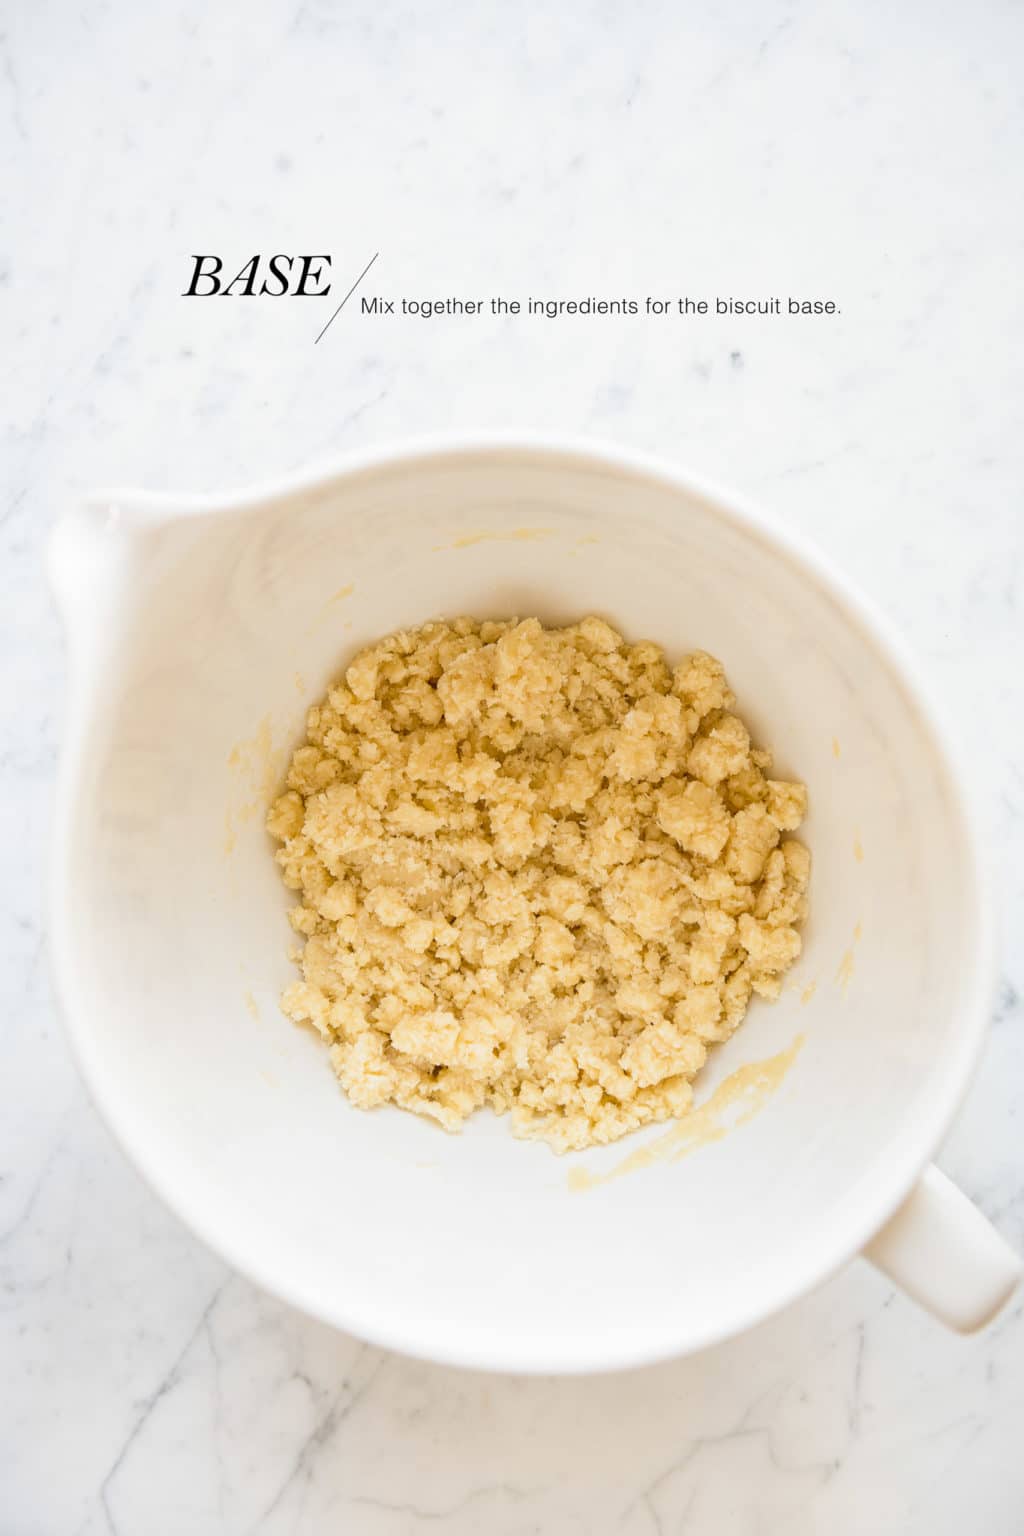
I love that the biscuit base contains coconut for both flavour and texture.
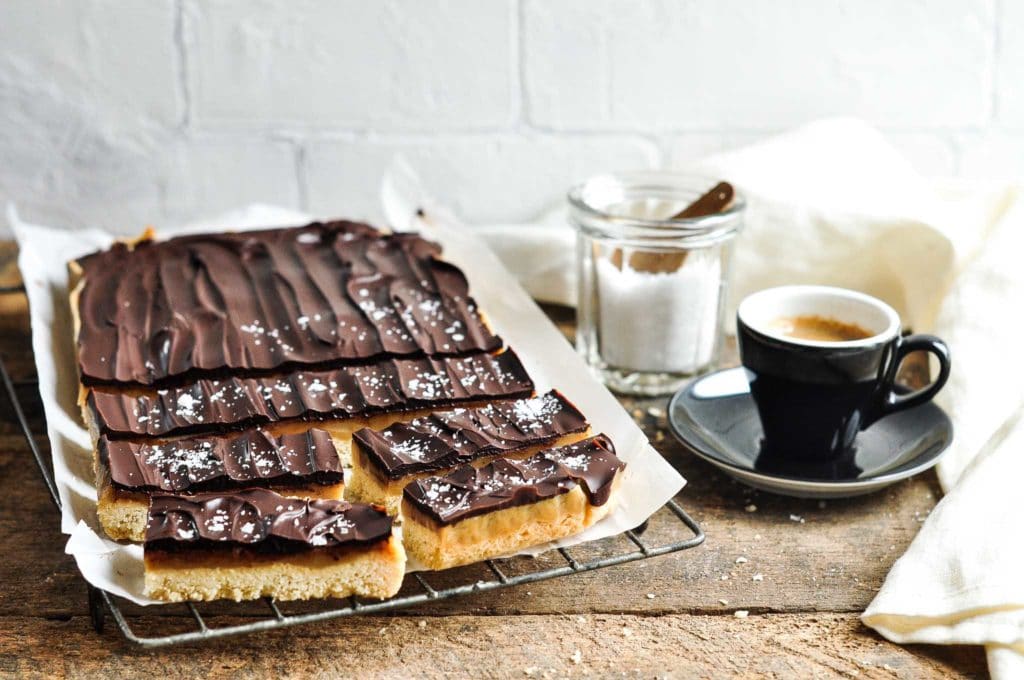
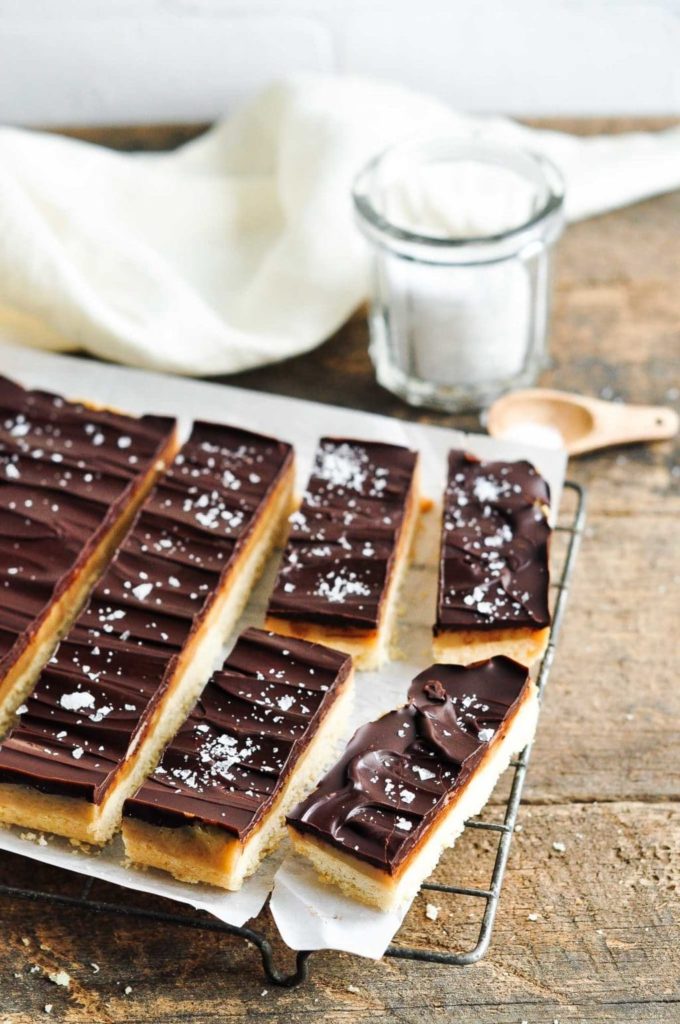
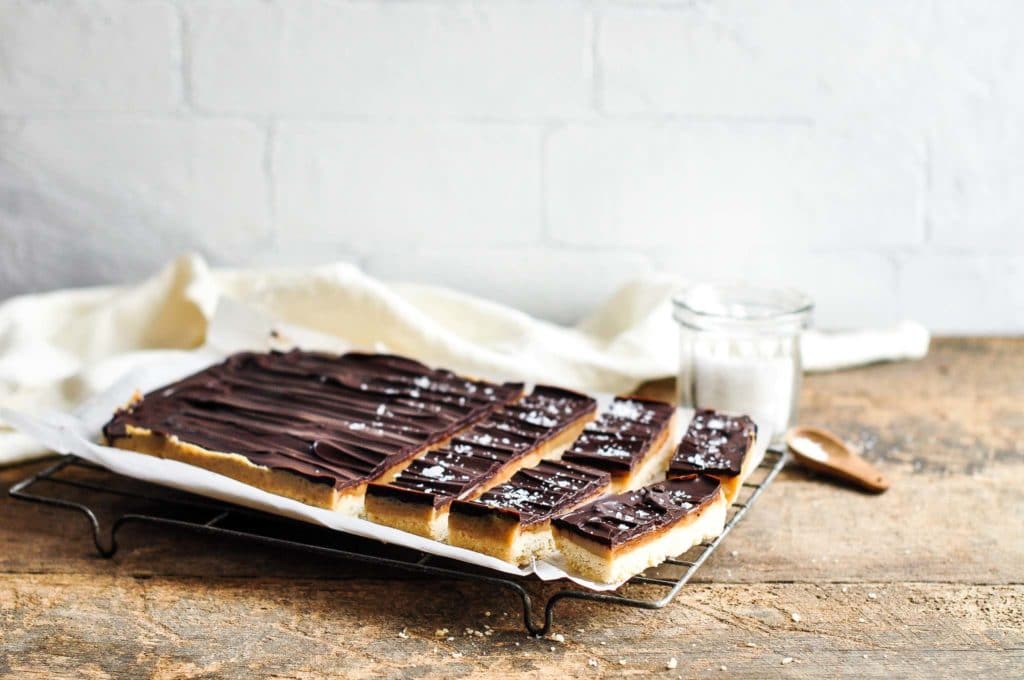
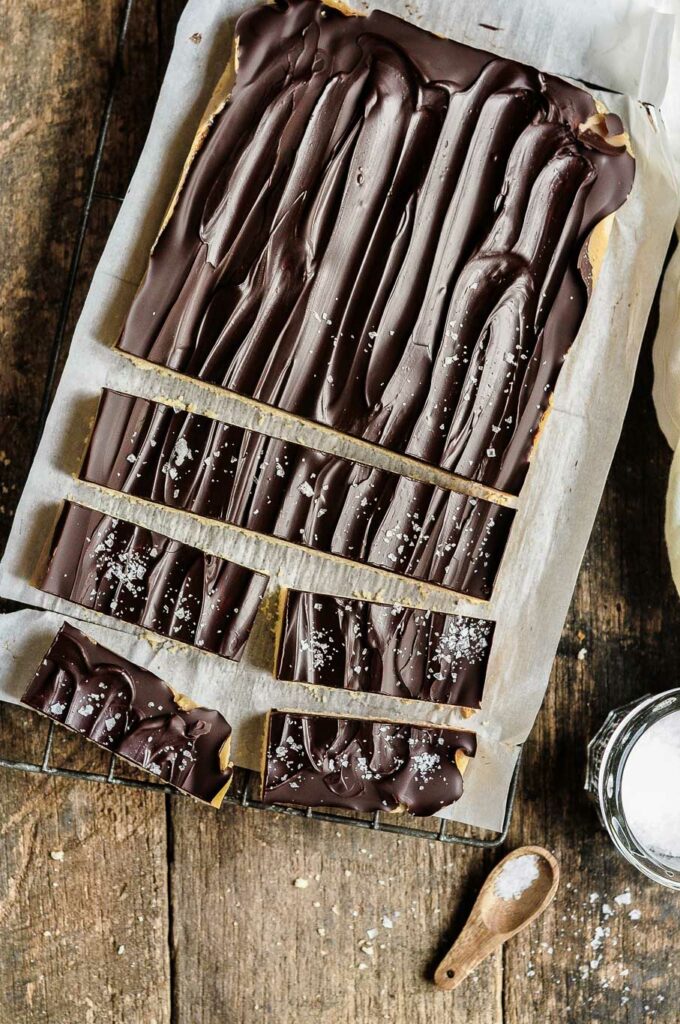
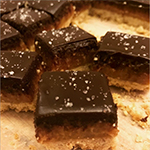
To make these caramel slices a bit more sophisticated and grown up, I like to sprinkle them with some sea salt flakes to offset the sweetness a bit.
How to Make Caramel Slice
This caramel slice recipe is easier than it looks. Like with most recipes for slices, you require three components:
- the biscuit base, which takes about 5 minutes to prepare and 15 minutes to bake
- the caramel filling, which takes about 10 minutes to cook
- the chocolate topping, which mostly involves melting a few bars of chocolate, about 5 minutes
Step 1
To prepare the biscuit base, mix the dry ingredients in the bowl of a stand mixer. Using the flat paddle attachment, beat in the melted butter. Keep beating on low speed until the mixture is well incorporated.
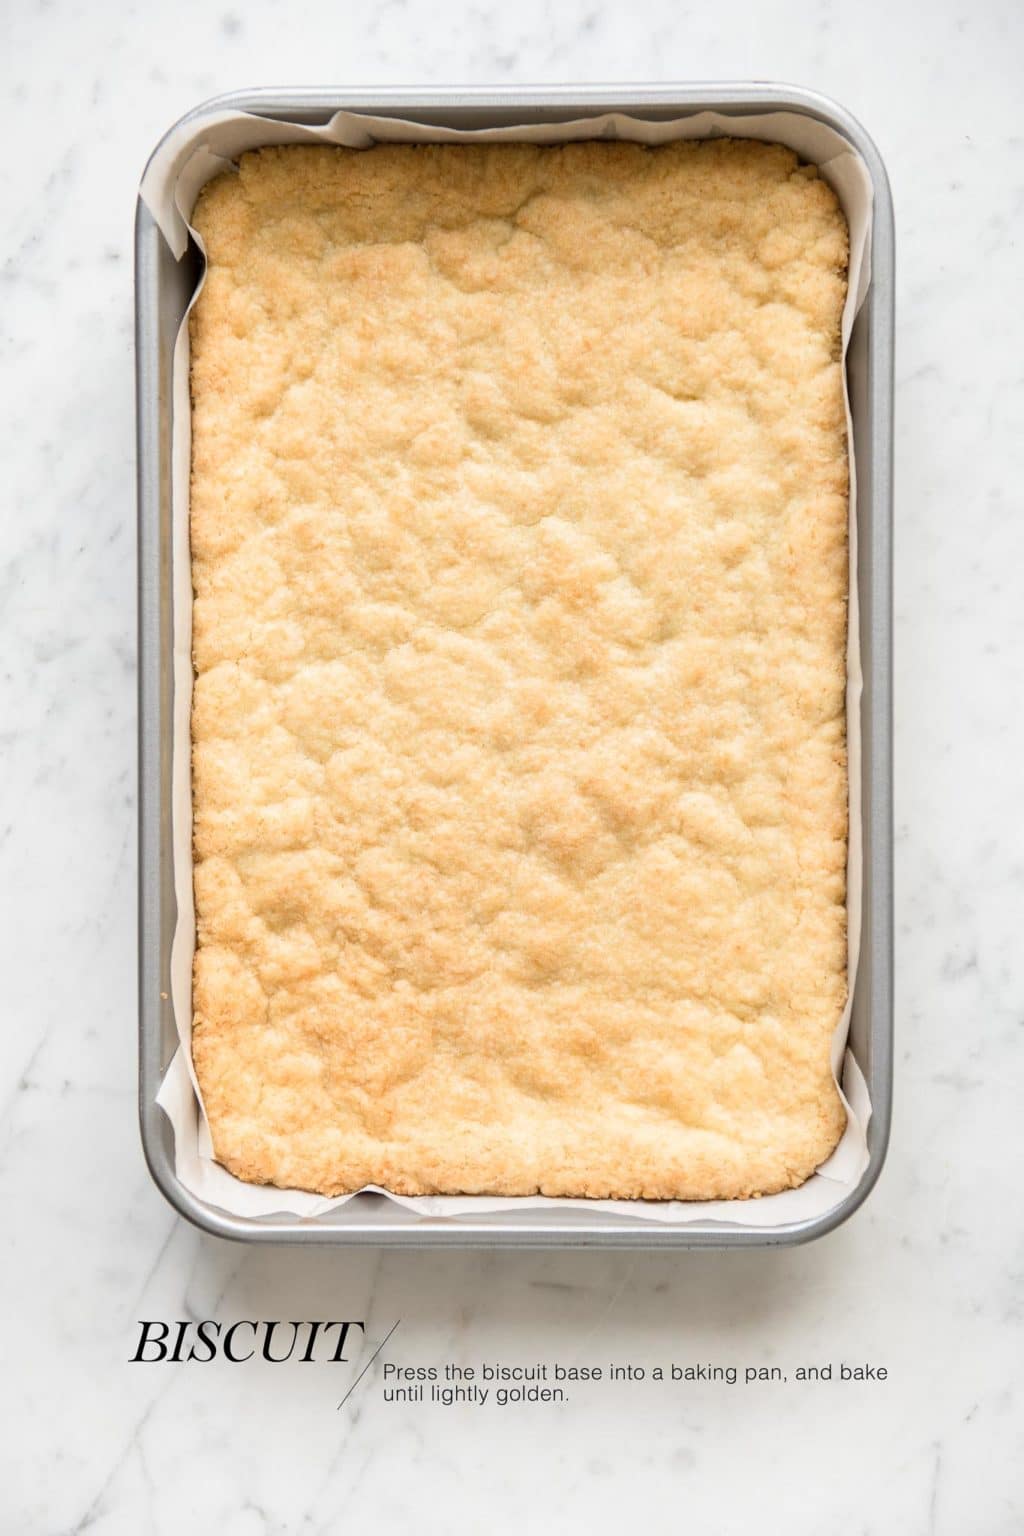
Step 2
Spread the biscuit base into a baking pan lined with baking paper. Bake for 12 to 15 minutes, or until it is lightly golden.
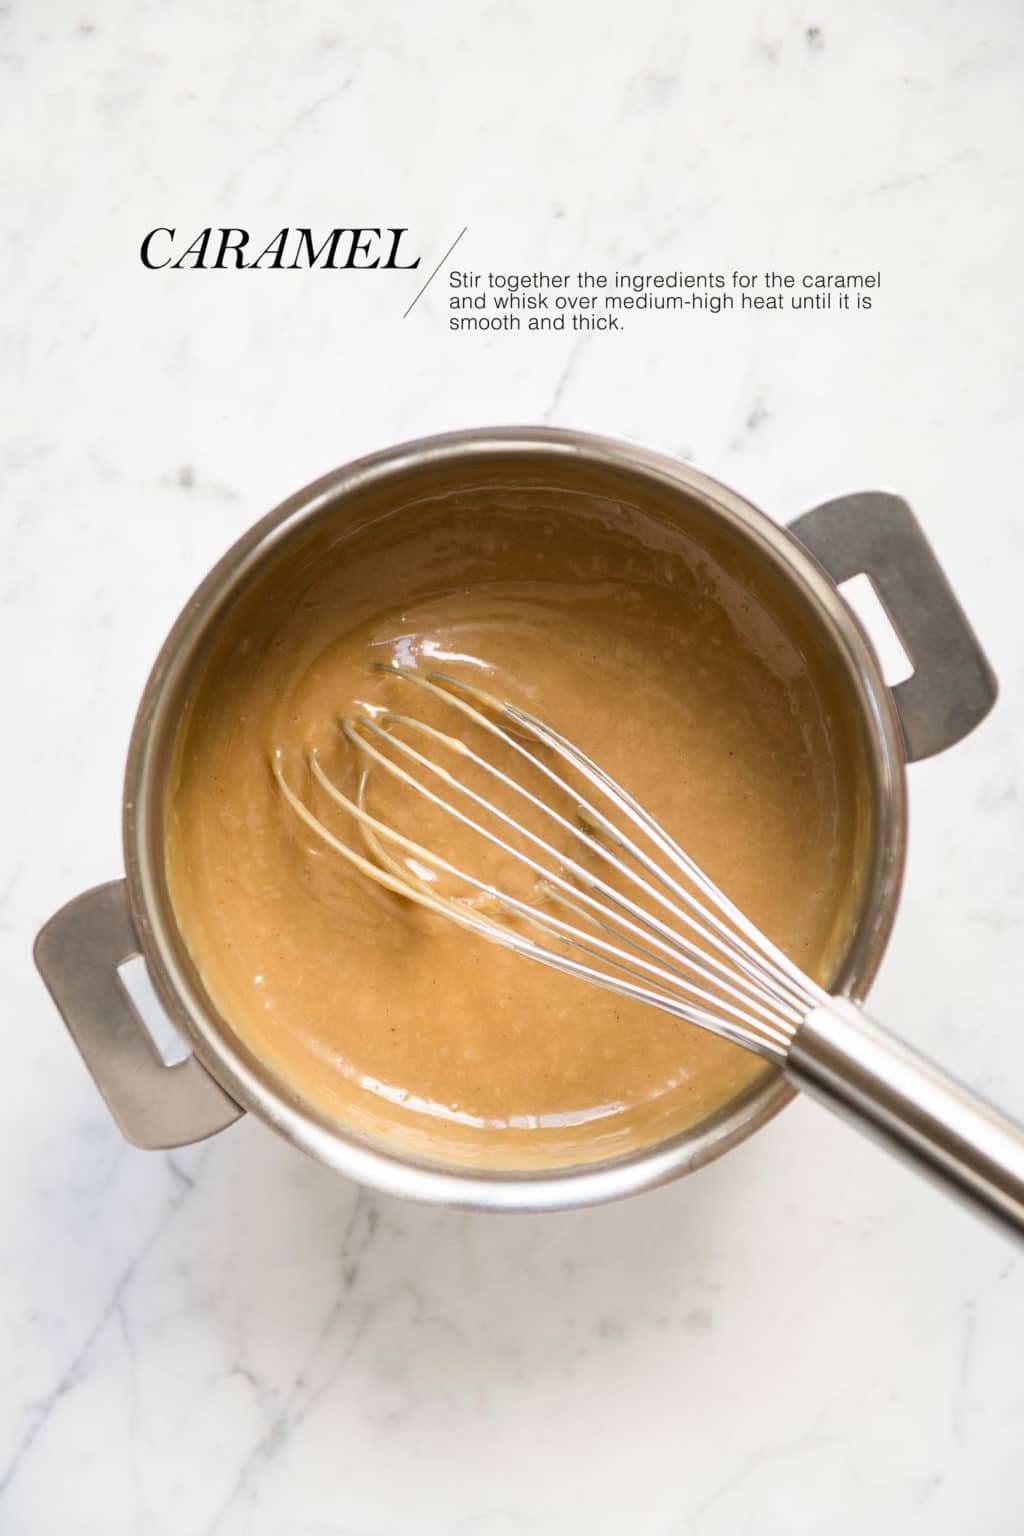
Step 3
Meanwhile, prepare the caramel filling. Simply melt the butter in a medium-sized saucepan, then add the remaining ingredients. Whisk constantly over medium-high heat until everything has melted into a lovely and thick caramel sauce.
Make sure that you whisk constantly to prevent the mixture from sticking to the bottom of the pan and burning.
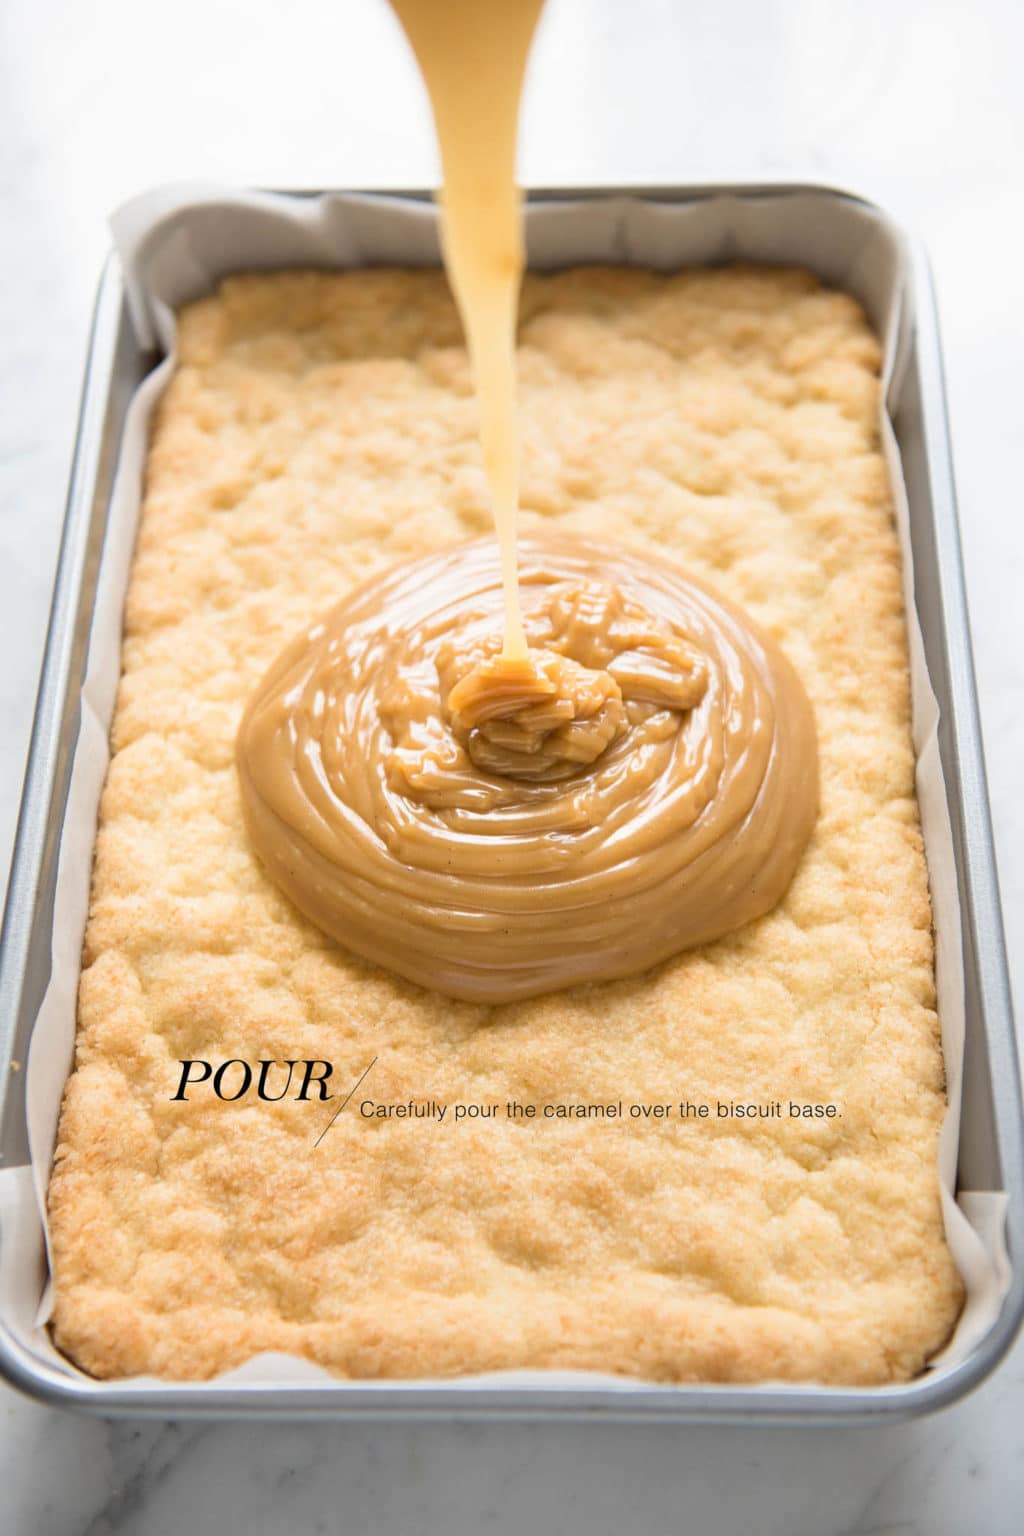
Step 4
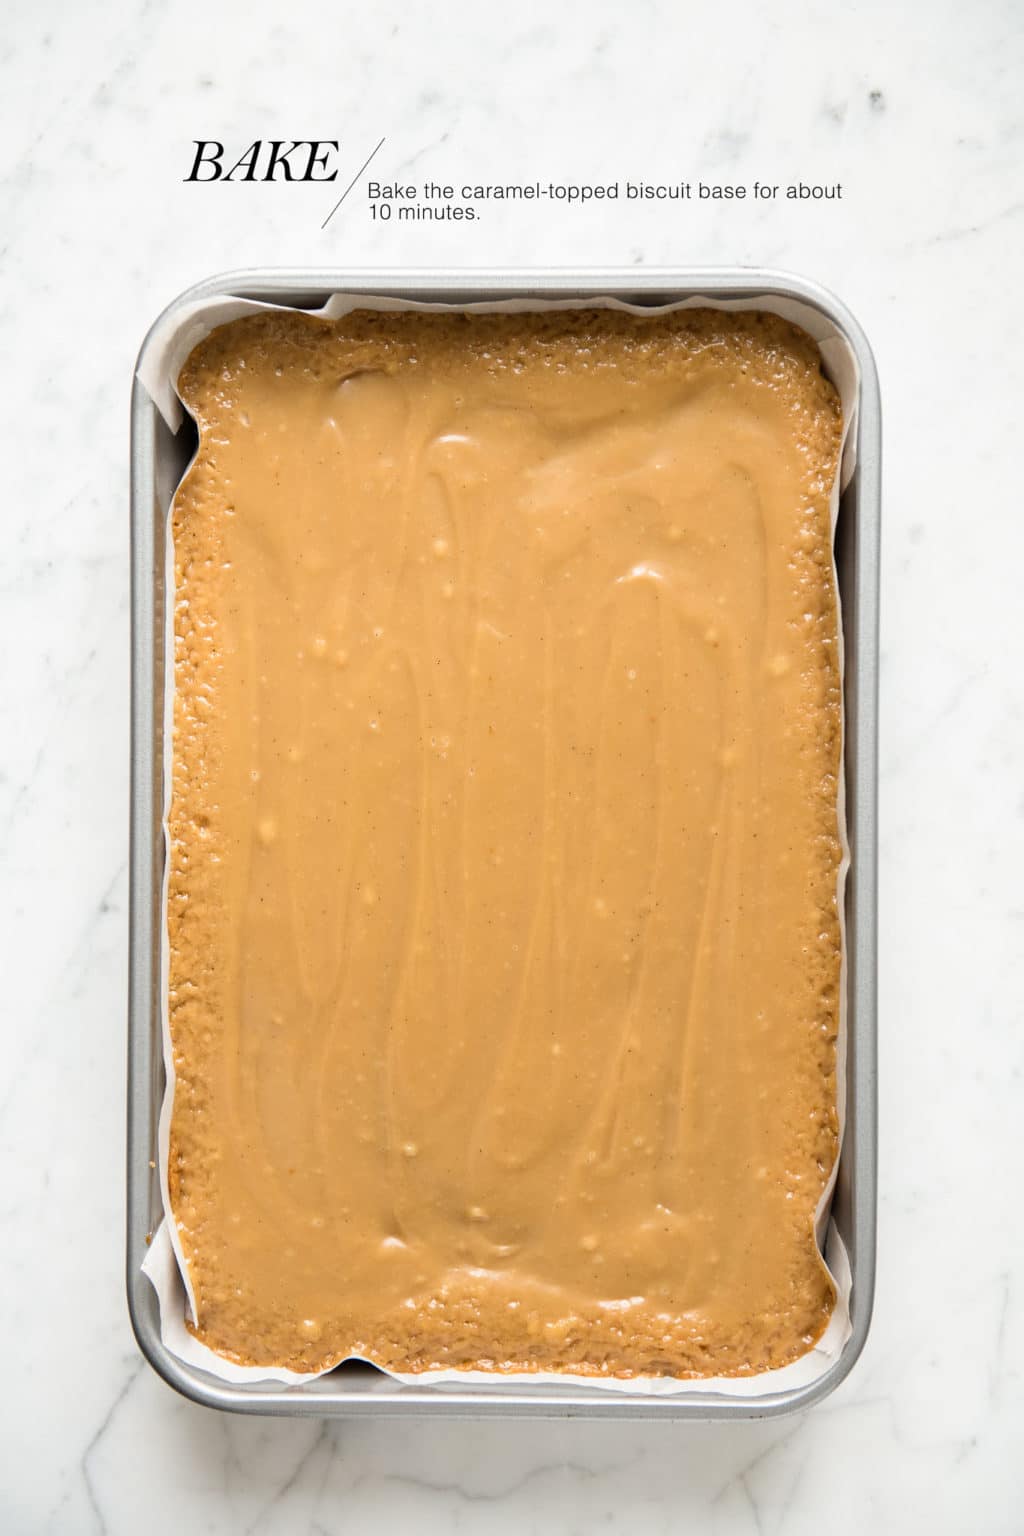
Pour the caramel filling over the biscuit base. Use a spatula to evenly spread the caramel filling.
Step 5
Bake for about 10 minutes, or until the edges have set slightly. If you give the pan a gentle shake, the centre of the pan should wobble ever so slightly.
Step 6
Set the pan aside to cool completely, before putting the pan into the fridge to chill for at least 30 minutes.
Step 7
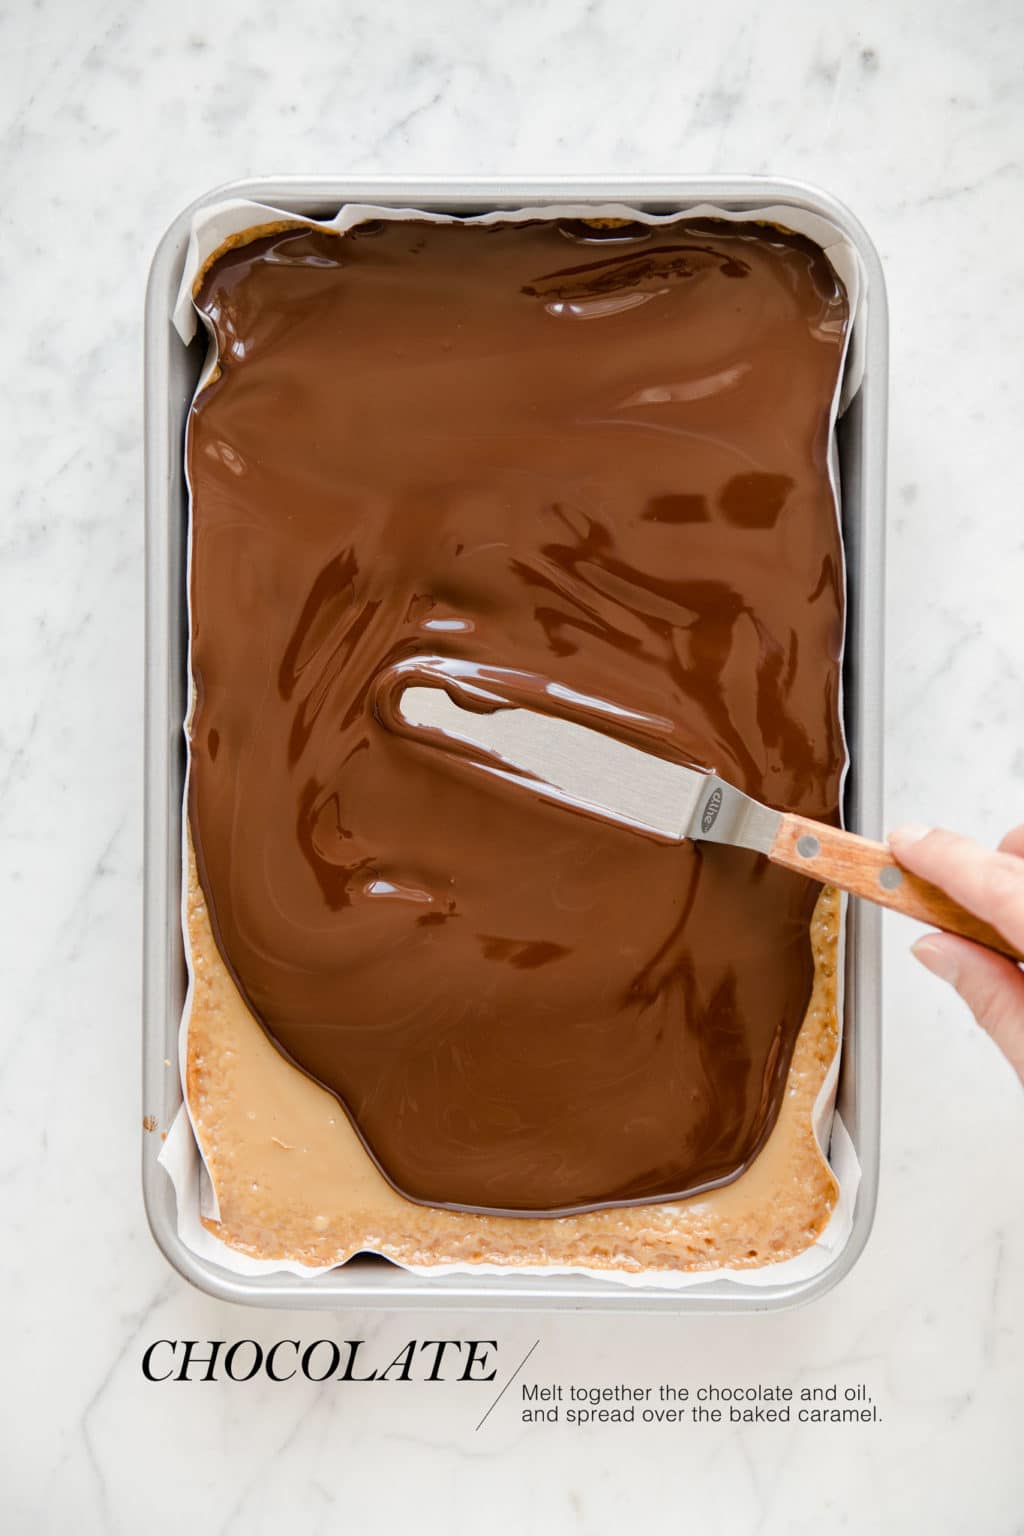
Make the chocolate topping by melting the chocolate in a bain-marie (or a bowl over a pan of simmering water), and then whisk in the oil.
Step 8
Pour the melted chocolate over the caramel-topped biscuit base, and use a spatula to spread it evenly.
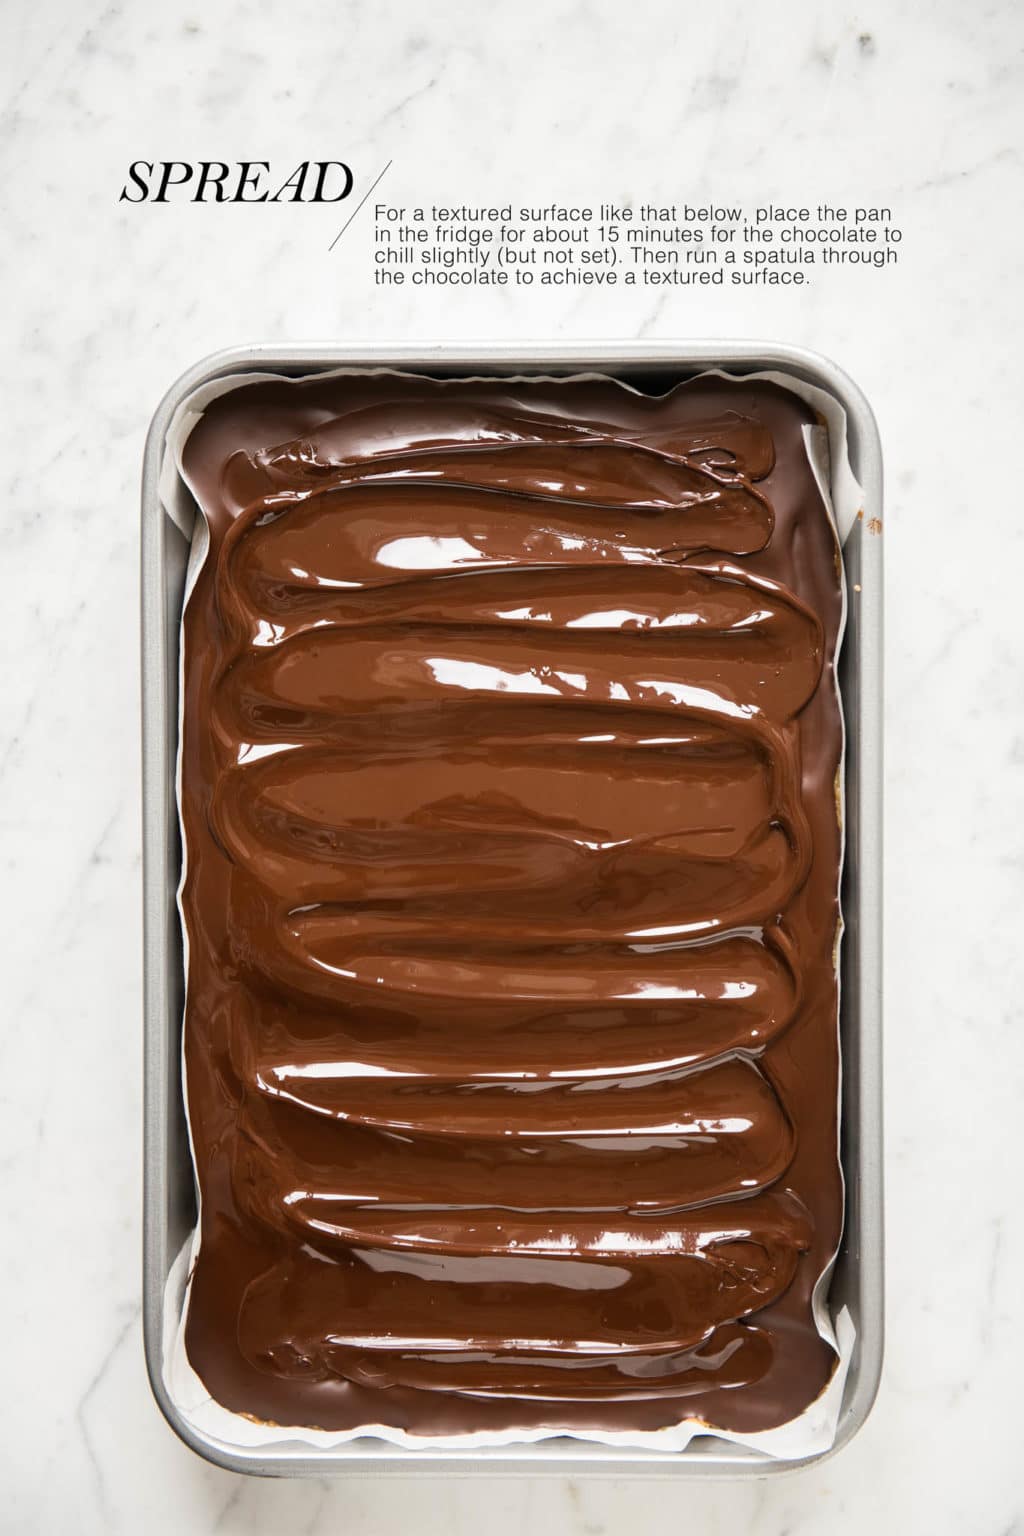
For a smooth surface, simply leave the pan as is to set completely before slicing and serving.
For a textured surface like in the photos above, place the pan in the fridge to chill for 10 to 15 minutes. Drag a small spatula through the chocolate to create some ripples, and then leave to set completely.
More Australian Recipes
If you are looking for more Australian recipes, you might also enjoy:
Pavlova with Cream & Passionfruit
PrintCaramel Slice (Millionaire’s Shortbread)

- Prep Time: 30 mins
- Cook Time: 30 mins
- Total Time: 1 hour
- Yield: Makes 20 slices
- Category: Desserts
- Method: Bake
- Cuisine: Australian
An easy recipe for Caramel Slice (or Millionaire’s Shortbread) using sweetened condensed milk to produce a lovely, thick caramel. Make them more delicious with a touch of sea salt.
 Print
Print Pin Recipe
 Rate
RateIngredients
For the biscuit base
- 125 g (1 stick plus 1 tablespoon) unsalted butter
- 125 g (1 cup) plain flour (all-purpose flour), sifted
- 1 teaspoon baking powder
- 90 g (1 cup) dessicated coconut
- 115 g (1/2 cup) caster sugar (superfine sugar)
For the caramel filling
- 100 g (1 stick) unsalted butter
- 400 ml (14 fl oz) canned sweetened condensed milk
- 2 tablespoons golden syrup
- 1 teaspoon vanilla bean extract or vanilla extract
- 100 g (2/3 cup) light muscovado sugar or light brown sugar, tightly packed (lumps removed)
For the chocolate topping
- 150 g (5.5 oz) dark chocolate (bittersweet chocolate), 70% cocoa content
- 1 tablespoon vegetable oil
- sea salt flakes (such as Maldon Sea Salt)
Instructions
For the biscuit base
- Preheat the oven to 180°C (350°F) (without fan).
- Line a small baking tin (18 x 28 cm or 7 x 11 inches) with baking paper.
- Melt the butter and set it aside to cool slightly.
- Place the flour, baking powder, dessicated coconut and sugar into the bowl of a stand mixer.
- Using the flat paddle attachment, mix the ingredients together.
- Add the melted butter and beat until the mixture is combined.
- Place the mixture into the lined baking tin and use your fingers to press it firmly and evenly into the base.
- Bake the biscuit base for 12-15 minutes, or until it is lightly golden.
- Set the biscuit base aside to cool slightly while you make the caramel filling, but keep the oven turned on.
For the caramel filling
- Melt the butter in a medium-sized saucepan over low-medium heat.
- Once the butter has melted, add the sweetened condensed milk, golden syrup, vanilla extract and light brown sugar.
- Whisk the ingredients together until they are well incorporated.
- Turn the heat up to medium-high, and continue whisking until the caramel starts to bubble a little.
- Whisk constantly over medium-high heat until the caramel thickens slightly. Make sure you are whisking constantly, otherwise the caramel might start to burn and you will have to start all over again!
- The caramel is done when it has thickened to a thick pouring consistency.
- When the caramel is cooked, pour it over the biscuit base and use a spatula to evenly distribute it.
- Place the baking pan back in the oven for 10 to 12 minutes, or until the edges have firmed slightly. If you give the pan a gentle shake, the centre of the pan should wobble ever so slightly.
- Remove the baking pan to a wire rack and let it cool completely.
- Once it has cooled, place it into the fridge for at least 30 minutes.
To make the chocolate topping
- Melt the chocolate in a bain-marie, or in a heat-proof bowl over a pan of simmering water.
- Whisk through the vegetable oil to make the chocolate nice and glossy.
To assemble the Caramel Slice
- Take the baking pan out of the fridge and pour the melted chocolate over the top.
- Immediately use a spatula to spread the chocolate evenly. As the caramel slice is cold from the fridge, the chocolate topping will start to set quickly.
- If you wish to create a rough textured surface like in the photos, place the baking pan back in the fridge for 10-15 minutes for the chocolate topping to set slightly. Drag a spatula back and forth through the cold (but not set) chocolate topping to create the textured surface. If the chocolate topping is not cold enough, you may have to put the tin back into the fridge for another 5 minutes or so.
- Once the chocolate caramel slice has set, slice into bars or squares, and sprinkle with sea salt flakes before serving.
Kitchen Notes
 NUTRITIONAL INFORMATION
Best to ignore the nutritional information for this recipe 😉 Enjoy everything in moderation!
 OVEN TEMPERATURES
All recipes on this website state temperatures for a regular oven (i.e. a conventional oven without fan). If you have a convection oven with a fan, please consult the manufacturer’s handbook on how to adjust the temperature and baking time accordingly.
 CONVERSIONS
To convert from cups to grams, and vice-versa, please see this handy Conversion Chart for Basic Ingredients.
Nutrition
- Serving Size: Serves 20
- Calories: 331
- Sugar: 30.8g
- Sodium: 171.3mg
- Fat: 18.4g
- Carbohydrates: 39.3g
- Fiber: 2g
- Protein: 4g
- Cholesterol: 34mg
#eatlittlebird
Update
This post was first published on 27 April 2017. It has been updated with more comprehensive recipe notes.

Oh, these sound so rich and decadent! And I love the salt sprinkled over the top!
Thanks, Amy! I love the addition of sea salt here 🙂
What an amazing coffee maker, hopefully they will make their way to the U.S. Meanwhile, I can still make these delicious caramel slice.
Hi Janette,
You’re right – I don’t think the Eclipse model is available in the US yet, but there are certainly other Nescafé Dolce Gusto coffee machines which are very popular in the US. Hope you will get a chance to try this recipe one day 🙂
Those chocolate caramel slices look amazing! Thank you for sharing your thoughts on the Nescafe. I too love a quick way to make coffee when I have company. I love that there are so many options to meet everyone’s pallet!
Thanks, Luci! Indeed, I think that is one of the advantages of the Nescafé Dolce Gusto, that it suits different people’s taste in coffee. It will definitely come in handy when we are entertaining guests.
I love the look of this coffeemaker — so much nicer than the squat models I’ve seen here in the states. Unfortunately my husband and I are the drink a whole pot of coffee – kind of people, and those pods can be expensive if you’ve got a 4-5 cup/day habit, like me! That said, your latte looks tempting. And so do those bars. I stopped and gazed for two solid minutes at your photos!
Thanks, Lisa! I’m glad you enjoyed the photos 🙂 I should have mentioned in my post that coffee consumption was also a factor in initially not wanting to buy a coffee machine – my husband and I felt that if we could have coffee at the push of a button, we would be drinking coffee all day! I agree that the pods can be expensive, which is why I think this machine might be more for when we have guests, or perhaps just the occasional coffee. That said, I have been enjoying my daily lattés from this machine so far …
These look spectacular!!!! I must make them!
Thank you 🙂
I’m a sucker for anything chocolate and caramel – it’s my favorite combo!
We have something in common 🙂 Thanks for popping by!
This looks fantastic! I can’t wait to try your recipe!
I hope you will enjoy the recipe!
That coffee maker looks wonderful. I love the look!! And that caramel slice sounds heavenly with delicious coffee. Such a treat.
It’s a pretty stylish coffee machine, isn’t it? I wasn’t sure about it at first, but I do quite like it now 🙂
Cool read, I have not used a pod coffee machine since giving up the office lifestyle back in 2008 and was not too impressed back then to be honest… Sounds as though things have improved somewhat, perfect accompaniment to a cup o joe too 😀
Actually, using this machine reminds me of work!! I quite like the option to make milky coffee with this machine. So far, I’ve been really enjoying using the machine 🙂
This is one of my favorite types of slices. These look incredible!
Thank you!
YES PLEASE!!
I can not wait to try this incredible recipe! It’s amazing! Thank you!
I made these caramel slices last year during the first lockdown and they were so popular with my kids that they begged me to make them almost every week! Now that we are in lockdown again (sigh) the first thing I thought of were your slices. This recipe is just the best. Thank you for sharing!
Hi Jenny,
I’m so glad you all enjoy this recipe! Fingers crossed this lockdown won’t feel so long. Stay healthy!
Excellent recipe! I didn’t think I could pull it off but the caramel slices turned out amazing.
Excellent recipe and very clear instructions. The taste was spot on.
Really delicious! We loved the coconut in the biscuit base. Just yum!